Alright then, I'll share my little noob secret. (I'm a noob because I'm only 7 weeks into vaping, but even noobs can have secrets too!

)
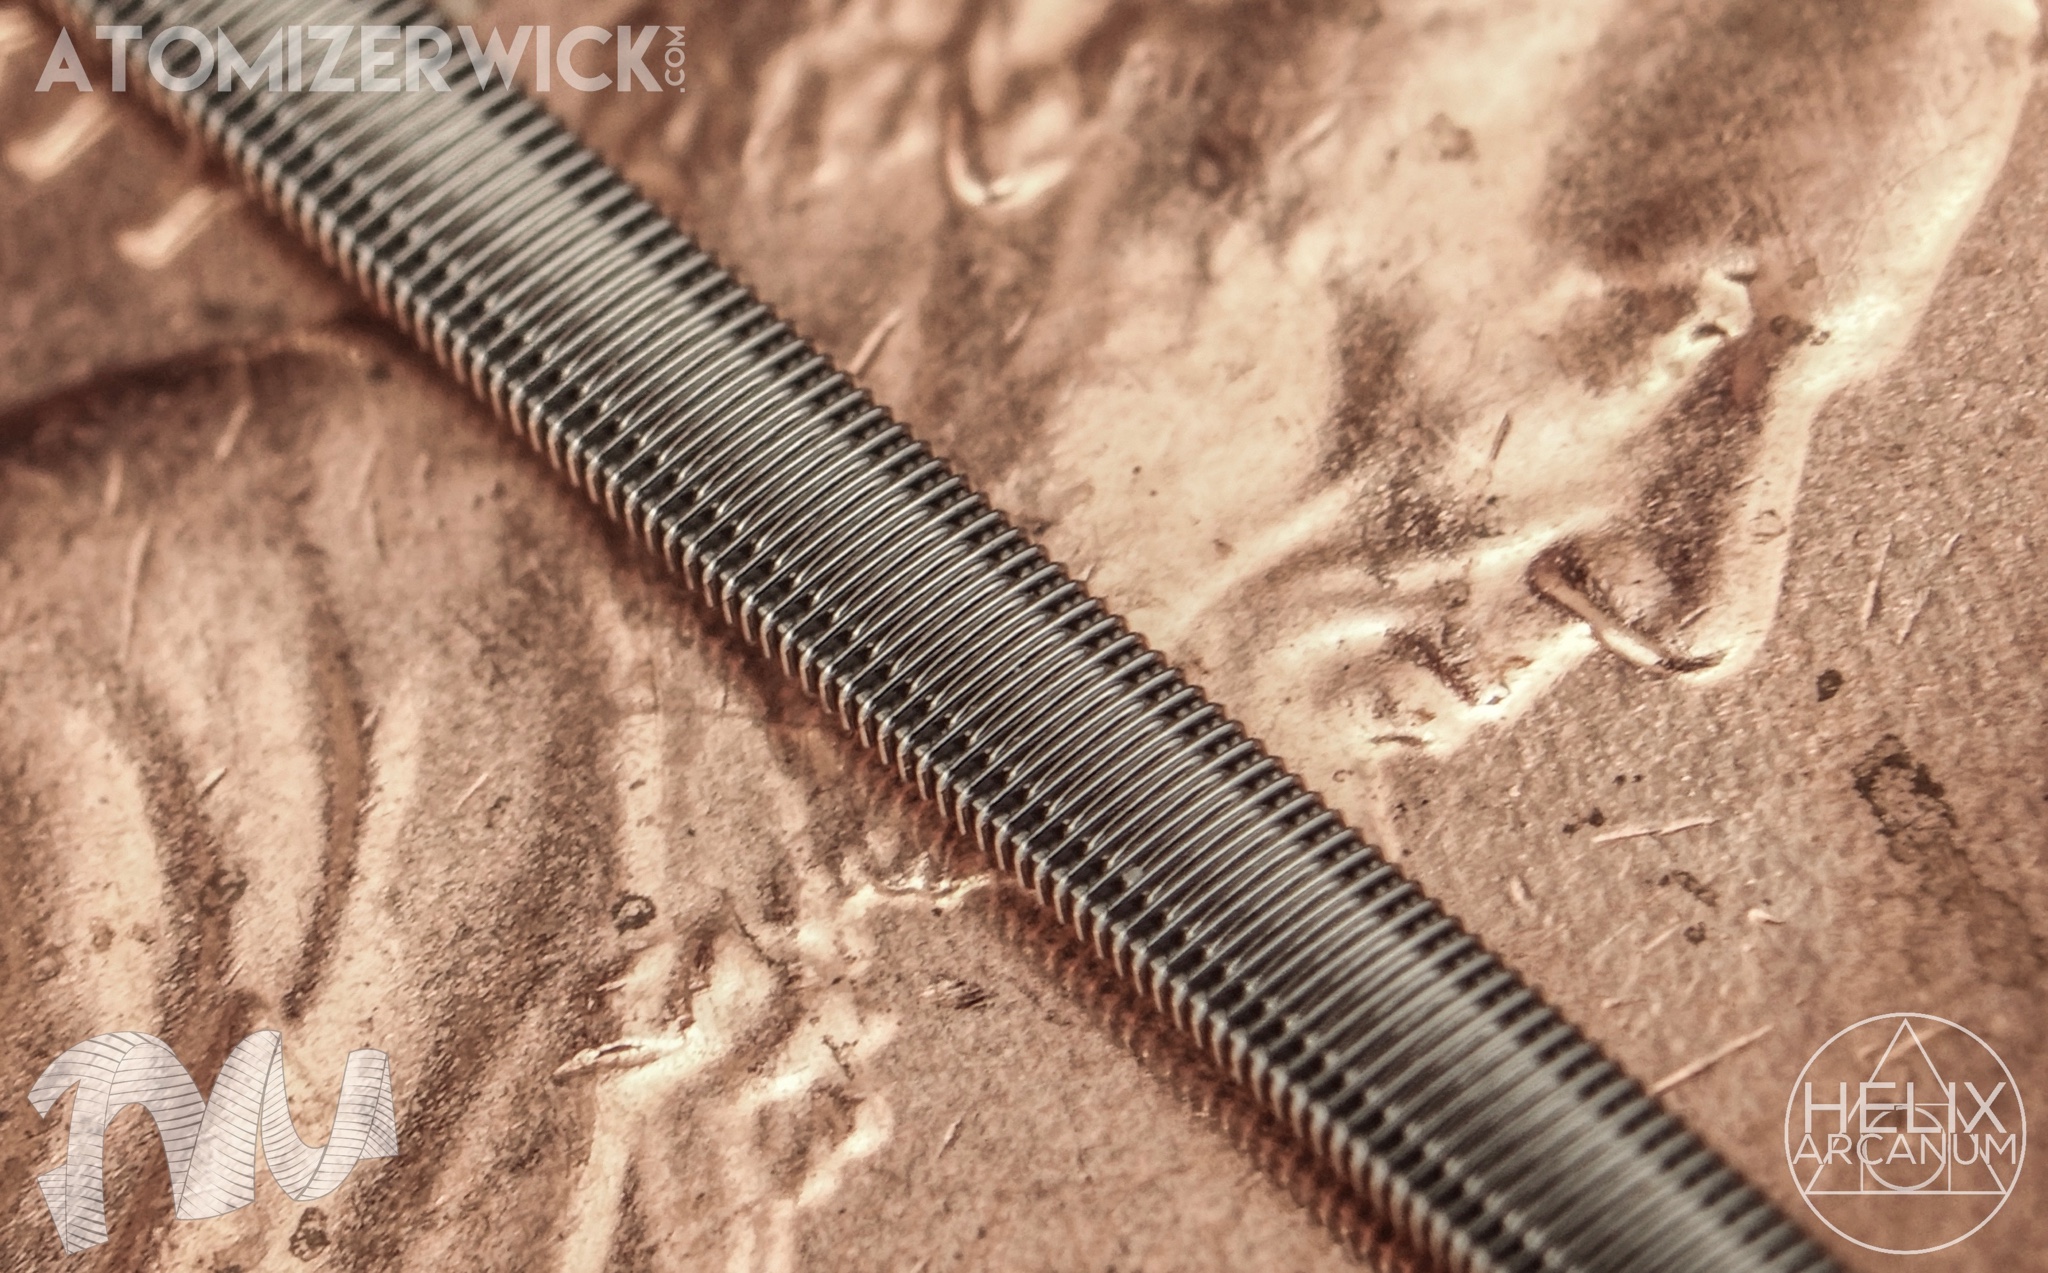
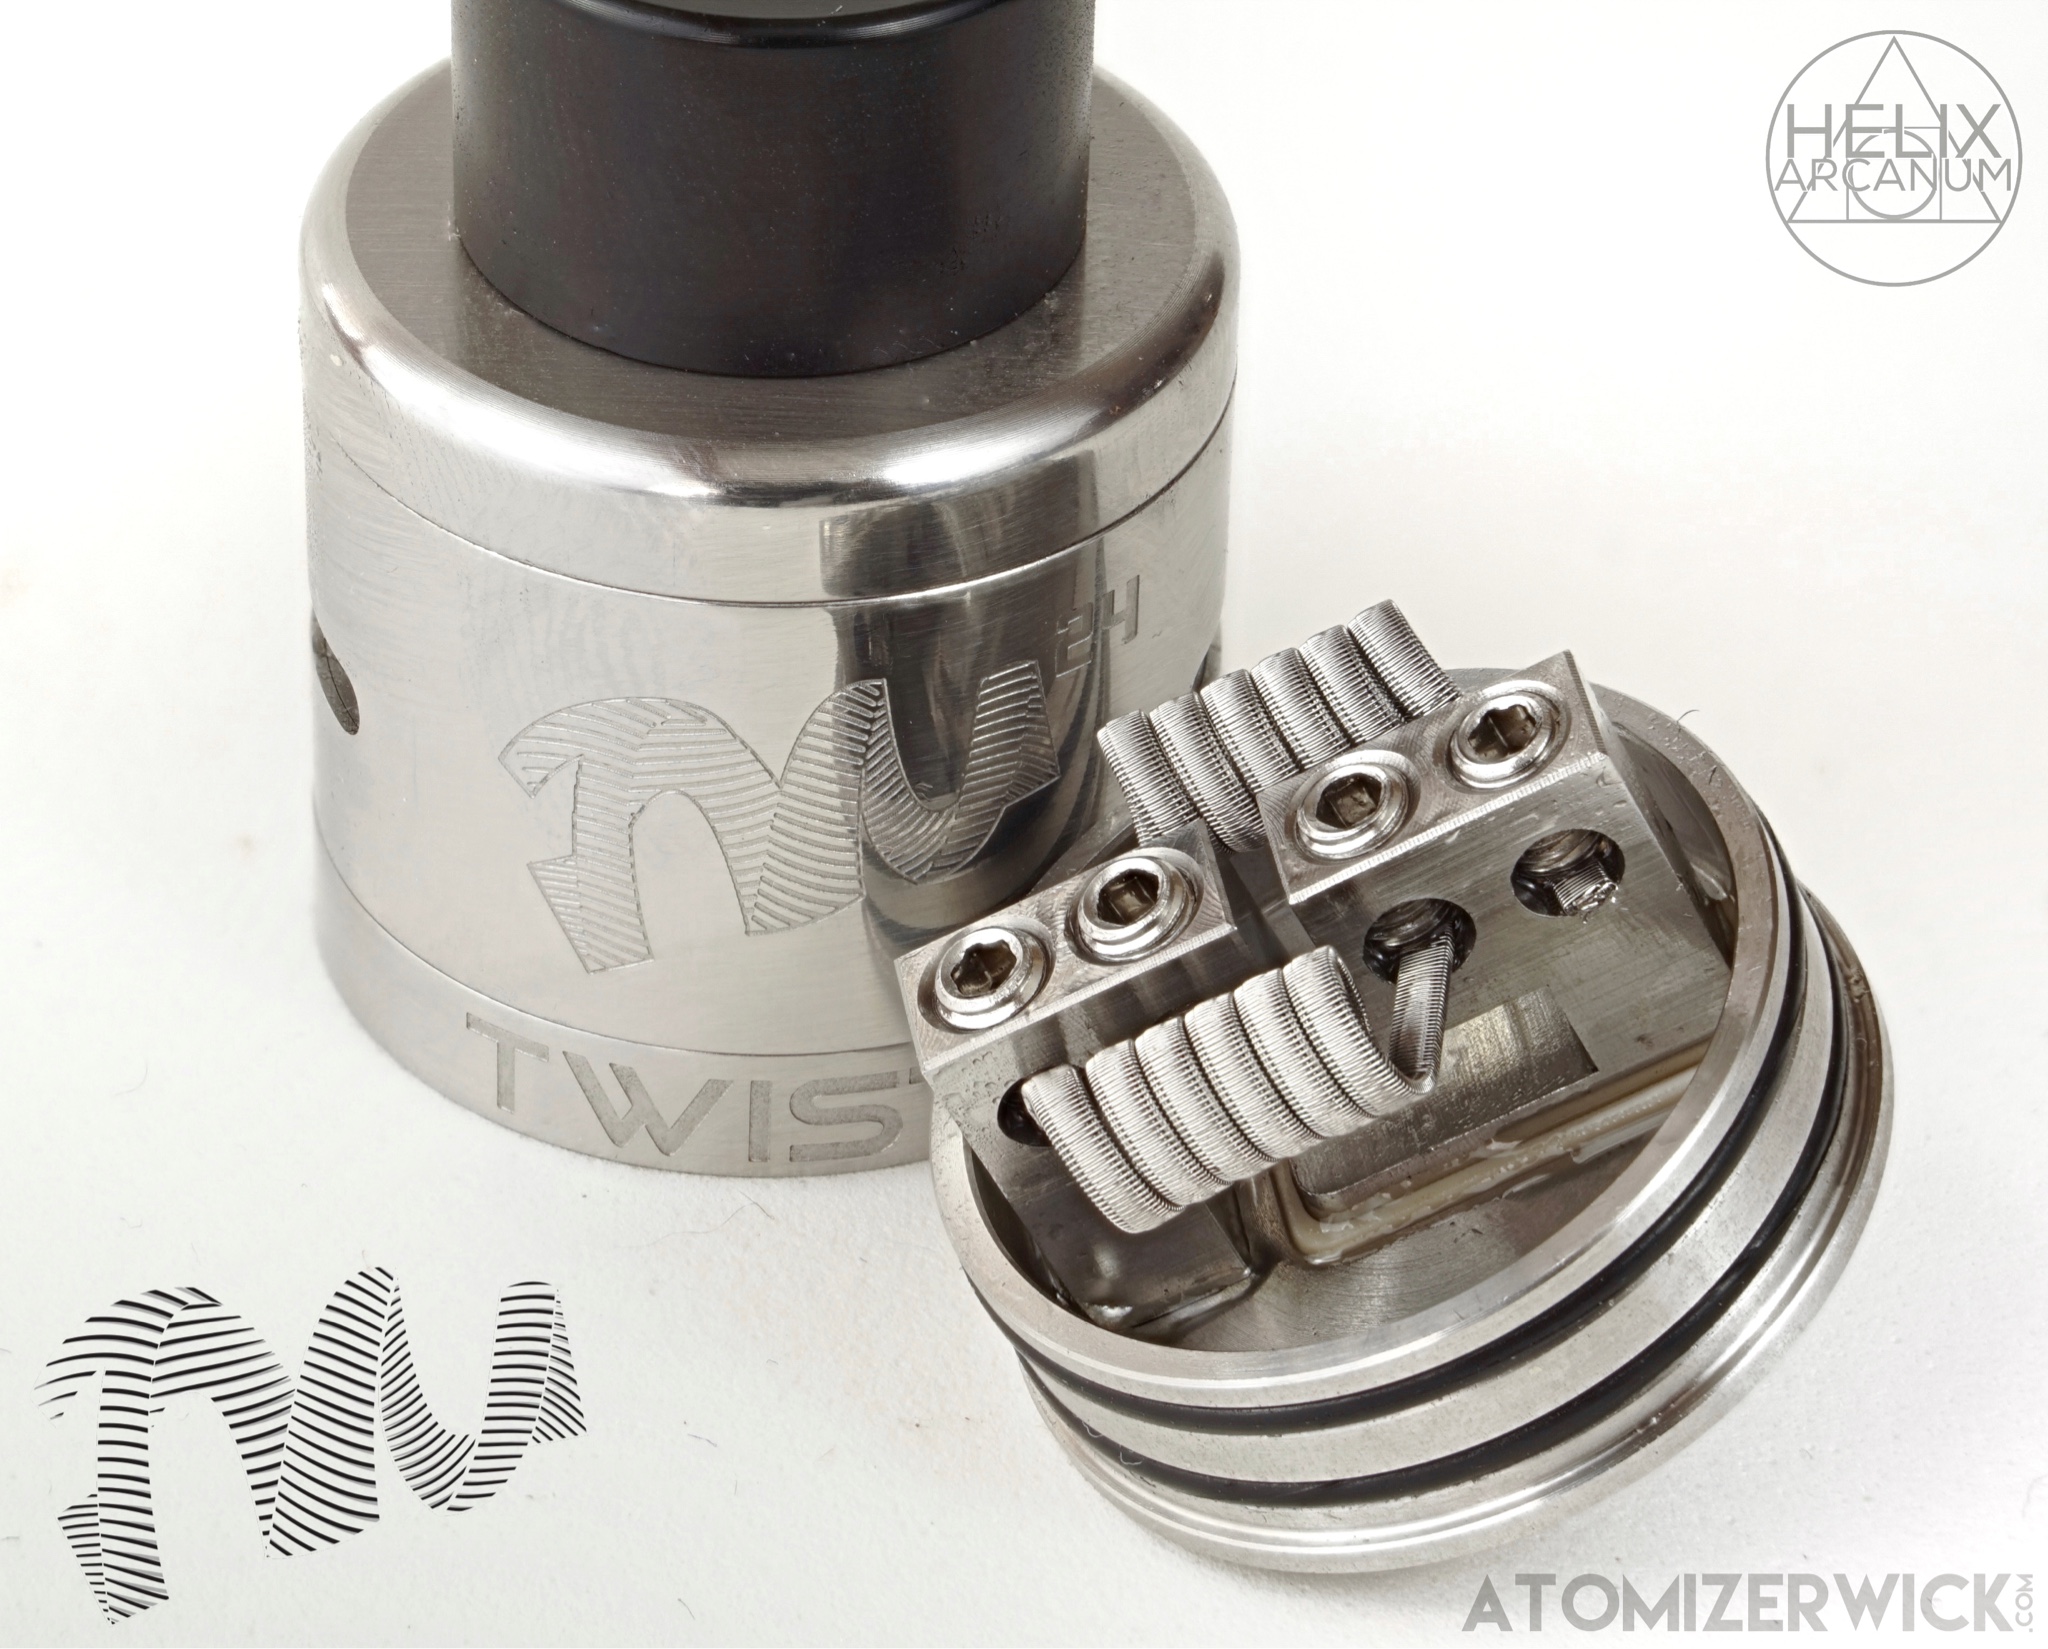
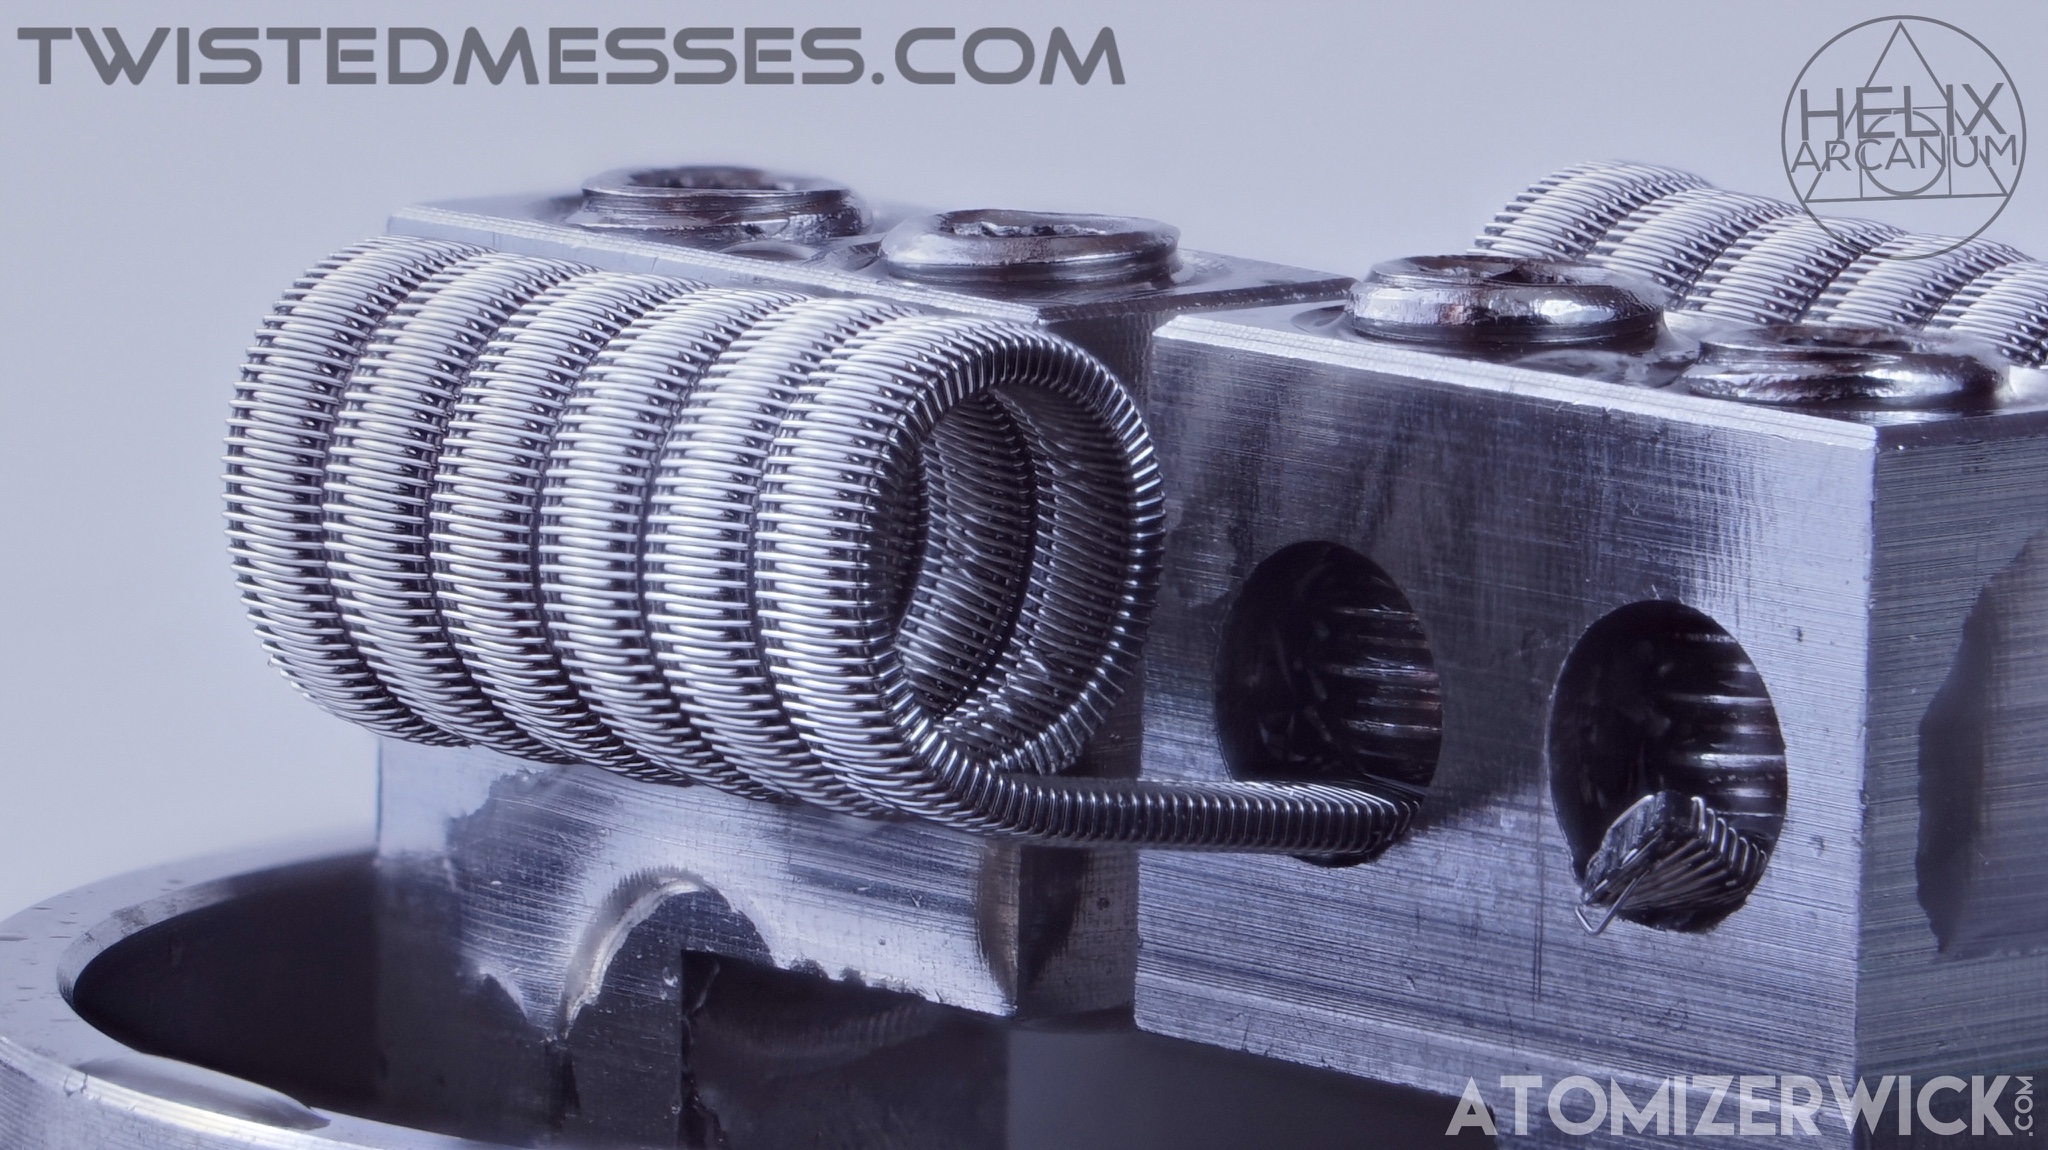
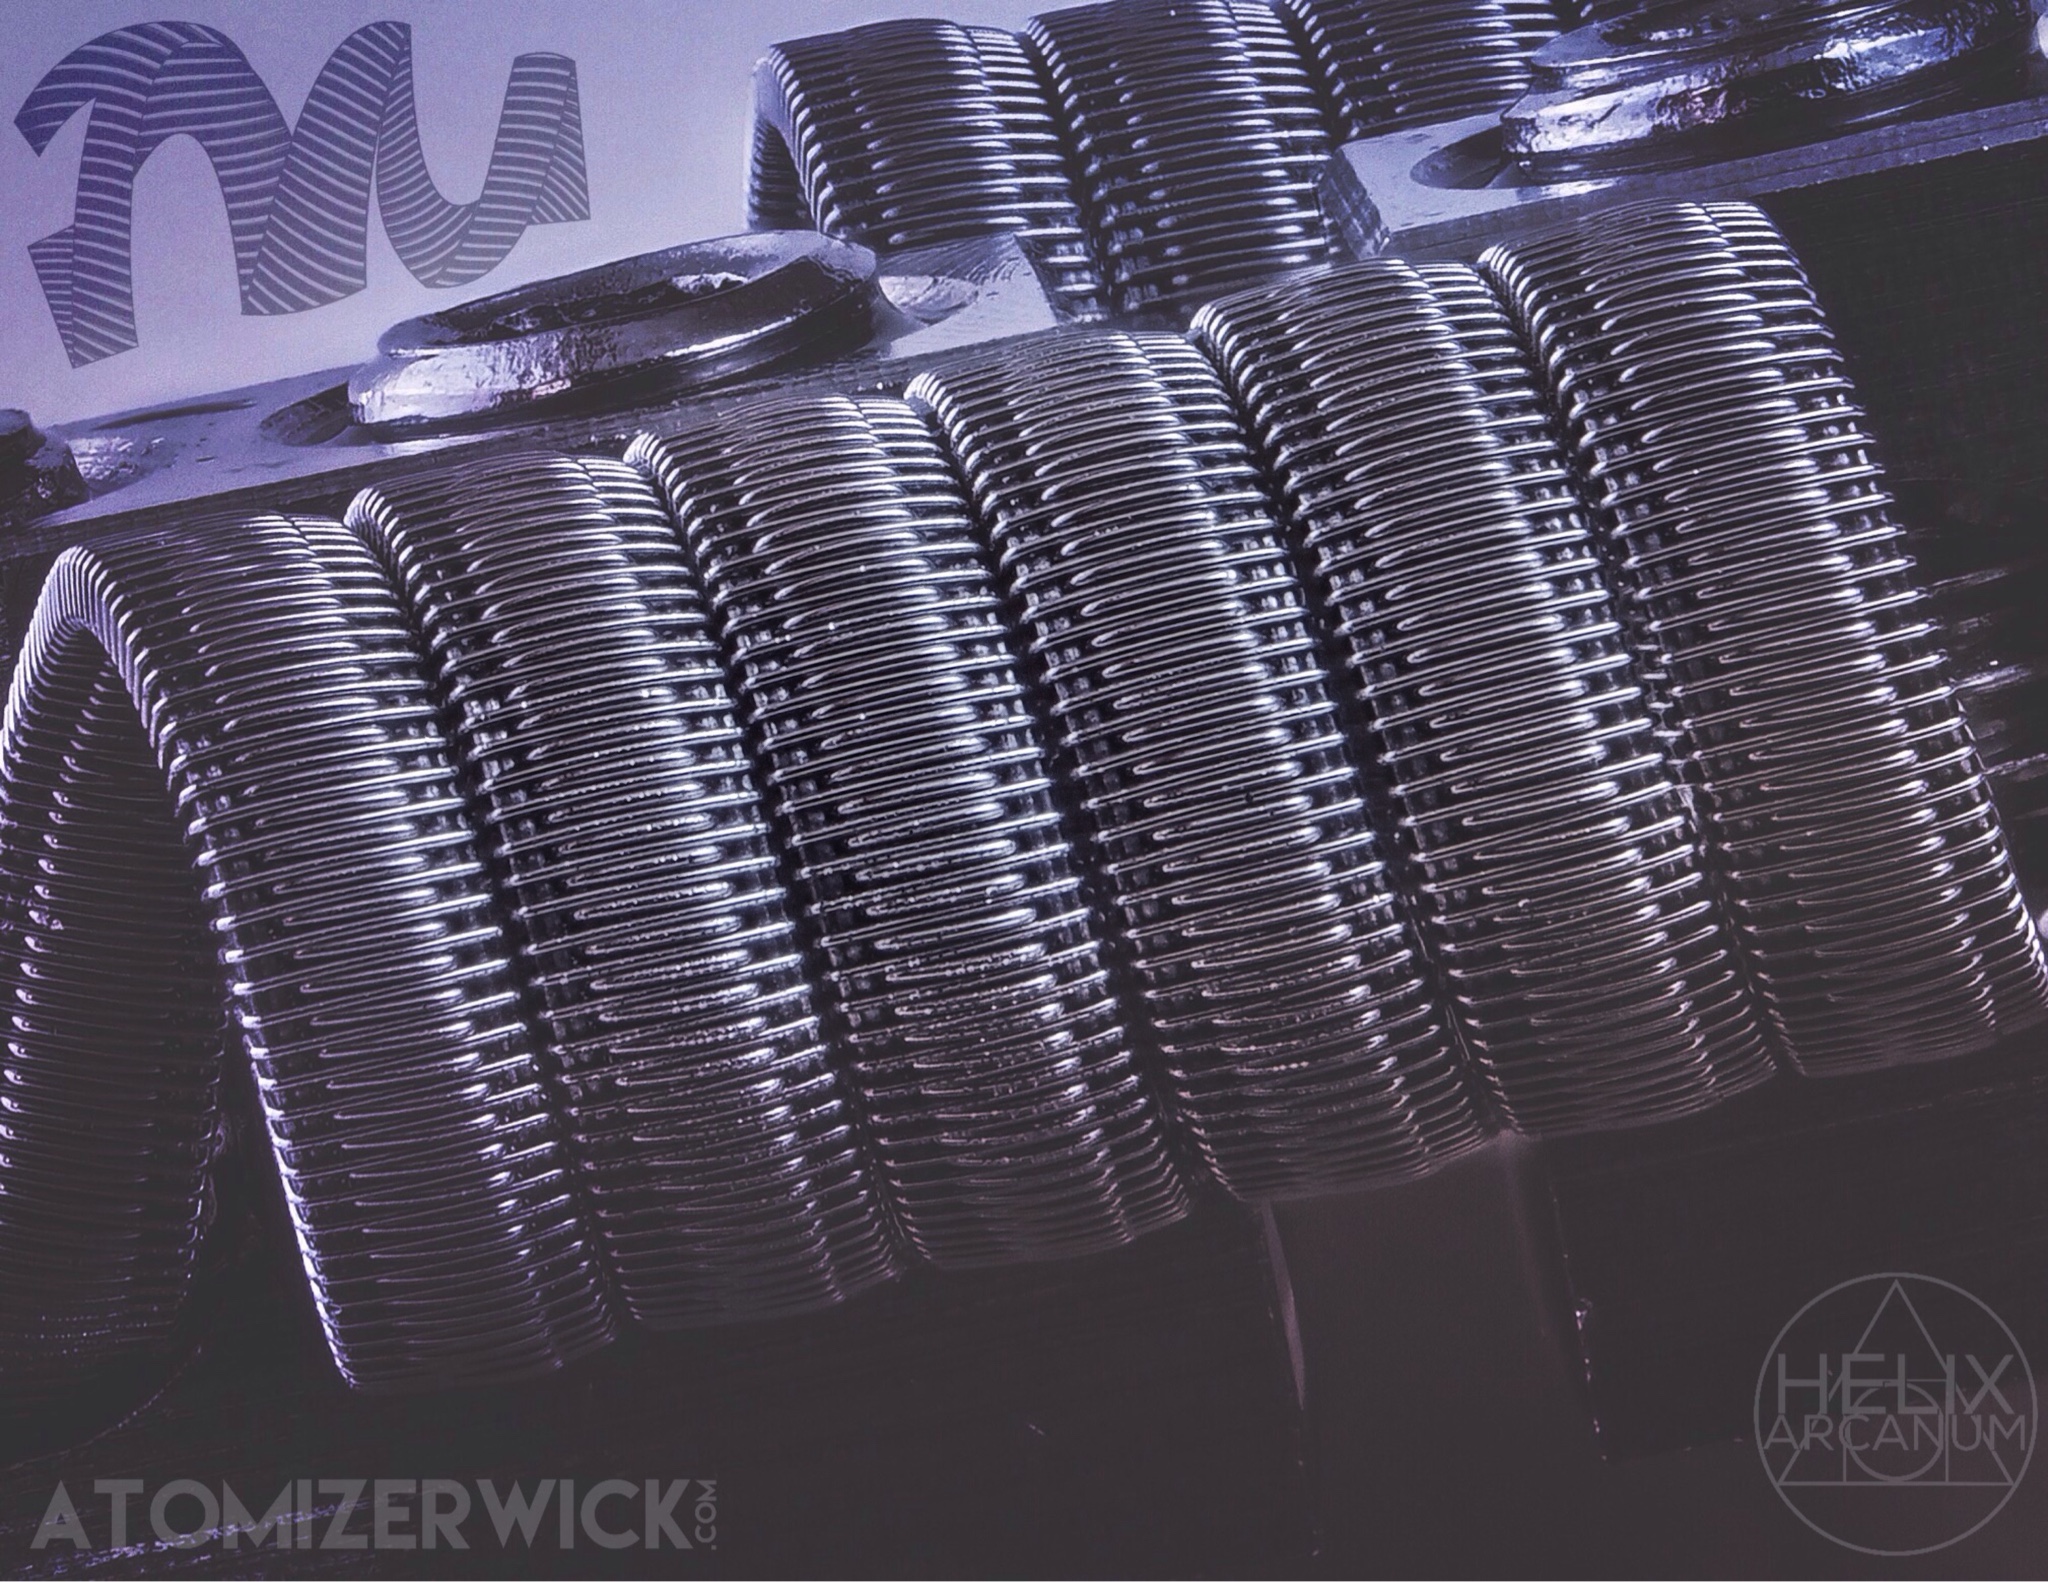
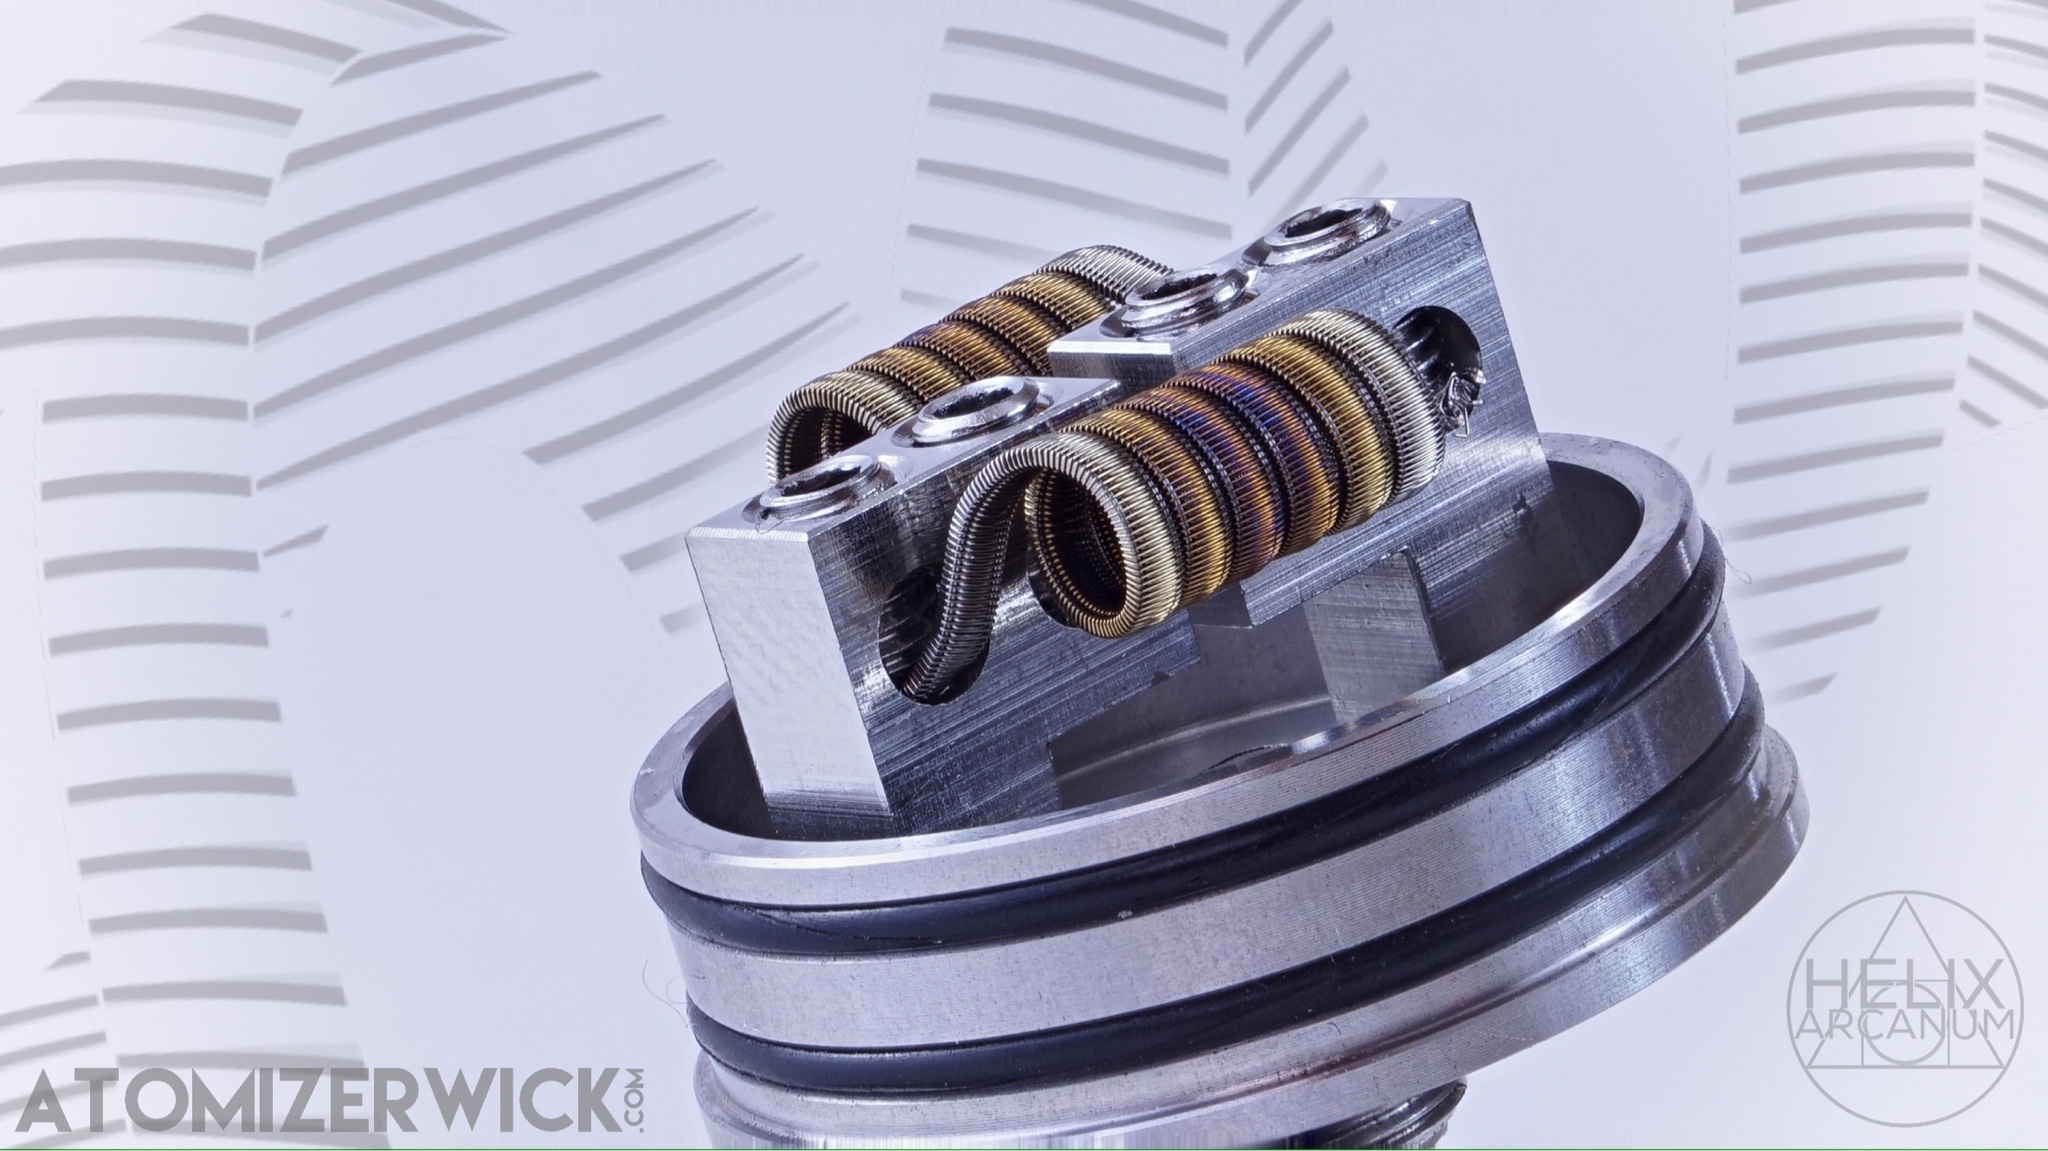
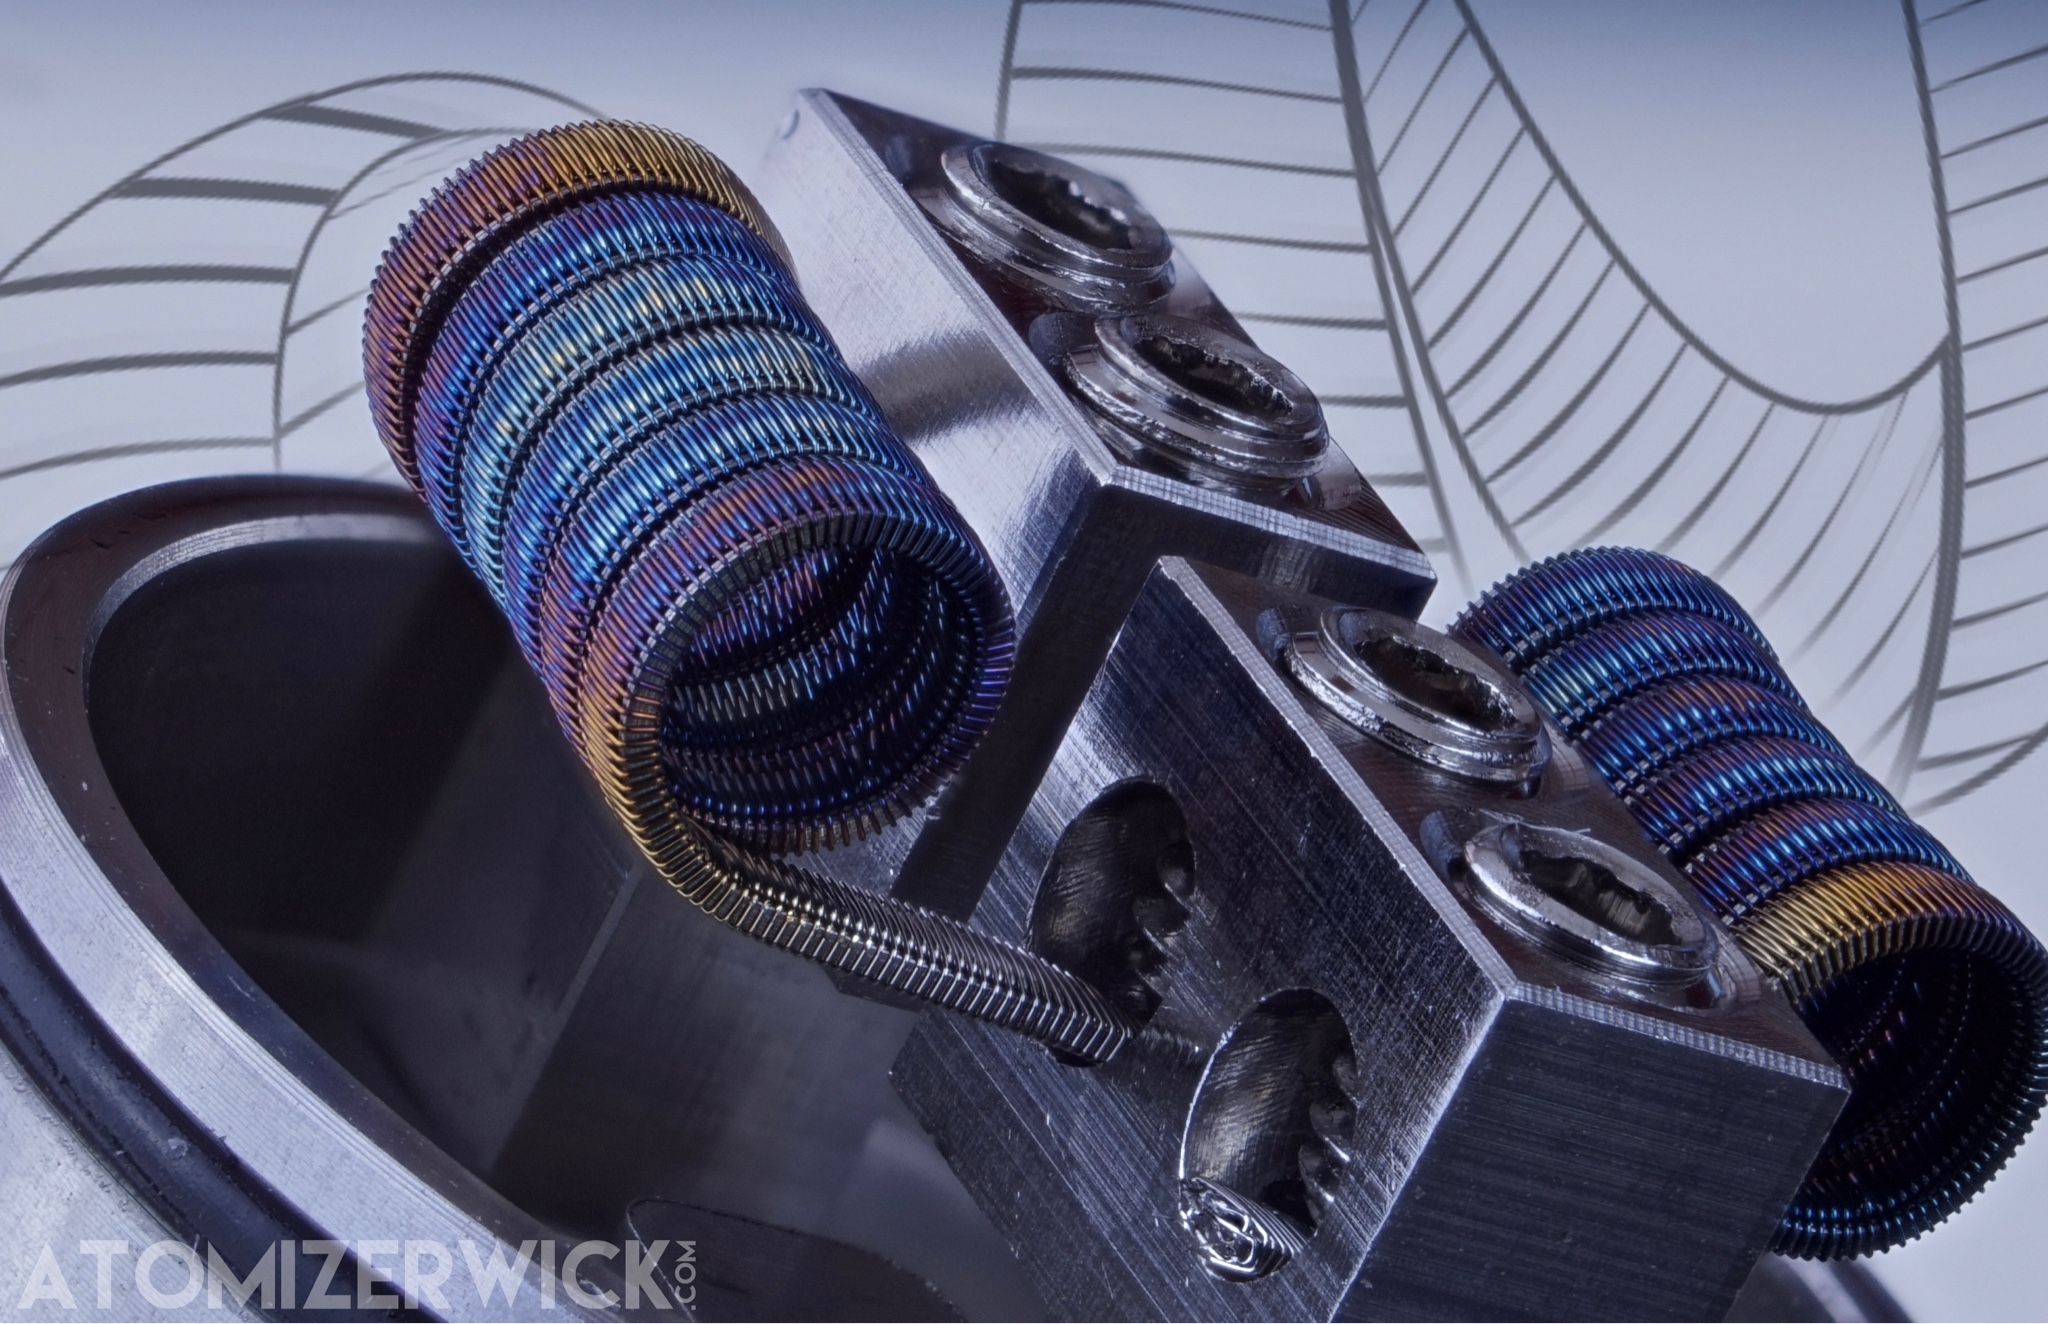
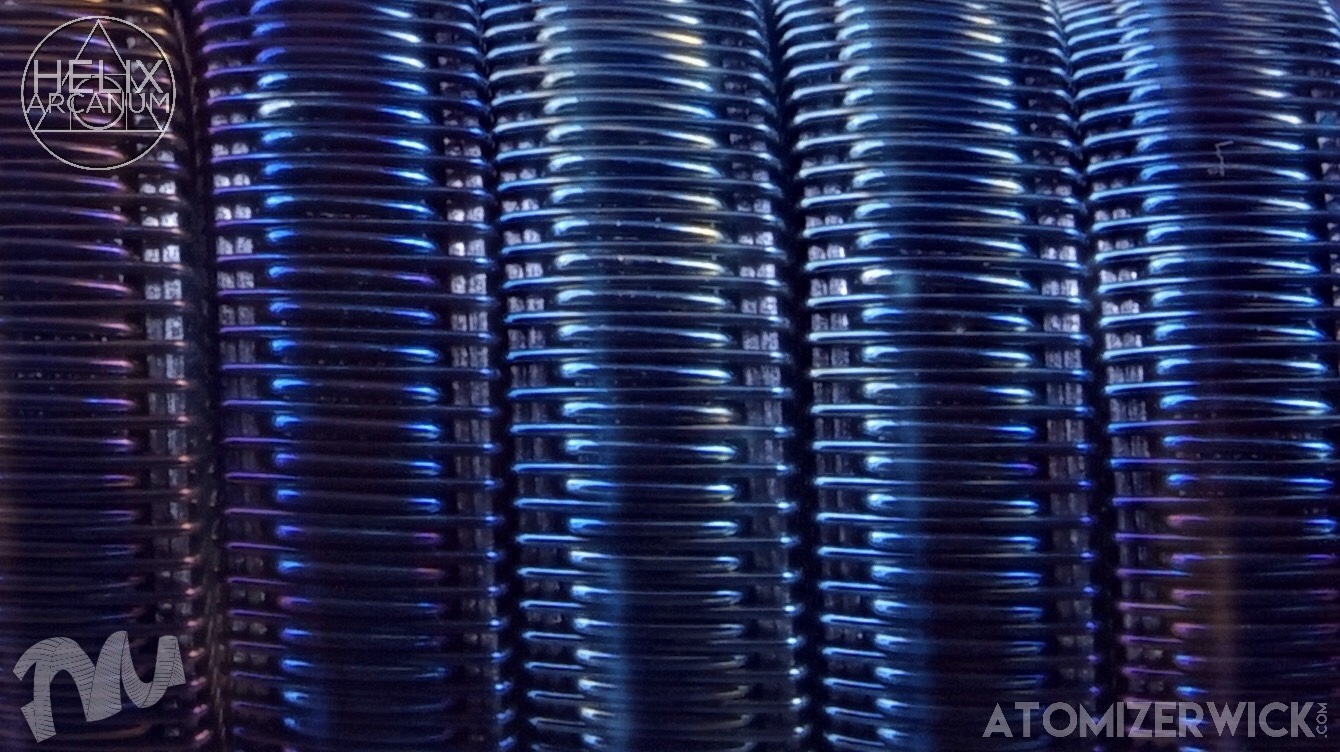
Have you ever heard about the "button trick", that's normally used to make spaced claptons? There's a
vid of it on youtube... it works for regular claptons too if you attach the little piece of wire not across your lead like you would for spaced claptons, but resting on top of the second last and third last regular clapton'd windings that you already started freehand. I use a piece of masking tape (yeah... you really need that masking tape, man!
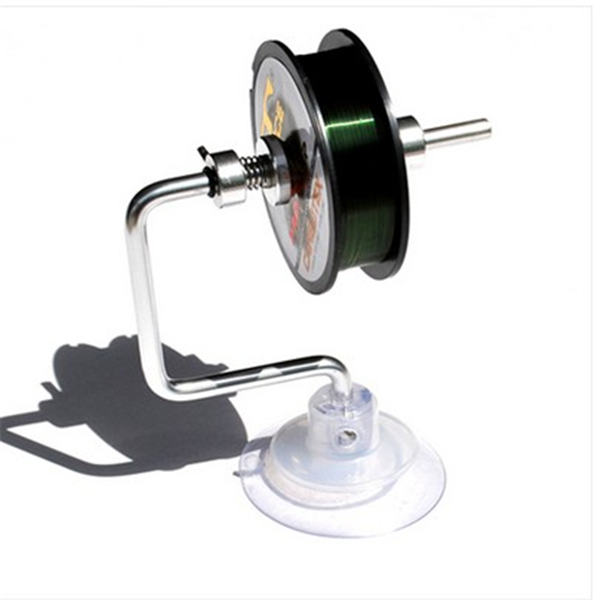
) to hold the button in place as I'm putting the little piece of wire through the holes in the button, and I tie the button down by pulling both ends of the little piece of wire as far away from eachother as possible whilst twisting them snugly around eachother. It should be done tight enough to keep the button hanging really very very closely against your initial clapton'd part after you peel off the tape, i.e. it should be tied in such a way that there's barely enough slack in there to still be able to gently wiggle it across the grooves of your clapton... so that you can then move it into the groove between your second last and third last winding of your clapton. Next, I tie a small weight to the little piece of wire by twisting both ends again, leaving a little bit of clearance between the button and weight. The added weight will keep it from wanting to jump out of the groove, but if it's too heavy it will break the wire in half before you've reached the end of your clapton so you'll have to start all over. Go easy on the drill, and keep your lead vertical. (I leave the spool dangling underneath the table and let the wire naturally untwist itself because any twist in the wire might disturb the clapton once you decore it.)


.jpg")
.jpg")
.jpg")


.jpg")
.jpg")
.jpg")


.jpg")

.jpg")
.jpg")
.jpg")