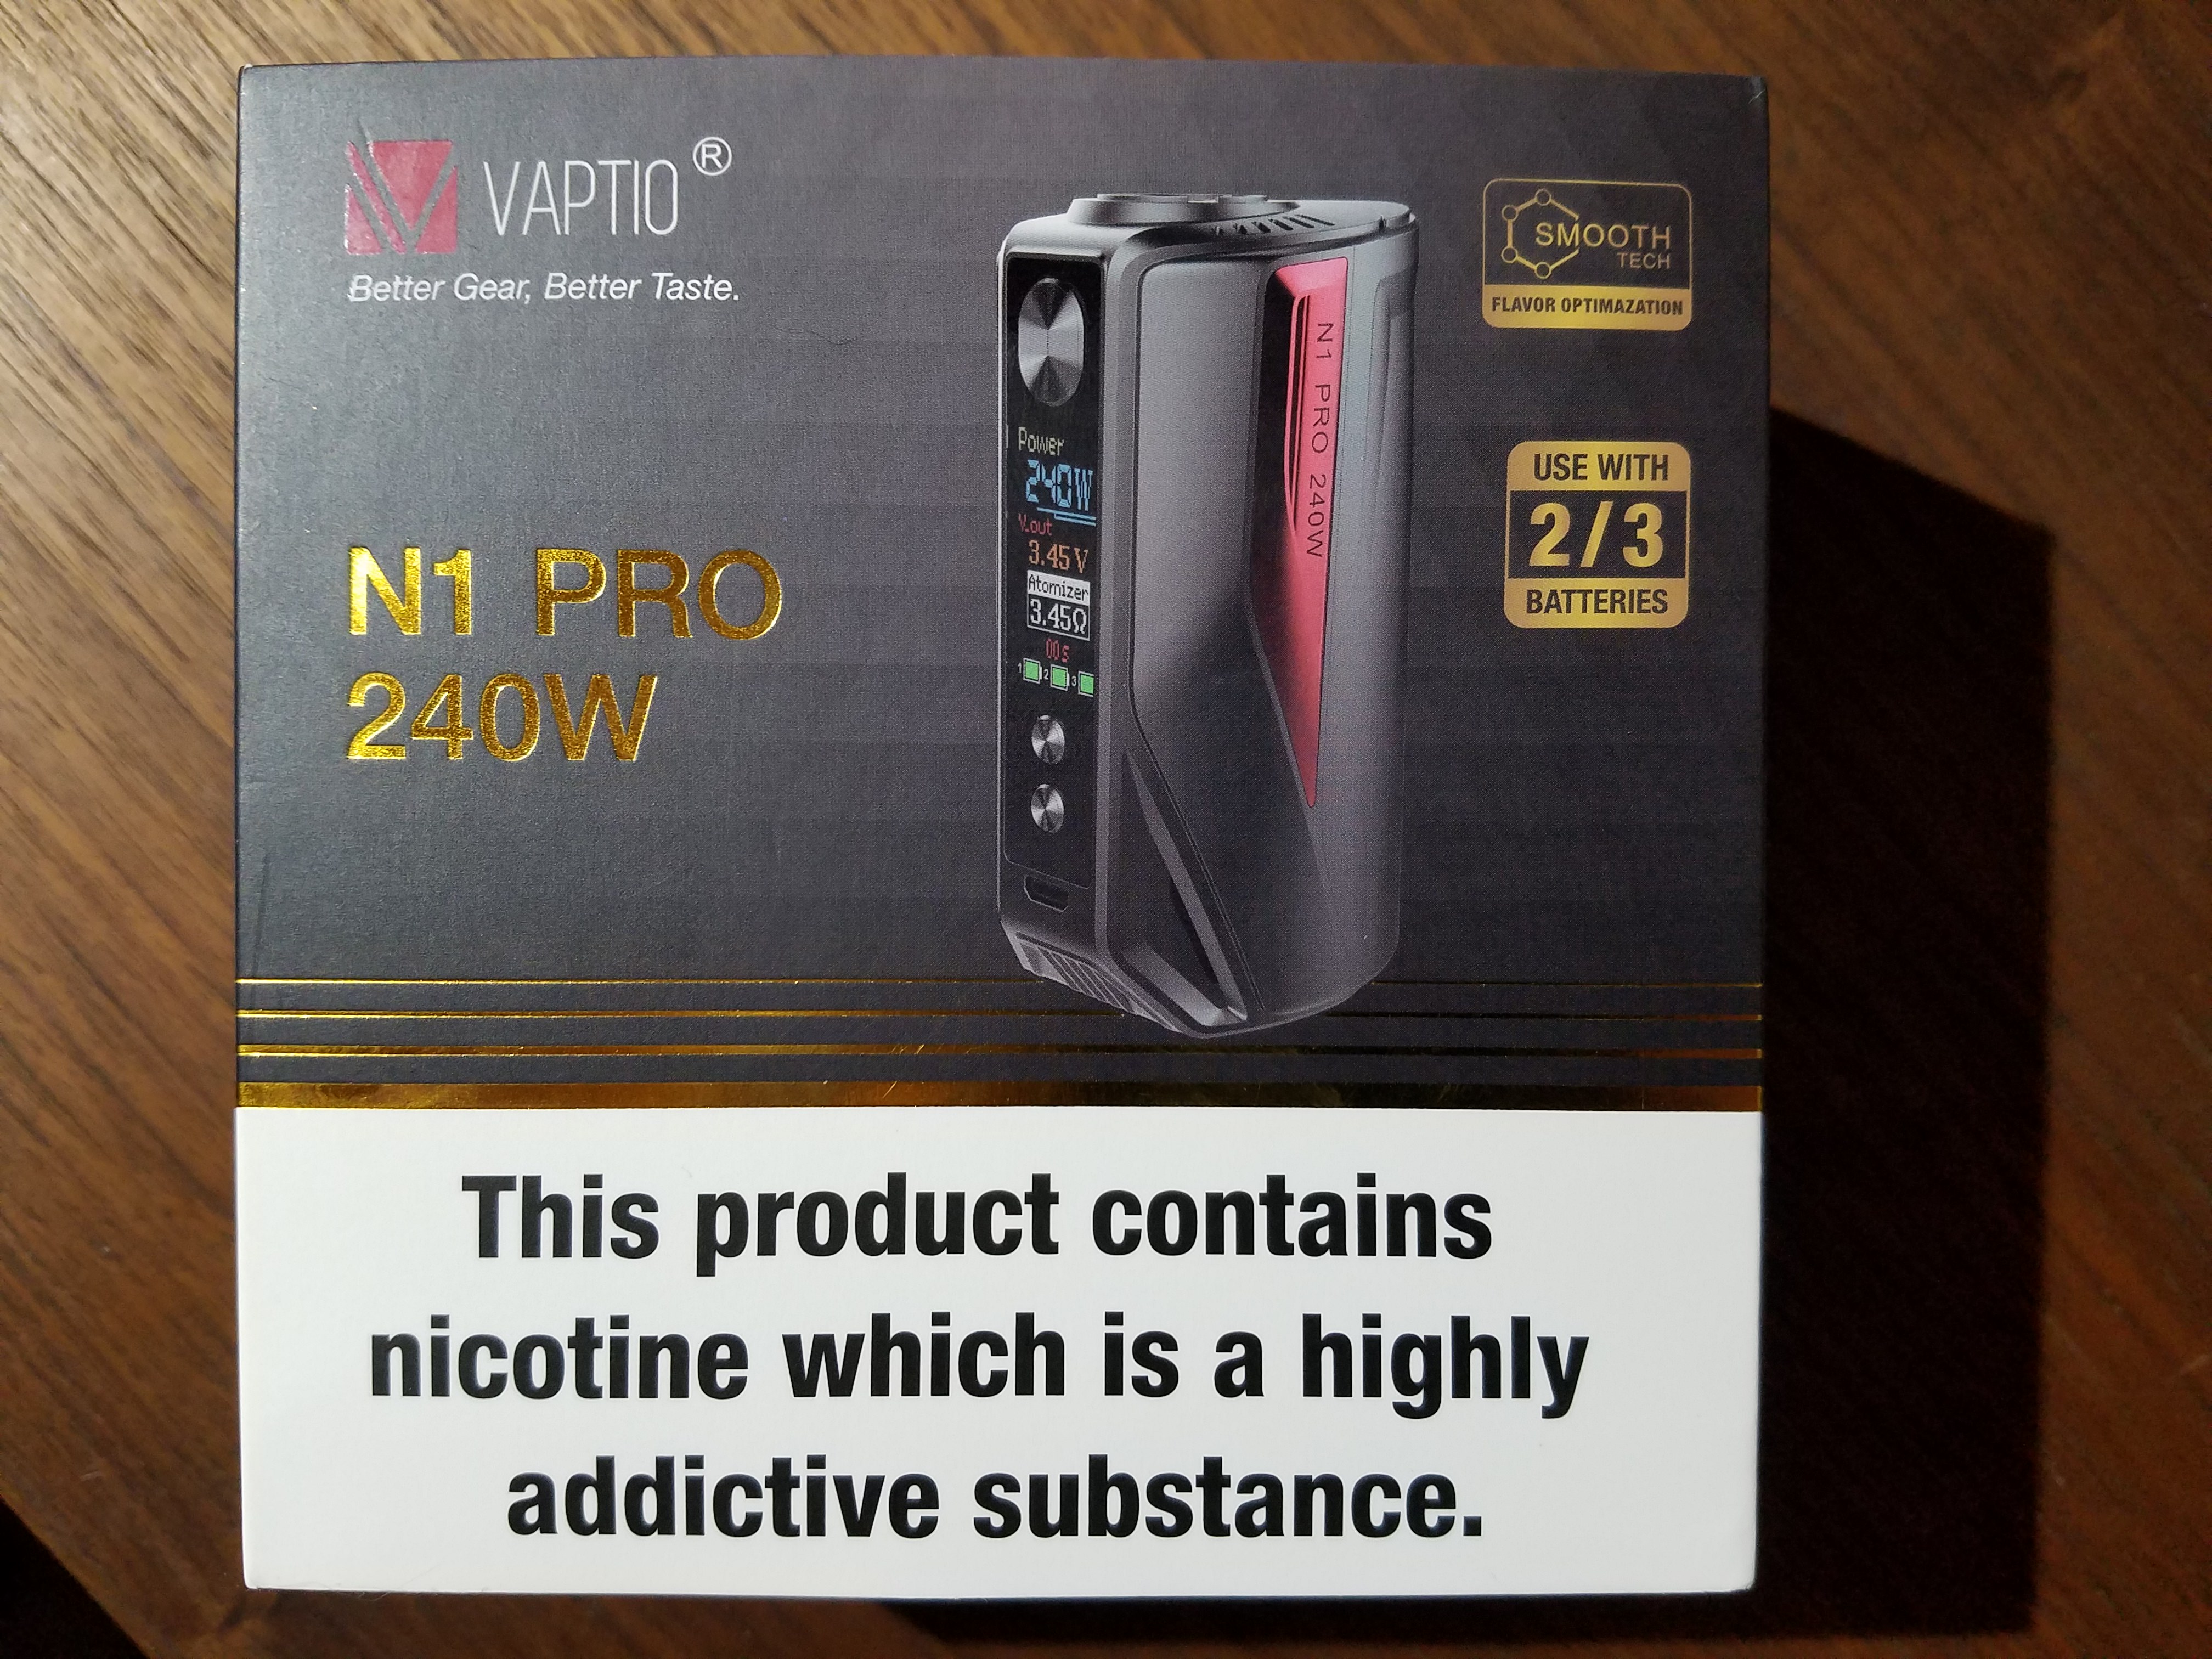
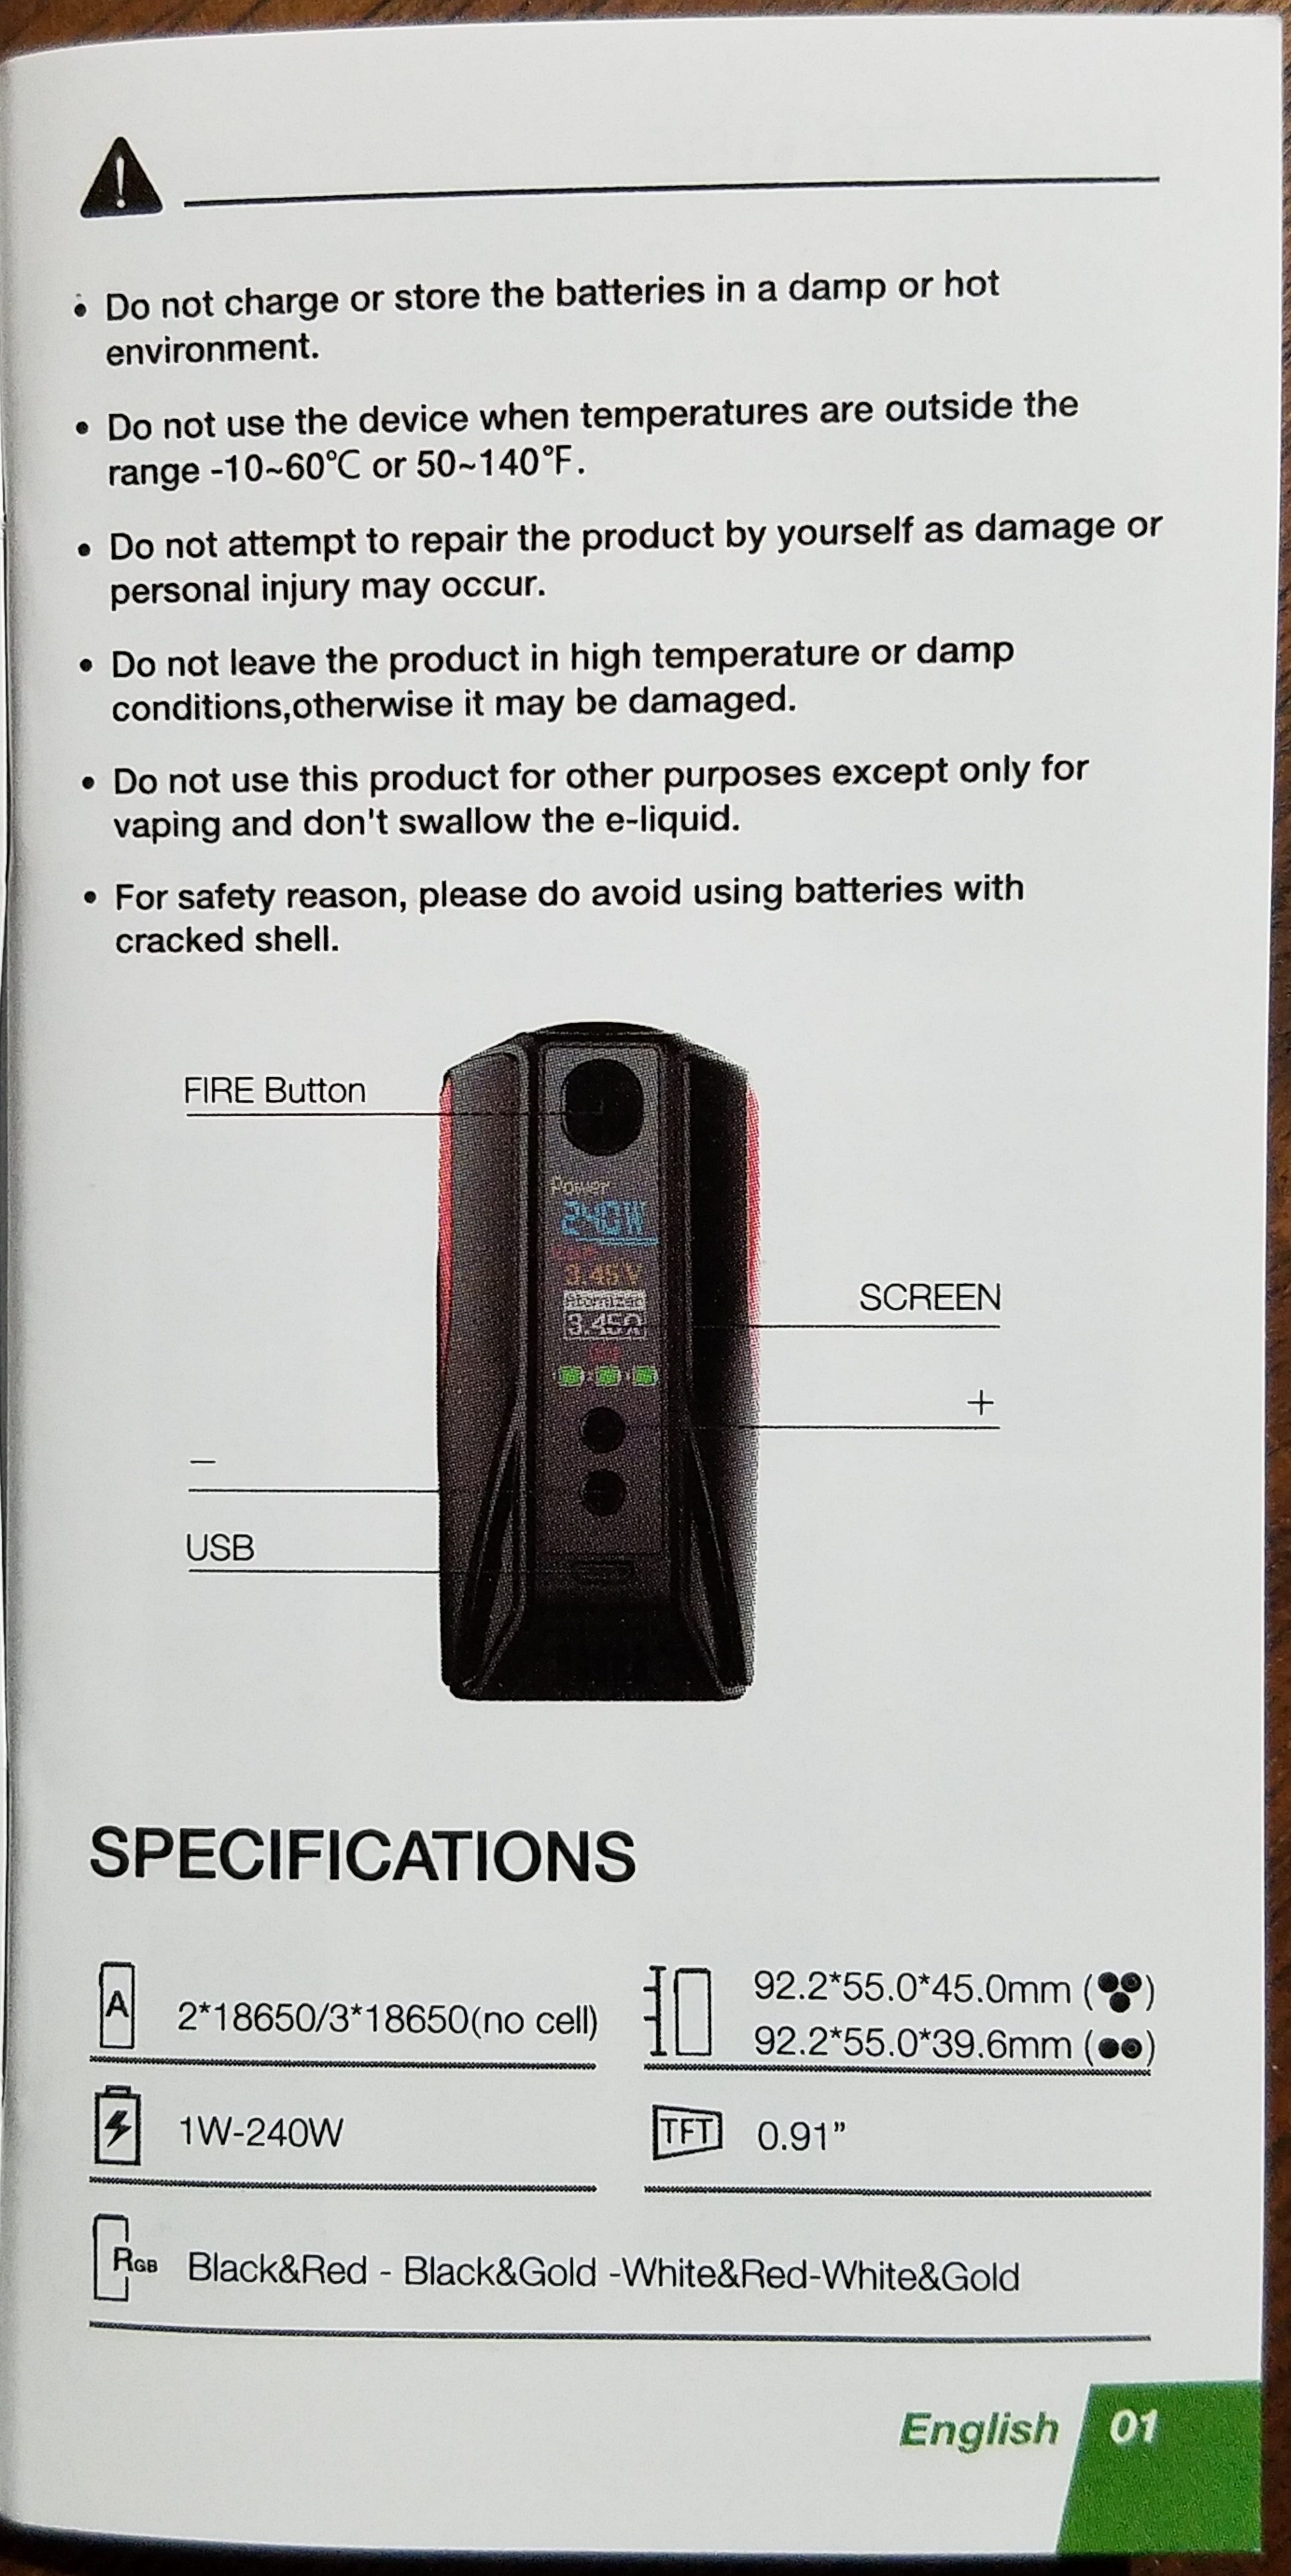
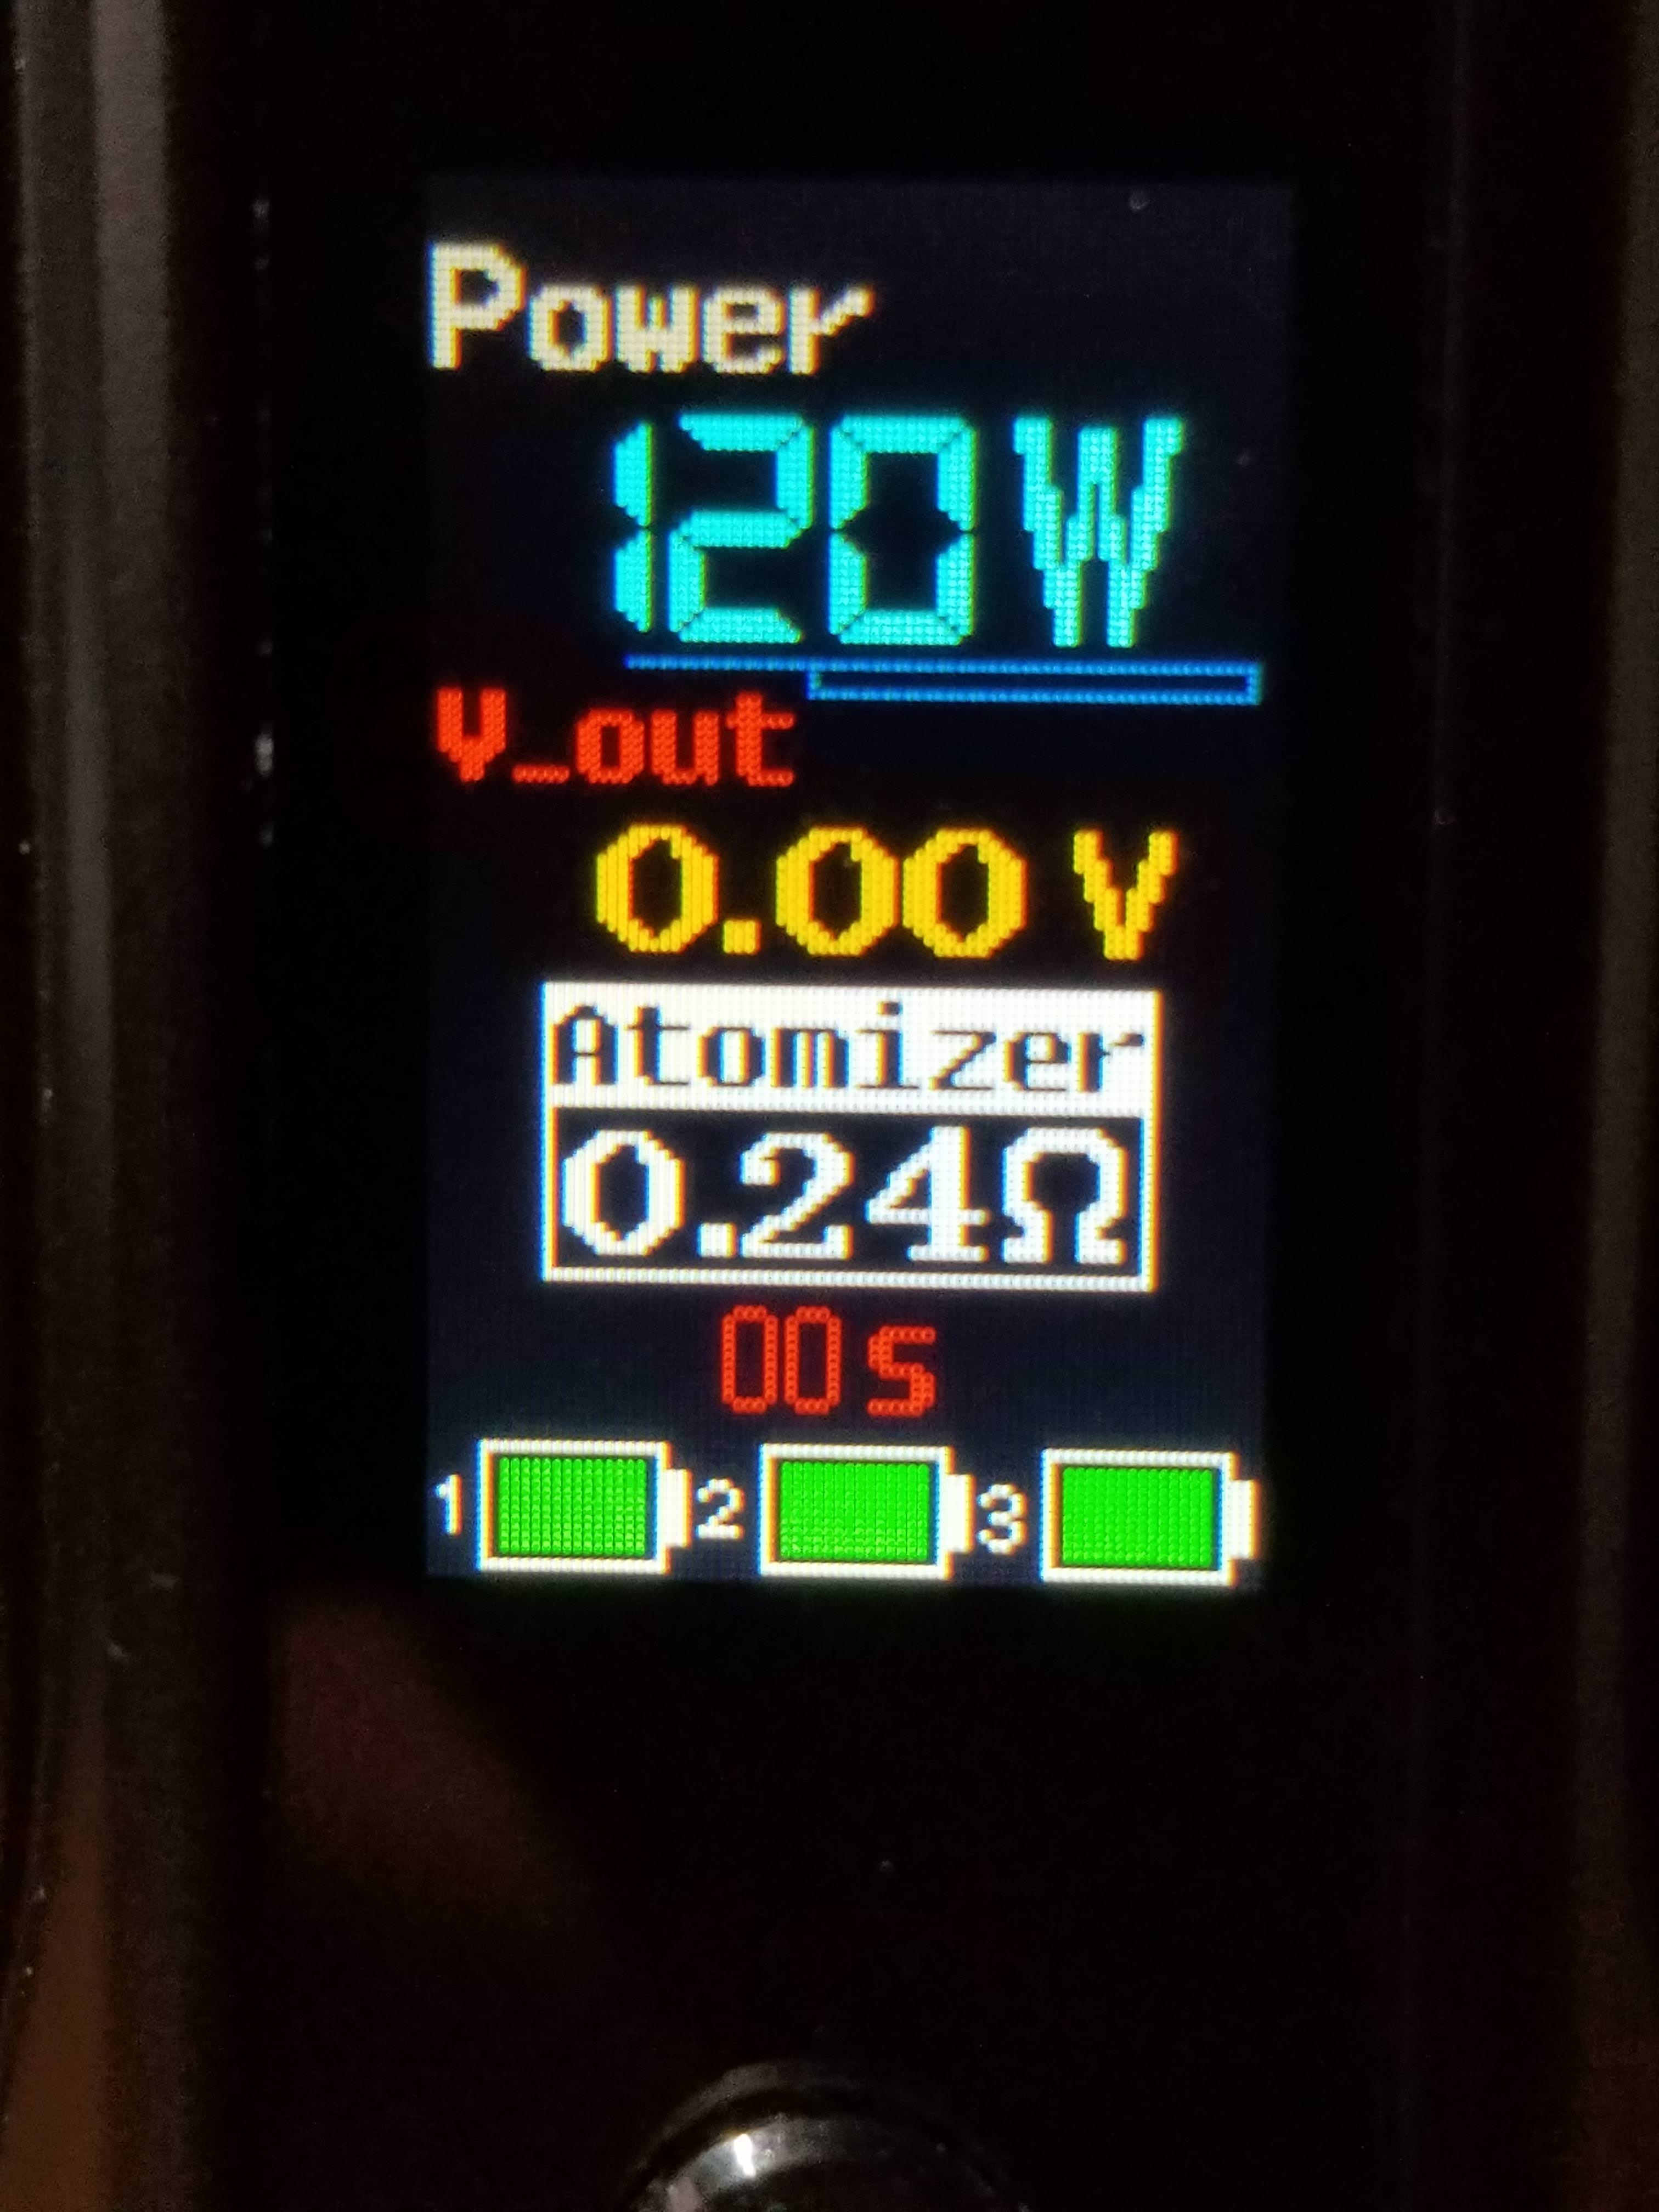
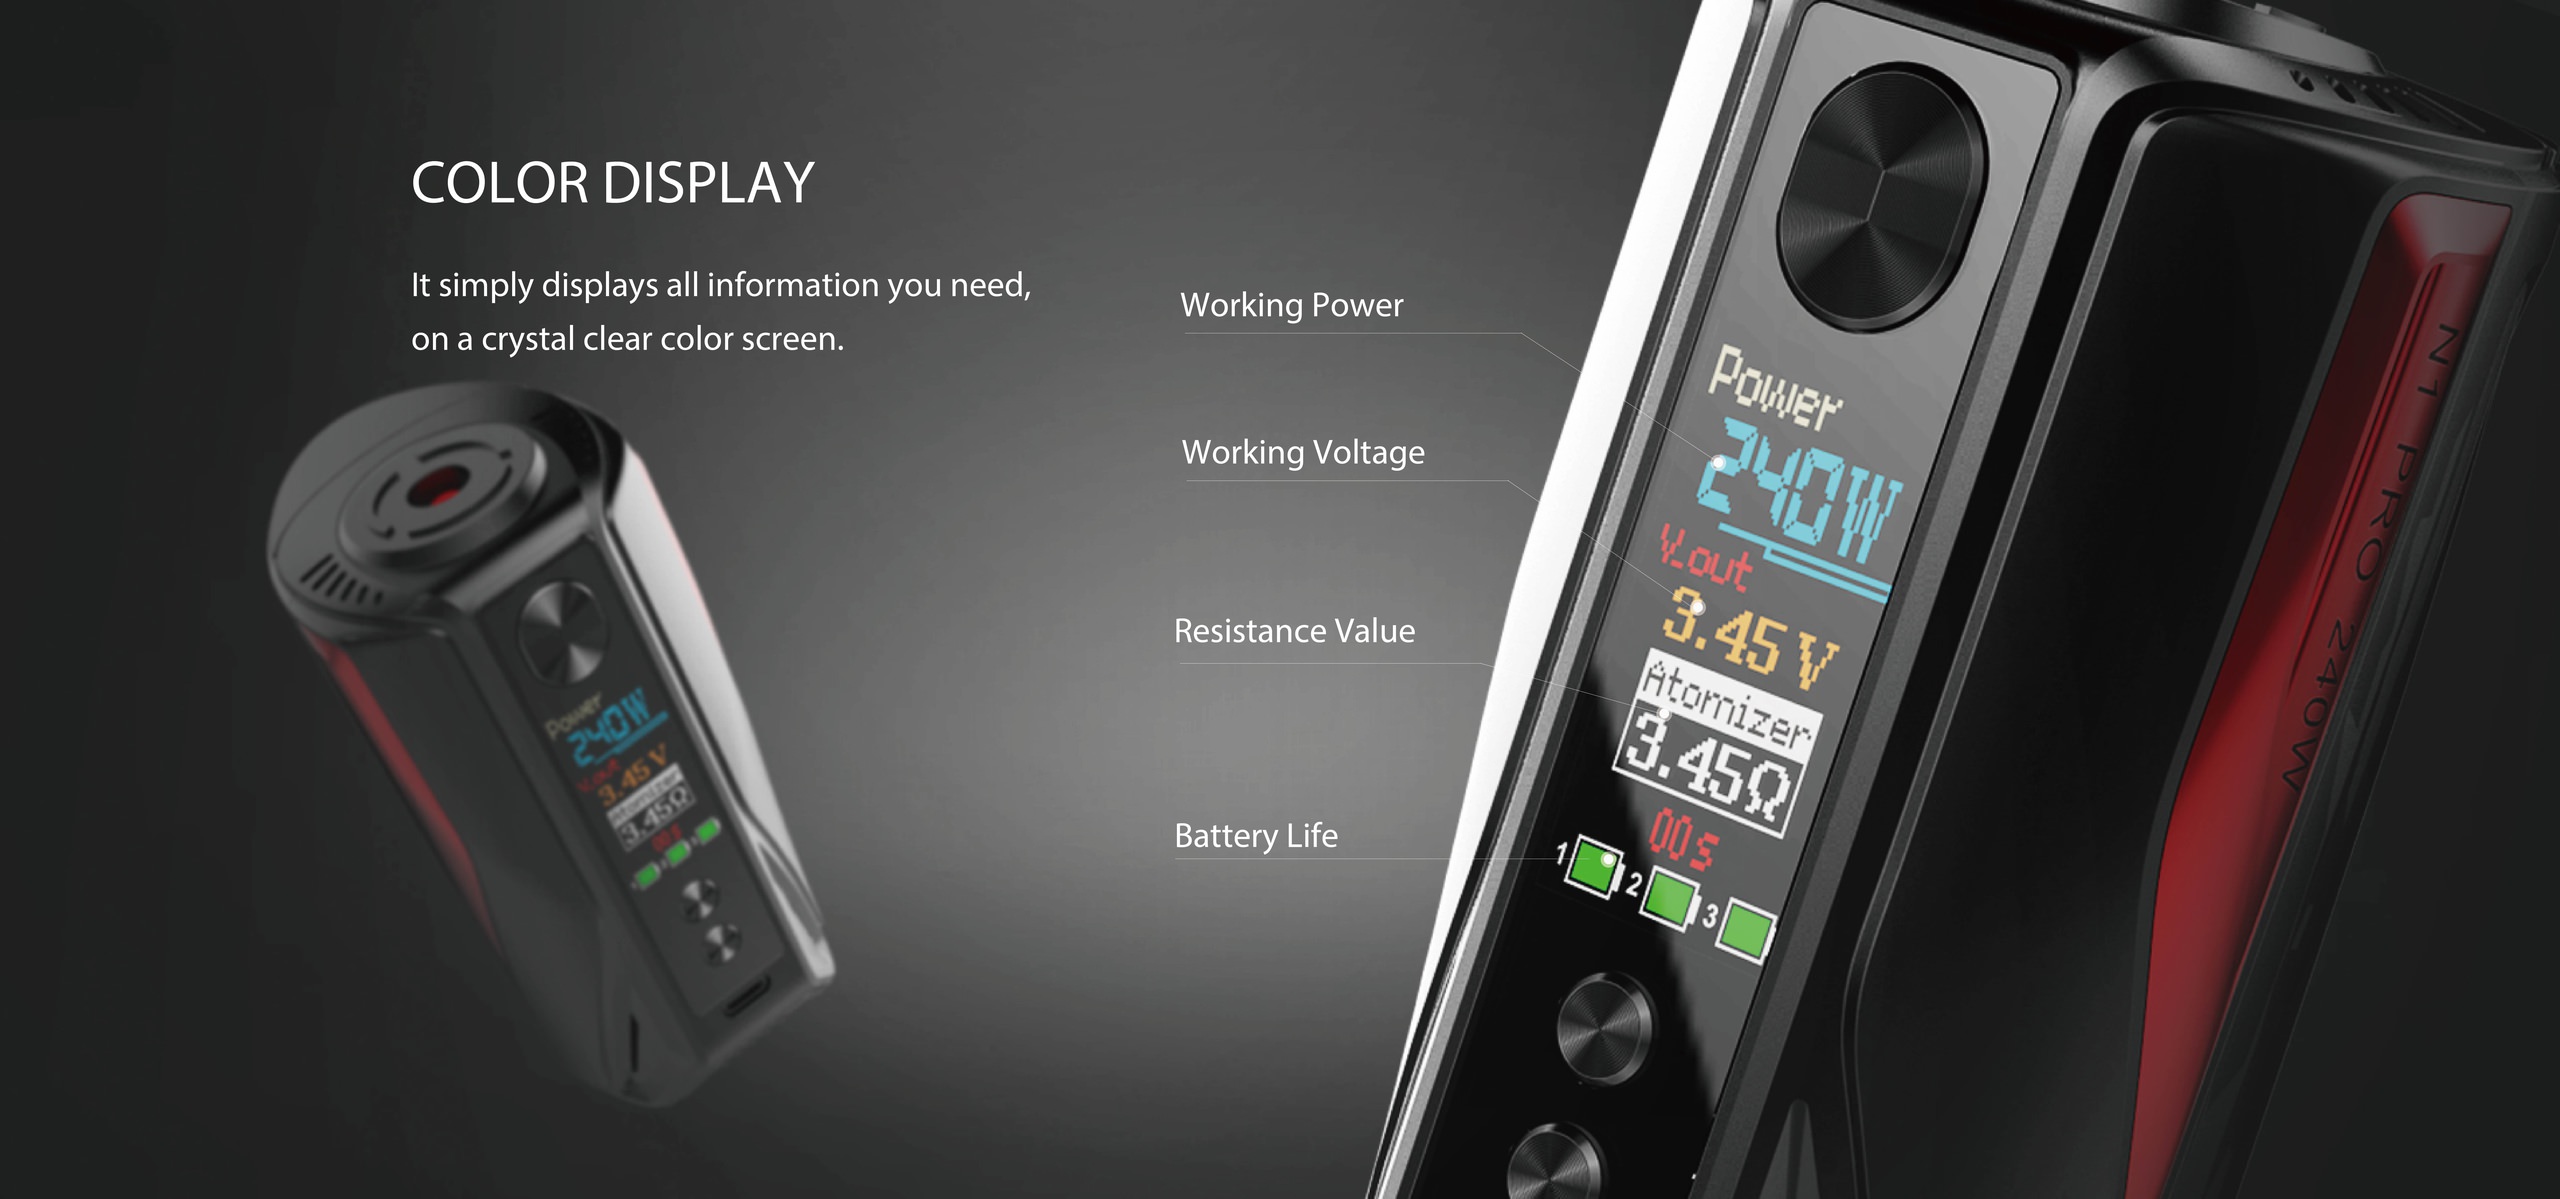
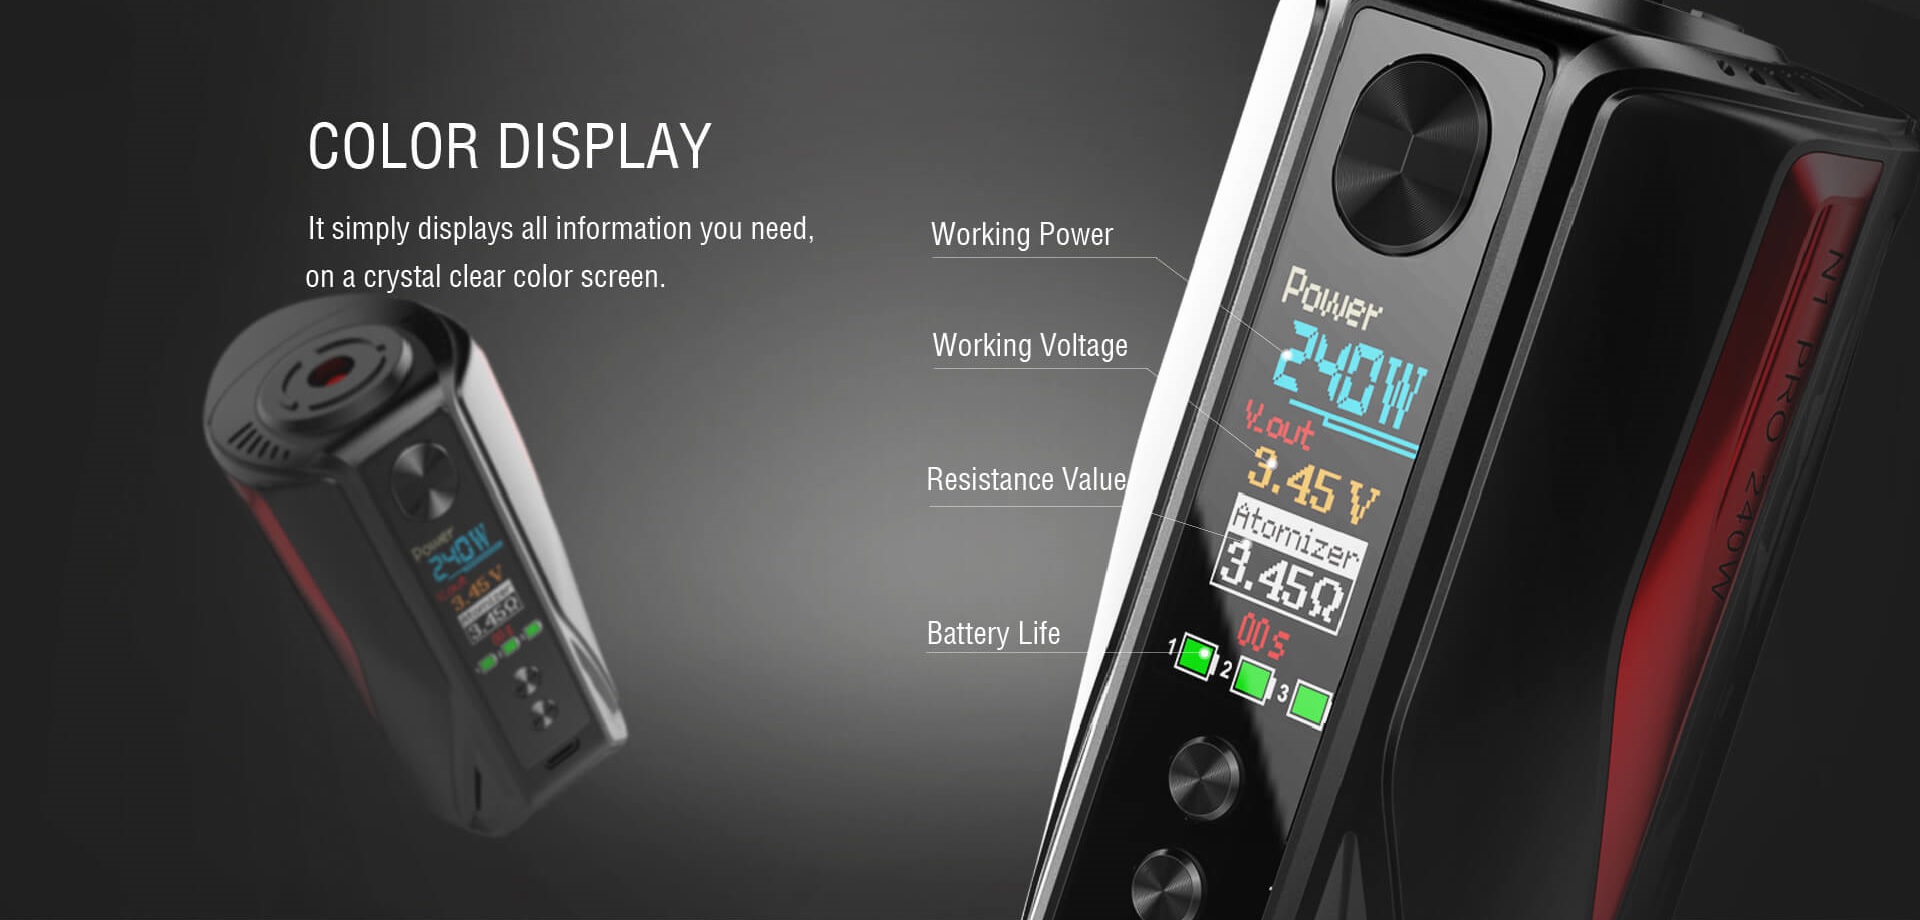
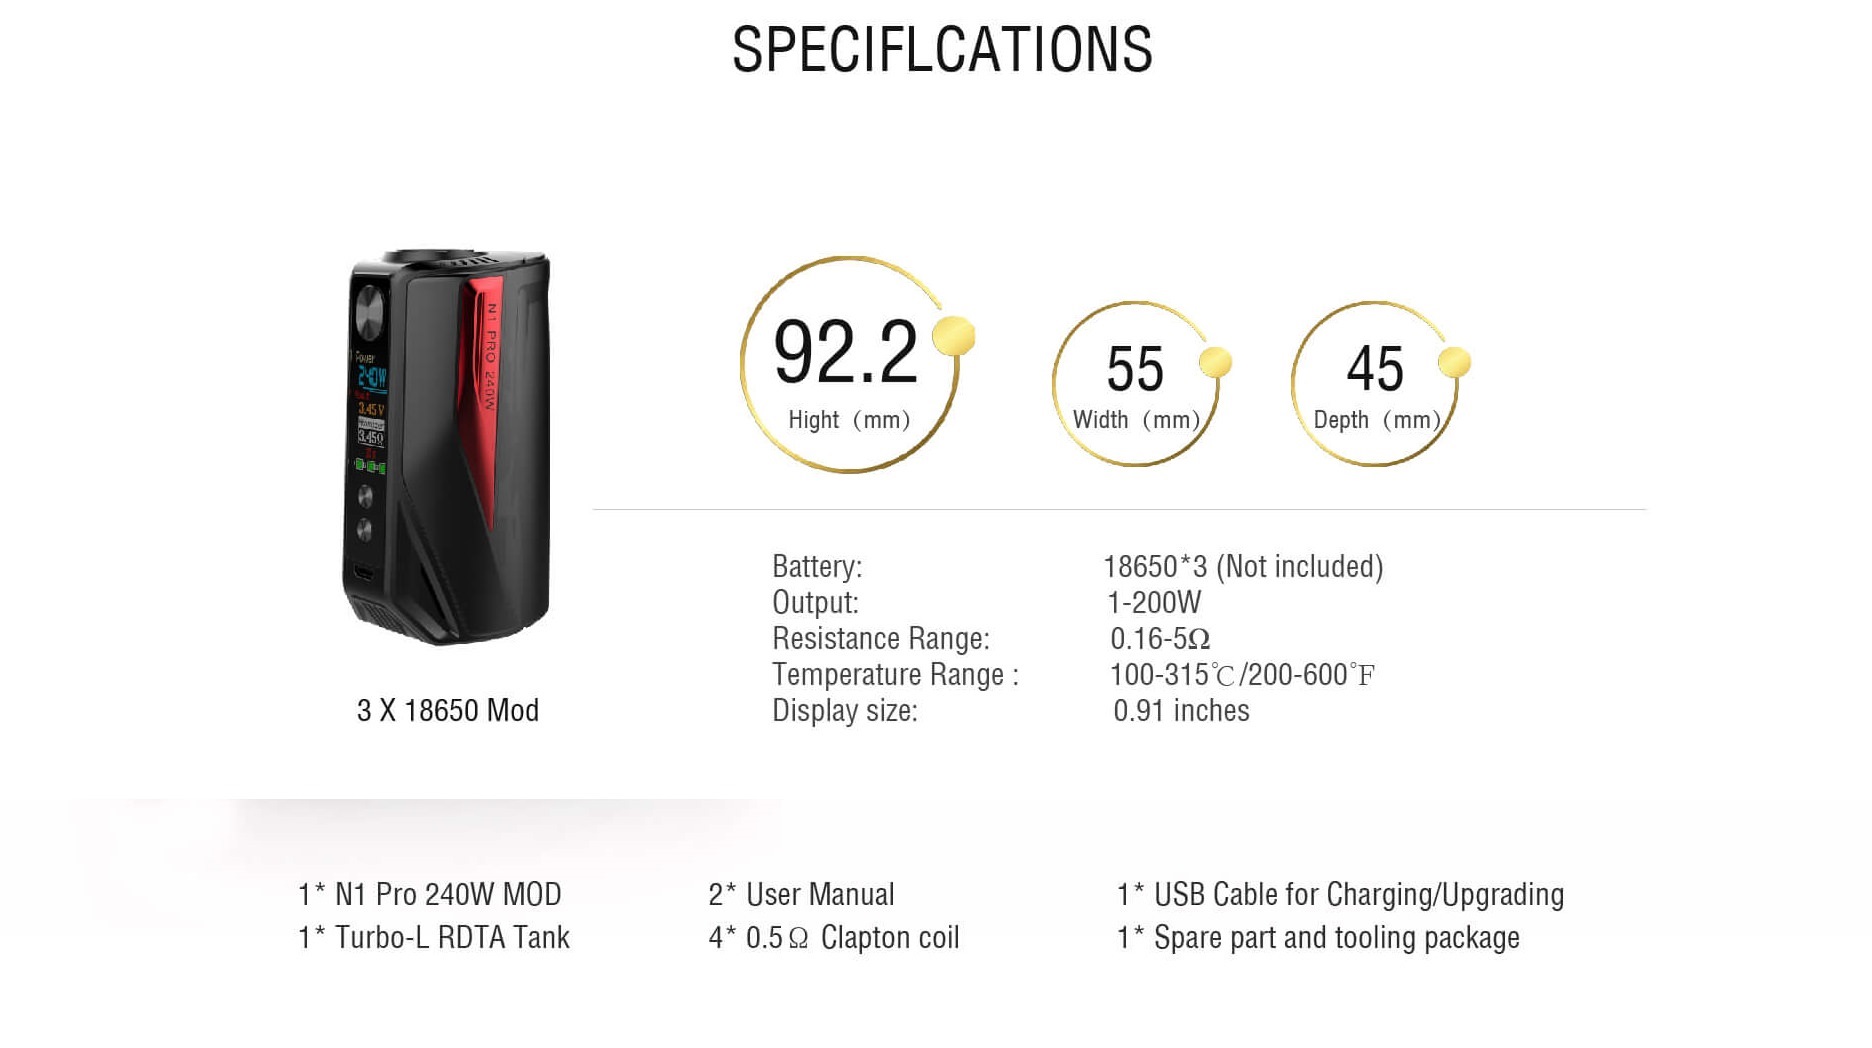
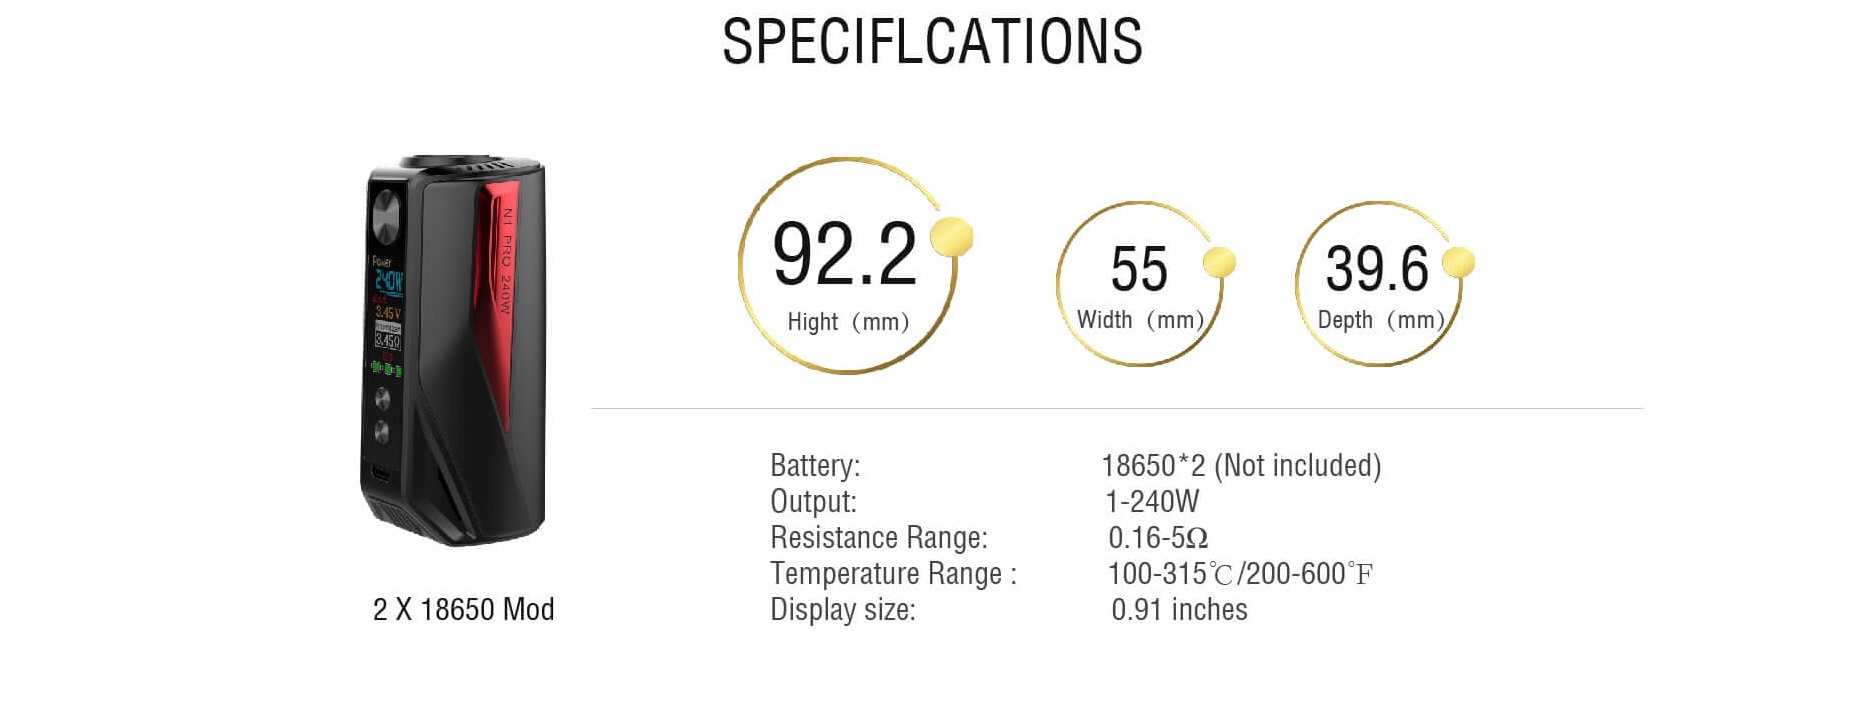
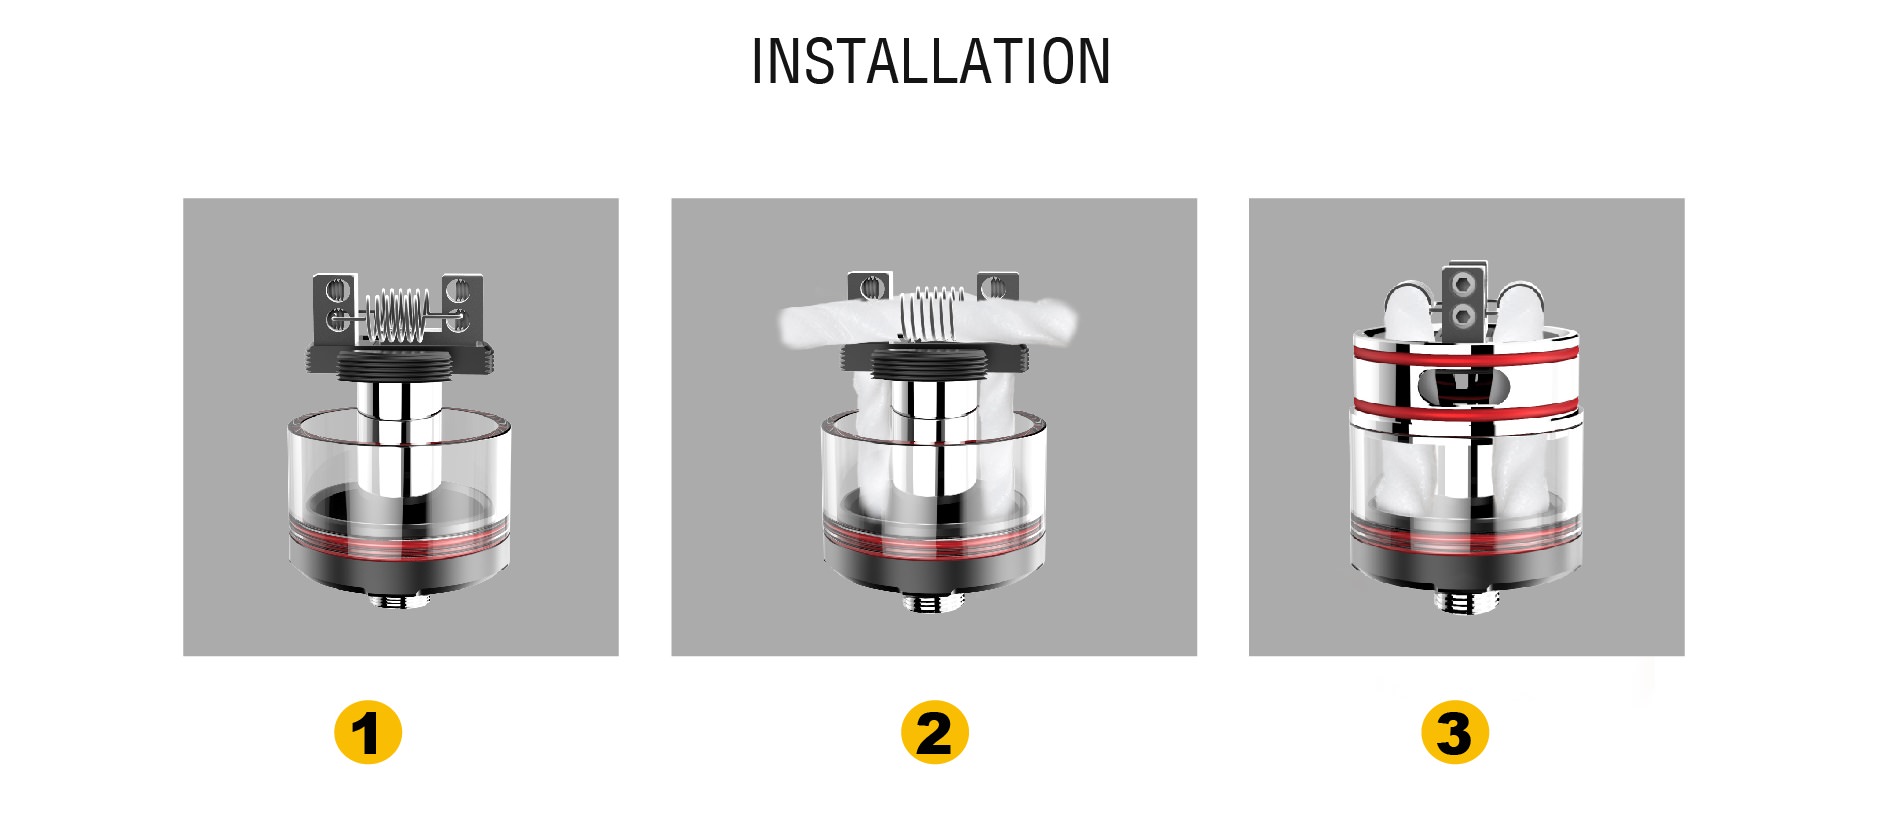
Screen size: 0.91 TFT
While I think there was enough real estate for a larger screen, it is readable, vividly bright, and colorful so even visible while outside on a sunny day.
Resistance Range: 0.1Ω - 5.0Ω
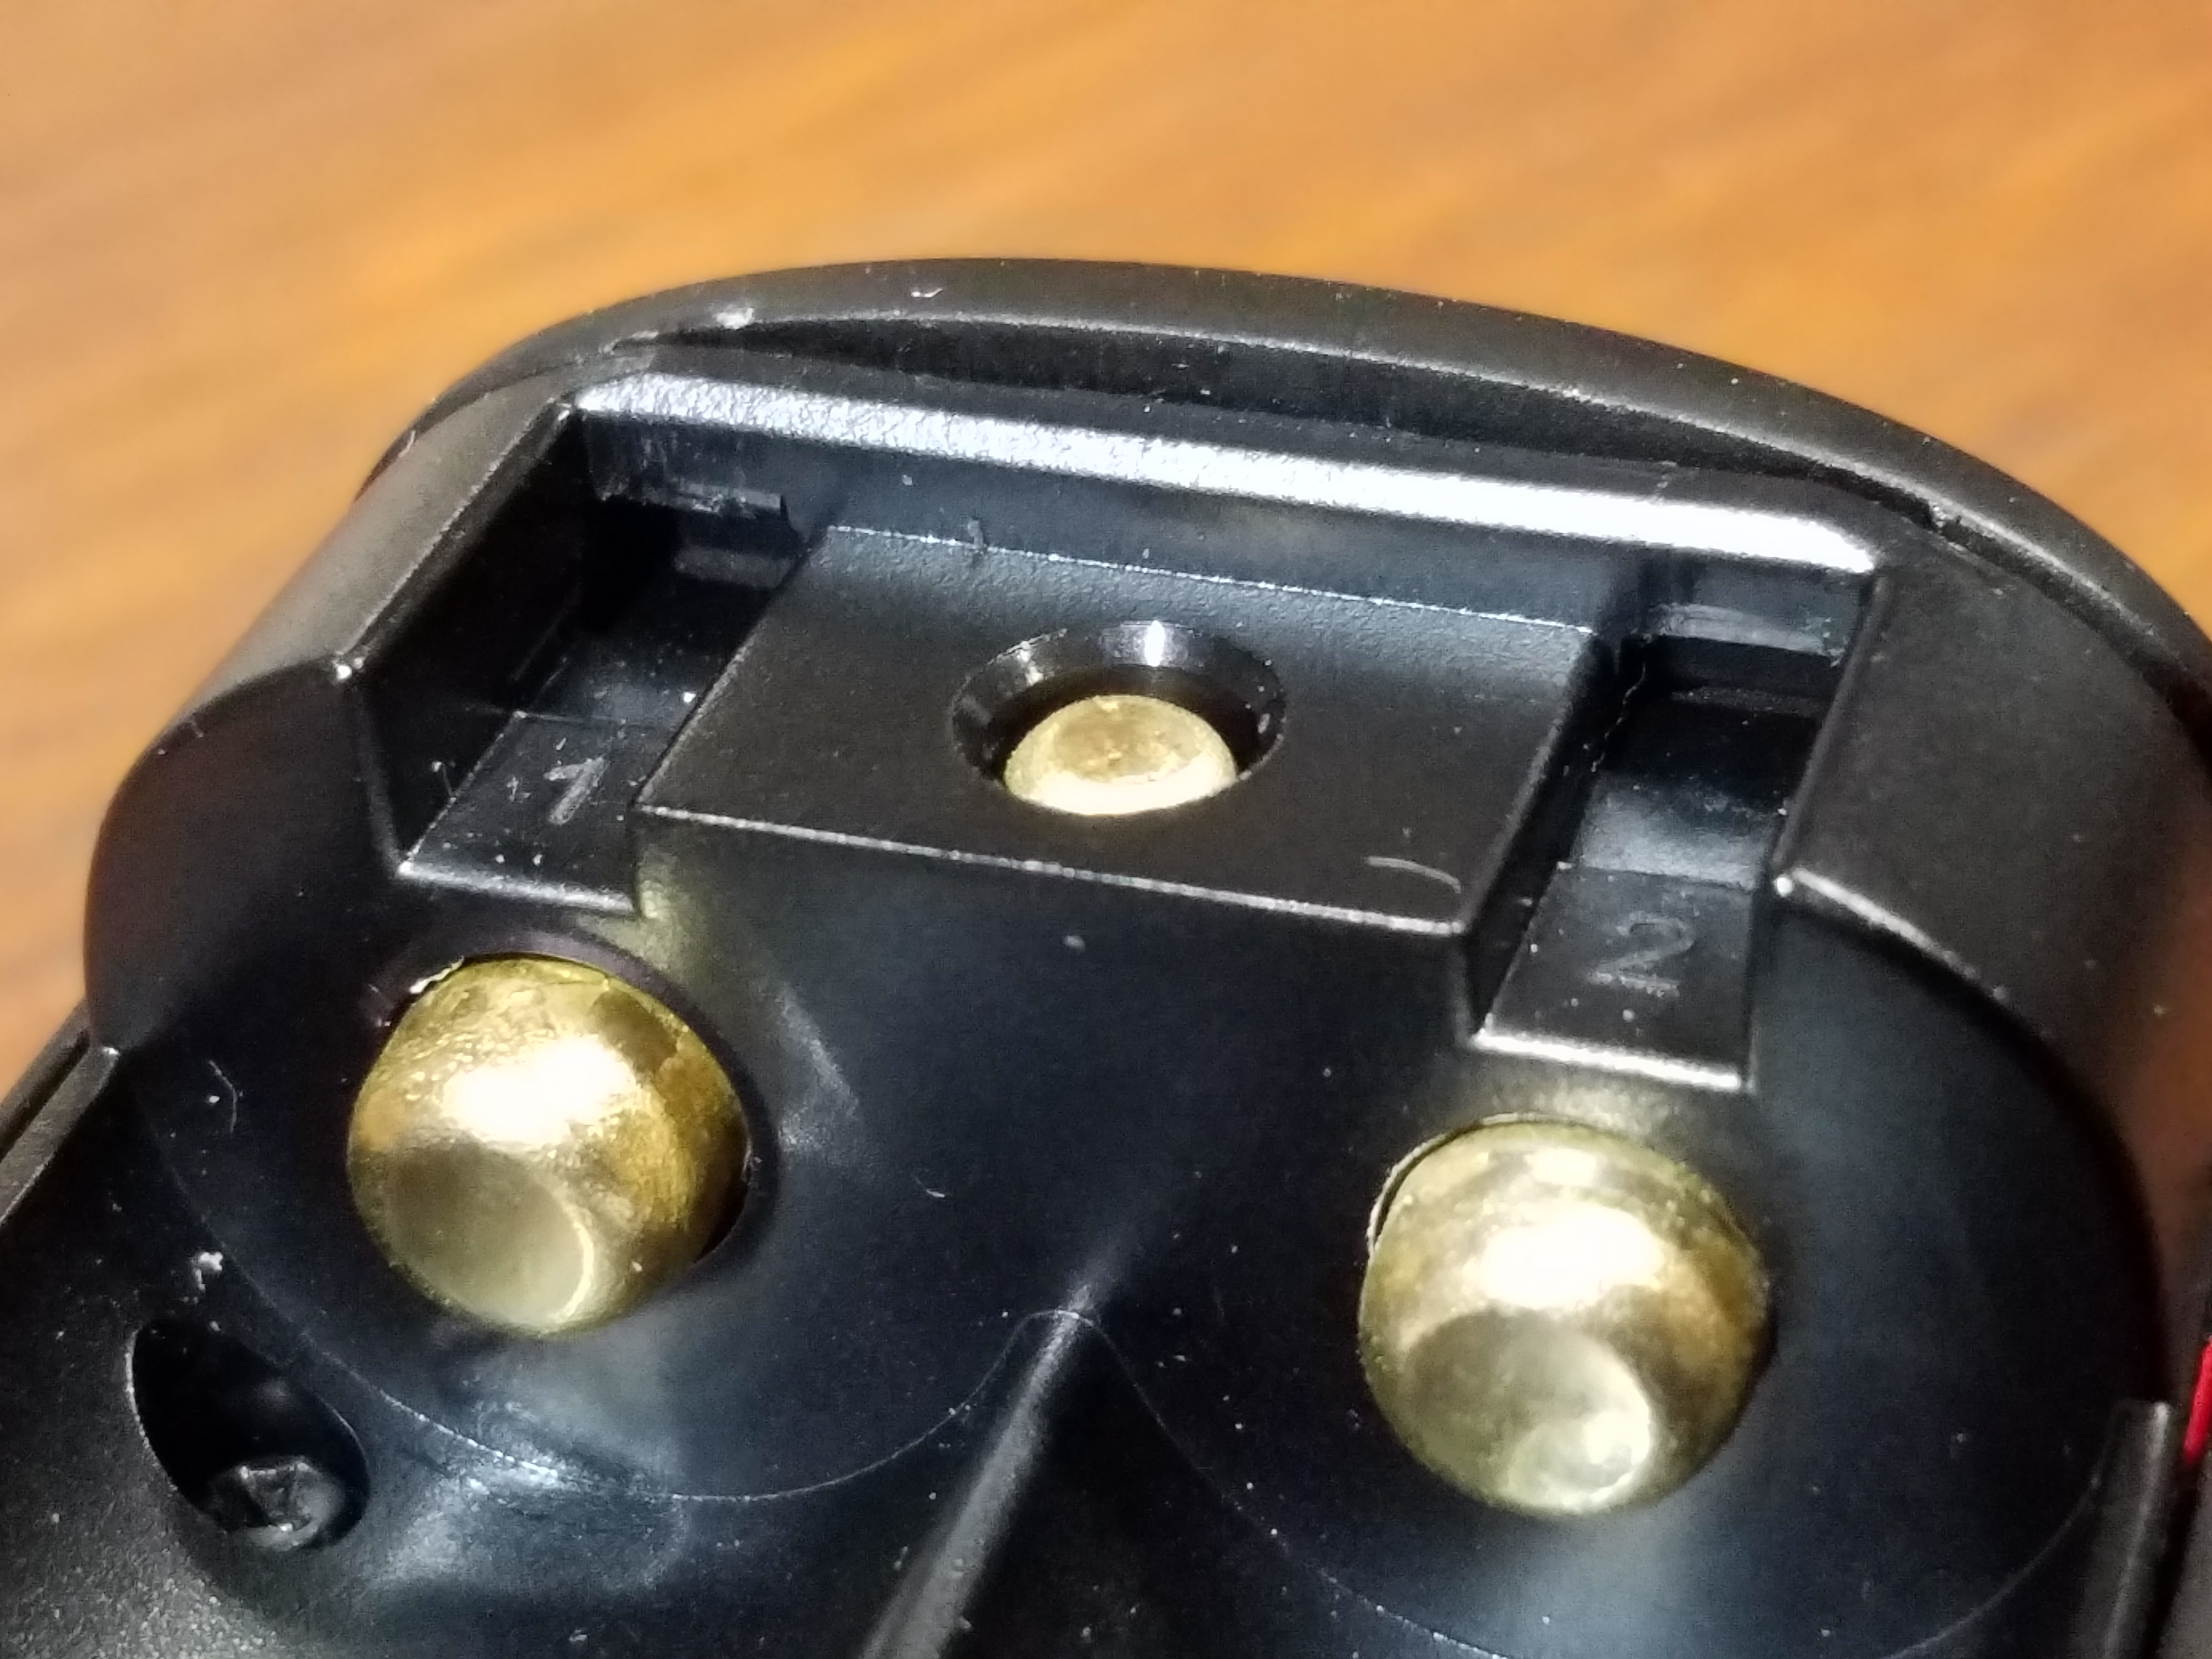
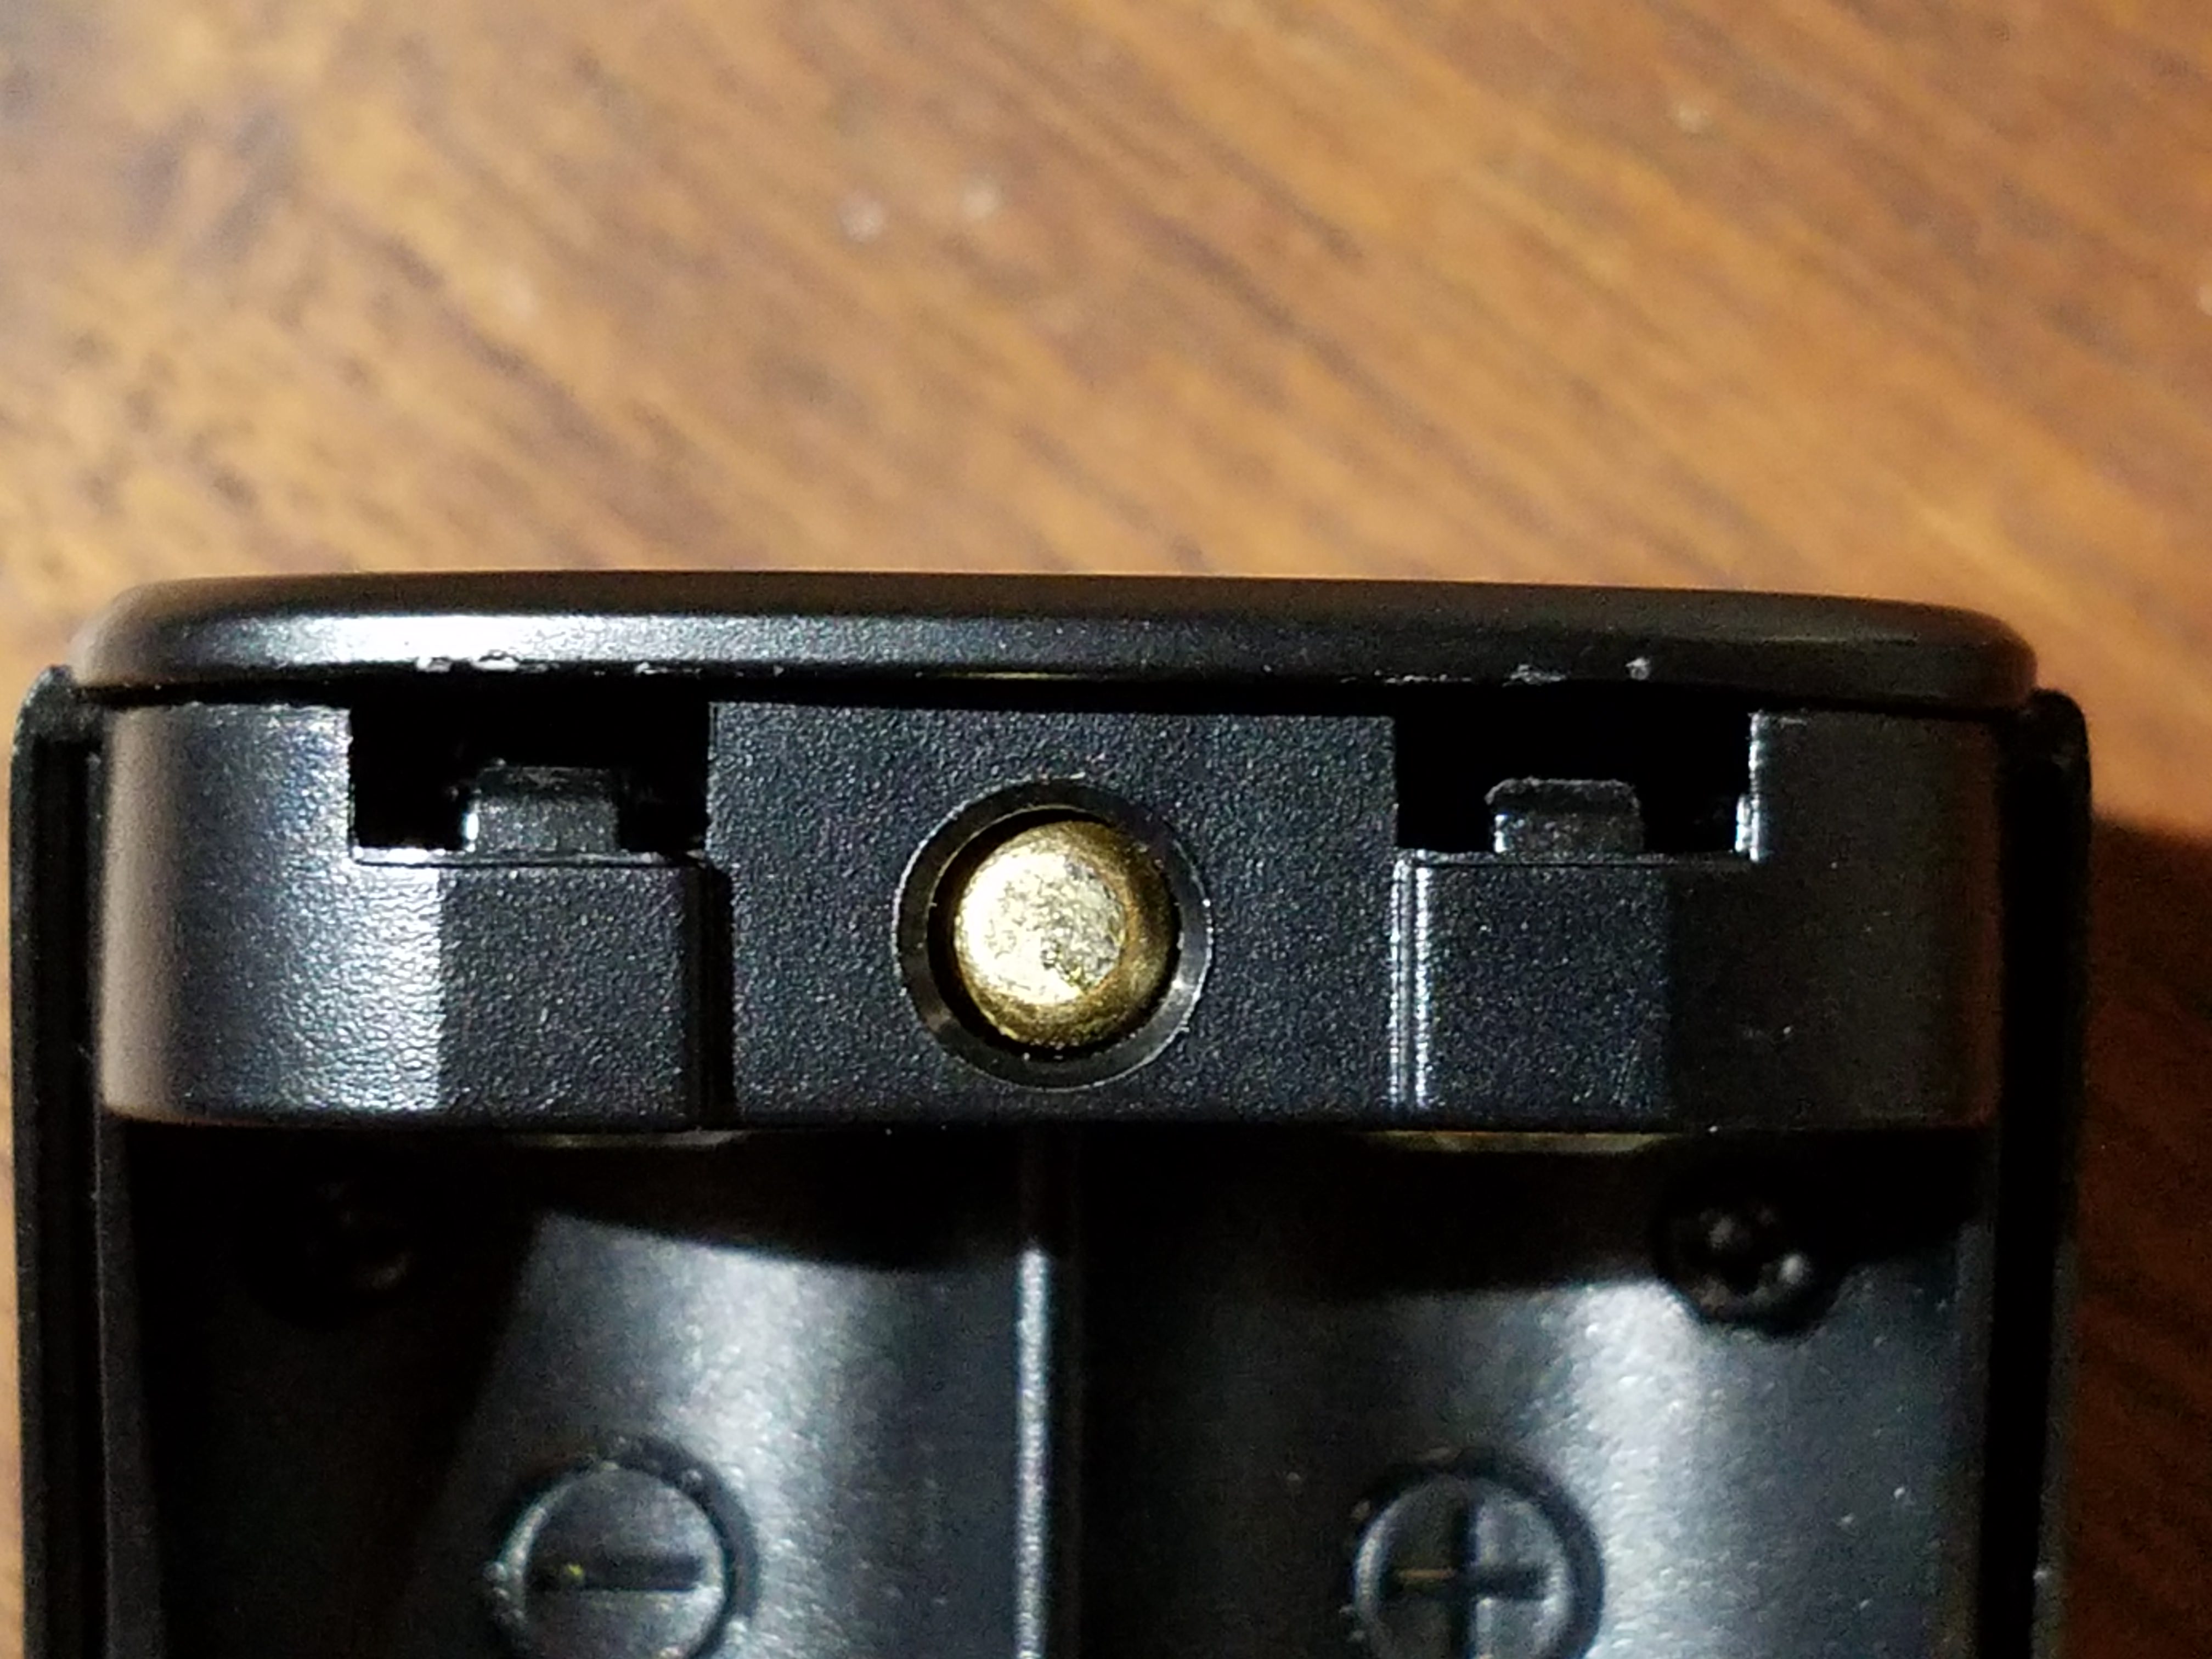
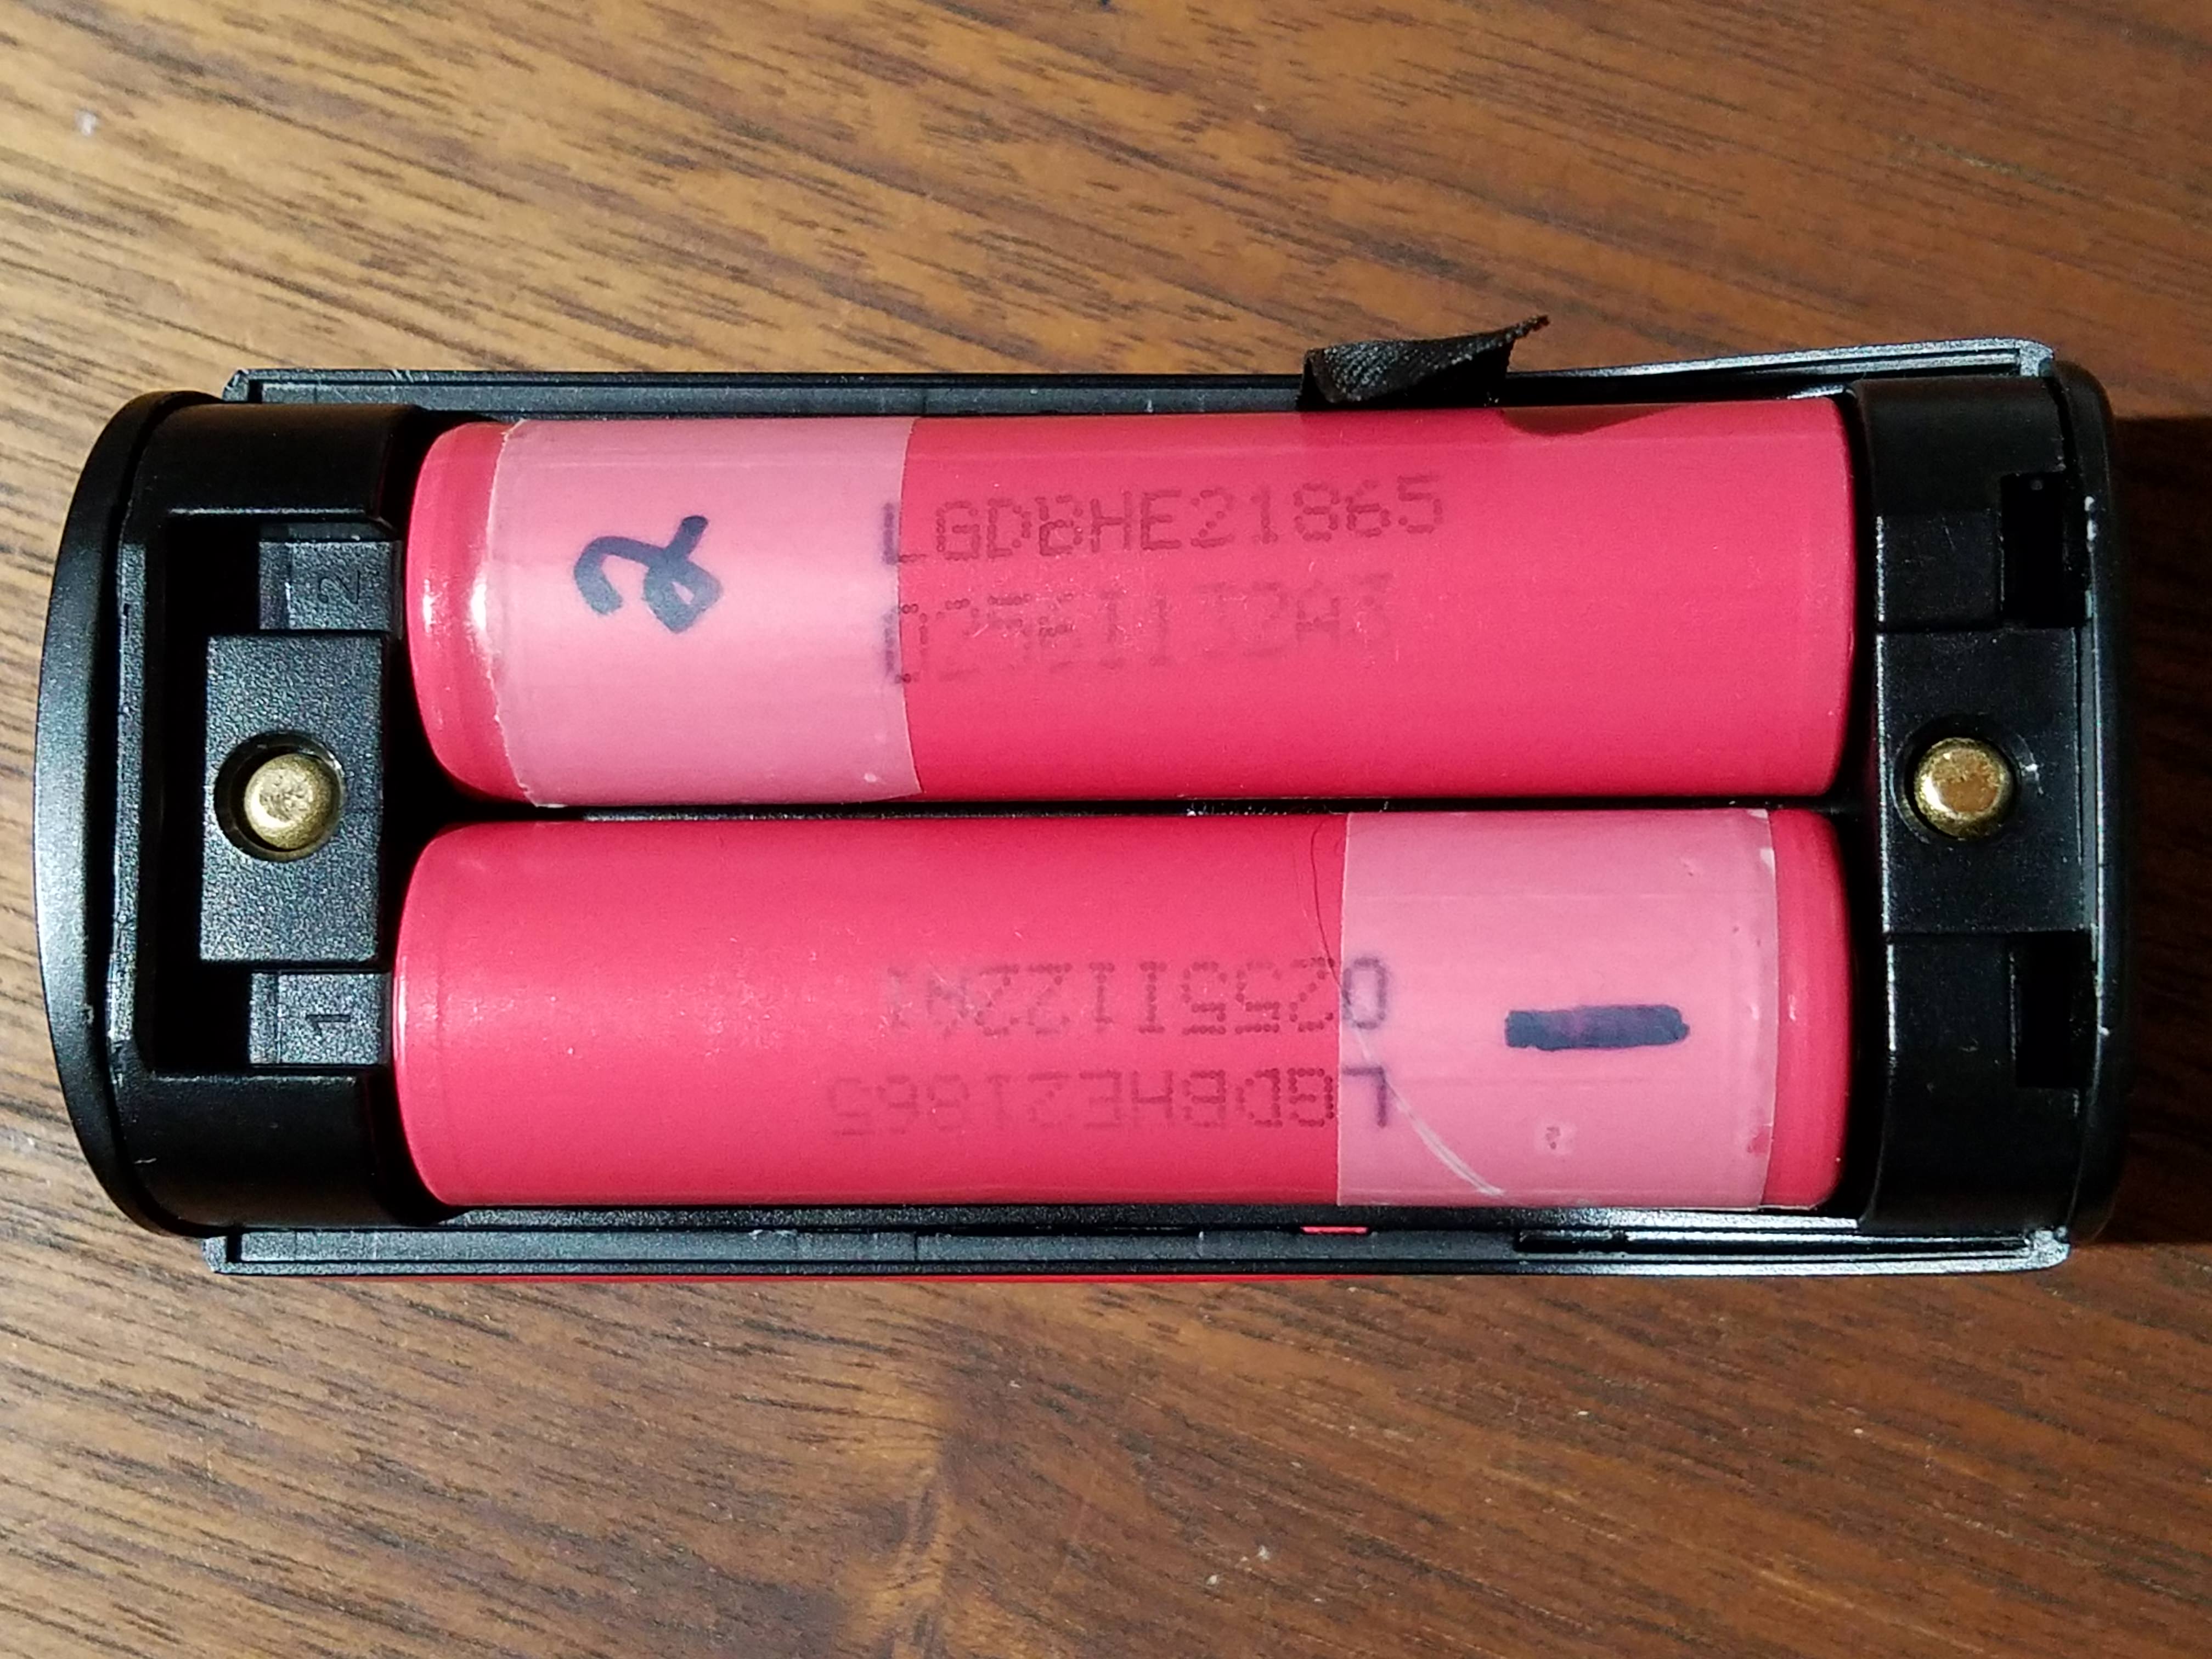
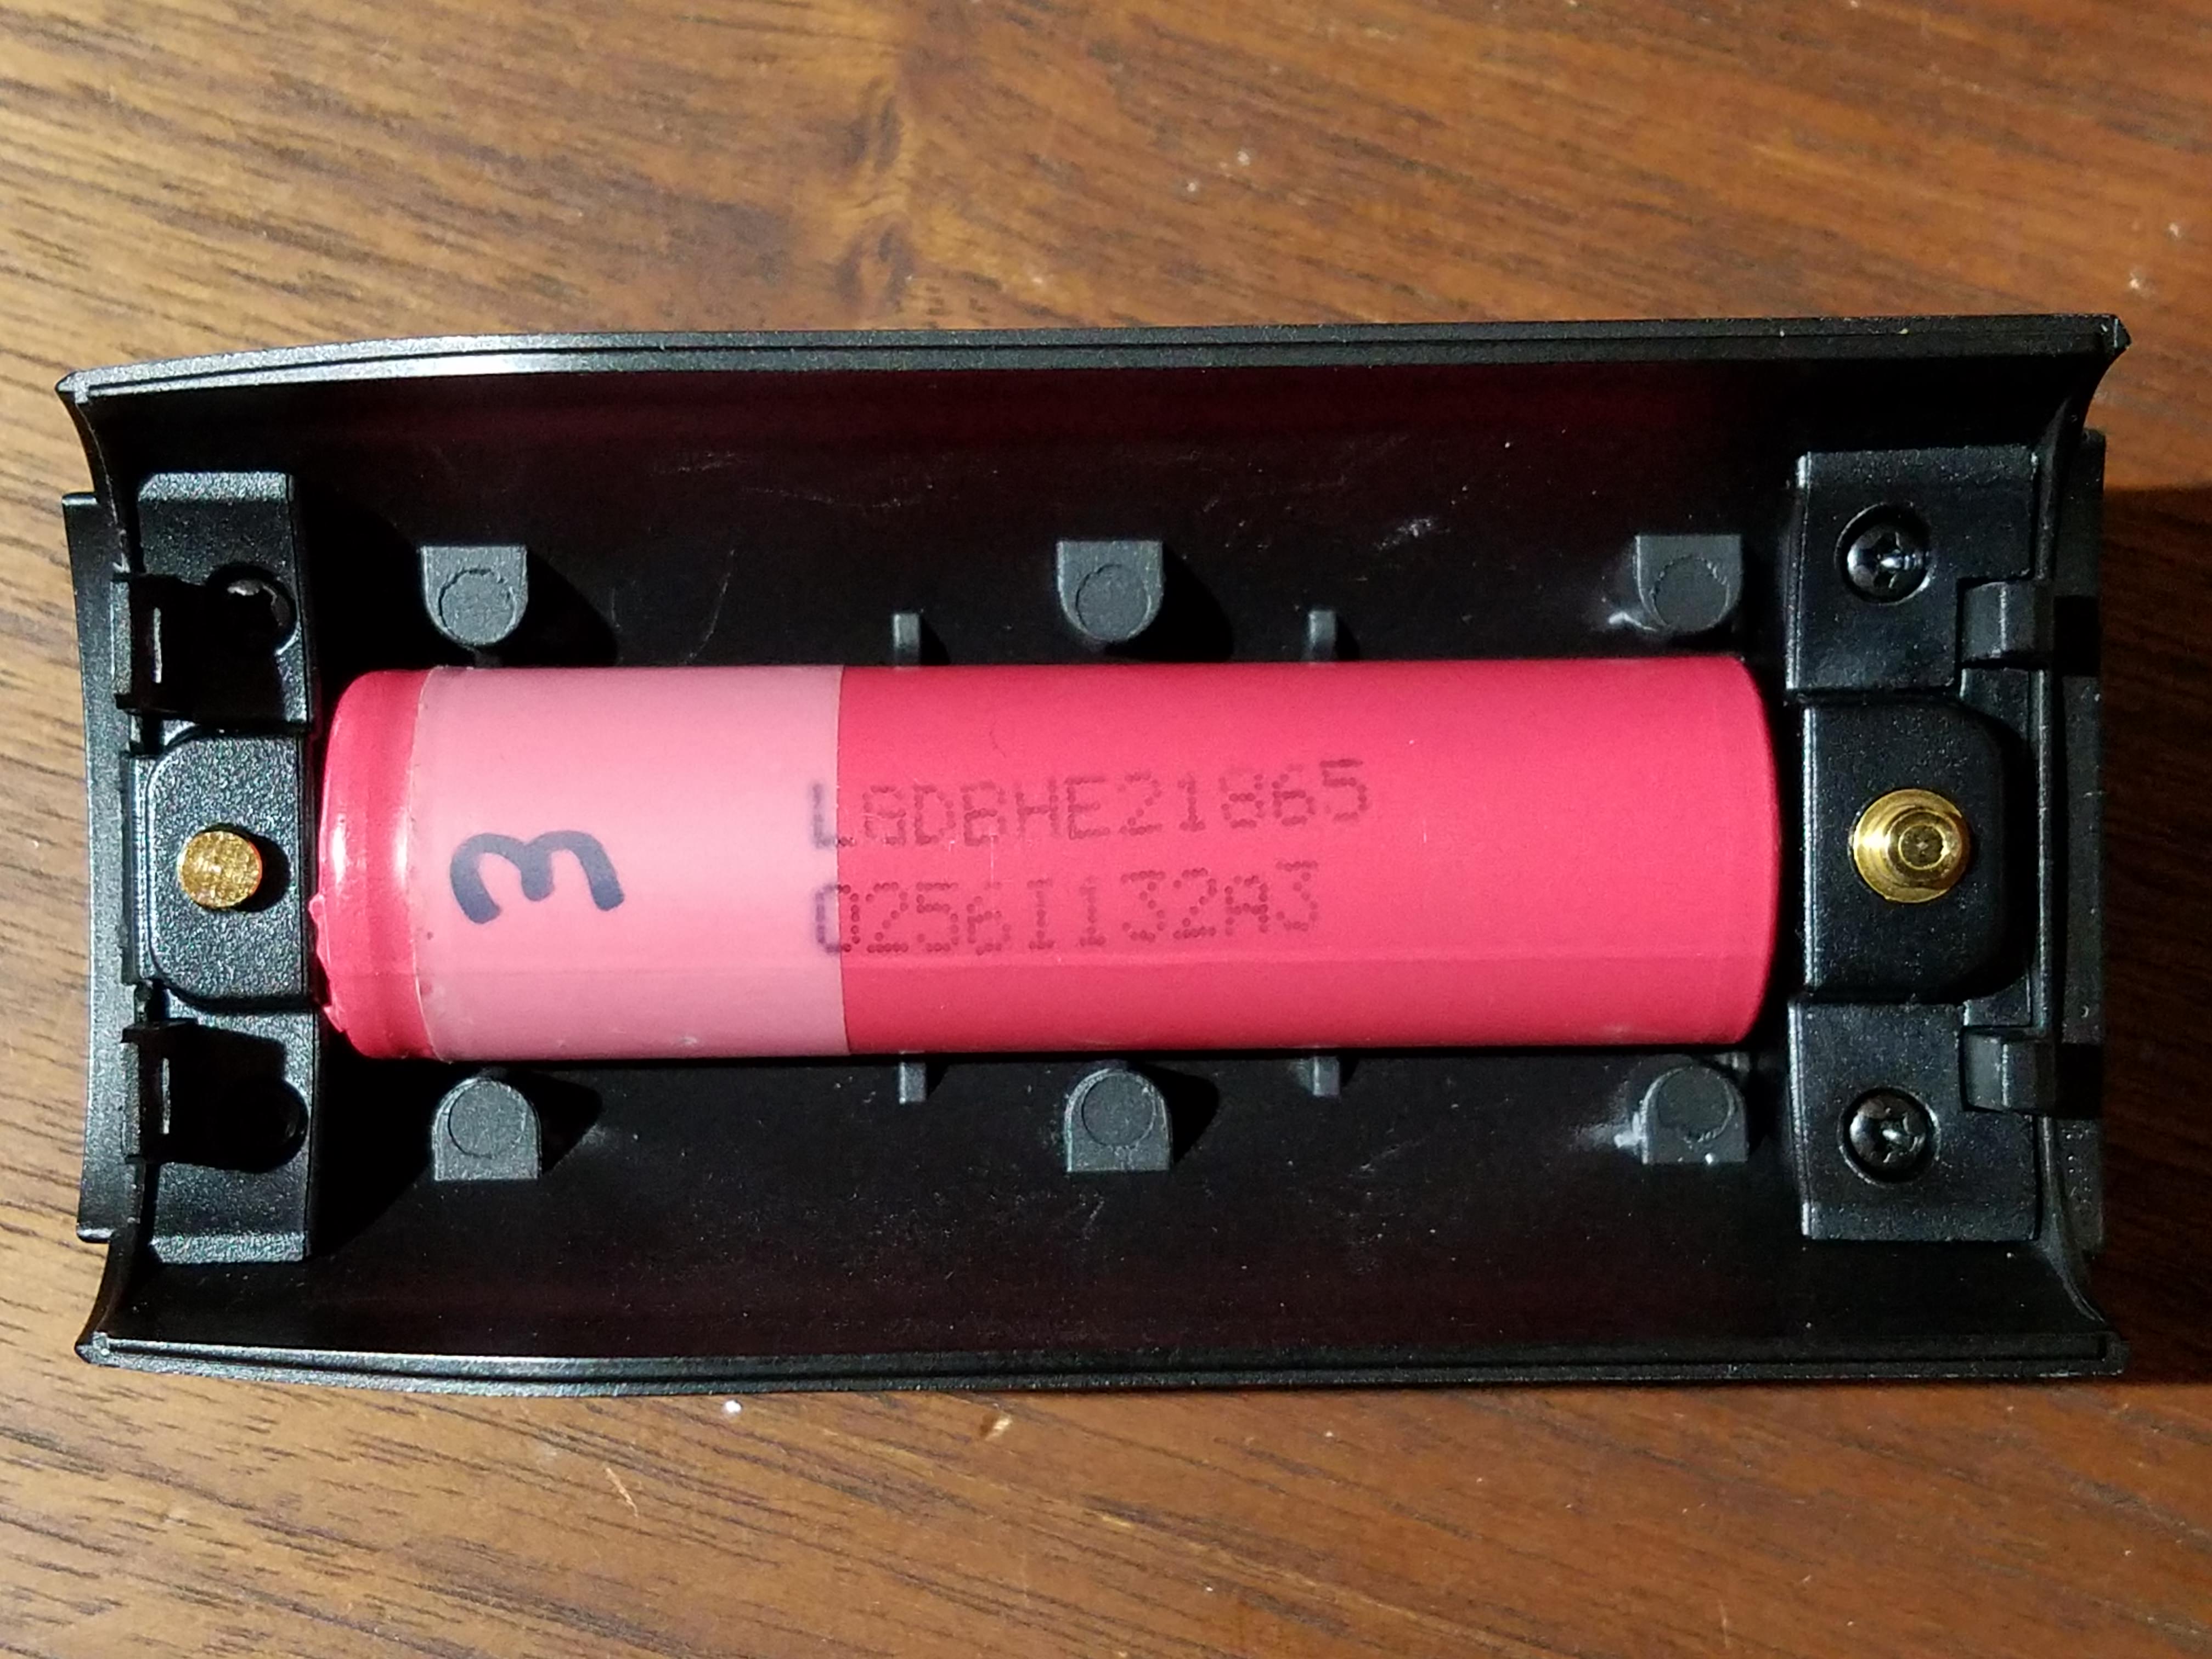
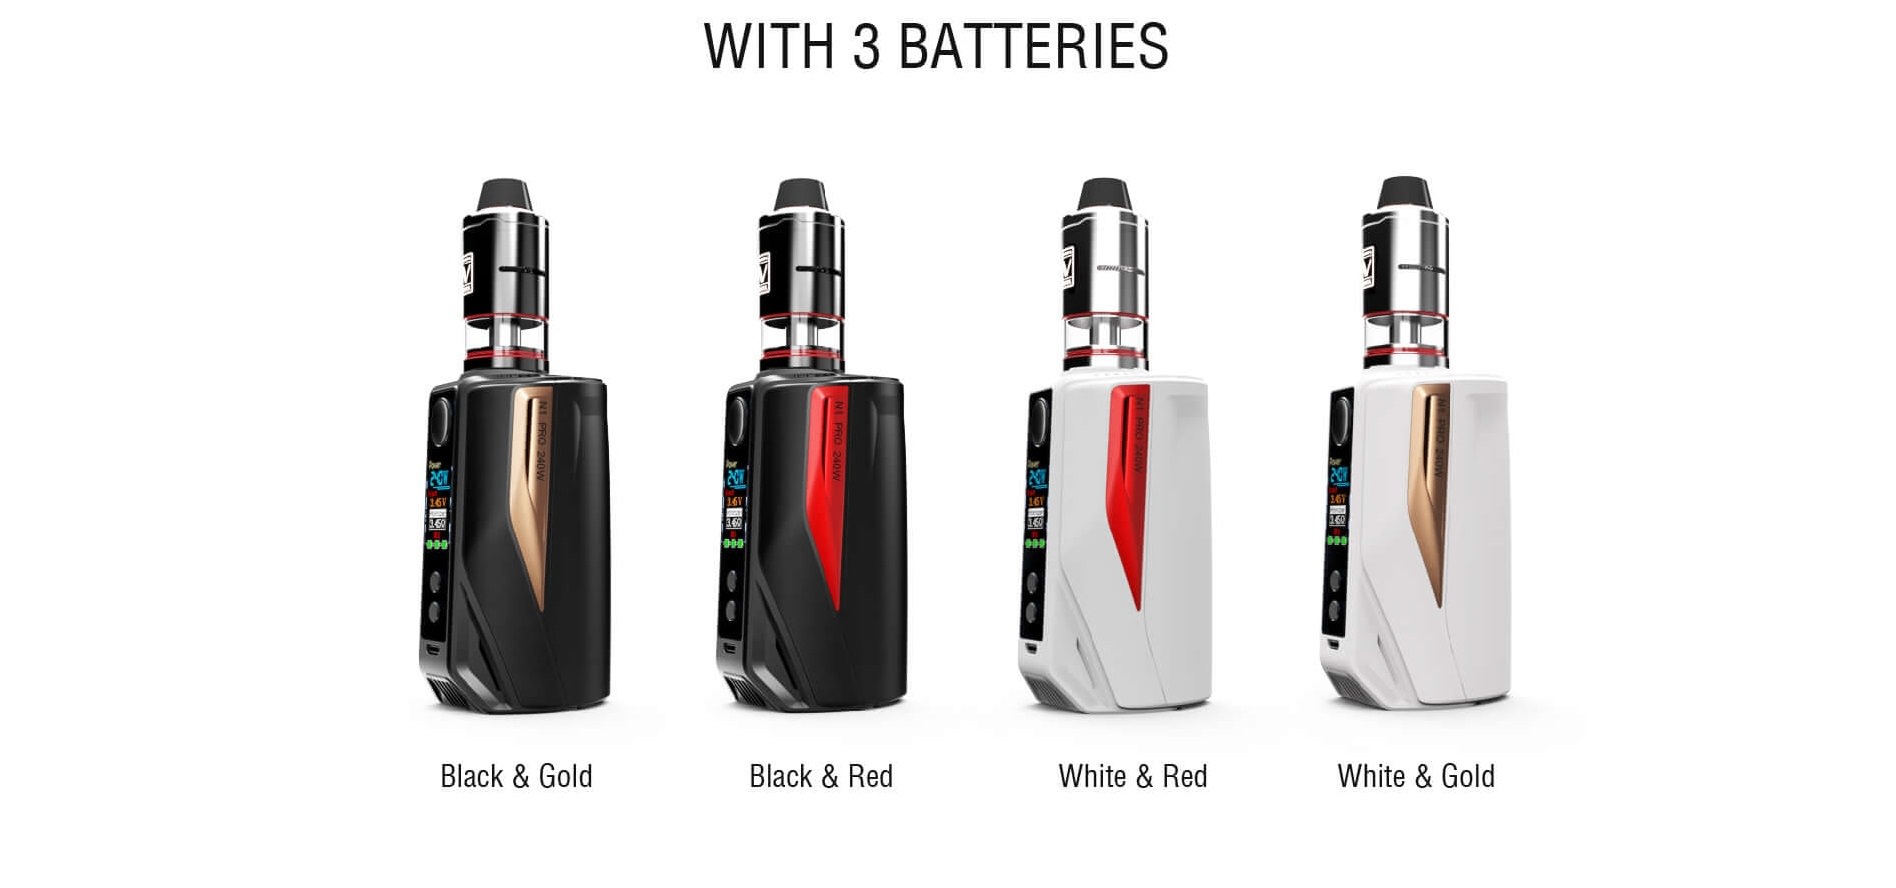
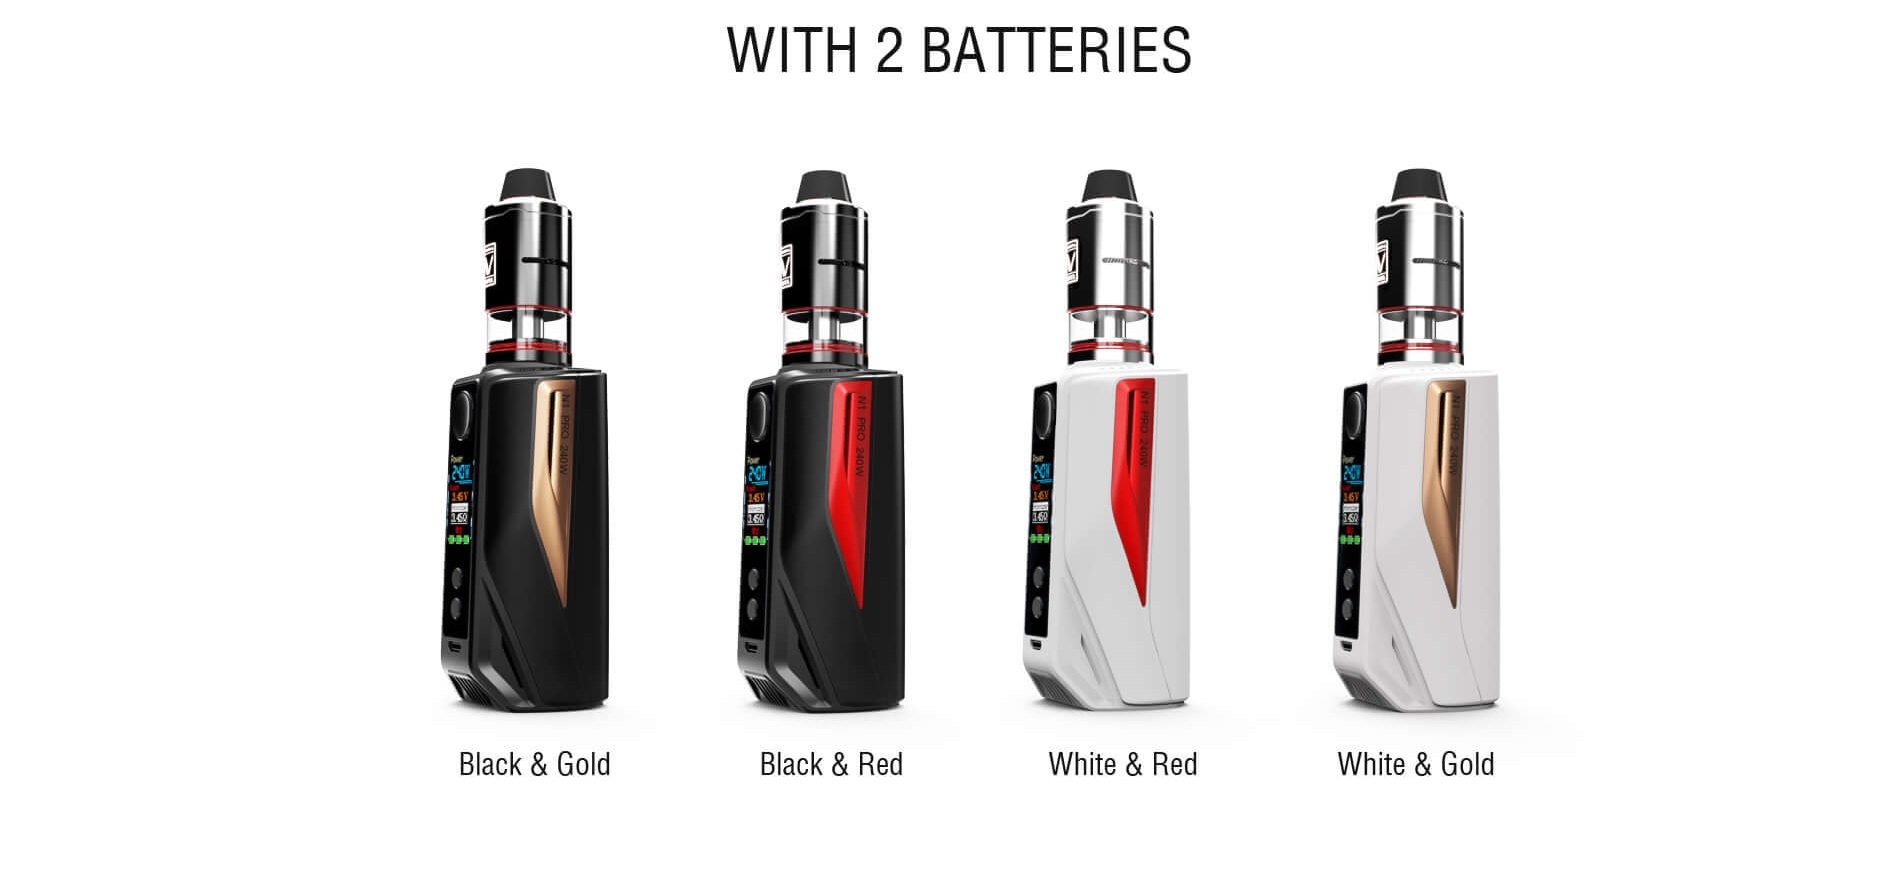
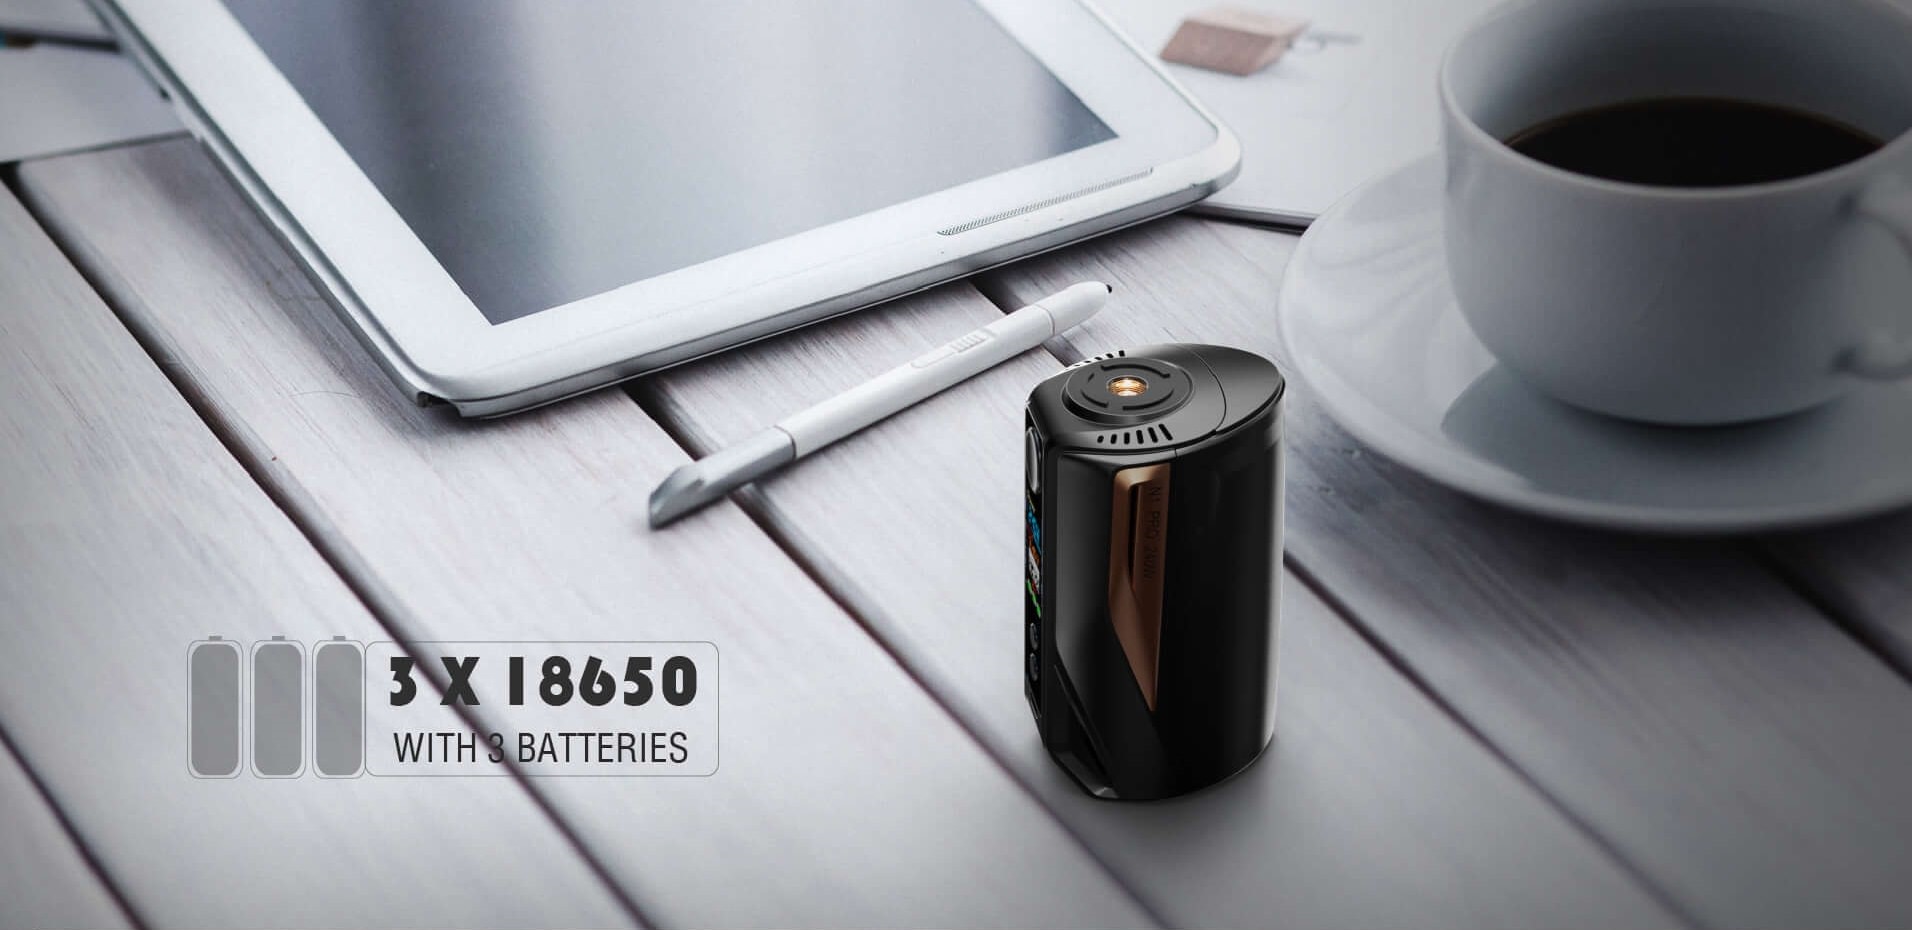
You have the options of DUAL battery mode or triple battery mode.
In dual battery mode the mod is 39.6mm deep and is capable of 200W.
- NOTE: In dual battery mode the display will show an empty third battery.
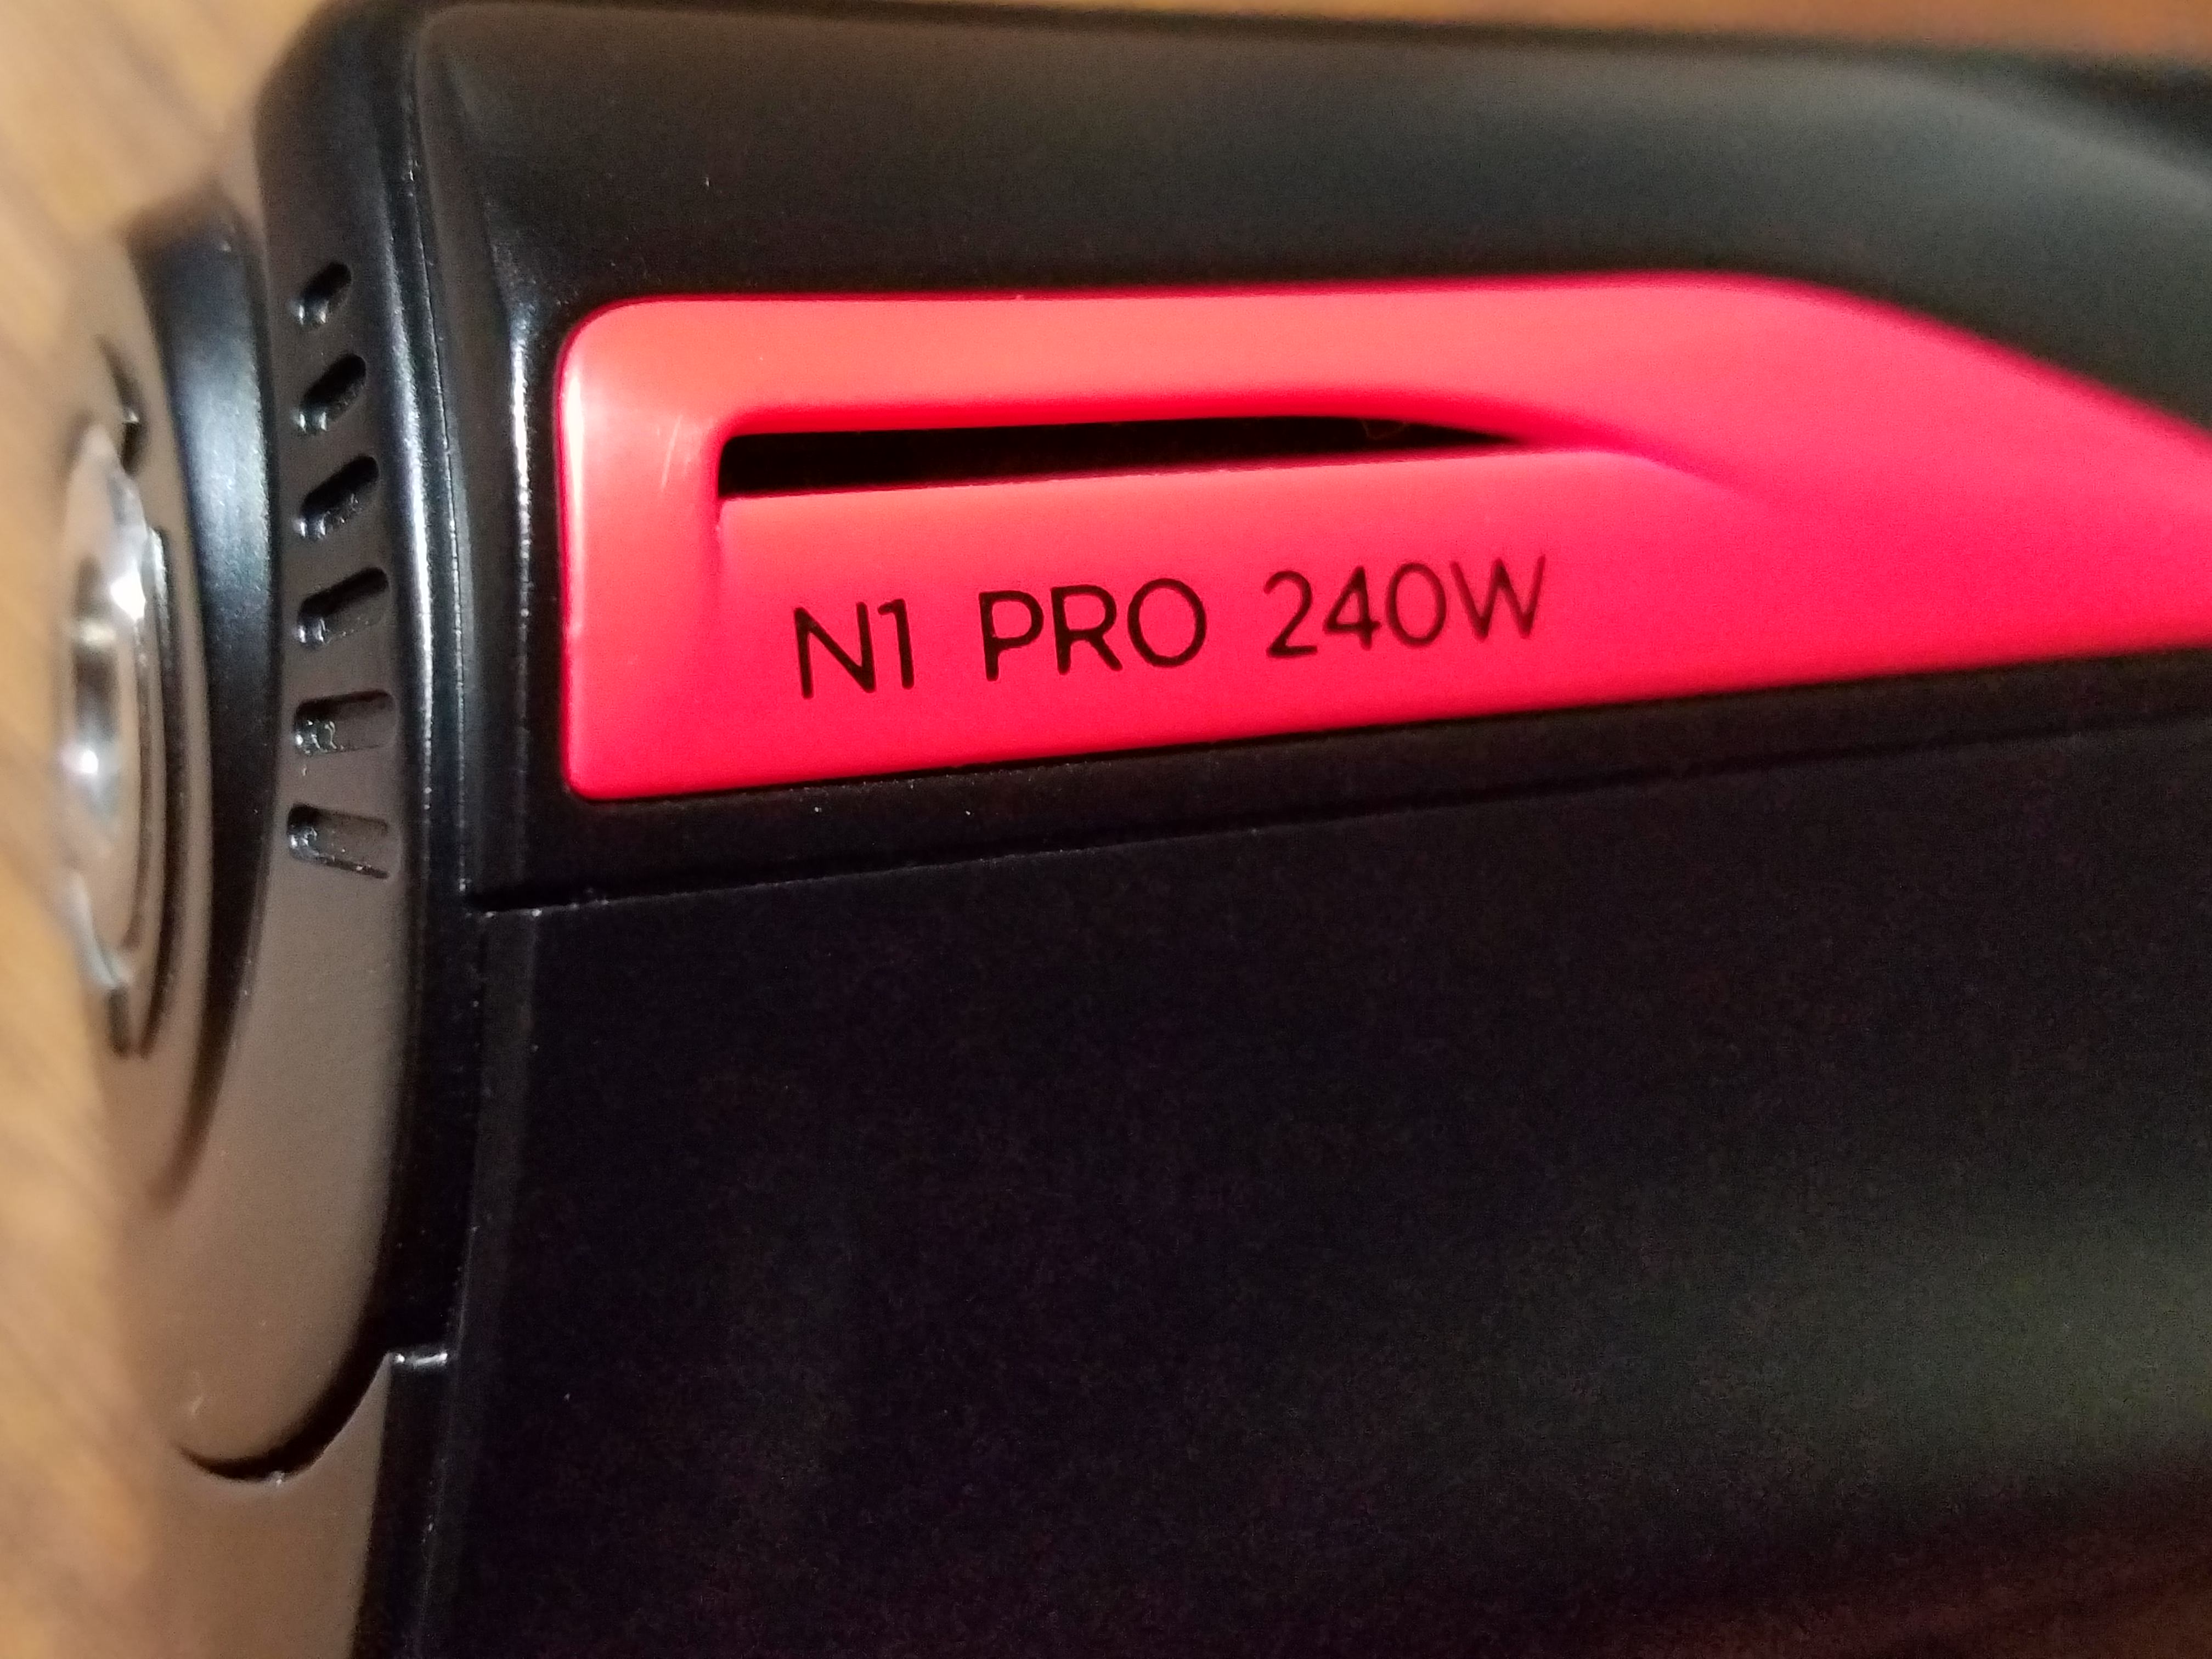
In triple battery mode it is 45mm deep and is capable of 240W.
If you like the looks of this and happen to be a low wattage vaper, in 3 battery mode you'll get days of battery life from this.
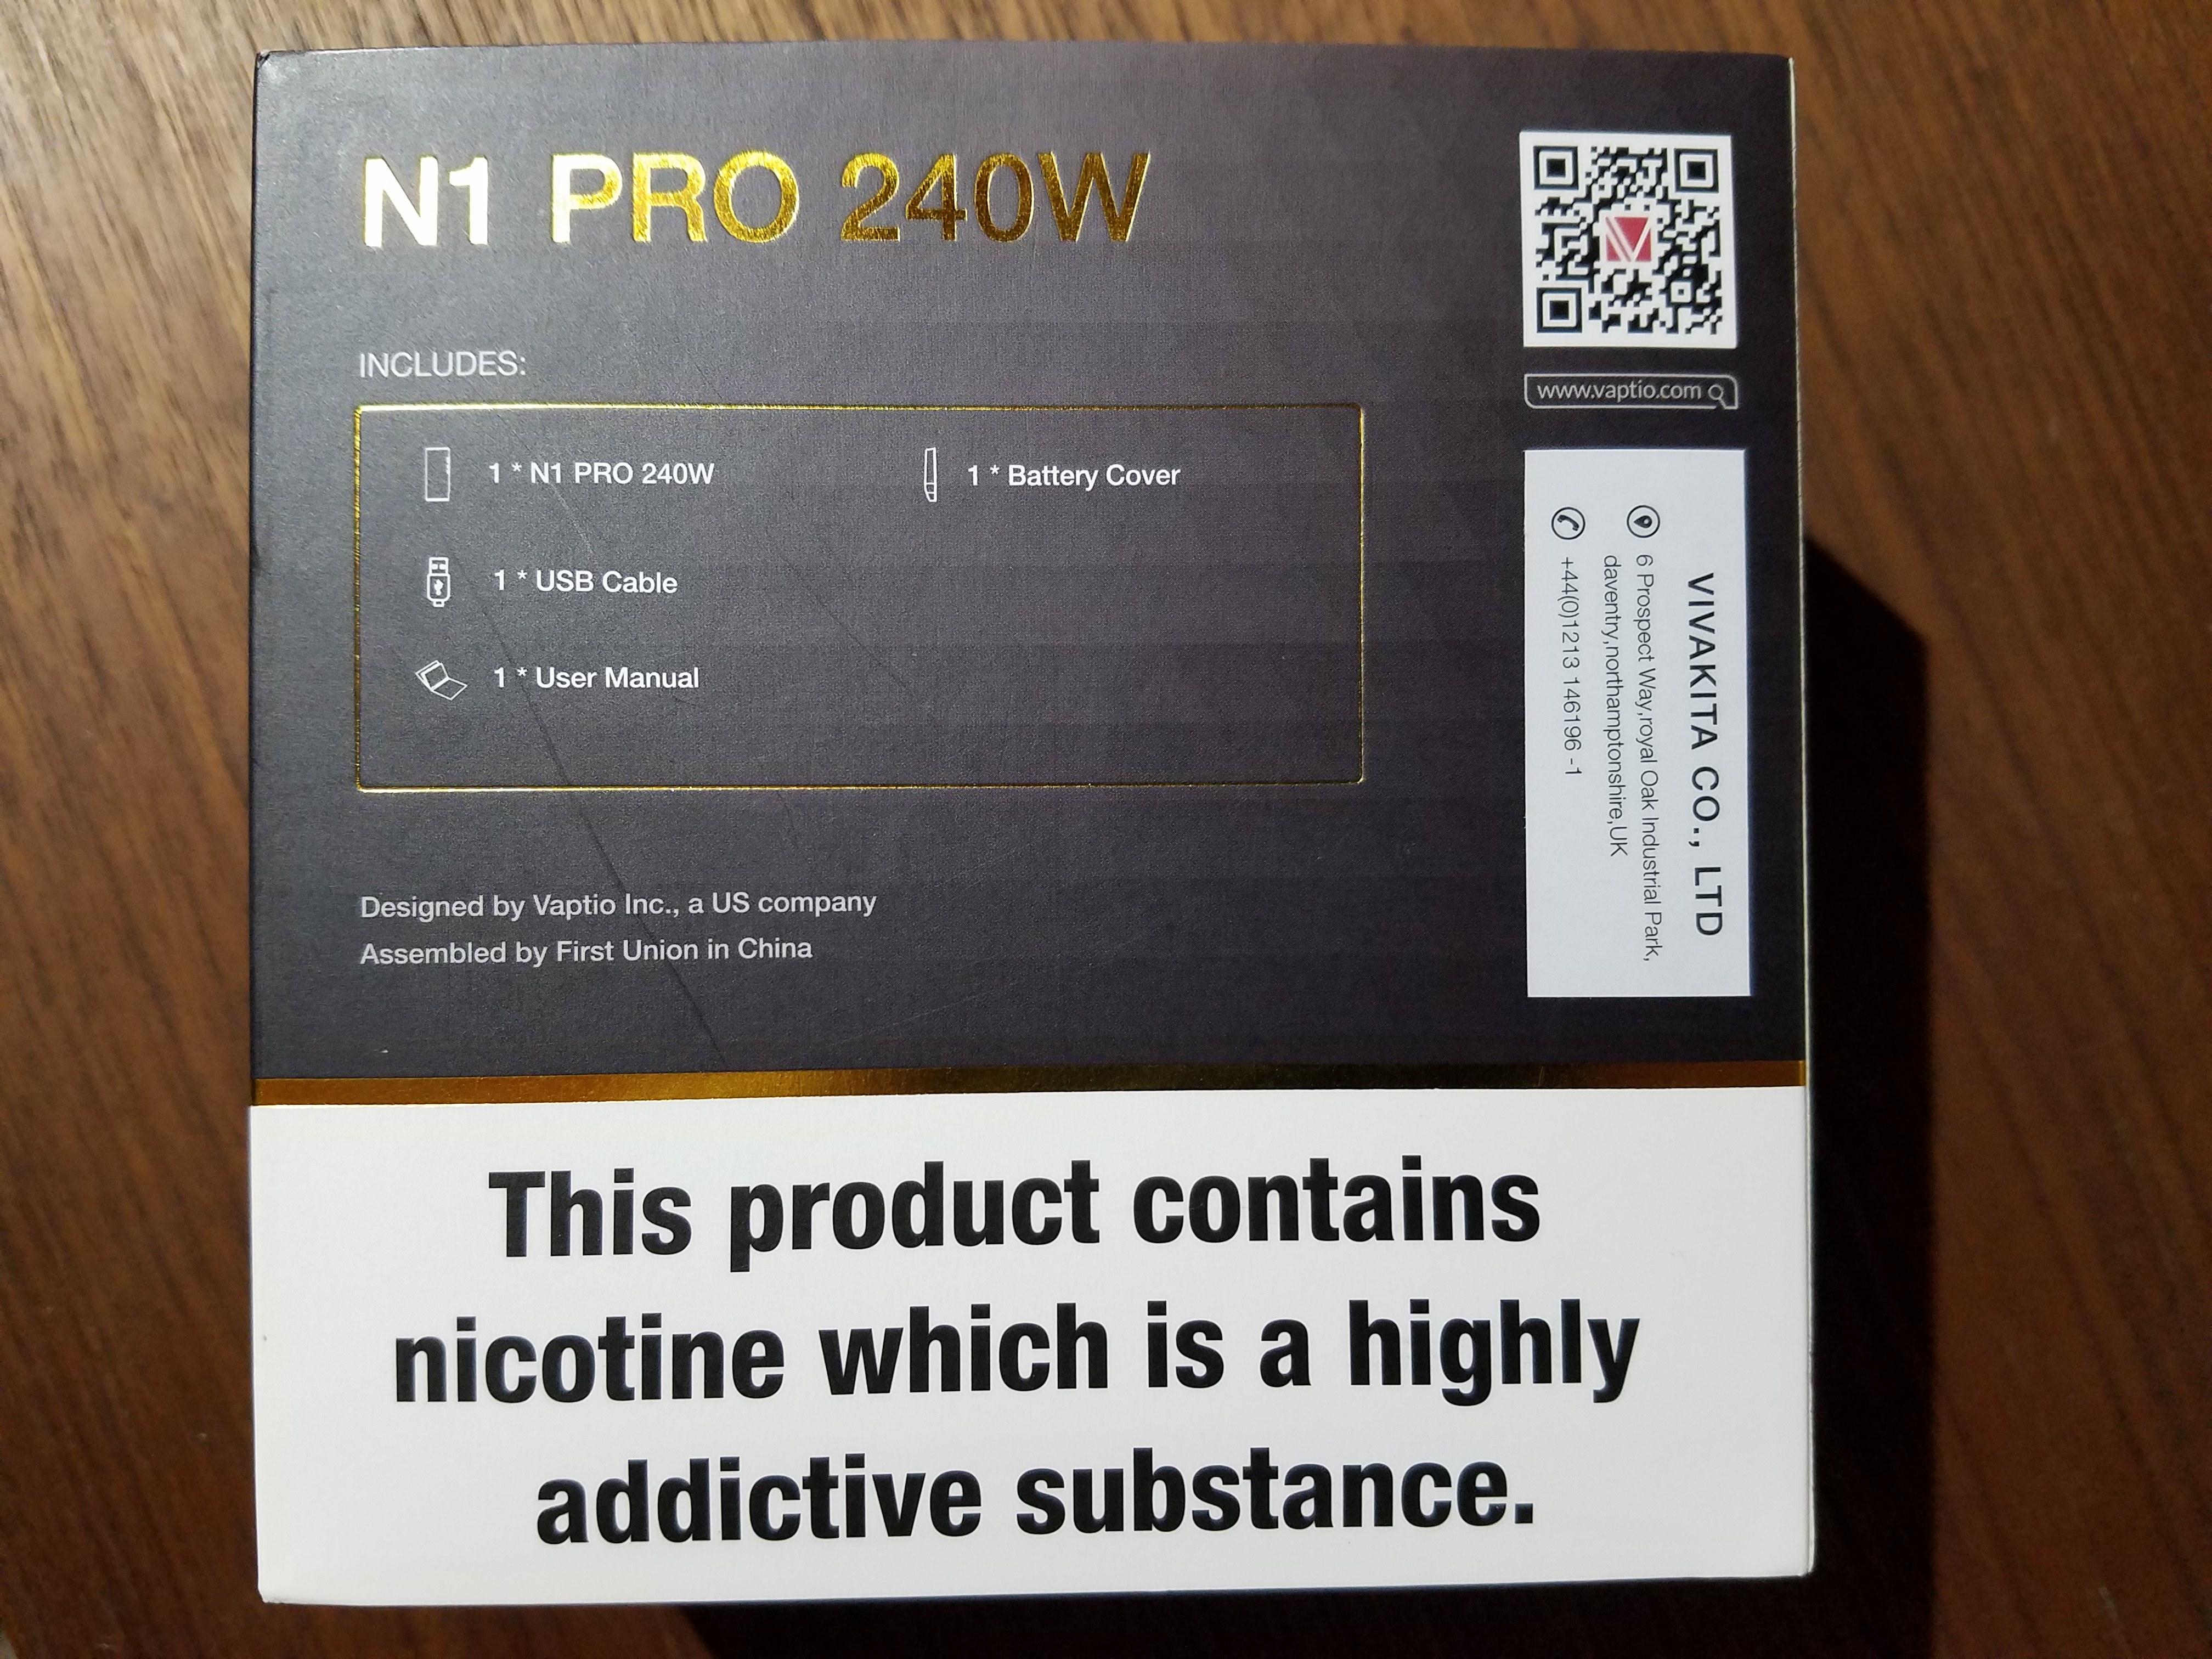
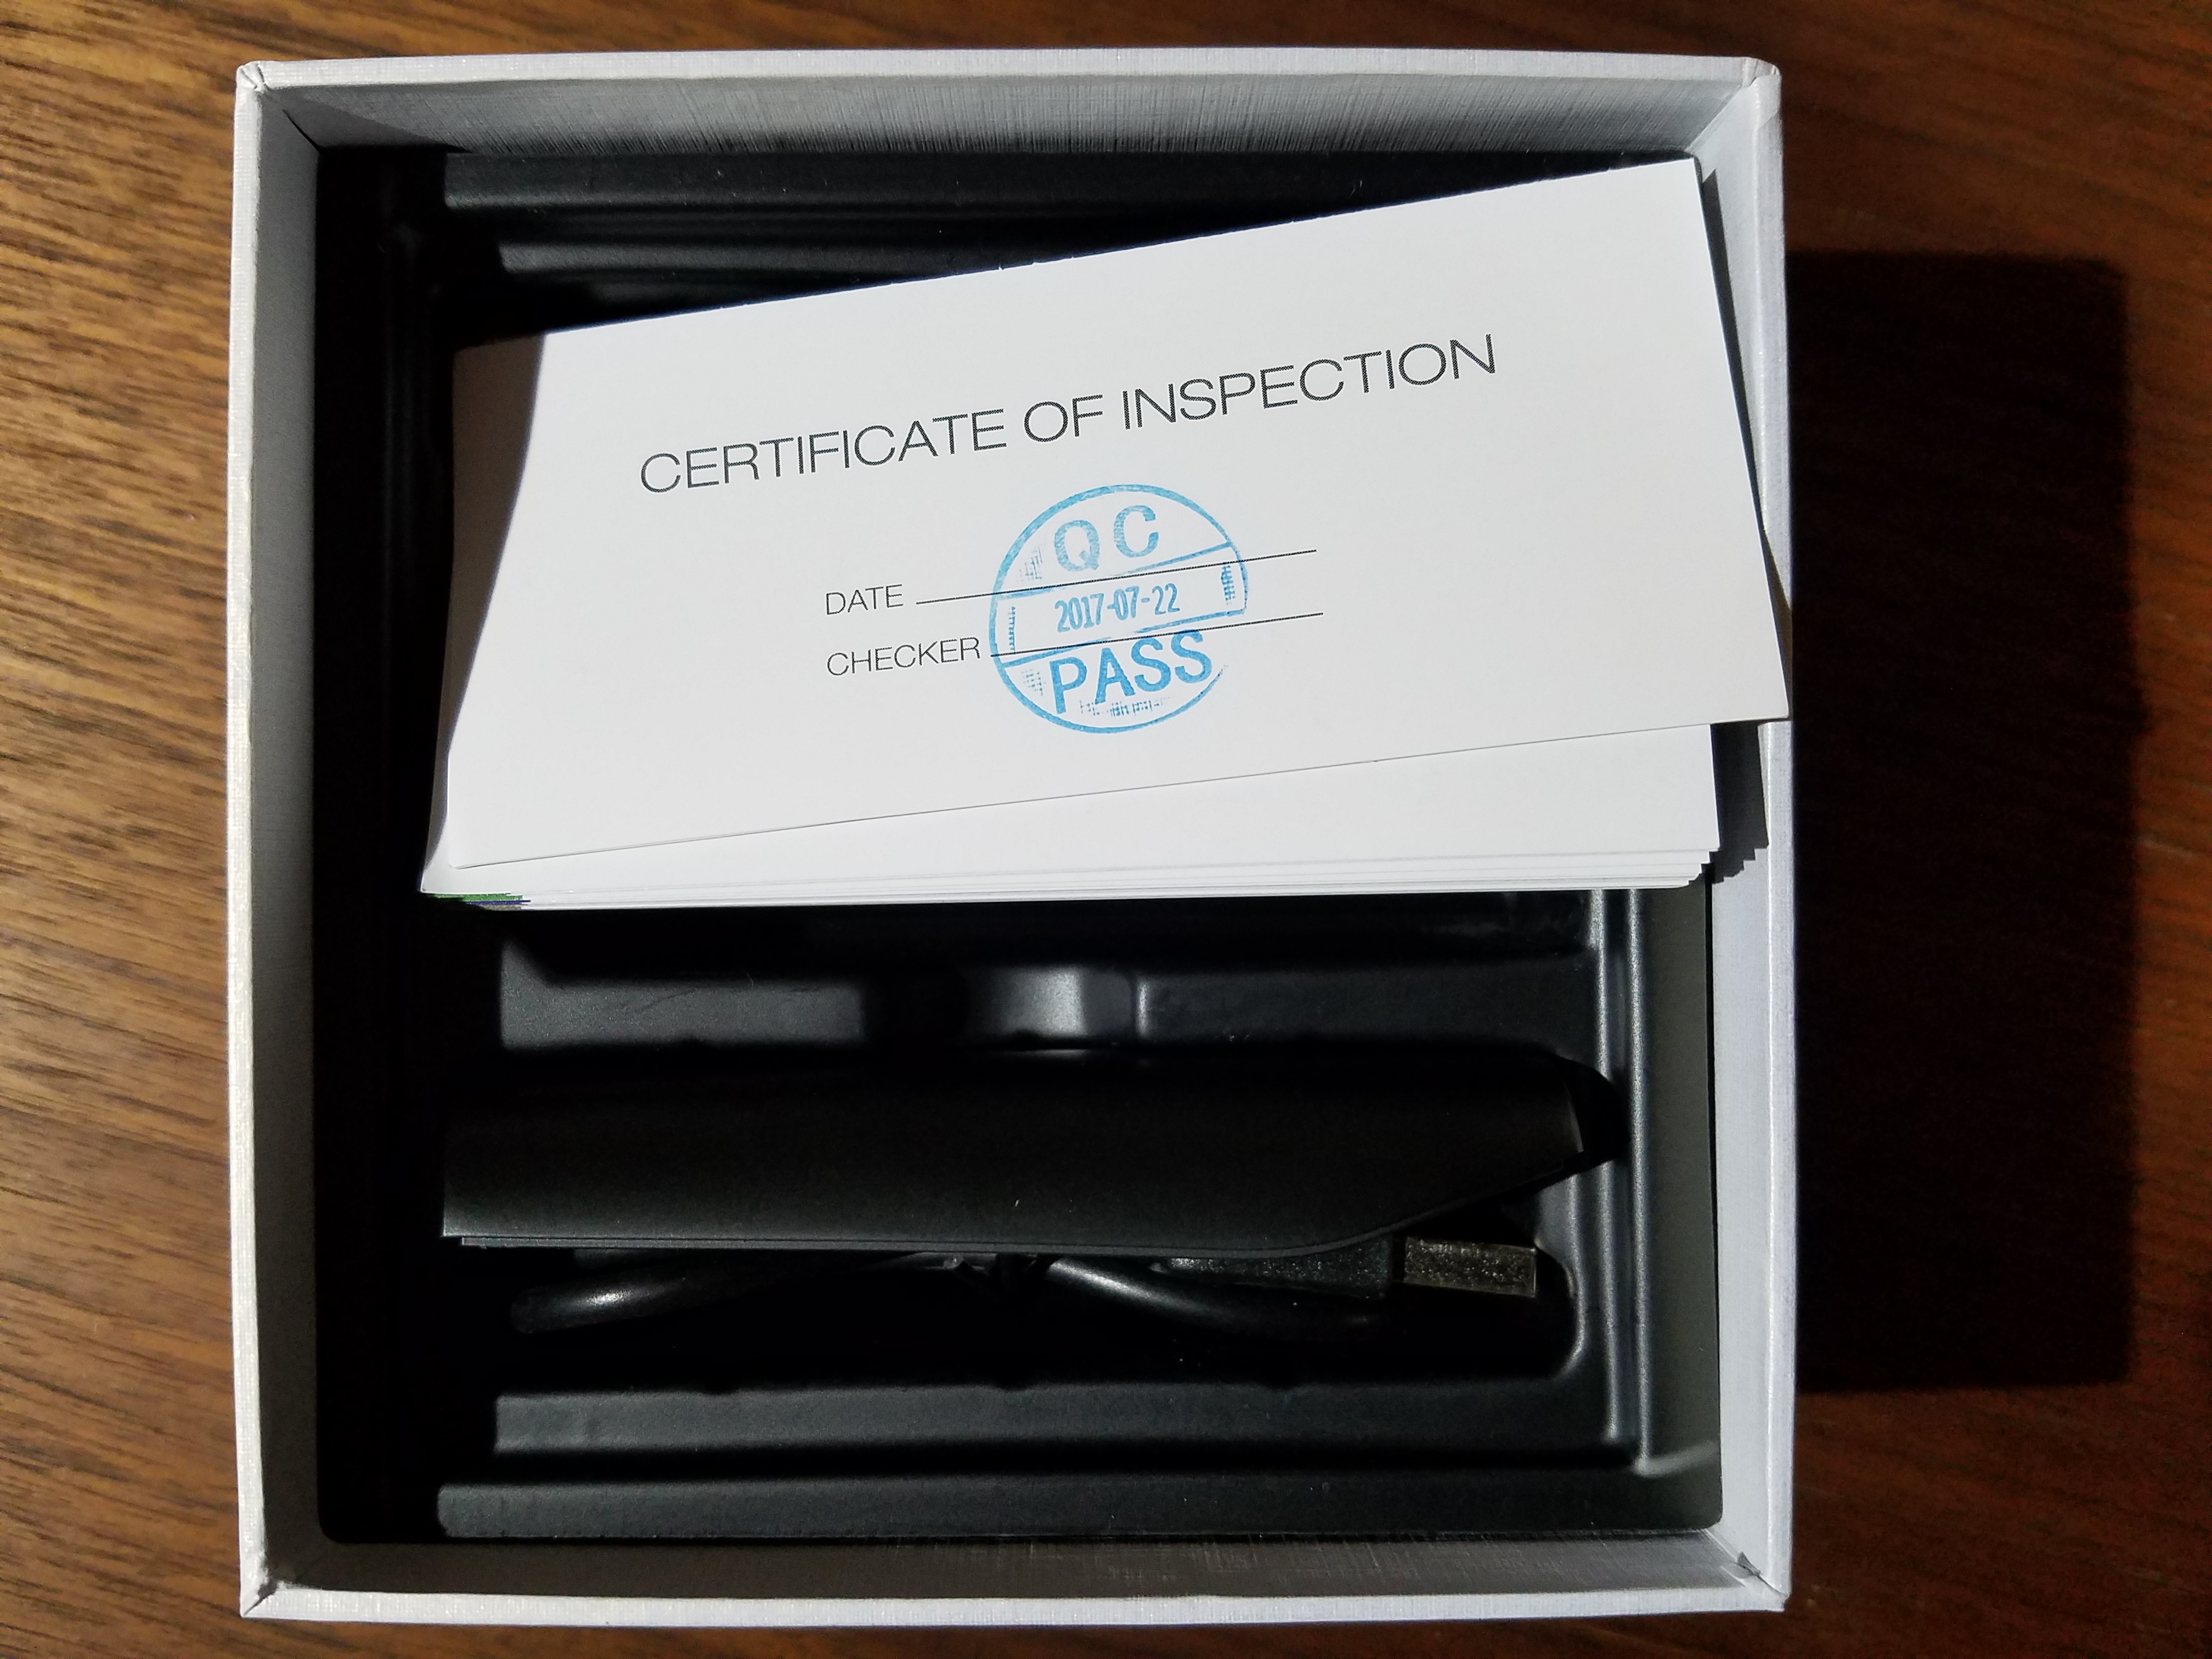
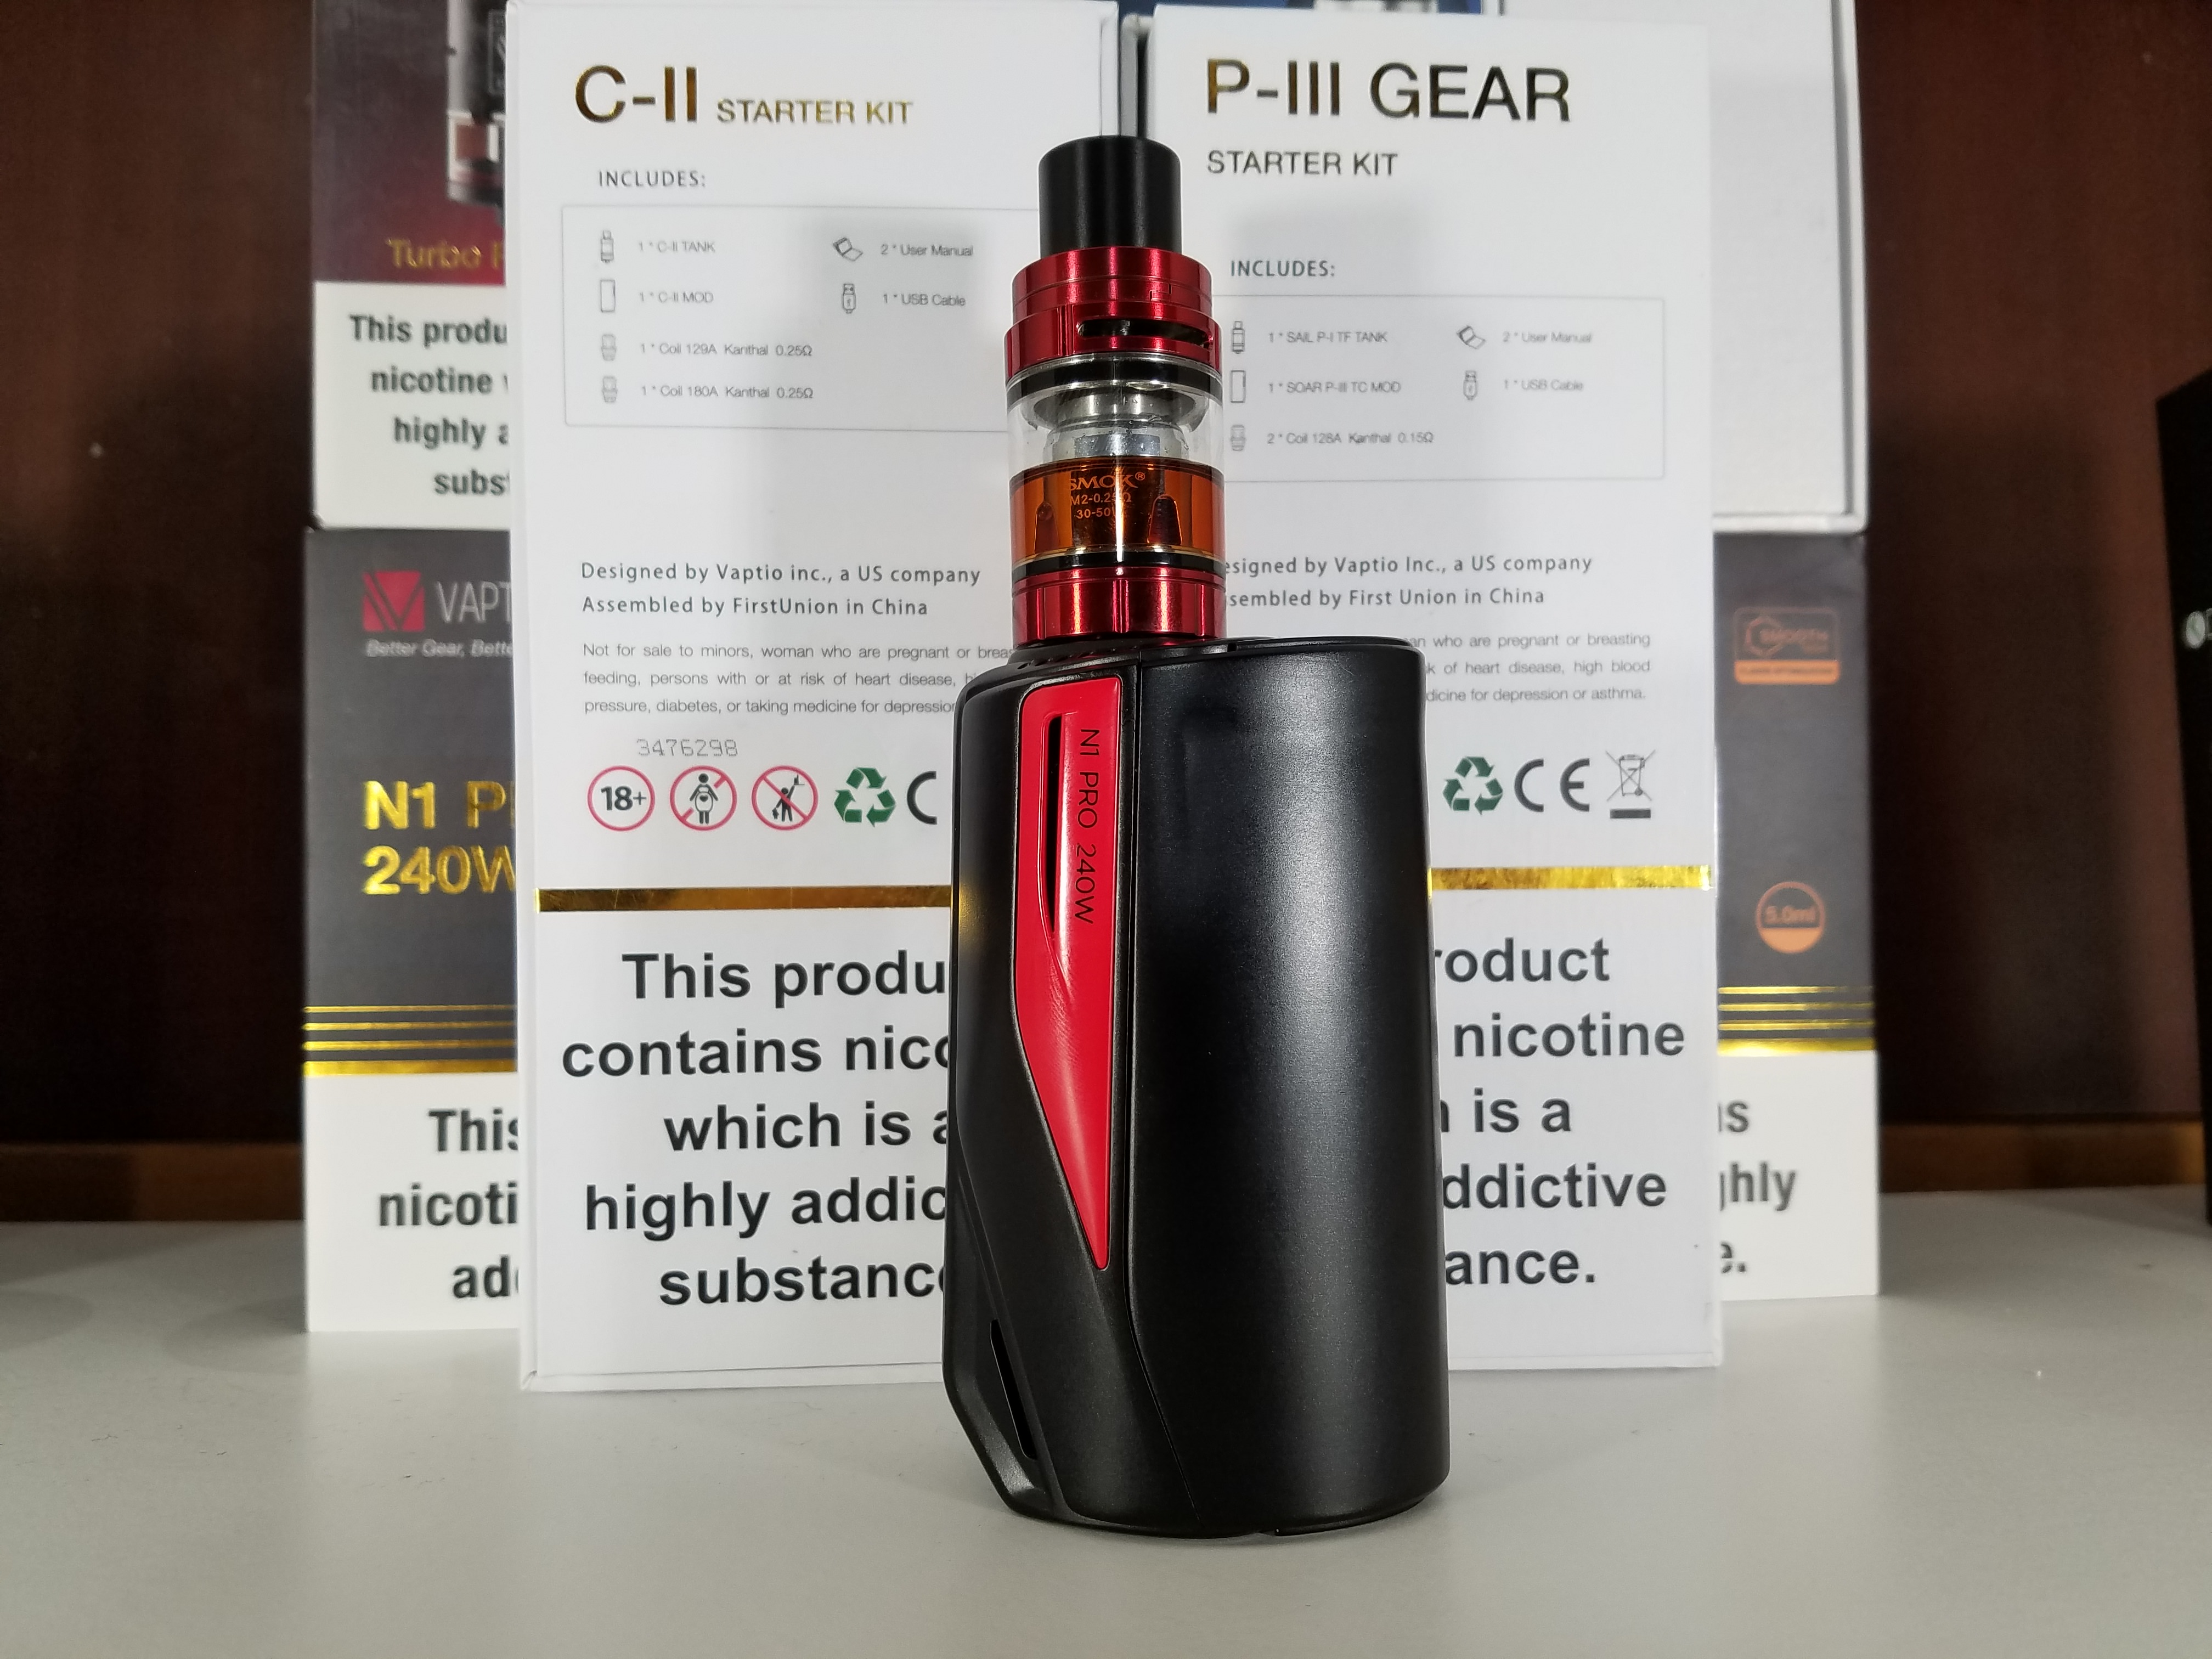
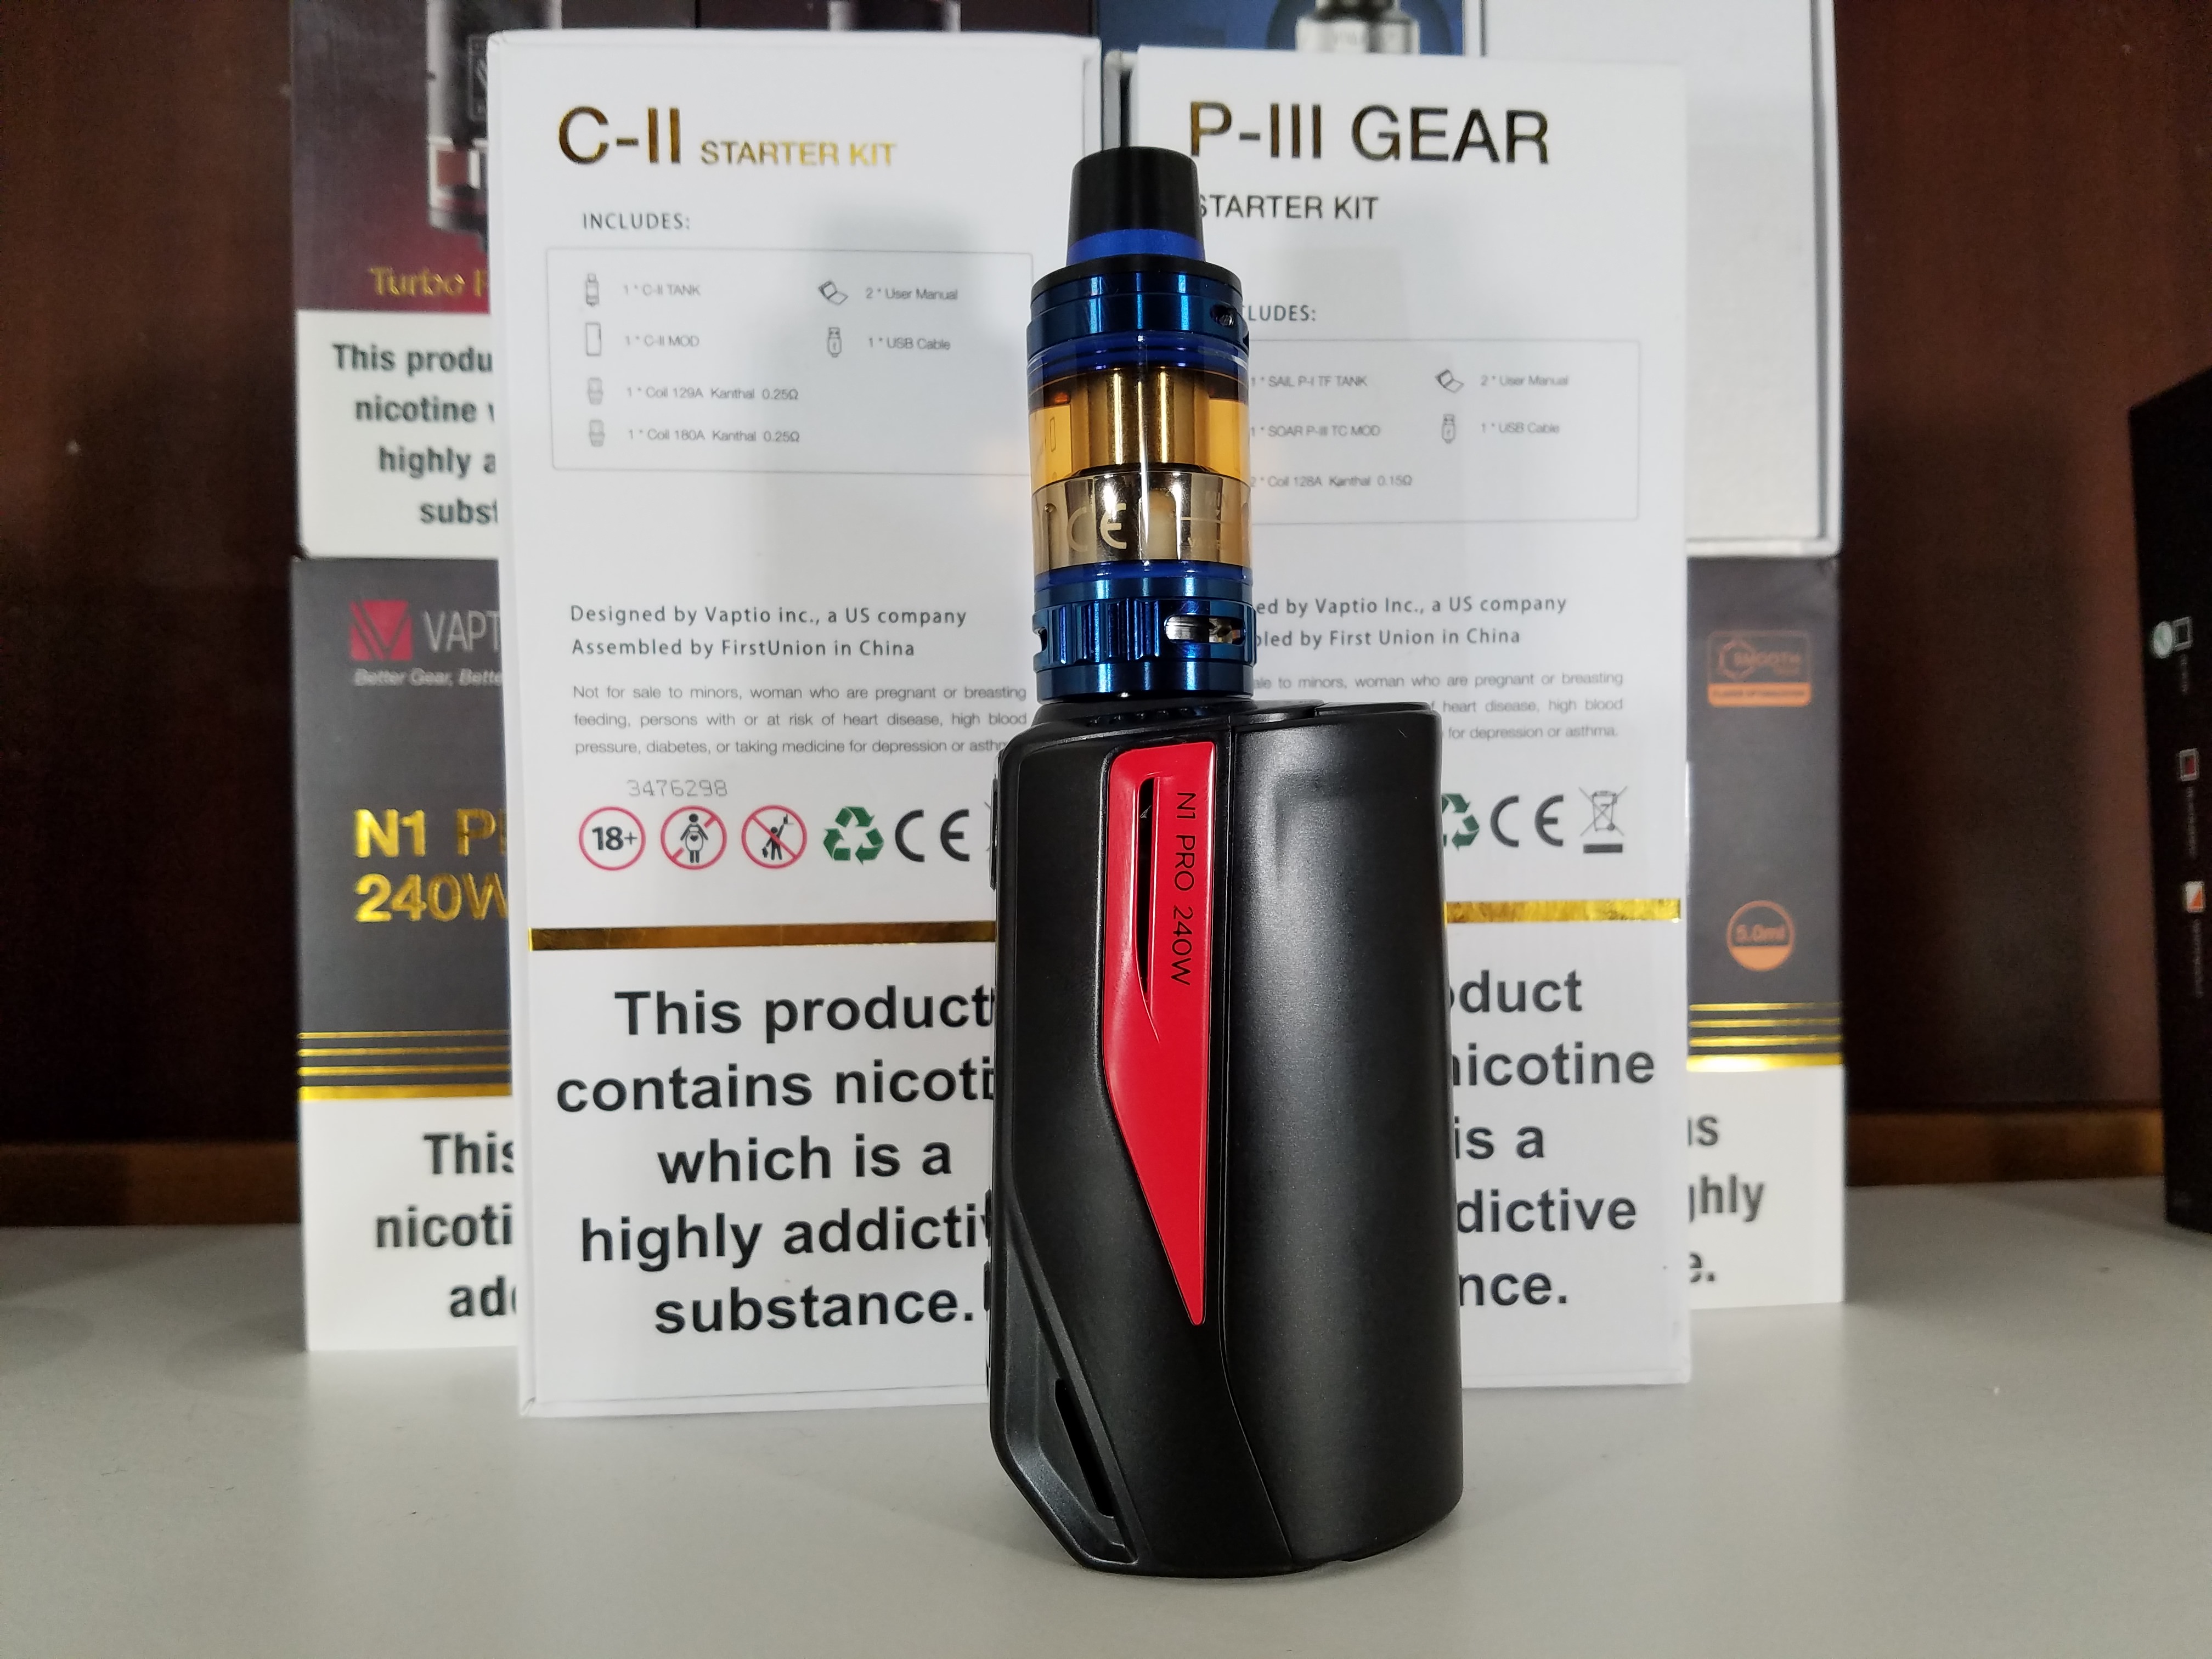
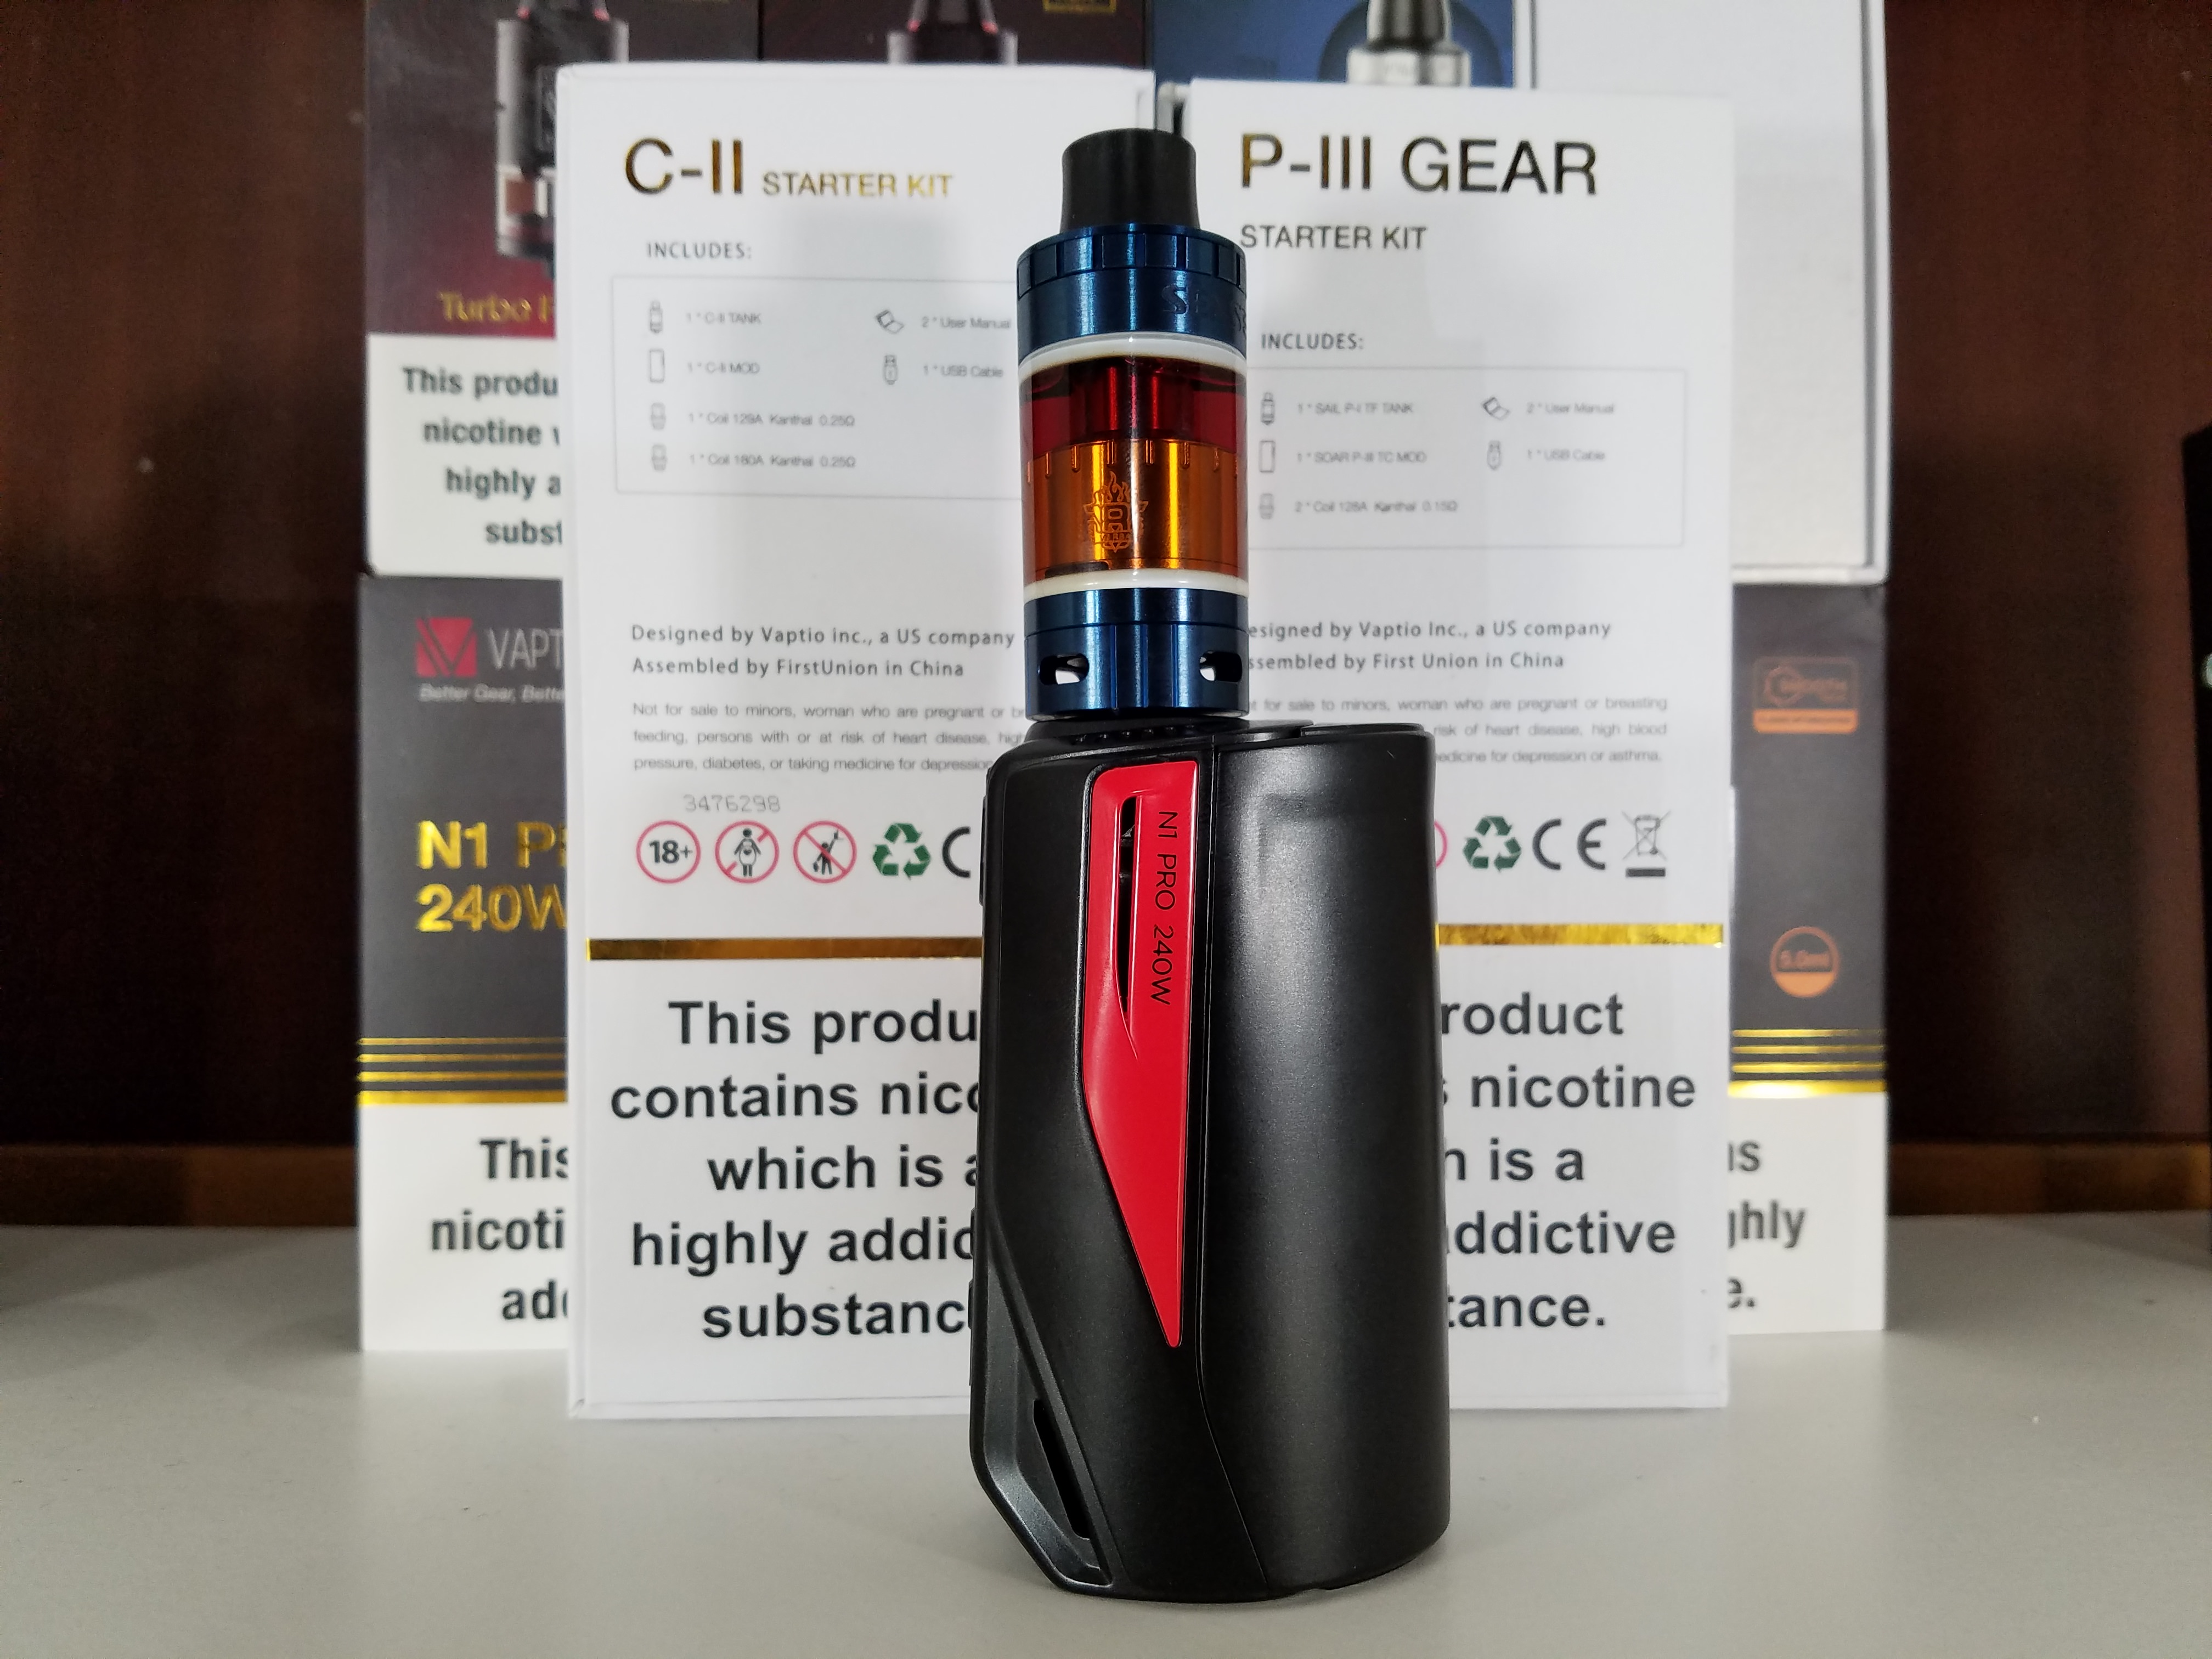
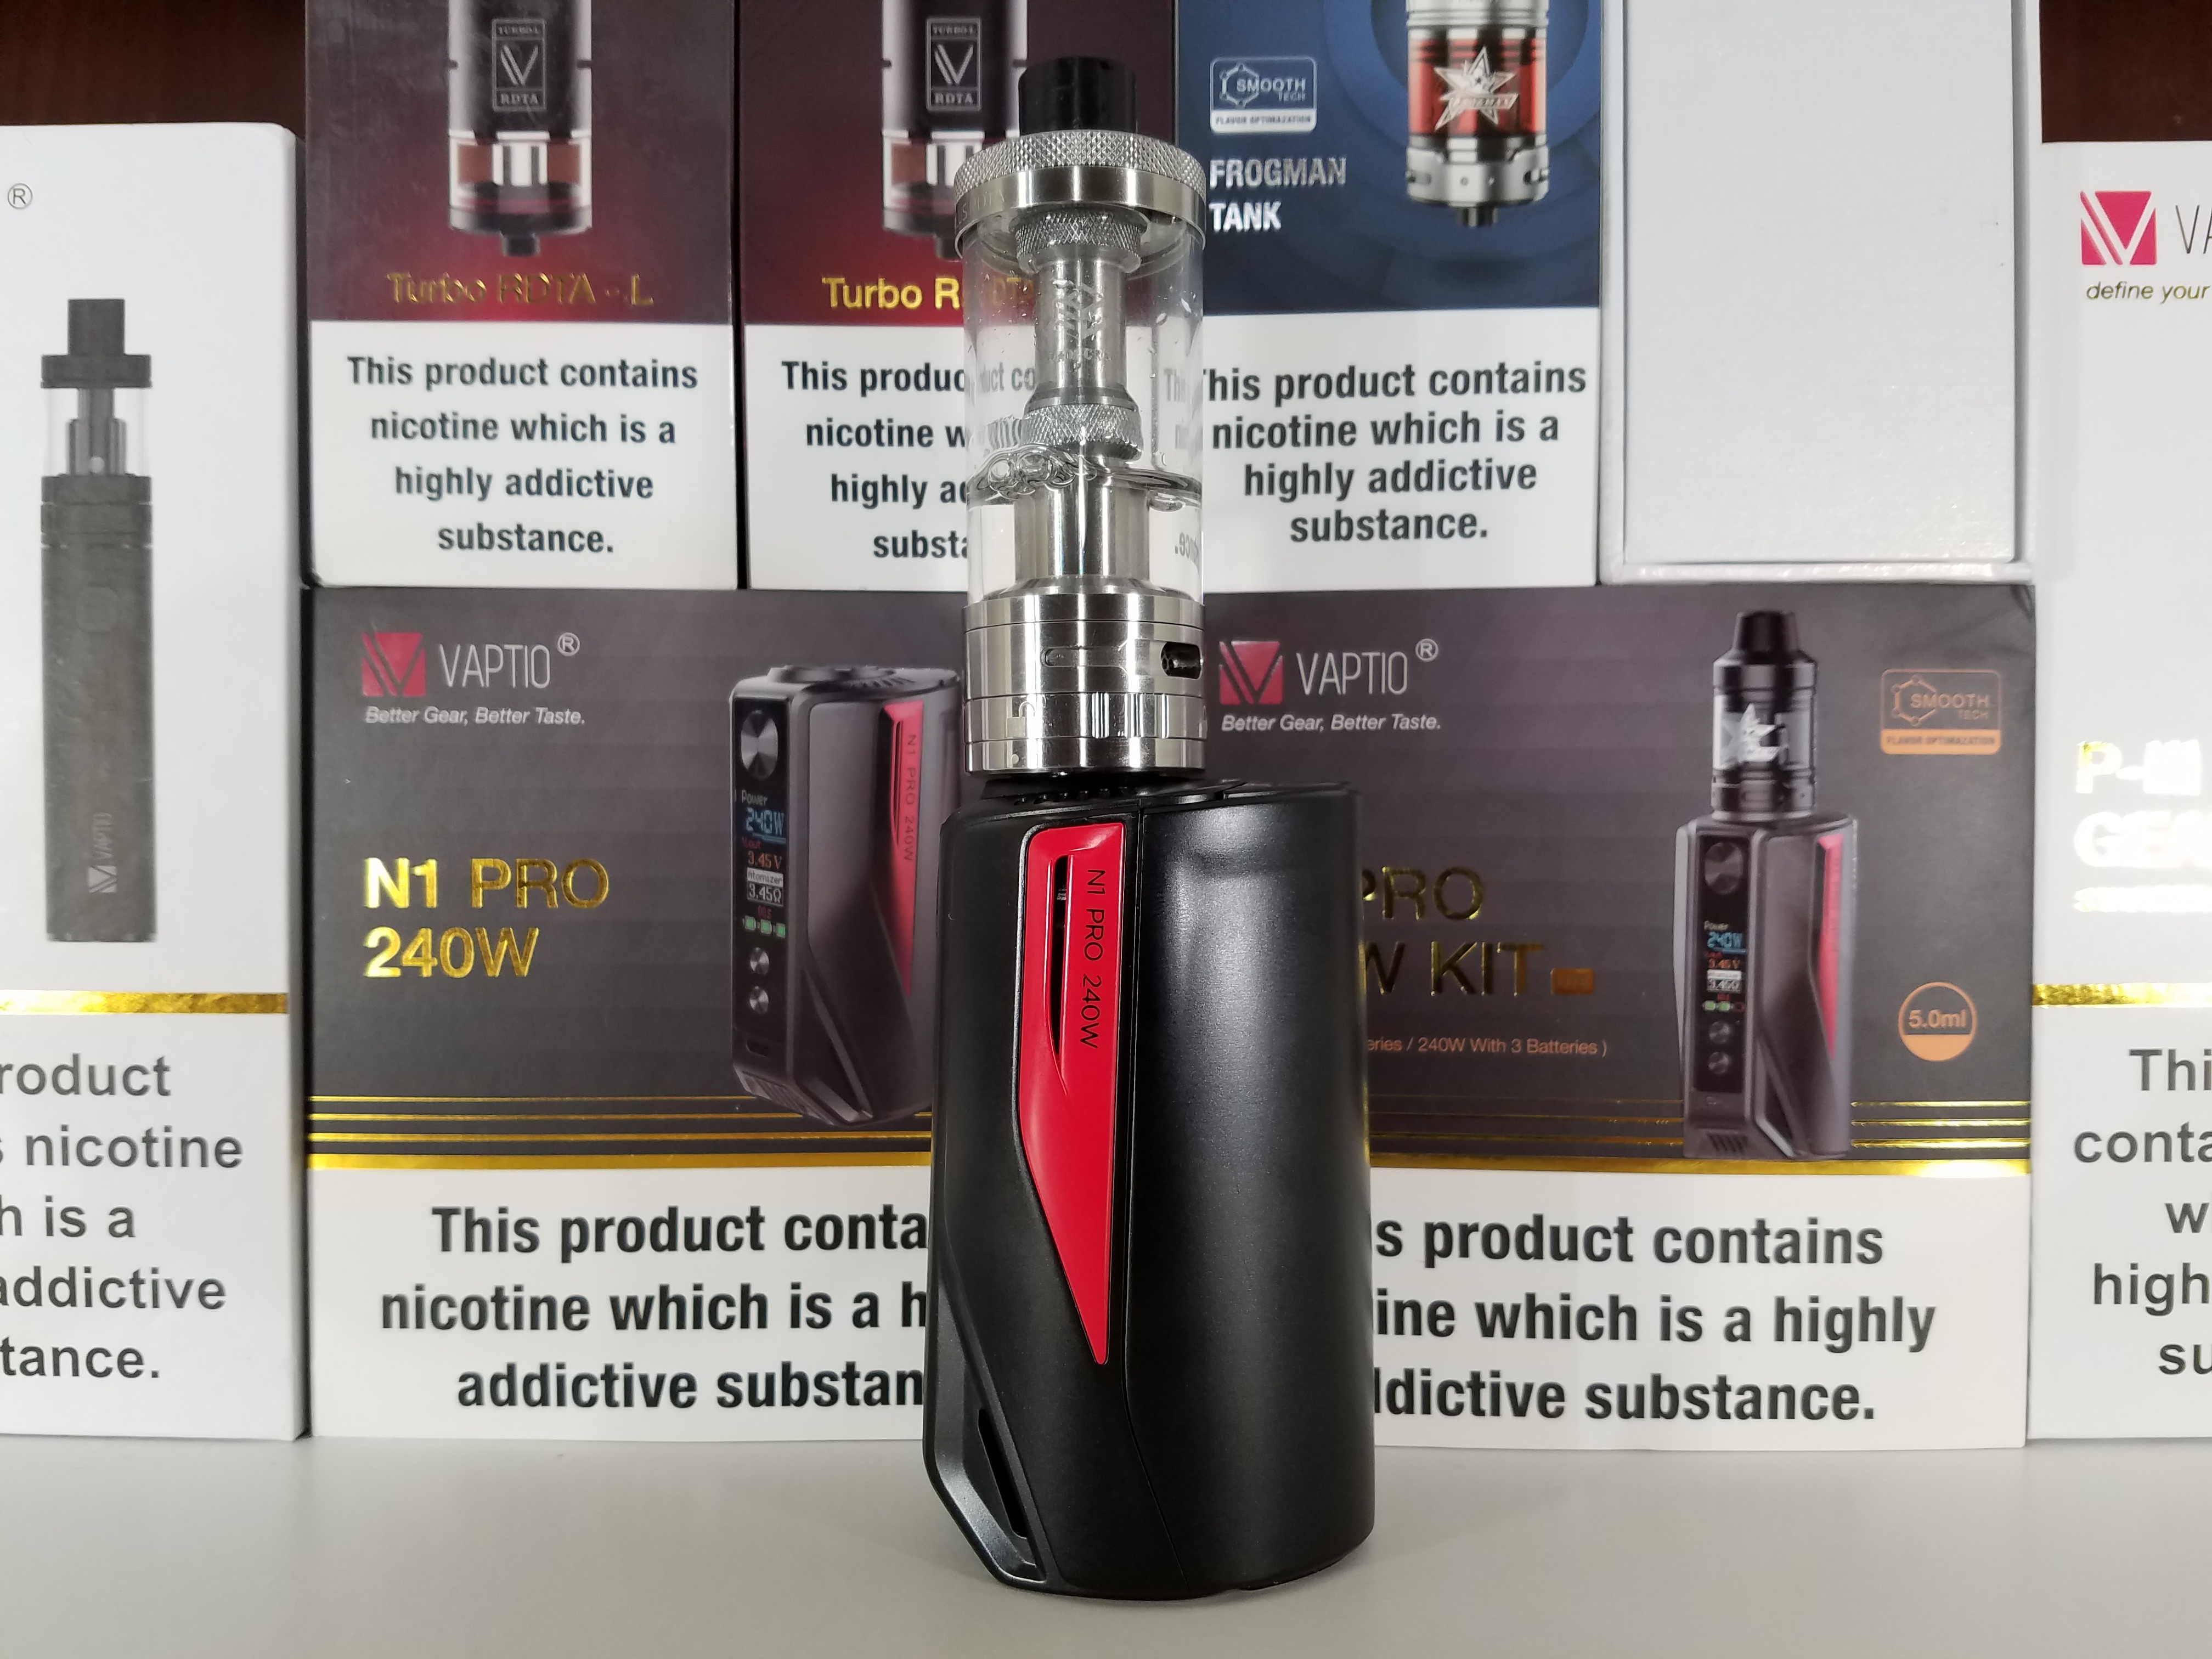
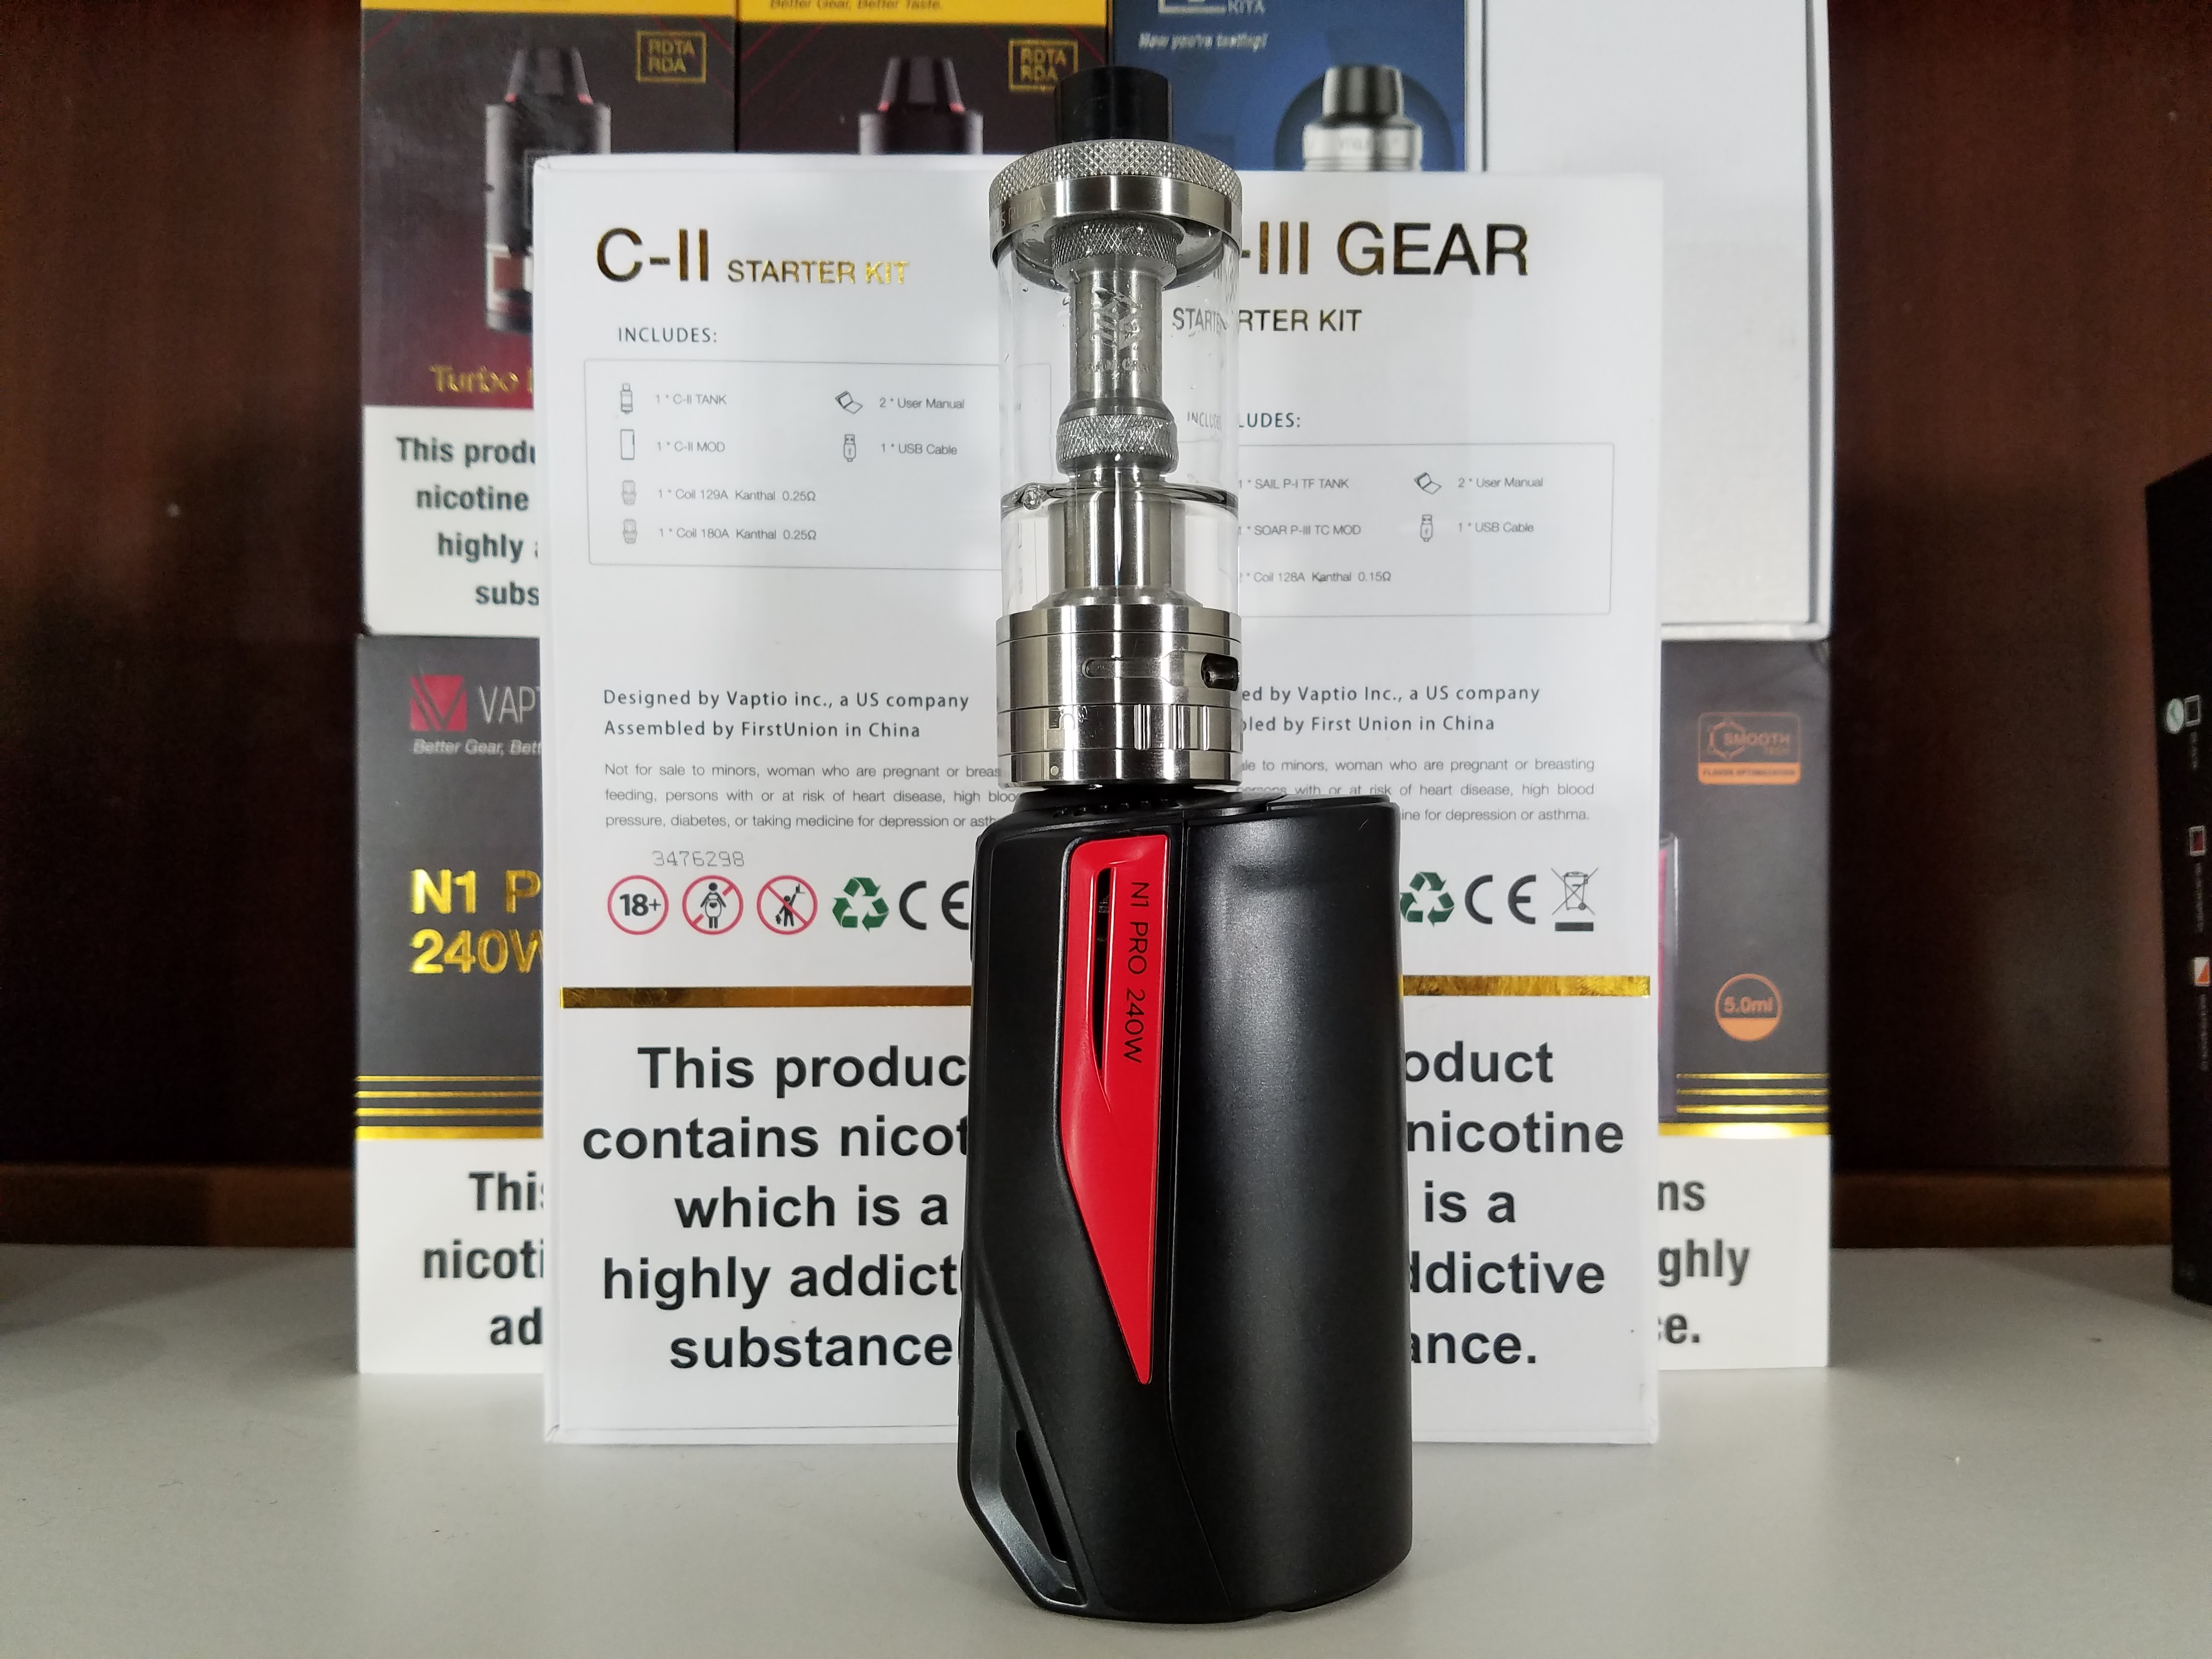
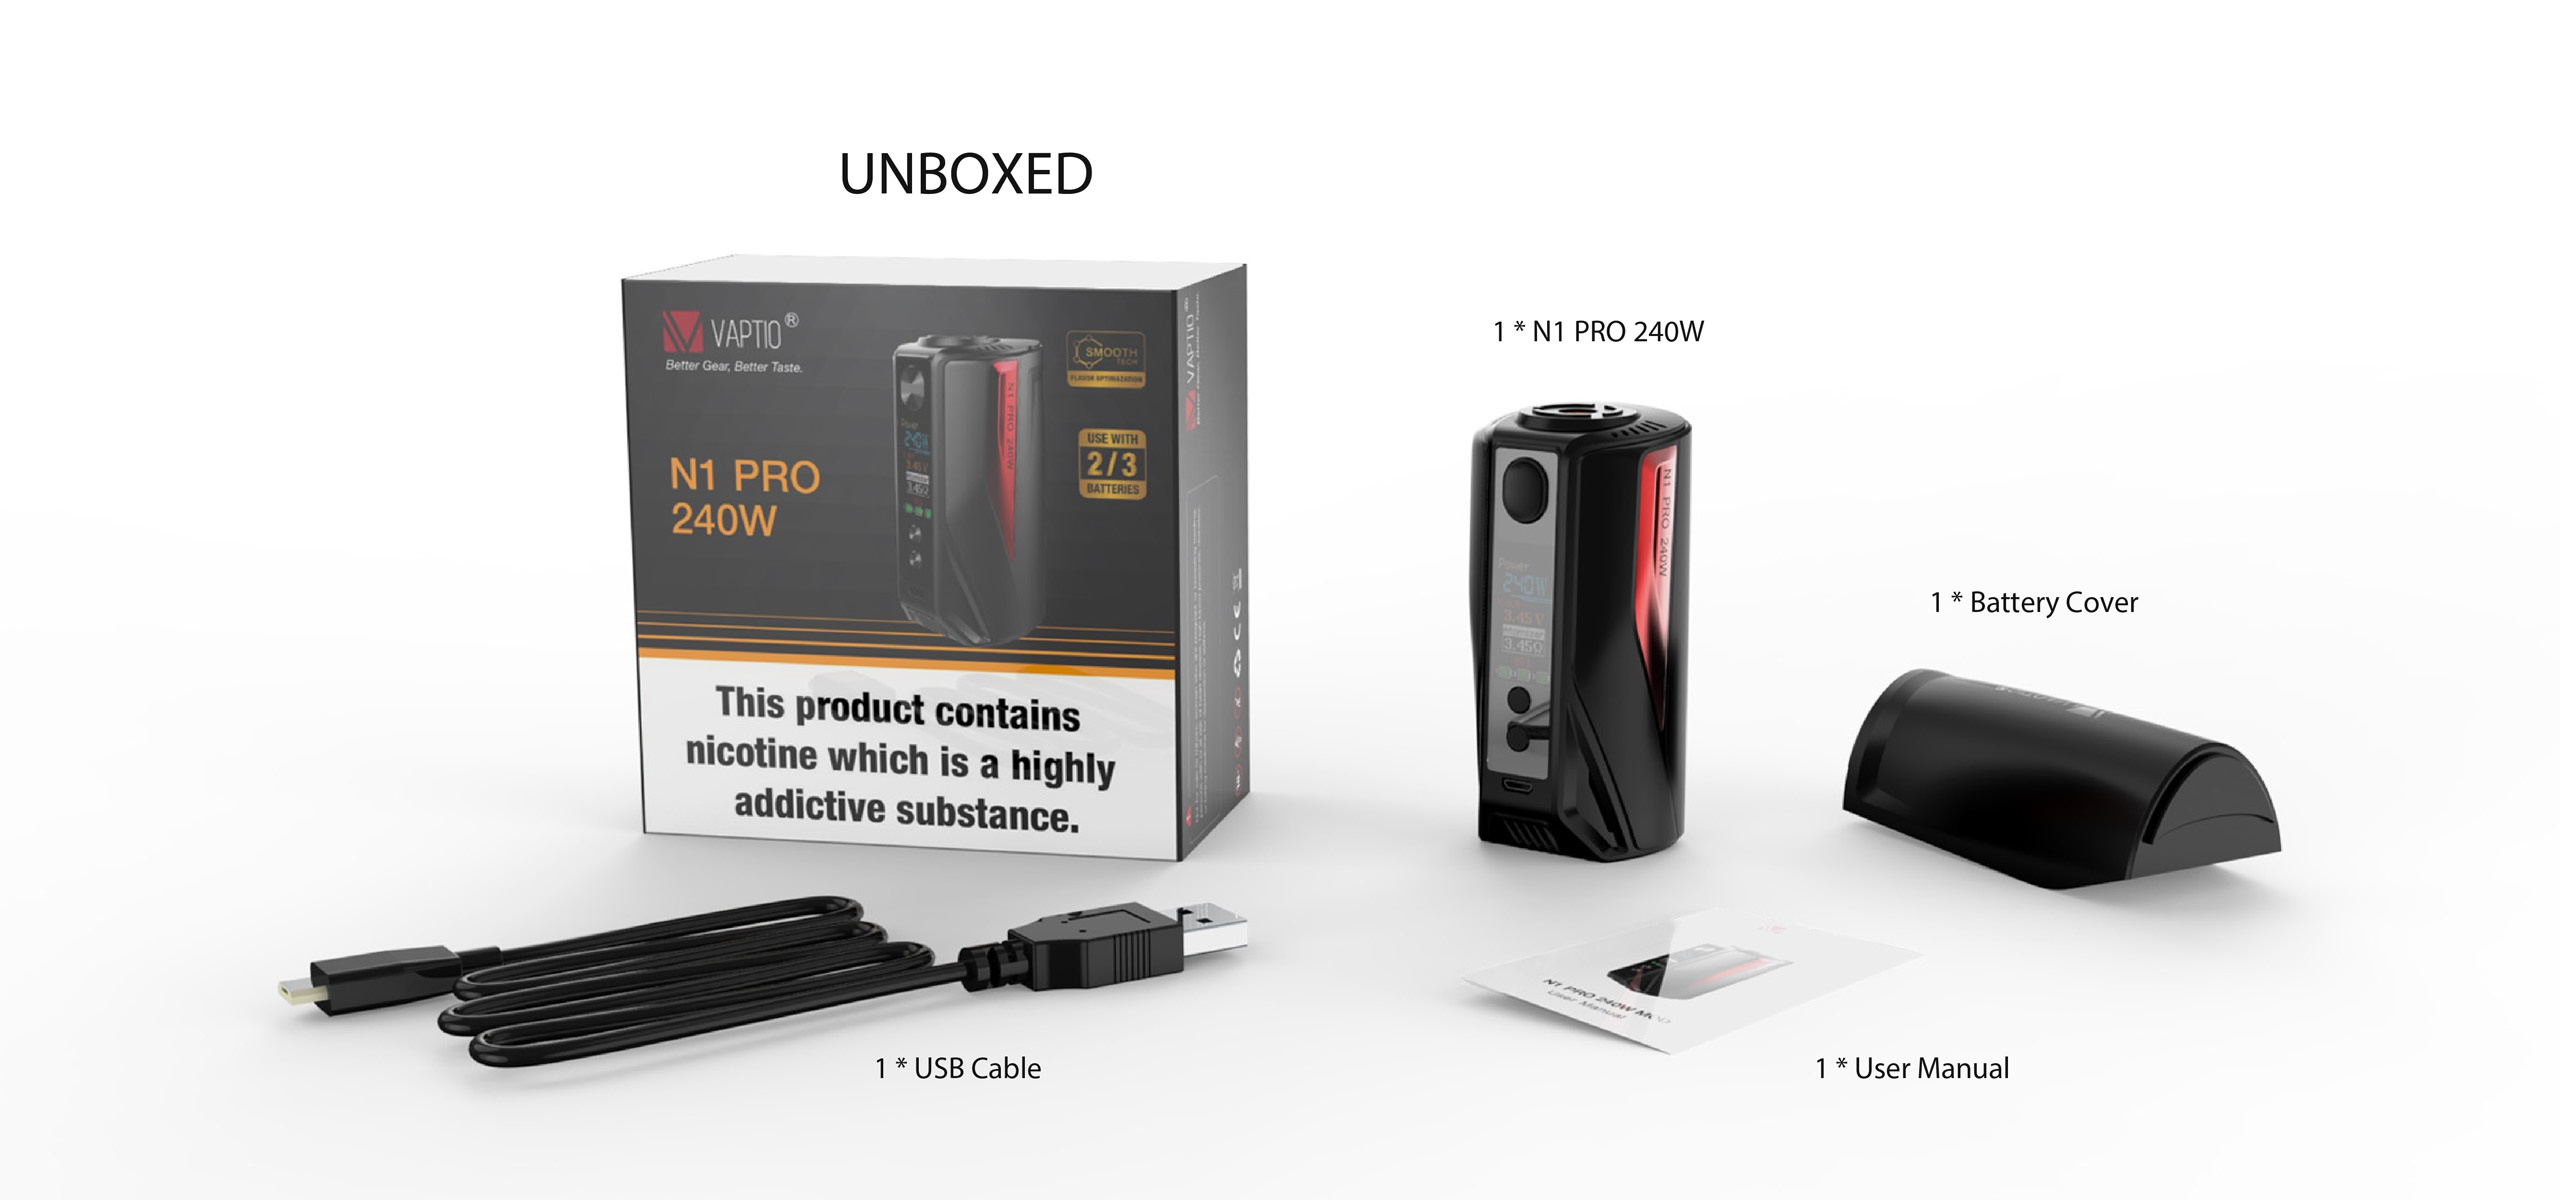
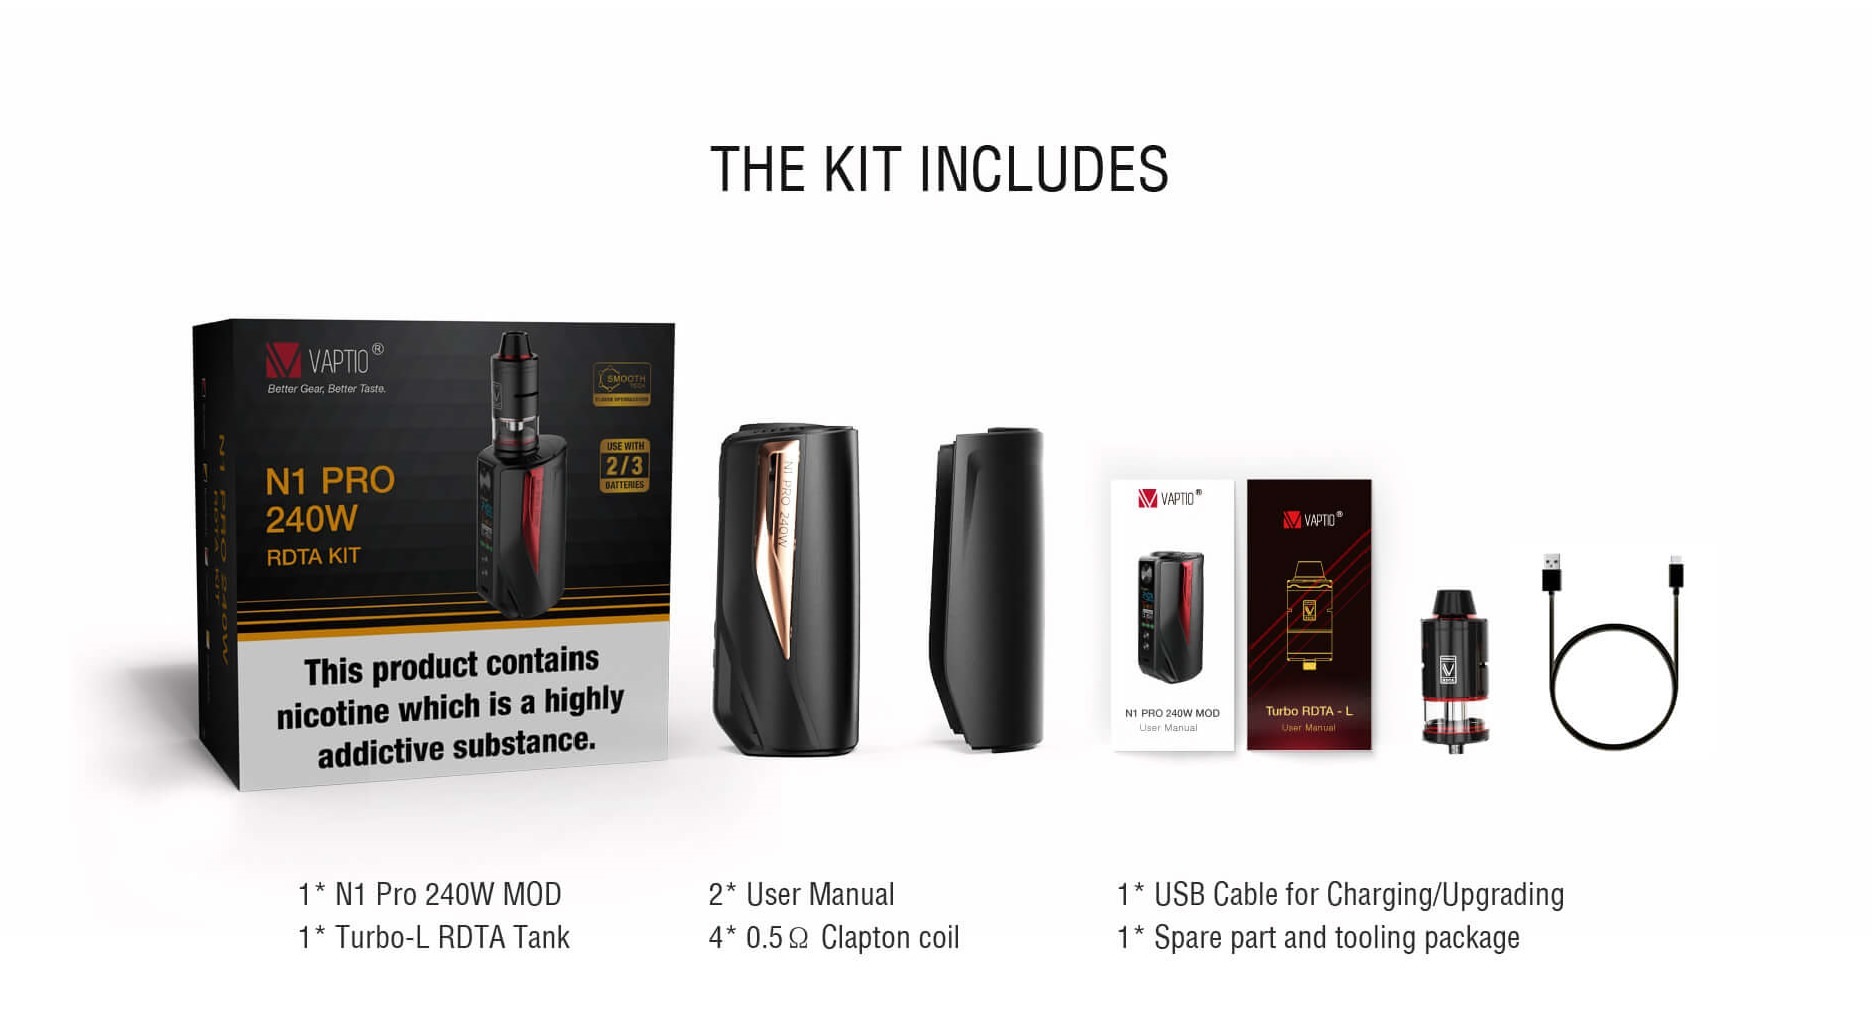
Package contains the mod, extra battery cover, USB cable, and user manual.
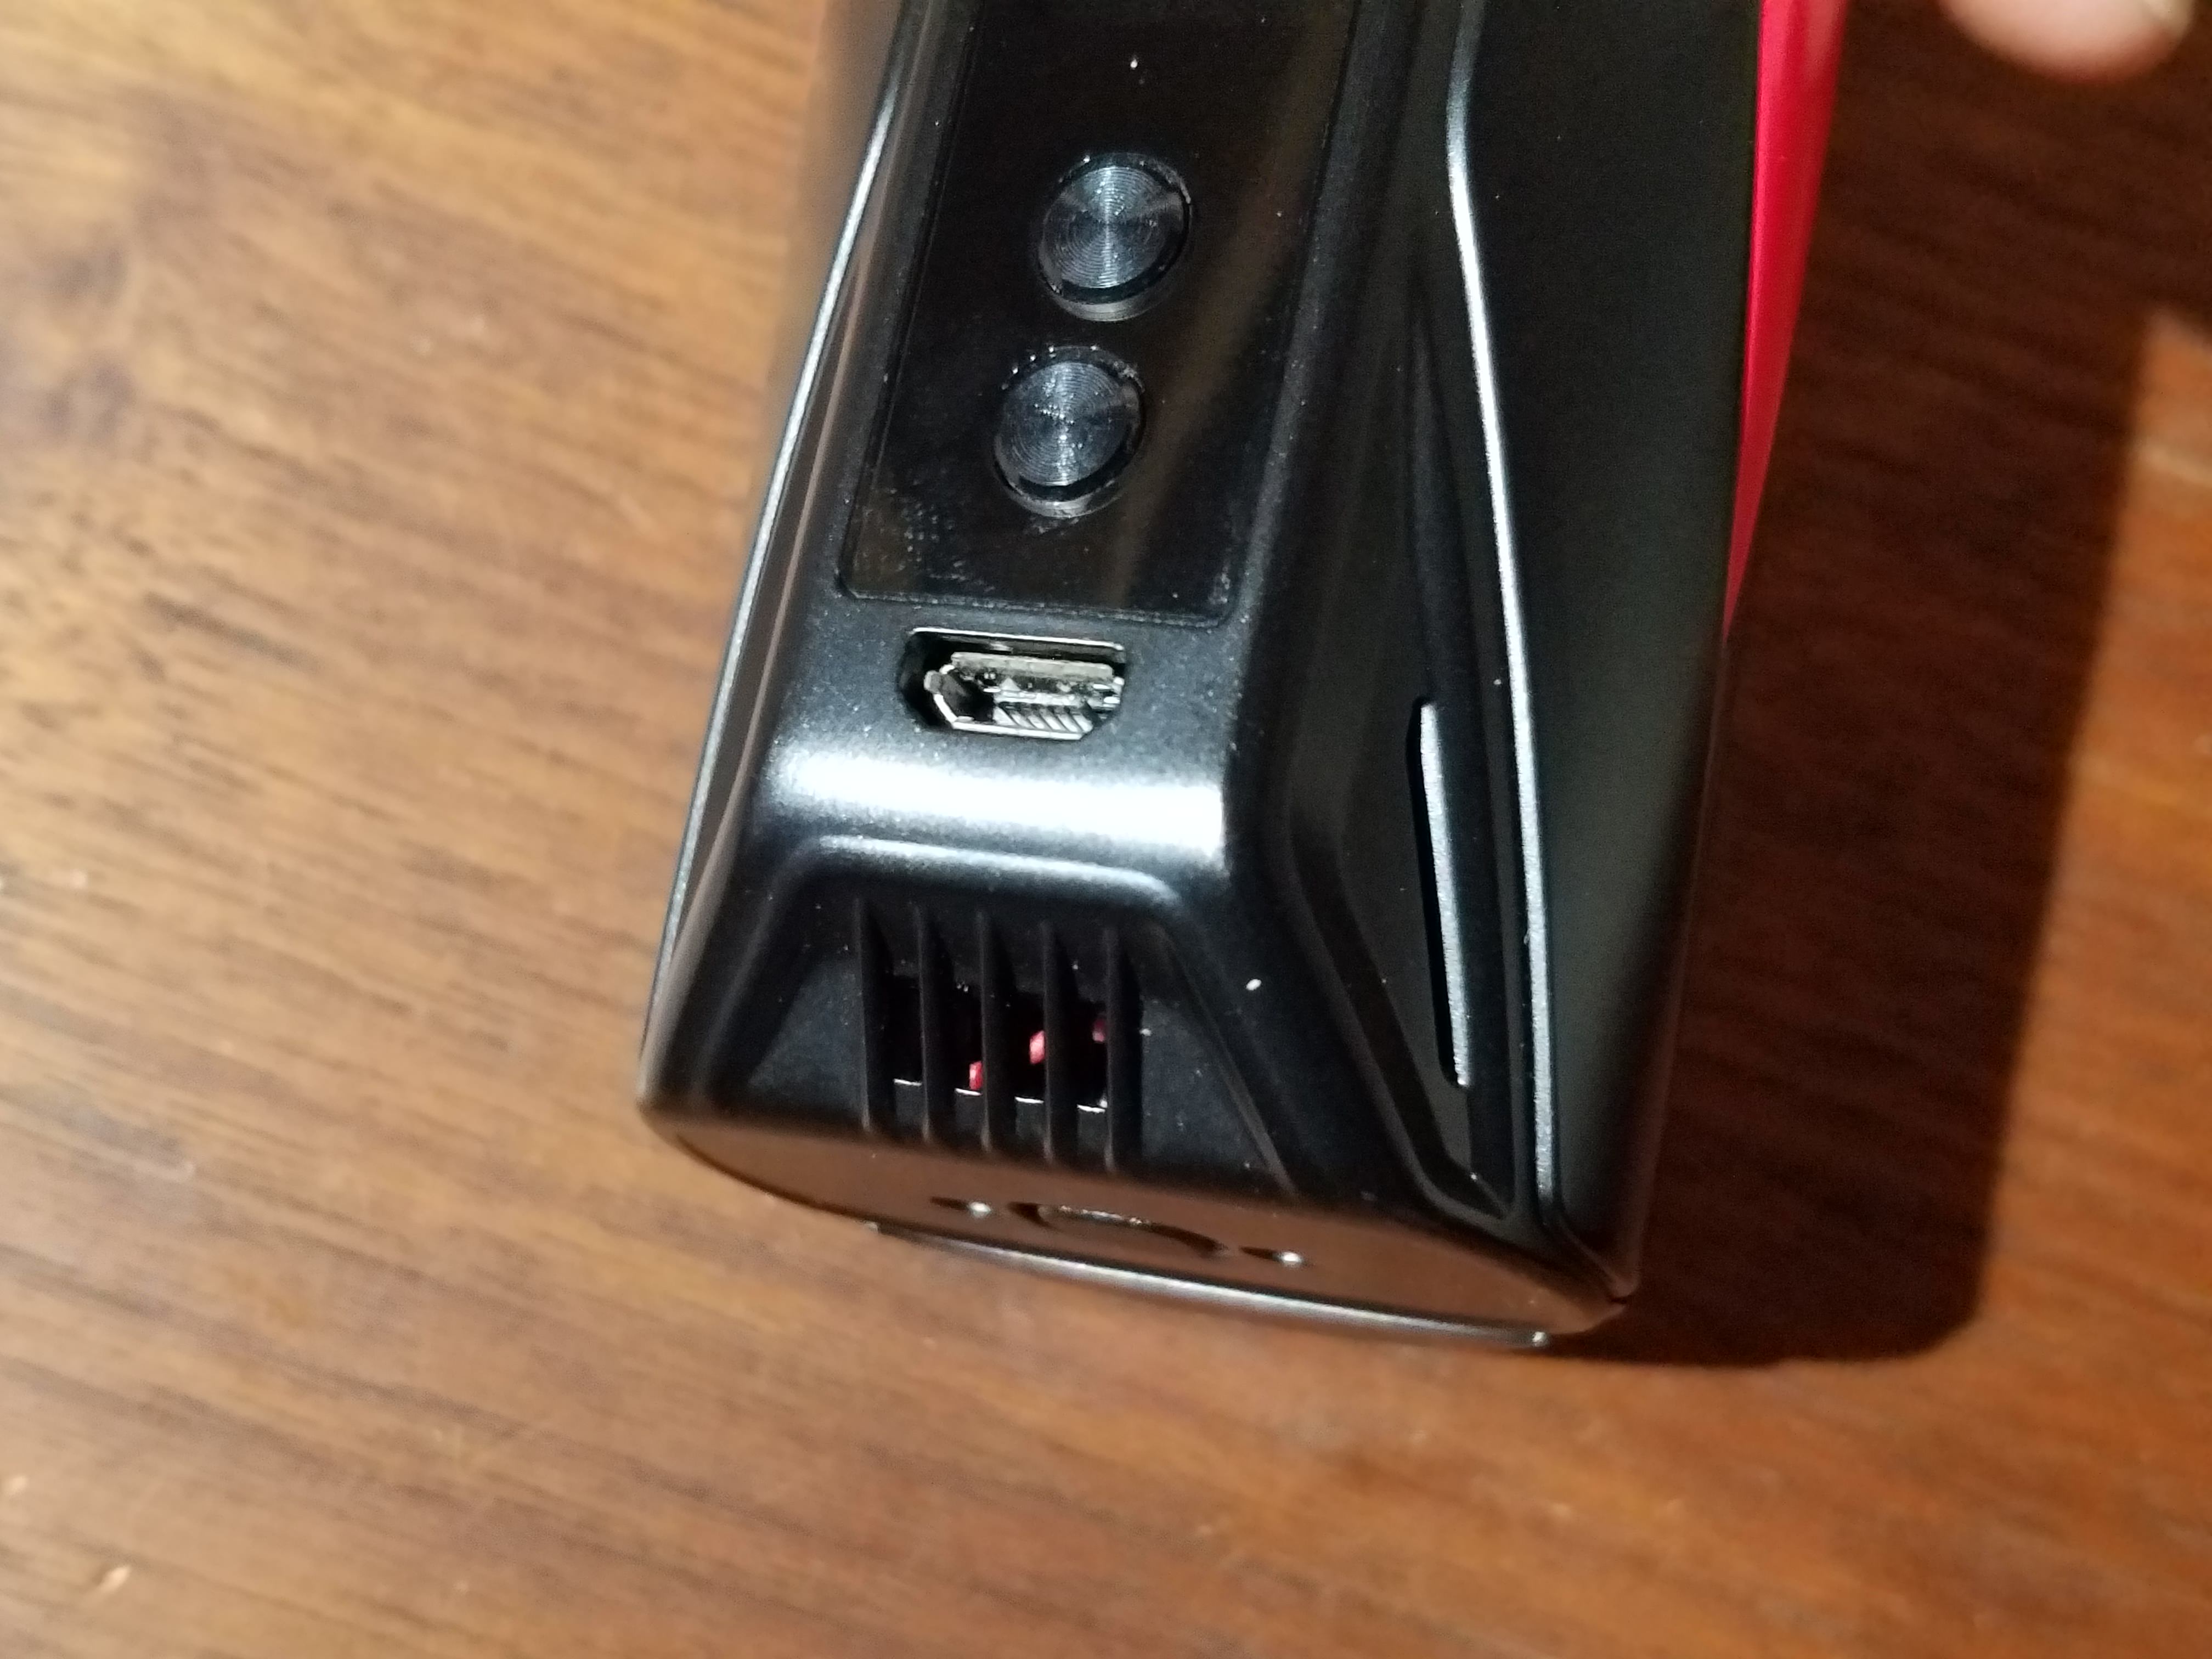
It has a standard layout of fire button, up and down button as well as a USB port.
The menu is pretty easy to navigate.
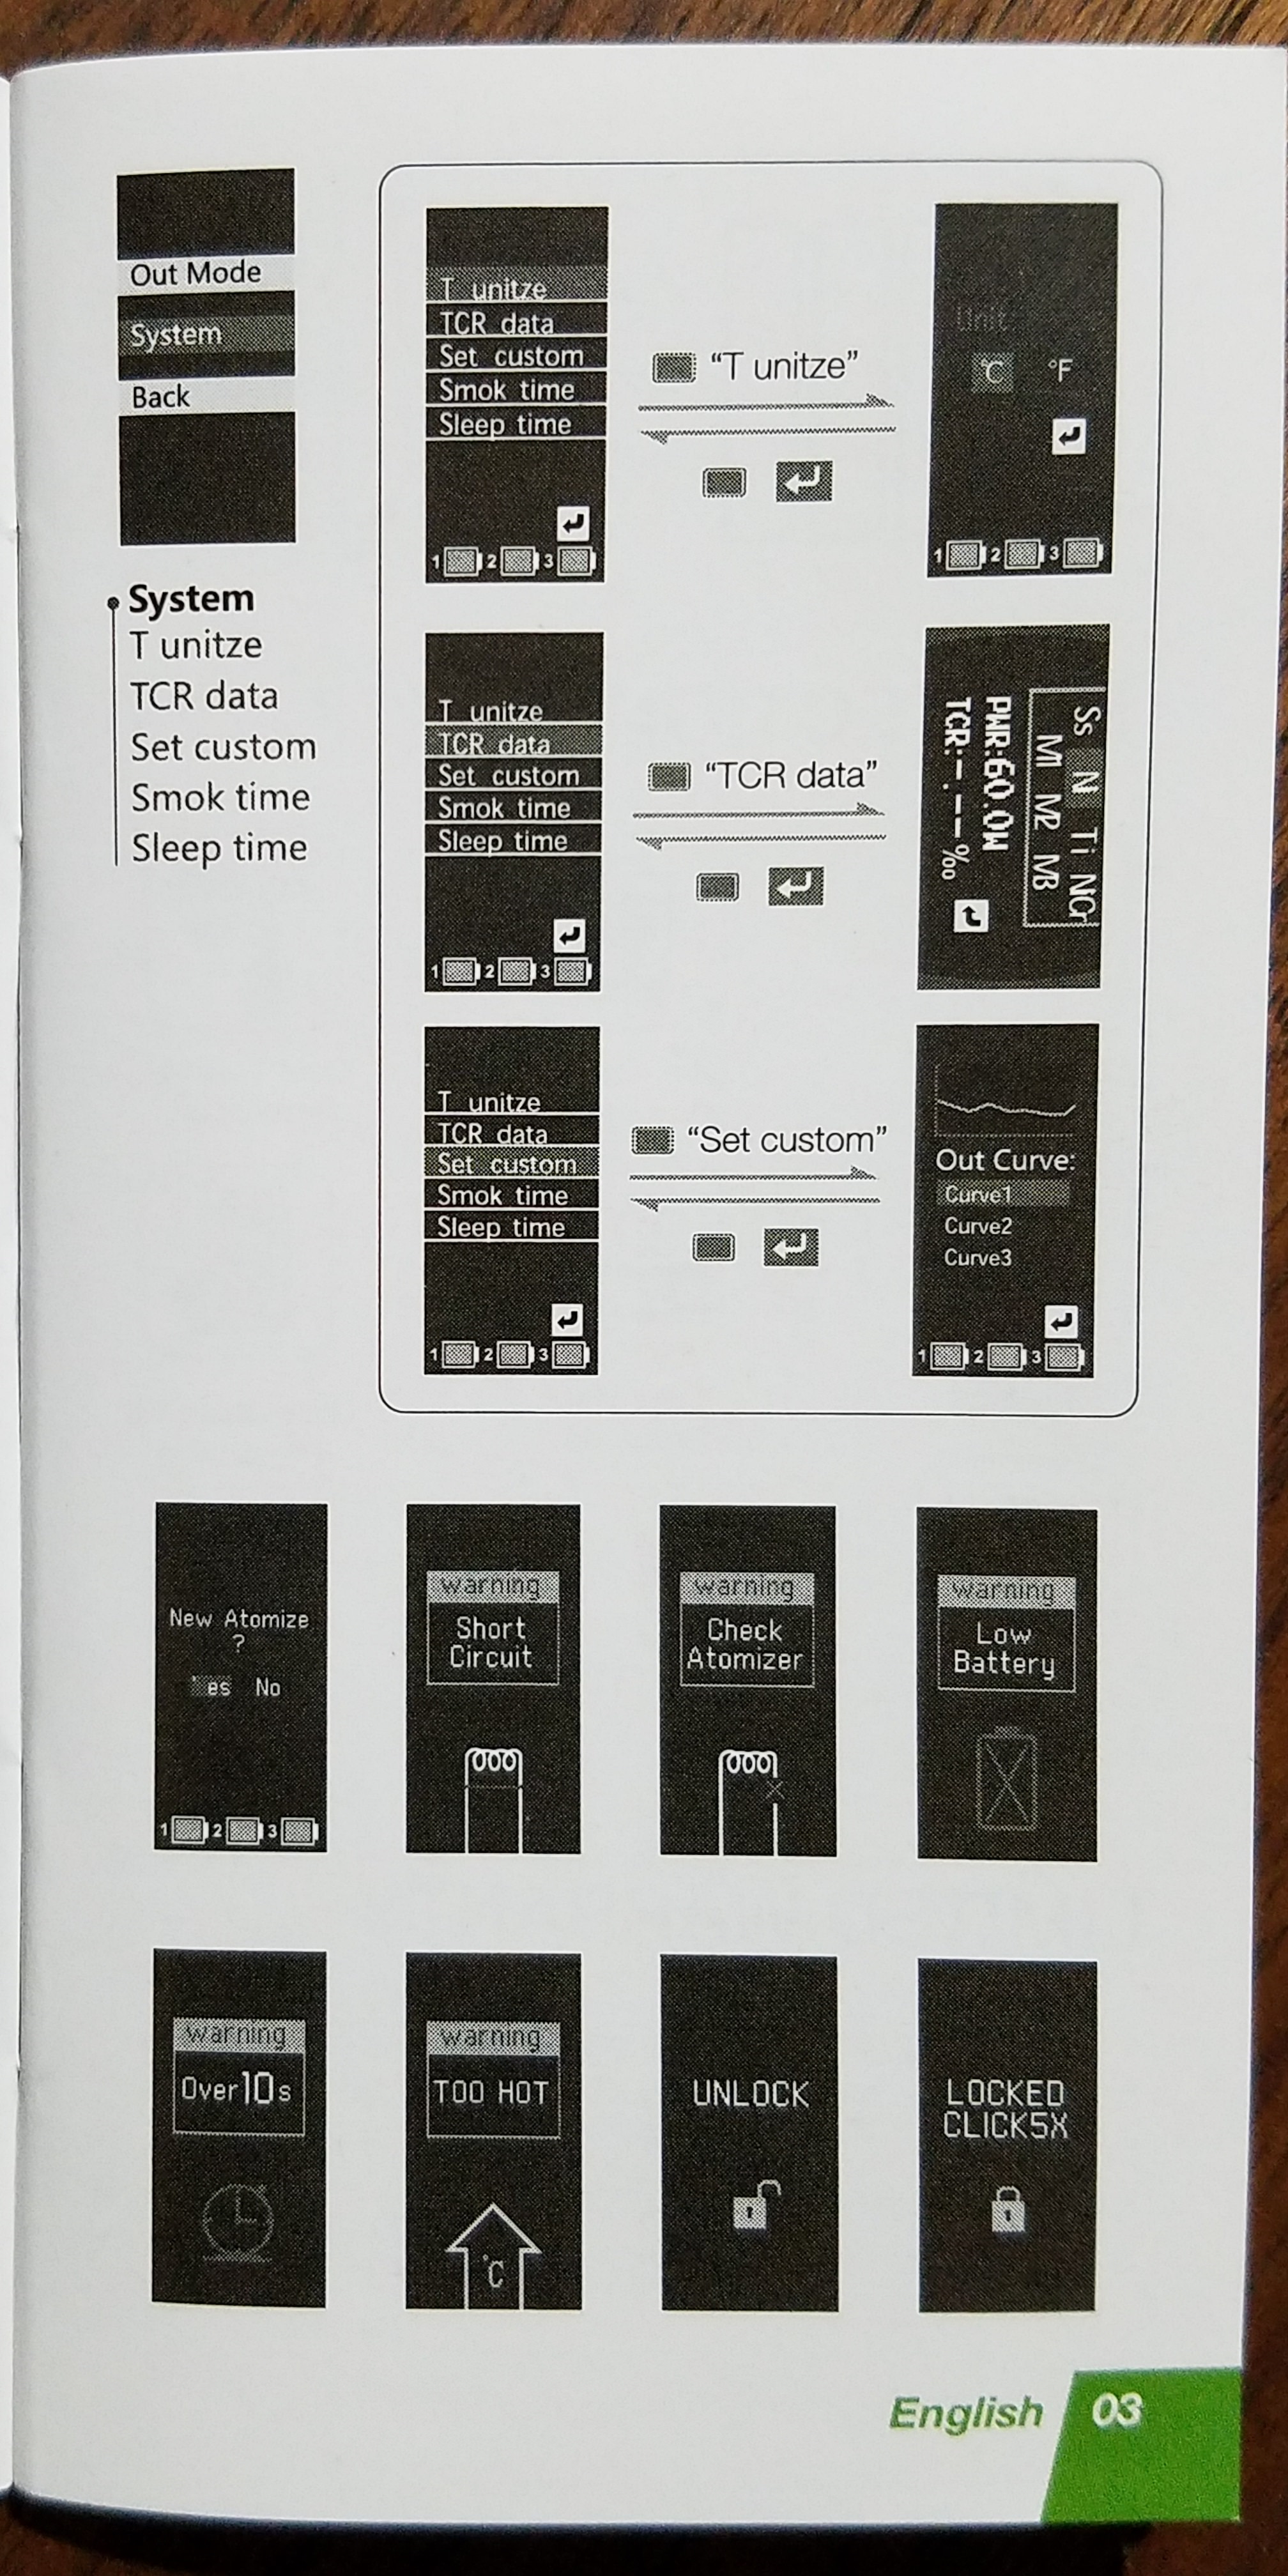
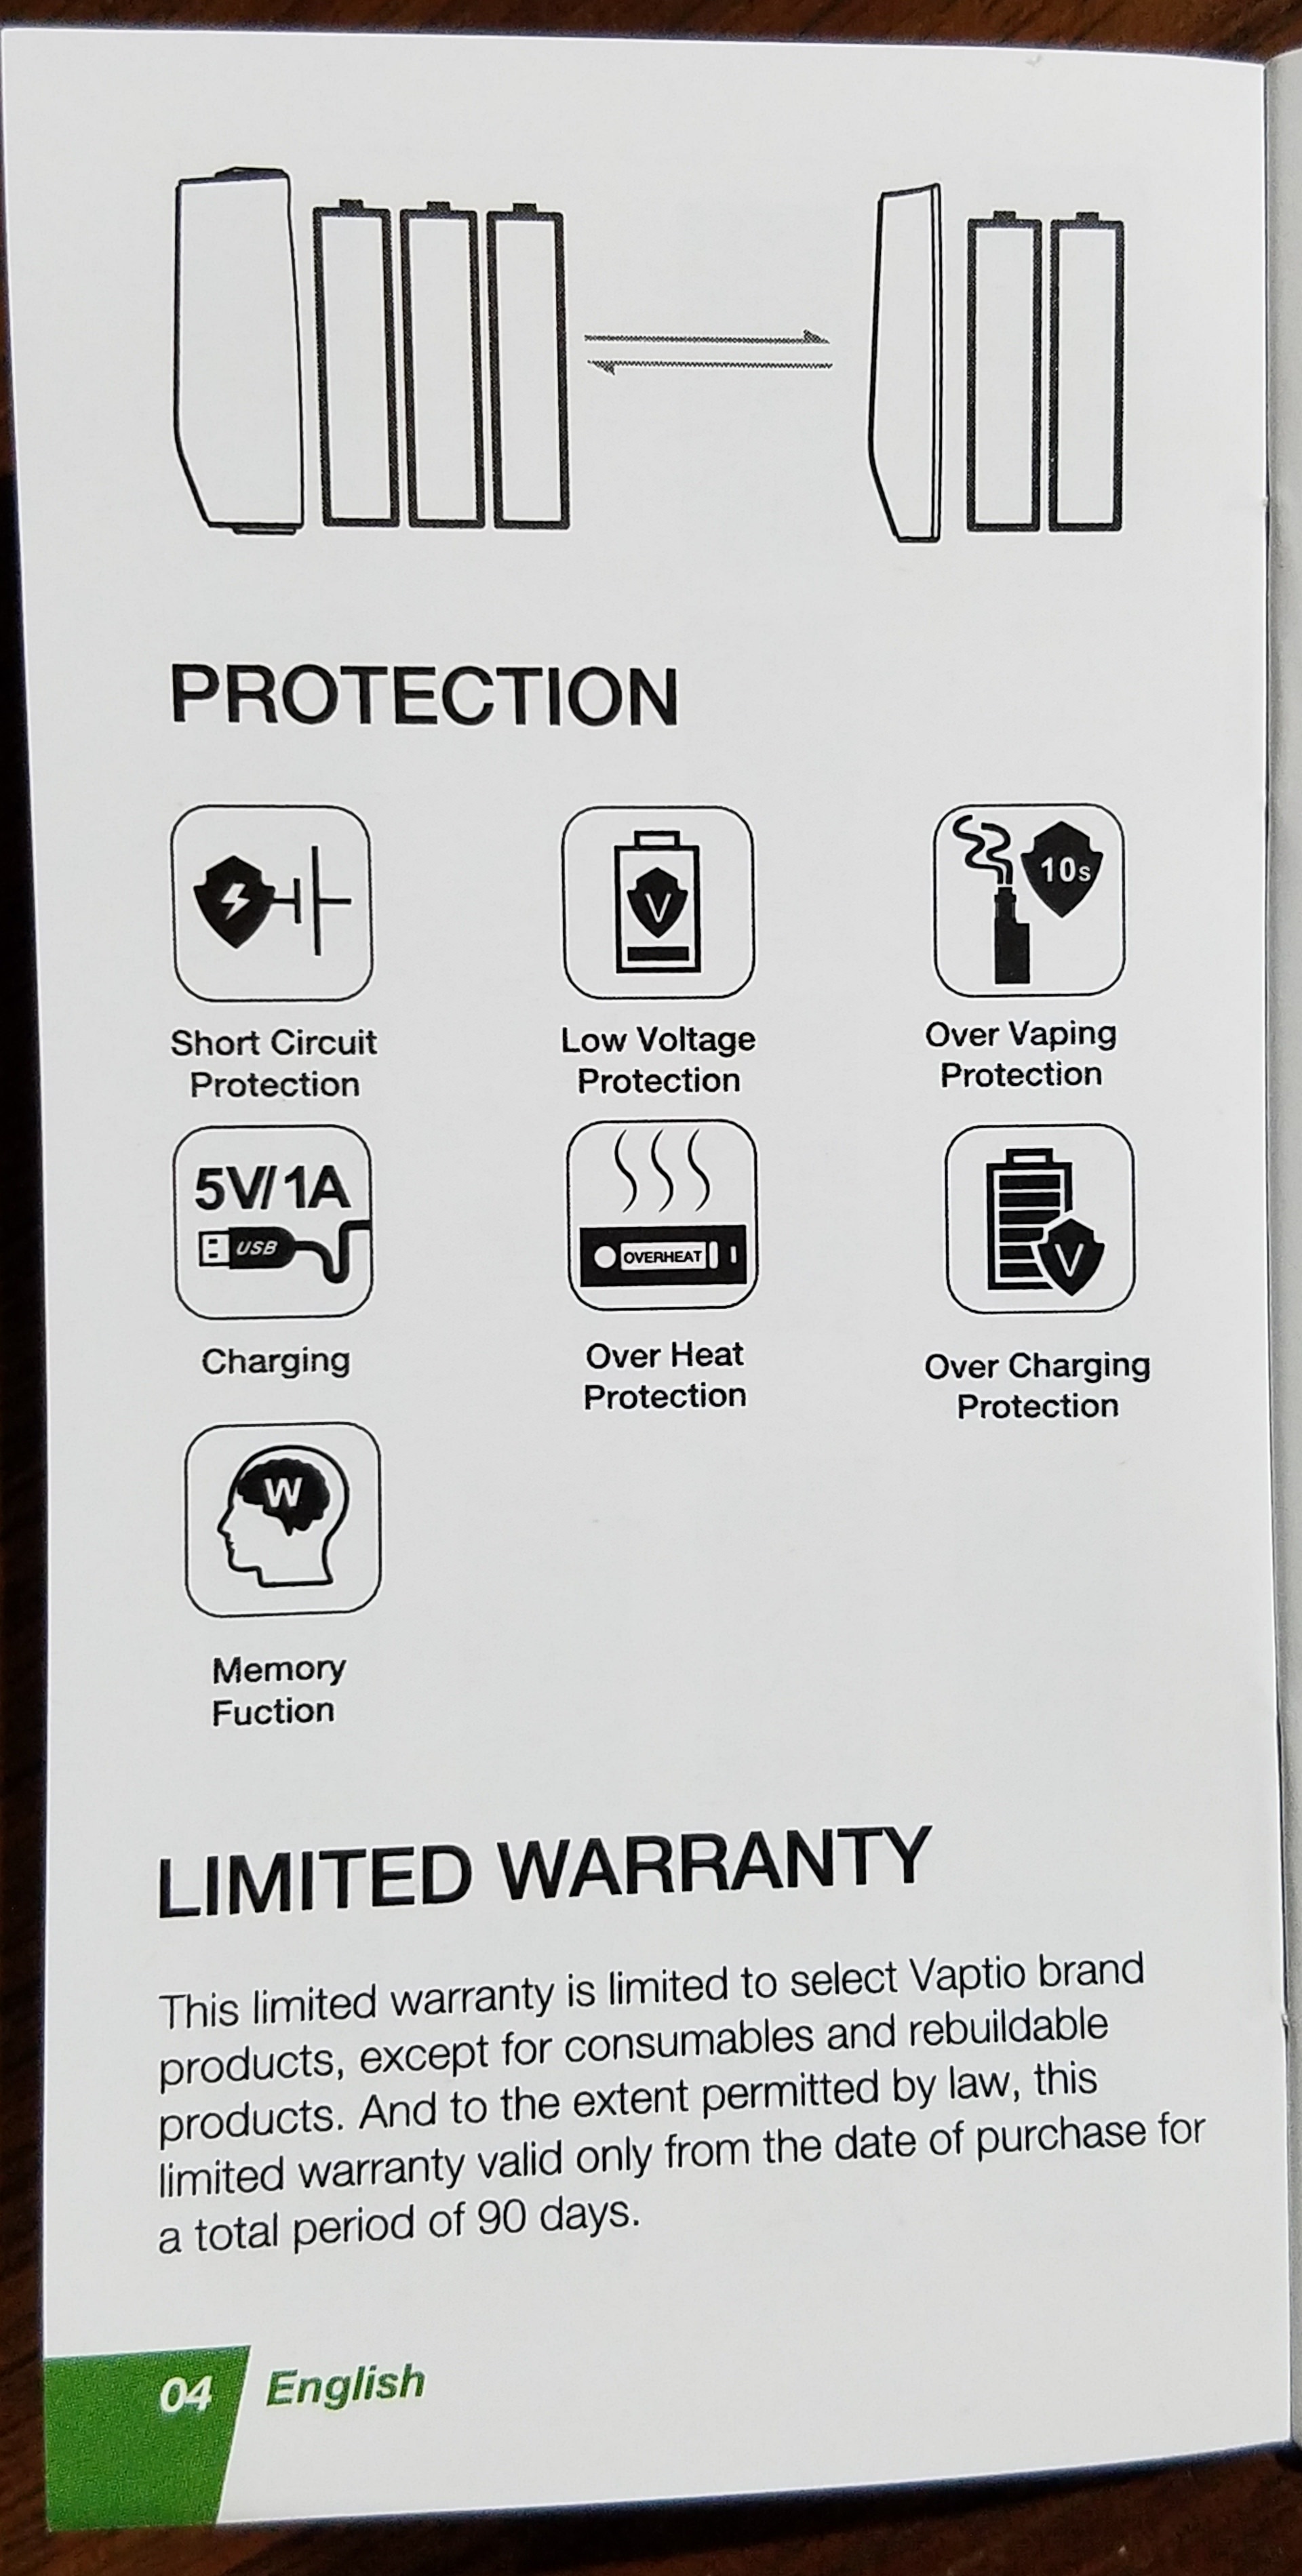
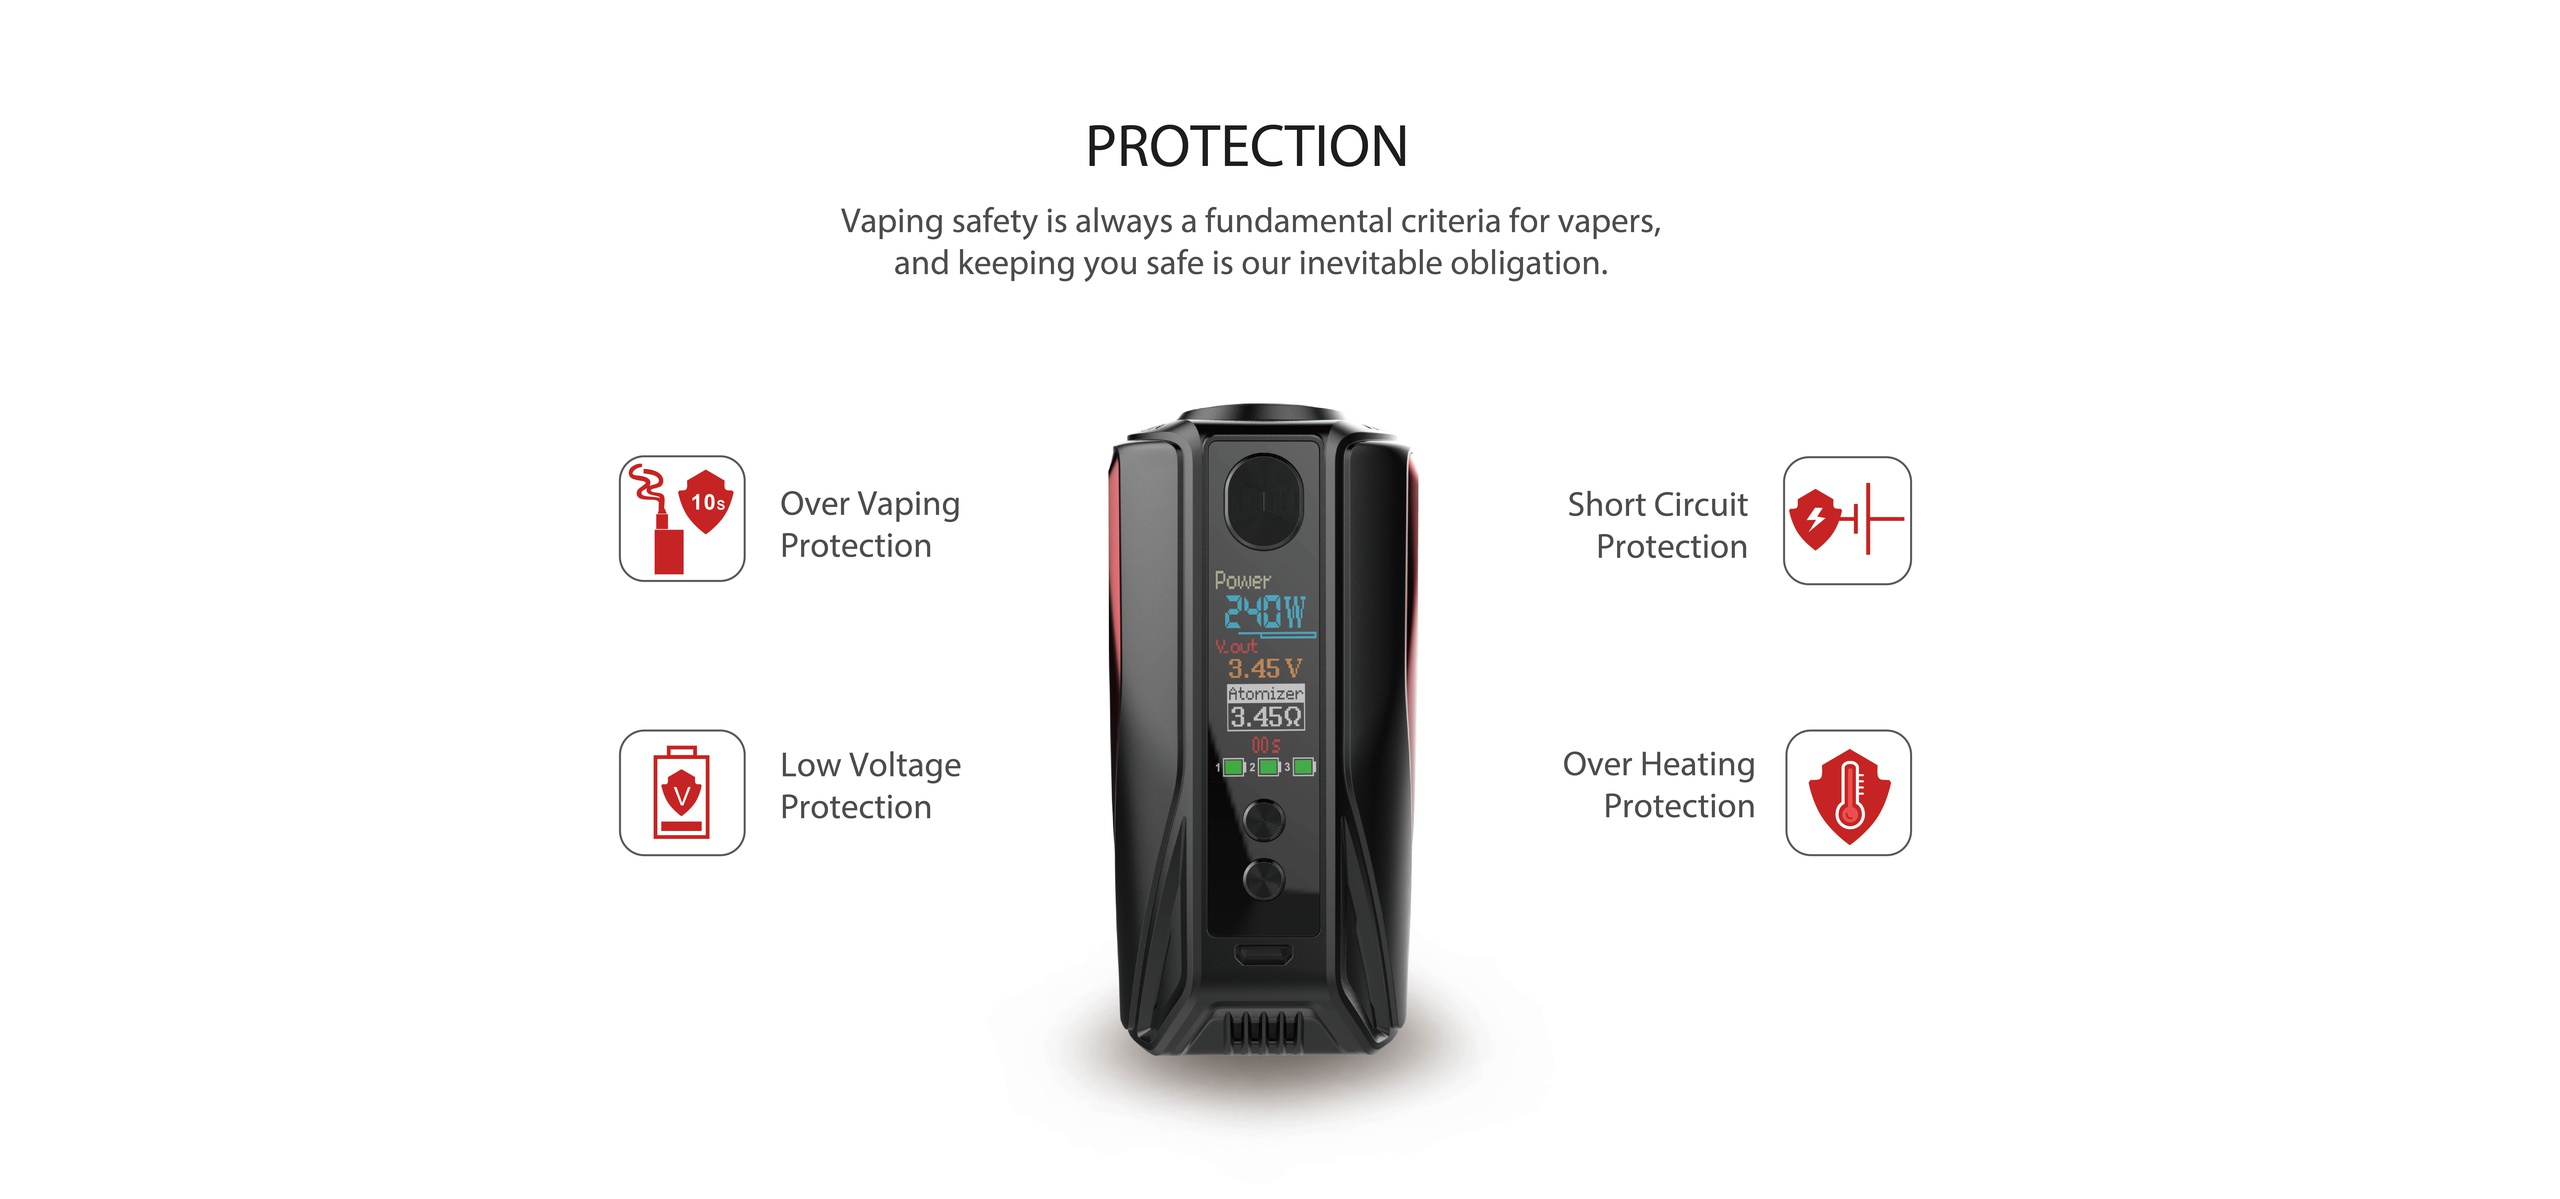
Low Voltage protection
Over Heating protection
Over Vaping protection
Short Circuit protection
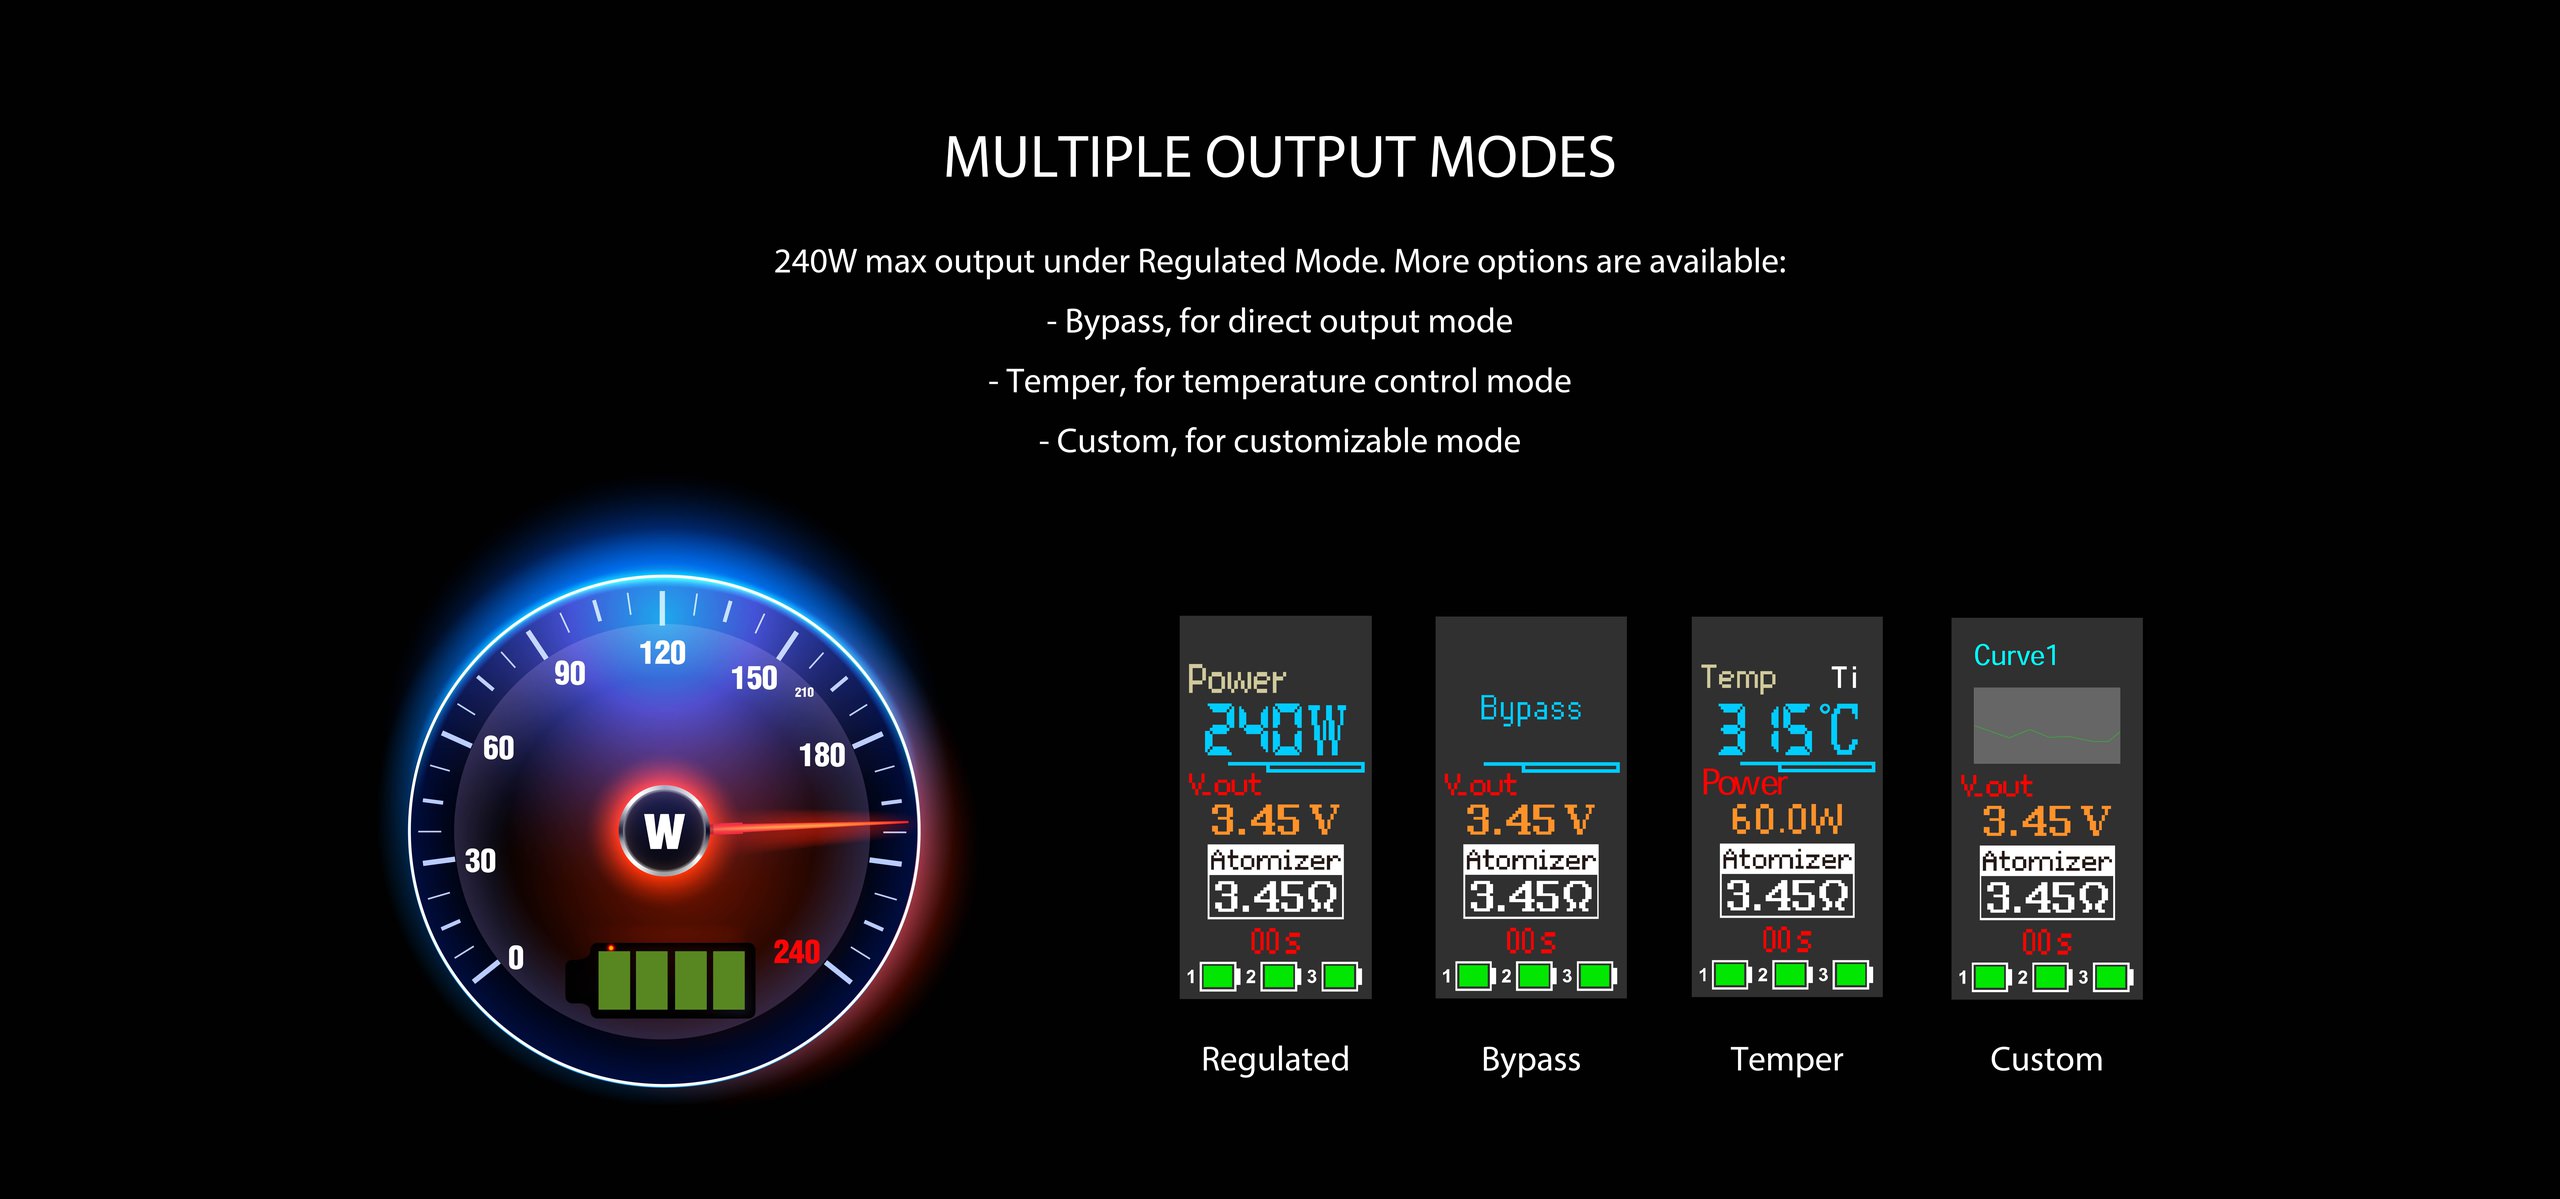
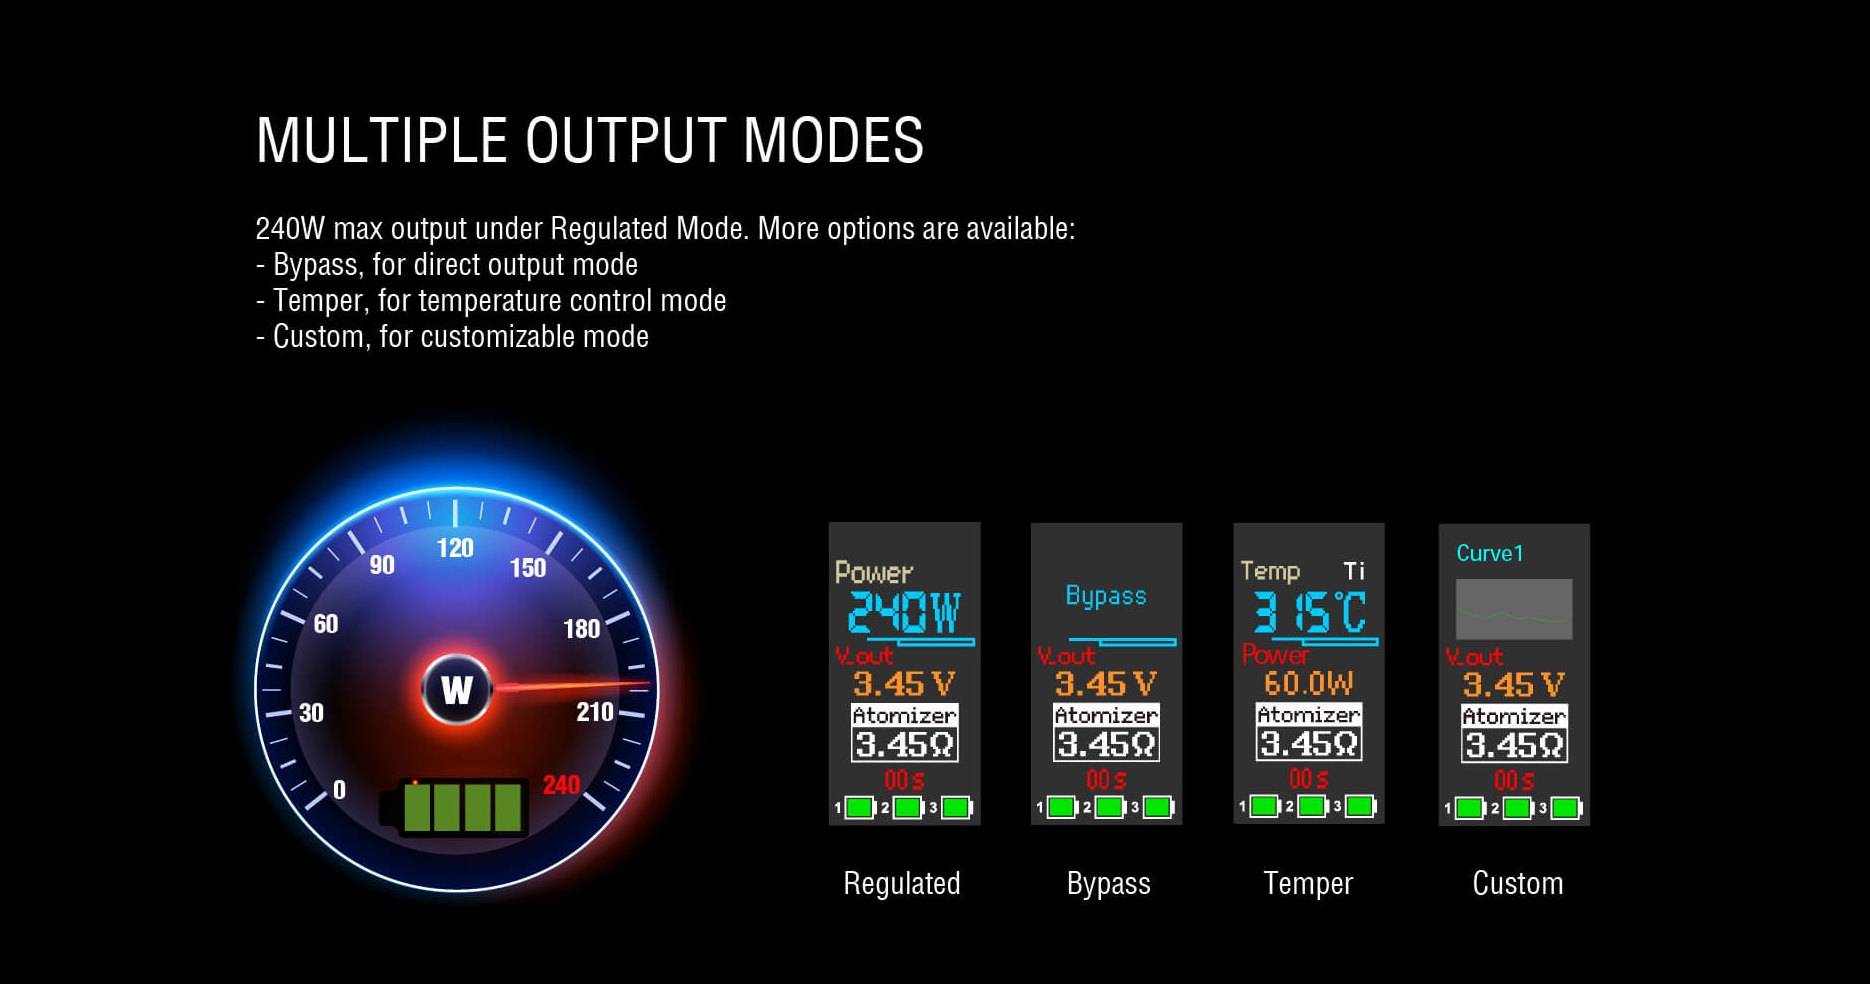
Multiple output modes: 200W/240W max output, Bypass, Temperature, Custom
I have found no mention of firmware upgradability and I did not disassemble it to look at the board, so I cannot confirm nor deny.
While I am not one that walks around shaking my mod, I can say there is no rattle of any type on this mod.
No idea why this is a thing or who cares about it, but it seems at least one person asks on every mod, so I figured I'd mention it.
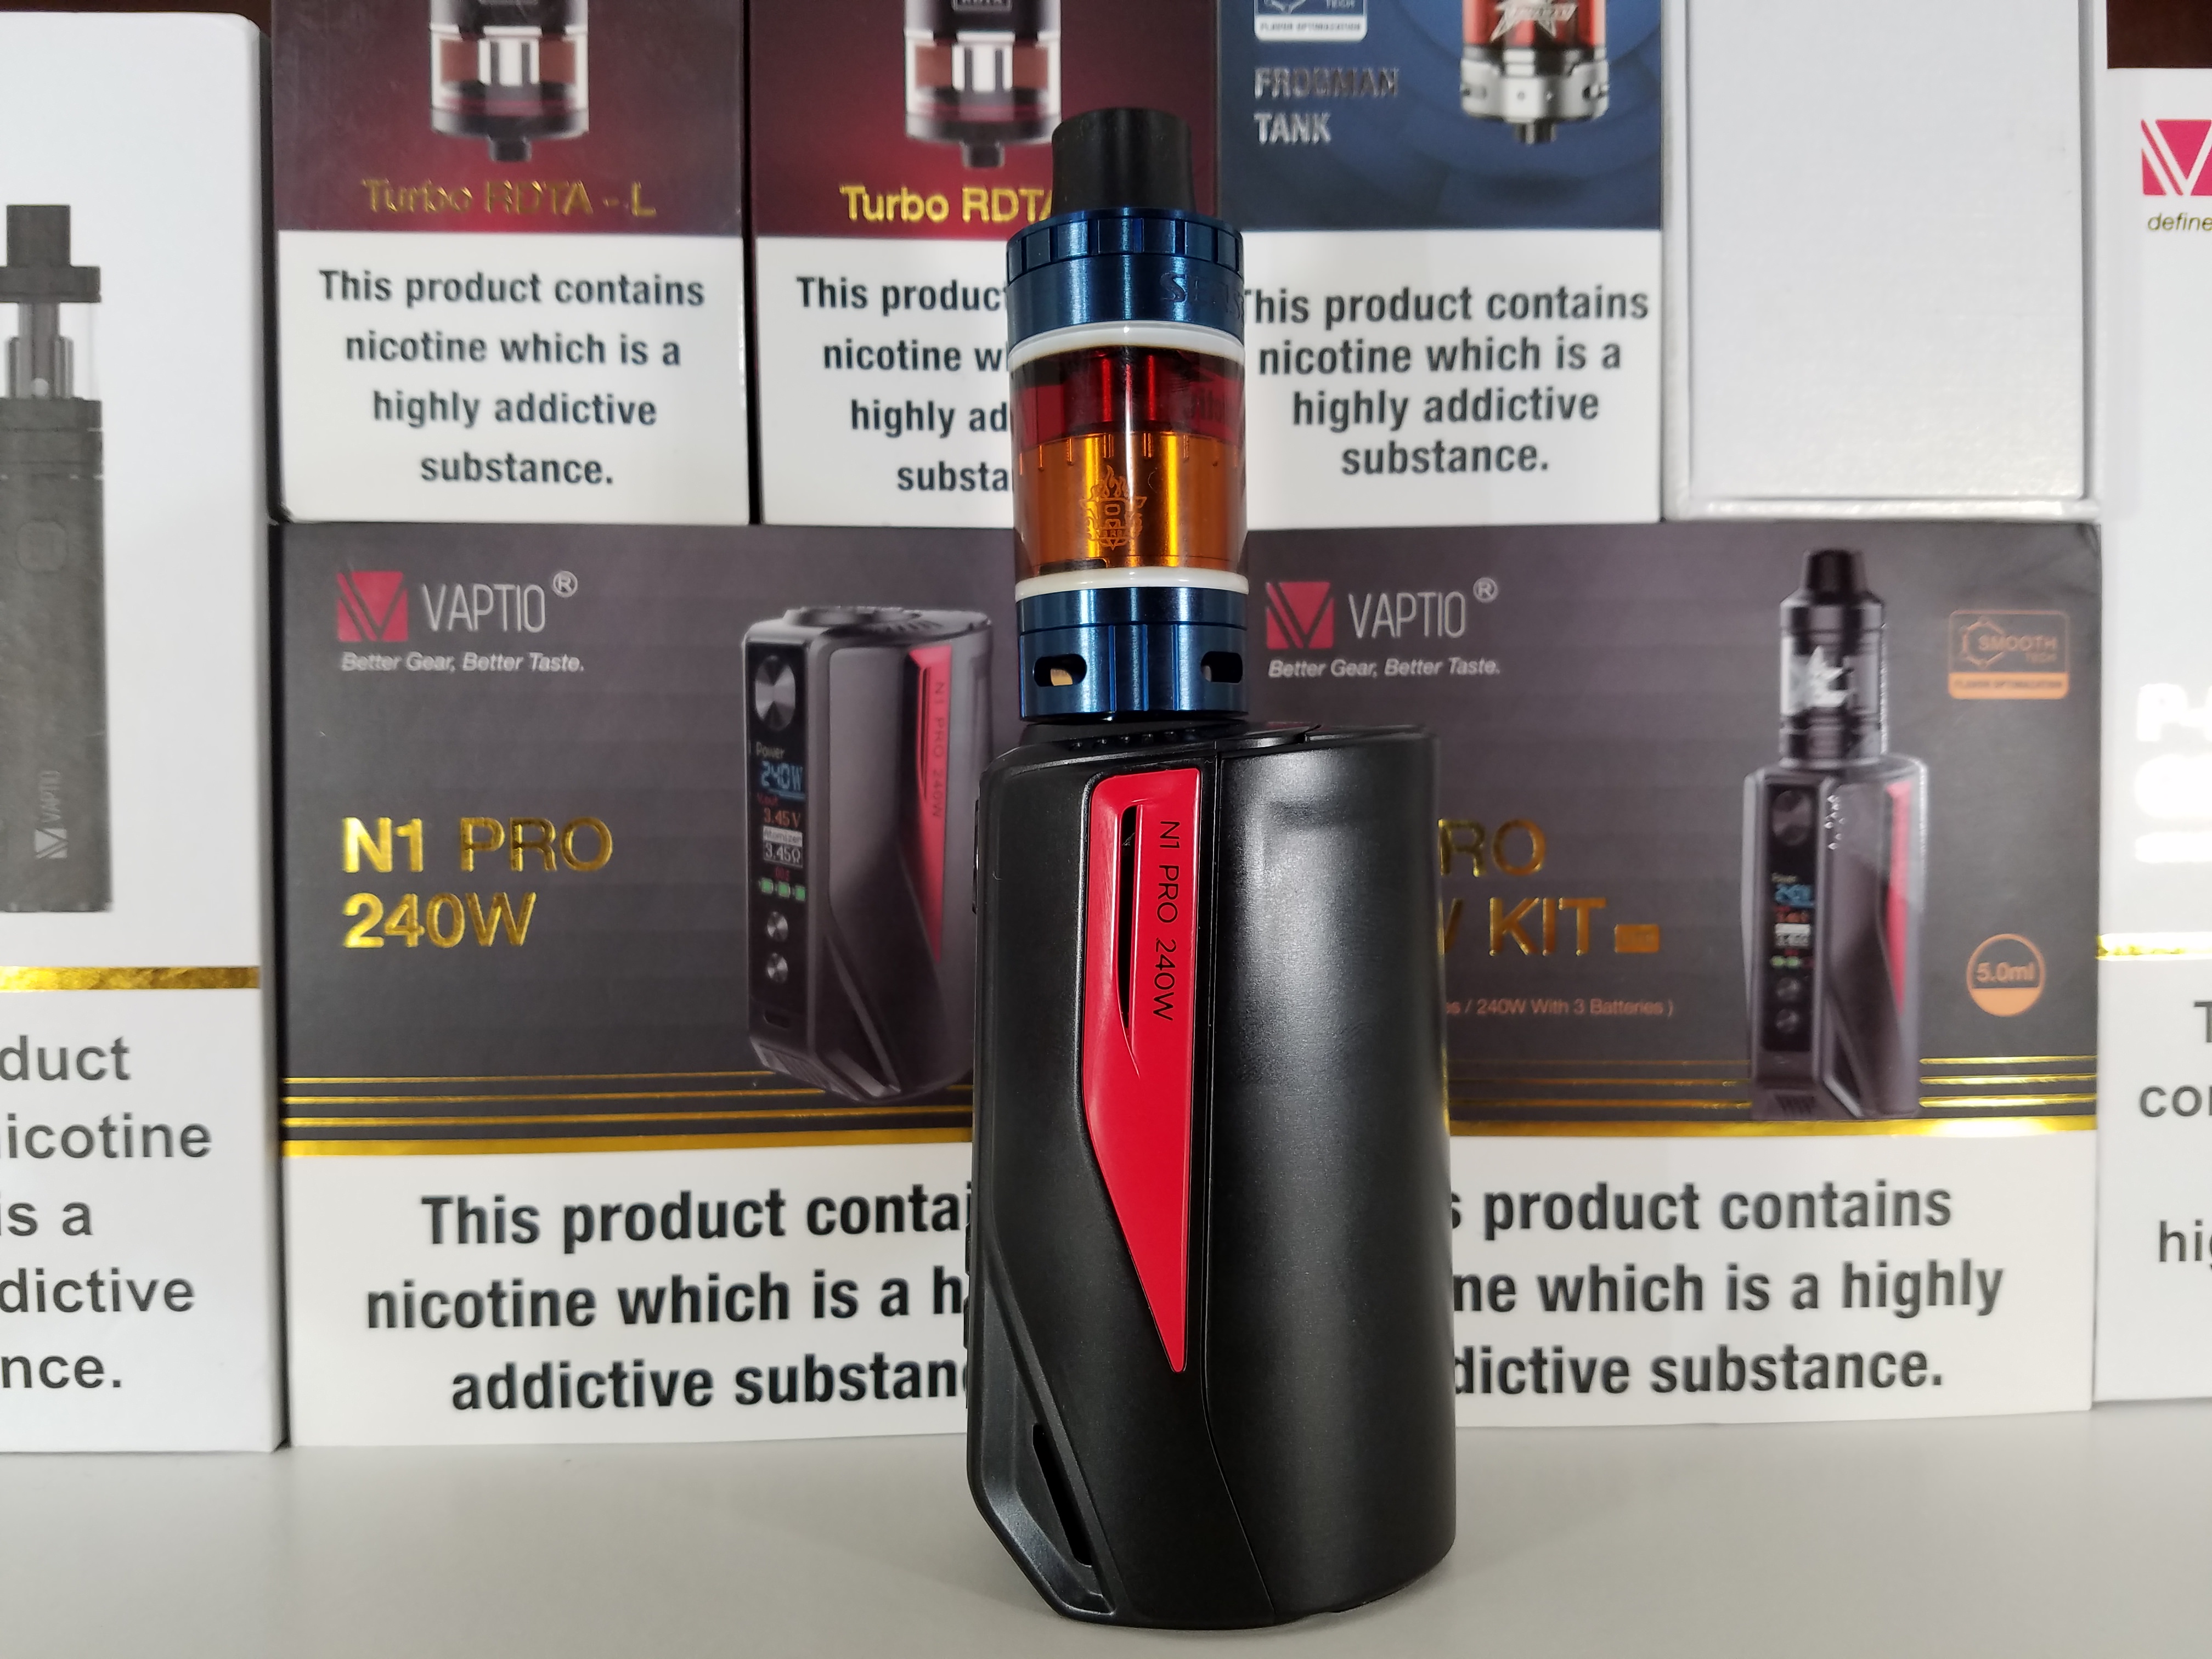
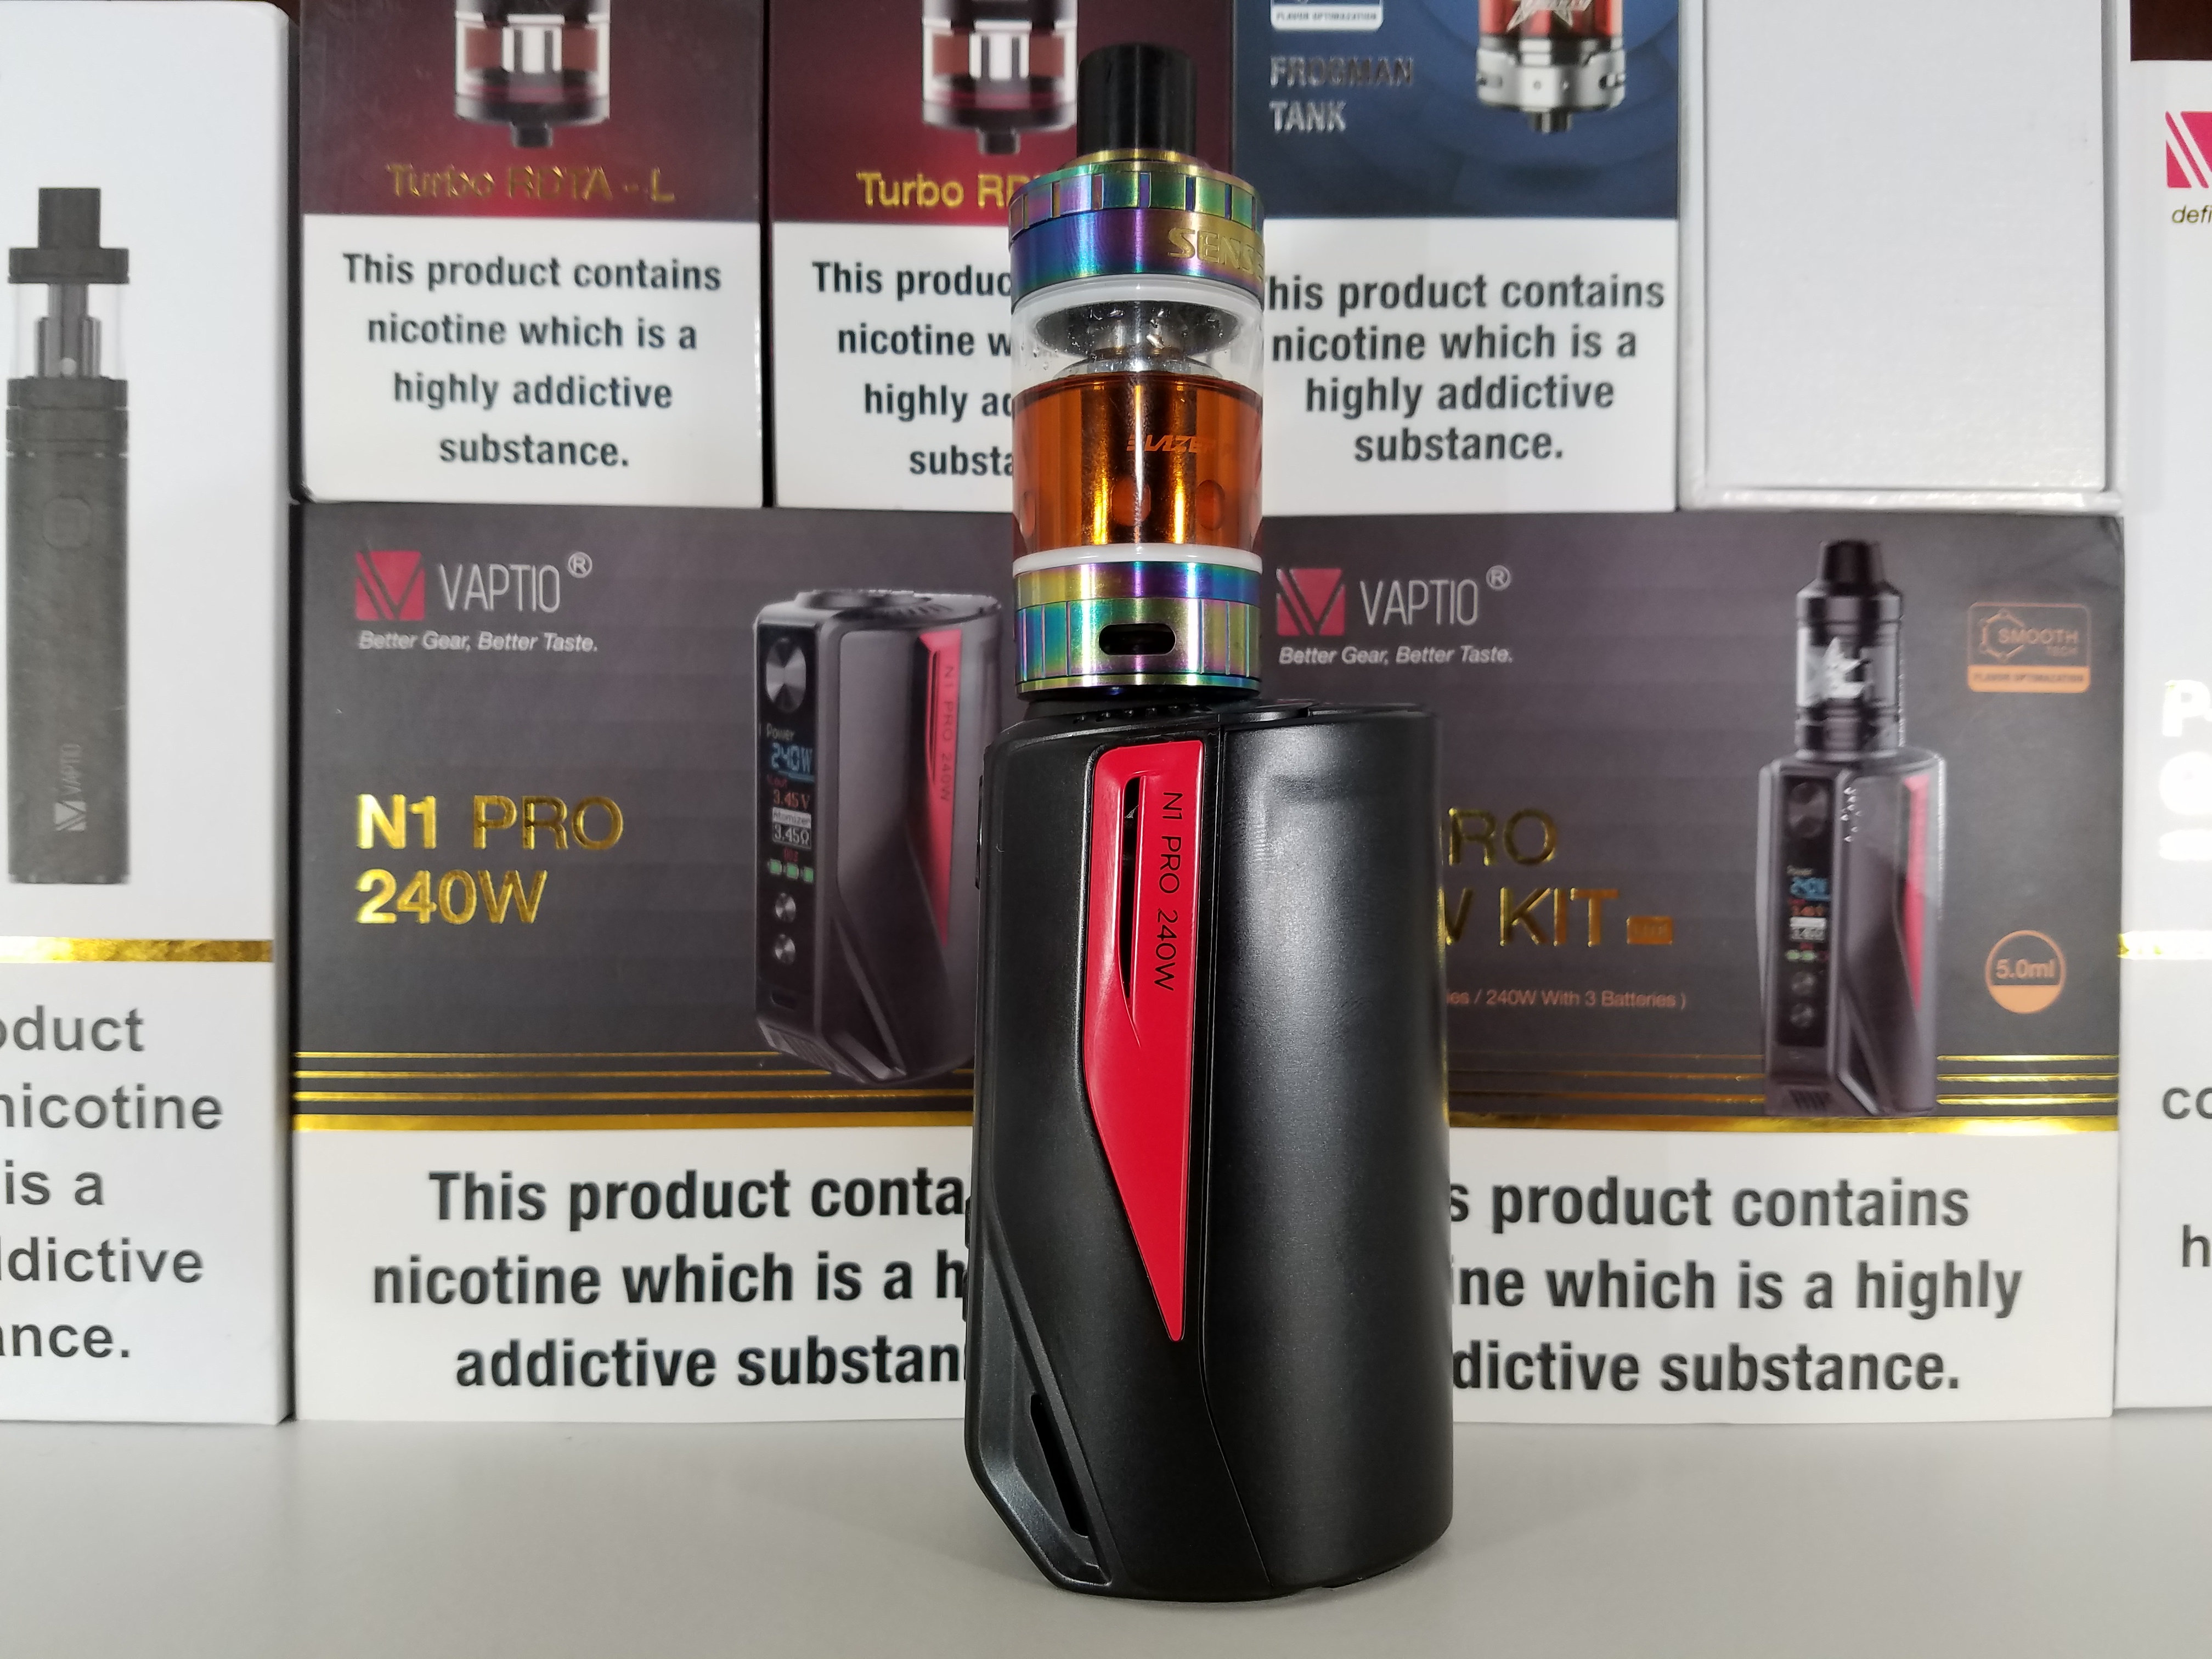
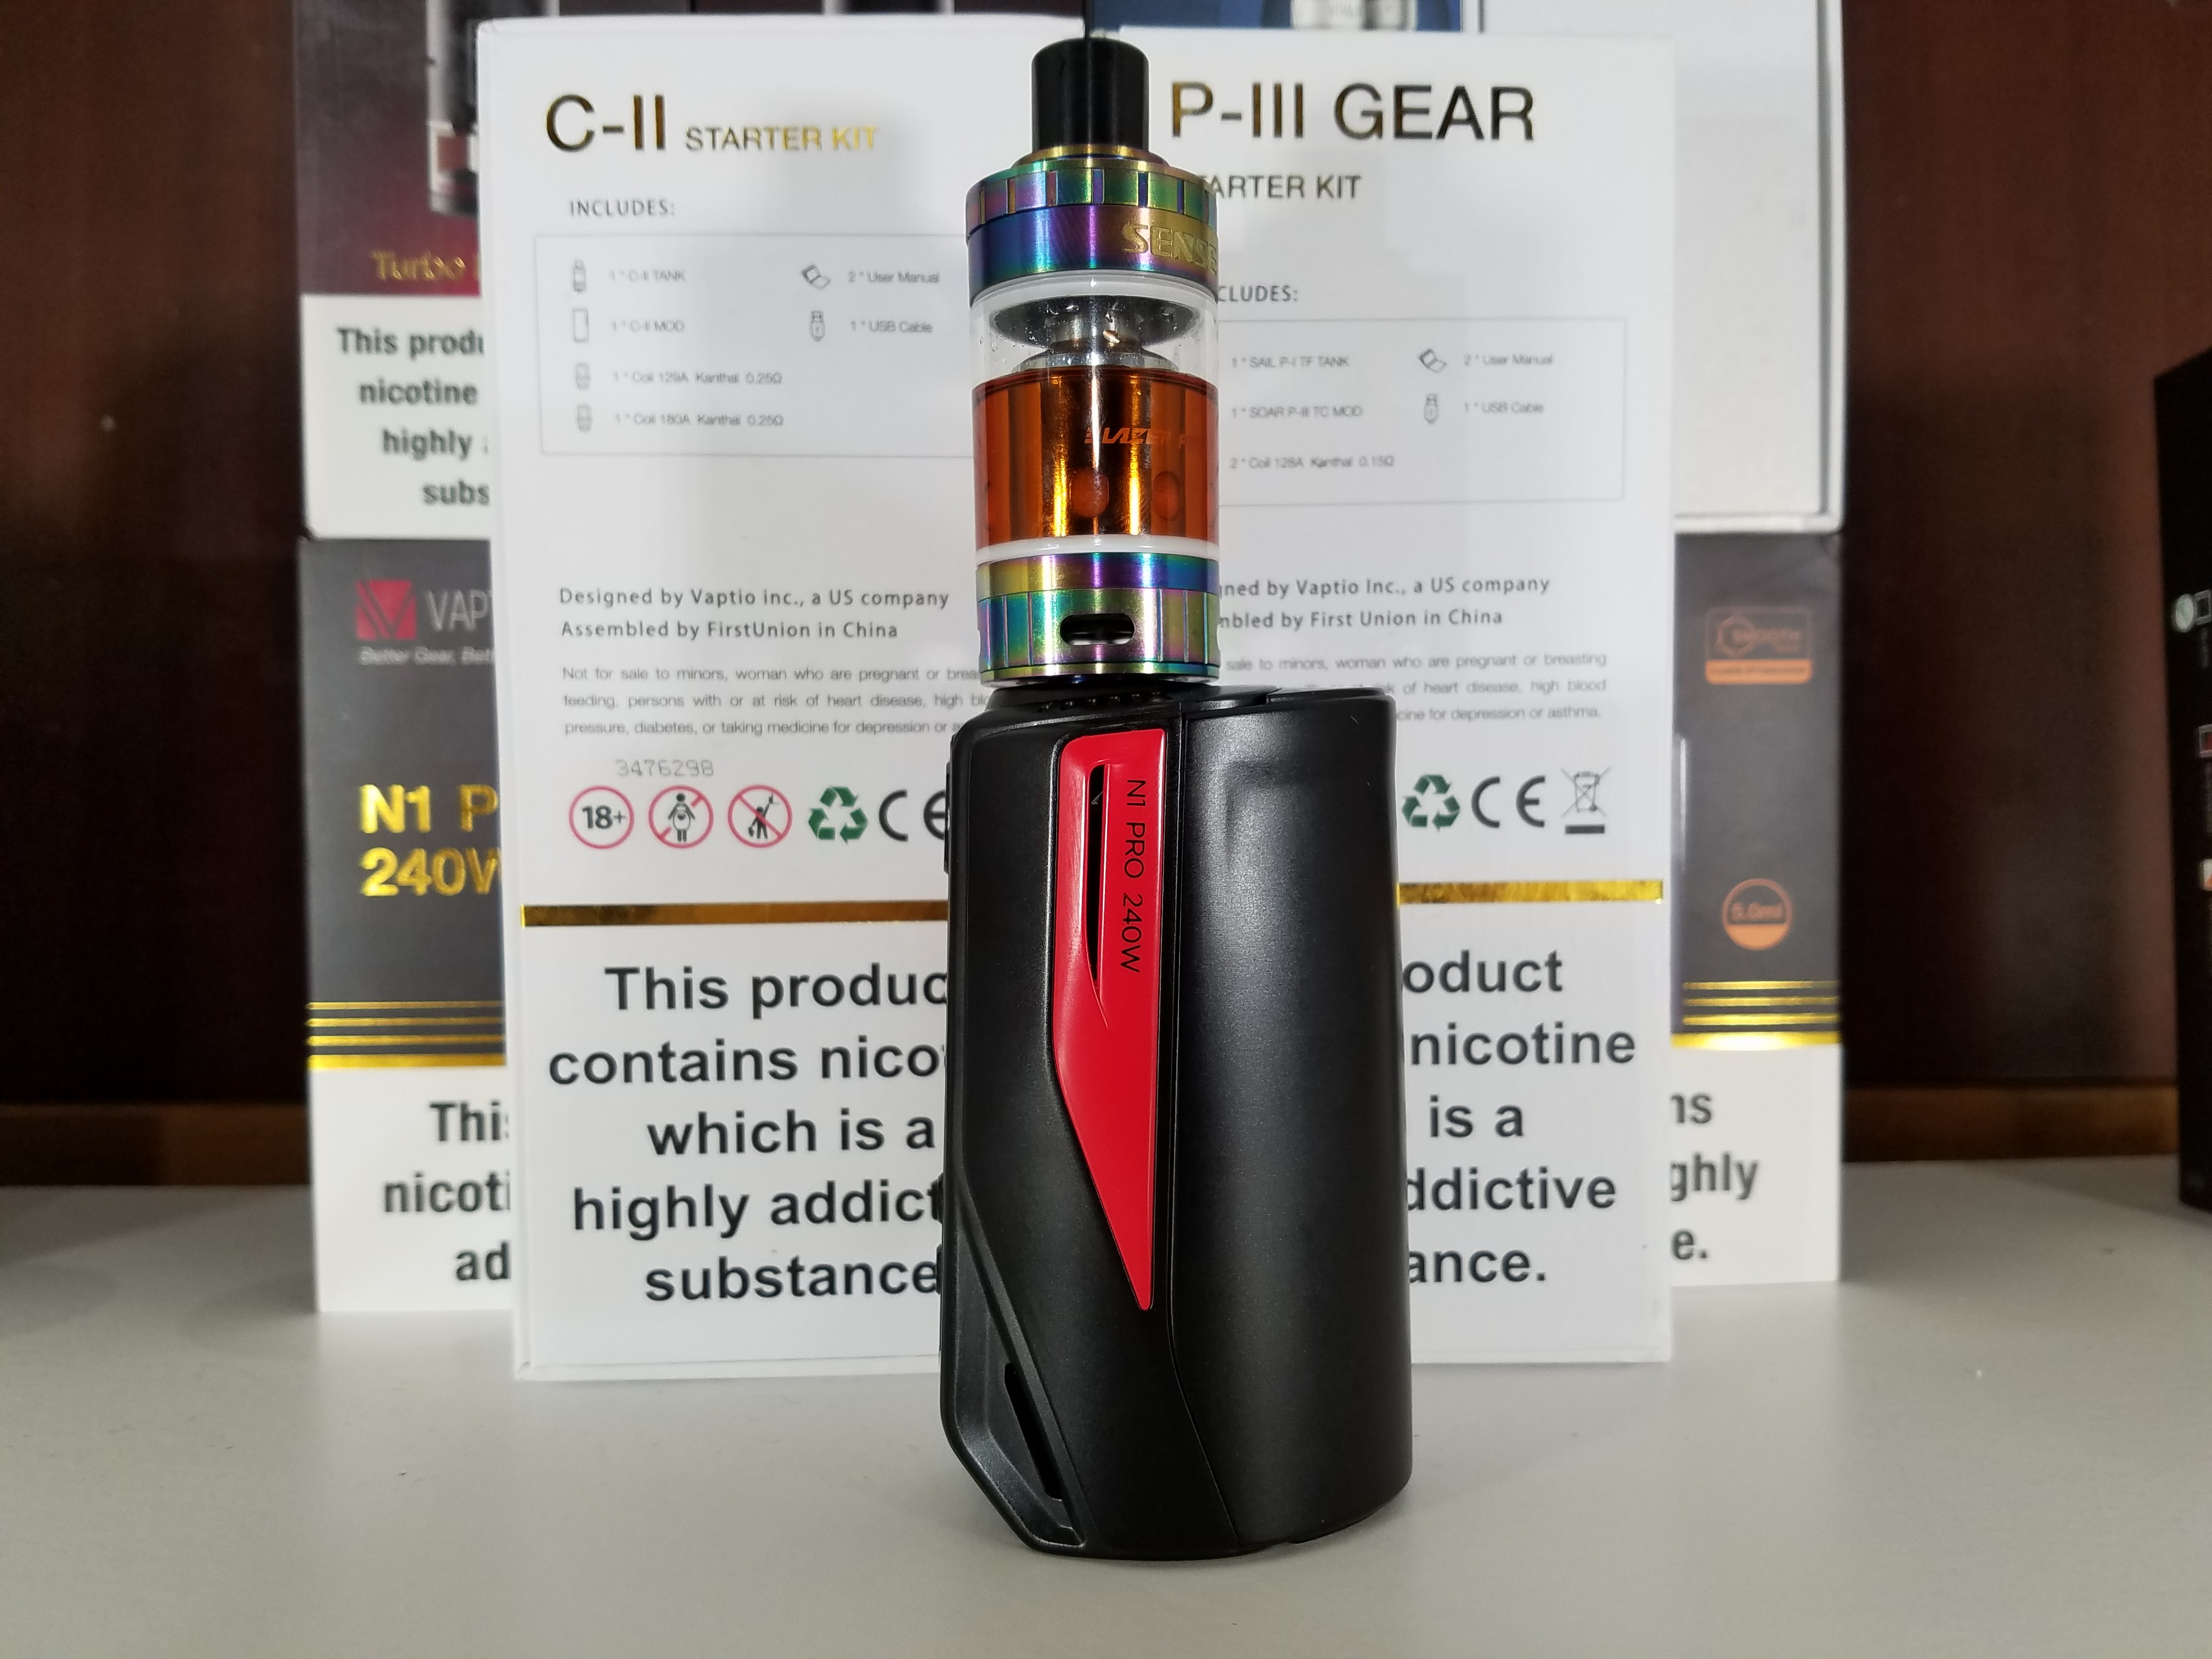
This is a very solid built mod.
The TC works exceptionally well. (as if you expected anything different)
You can choose from Ni, Ti, SS, and NiCr in TC mode.
While I did not dig out an oscilloscope, it seems to be pretty accurate.
It has Power Curve mode with 3 presets
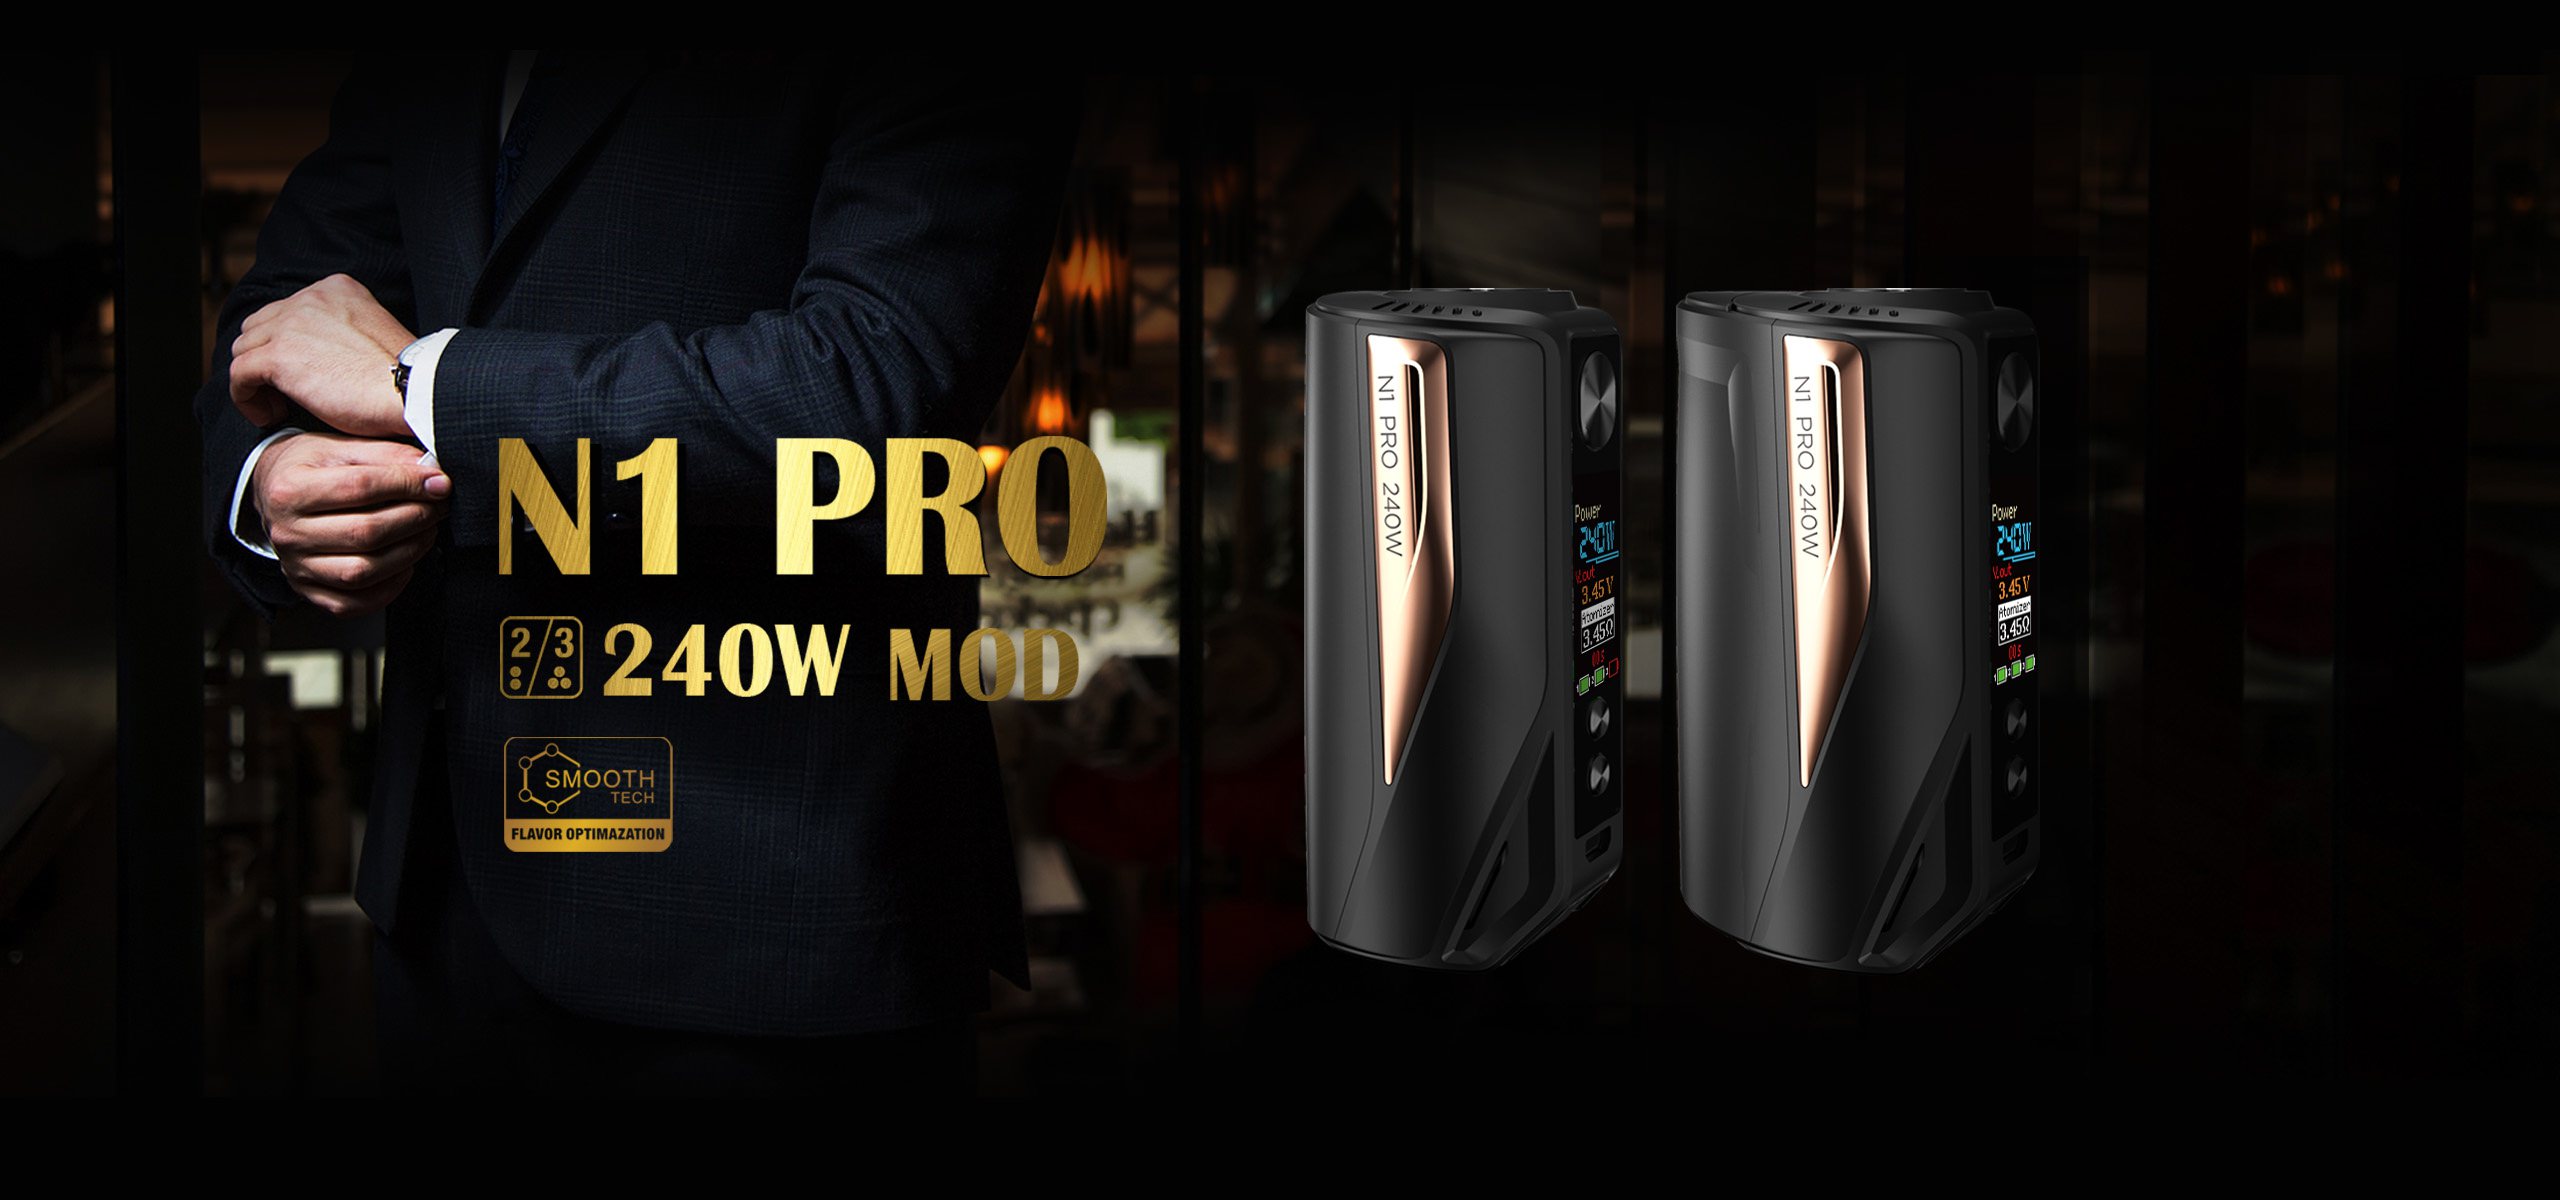
It is large, it is heavy, it needs to be registered with your local law enforcement as a weapon, it .... oh wait, strike that last one.
When you hit the fire button, your coils are almost immediately activated.
It is very quick.
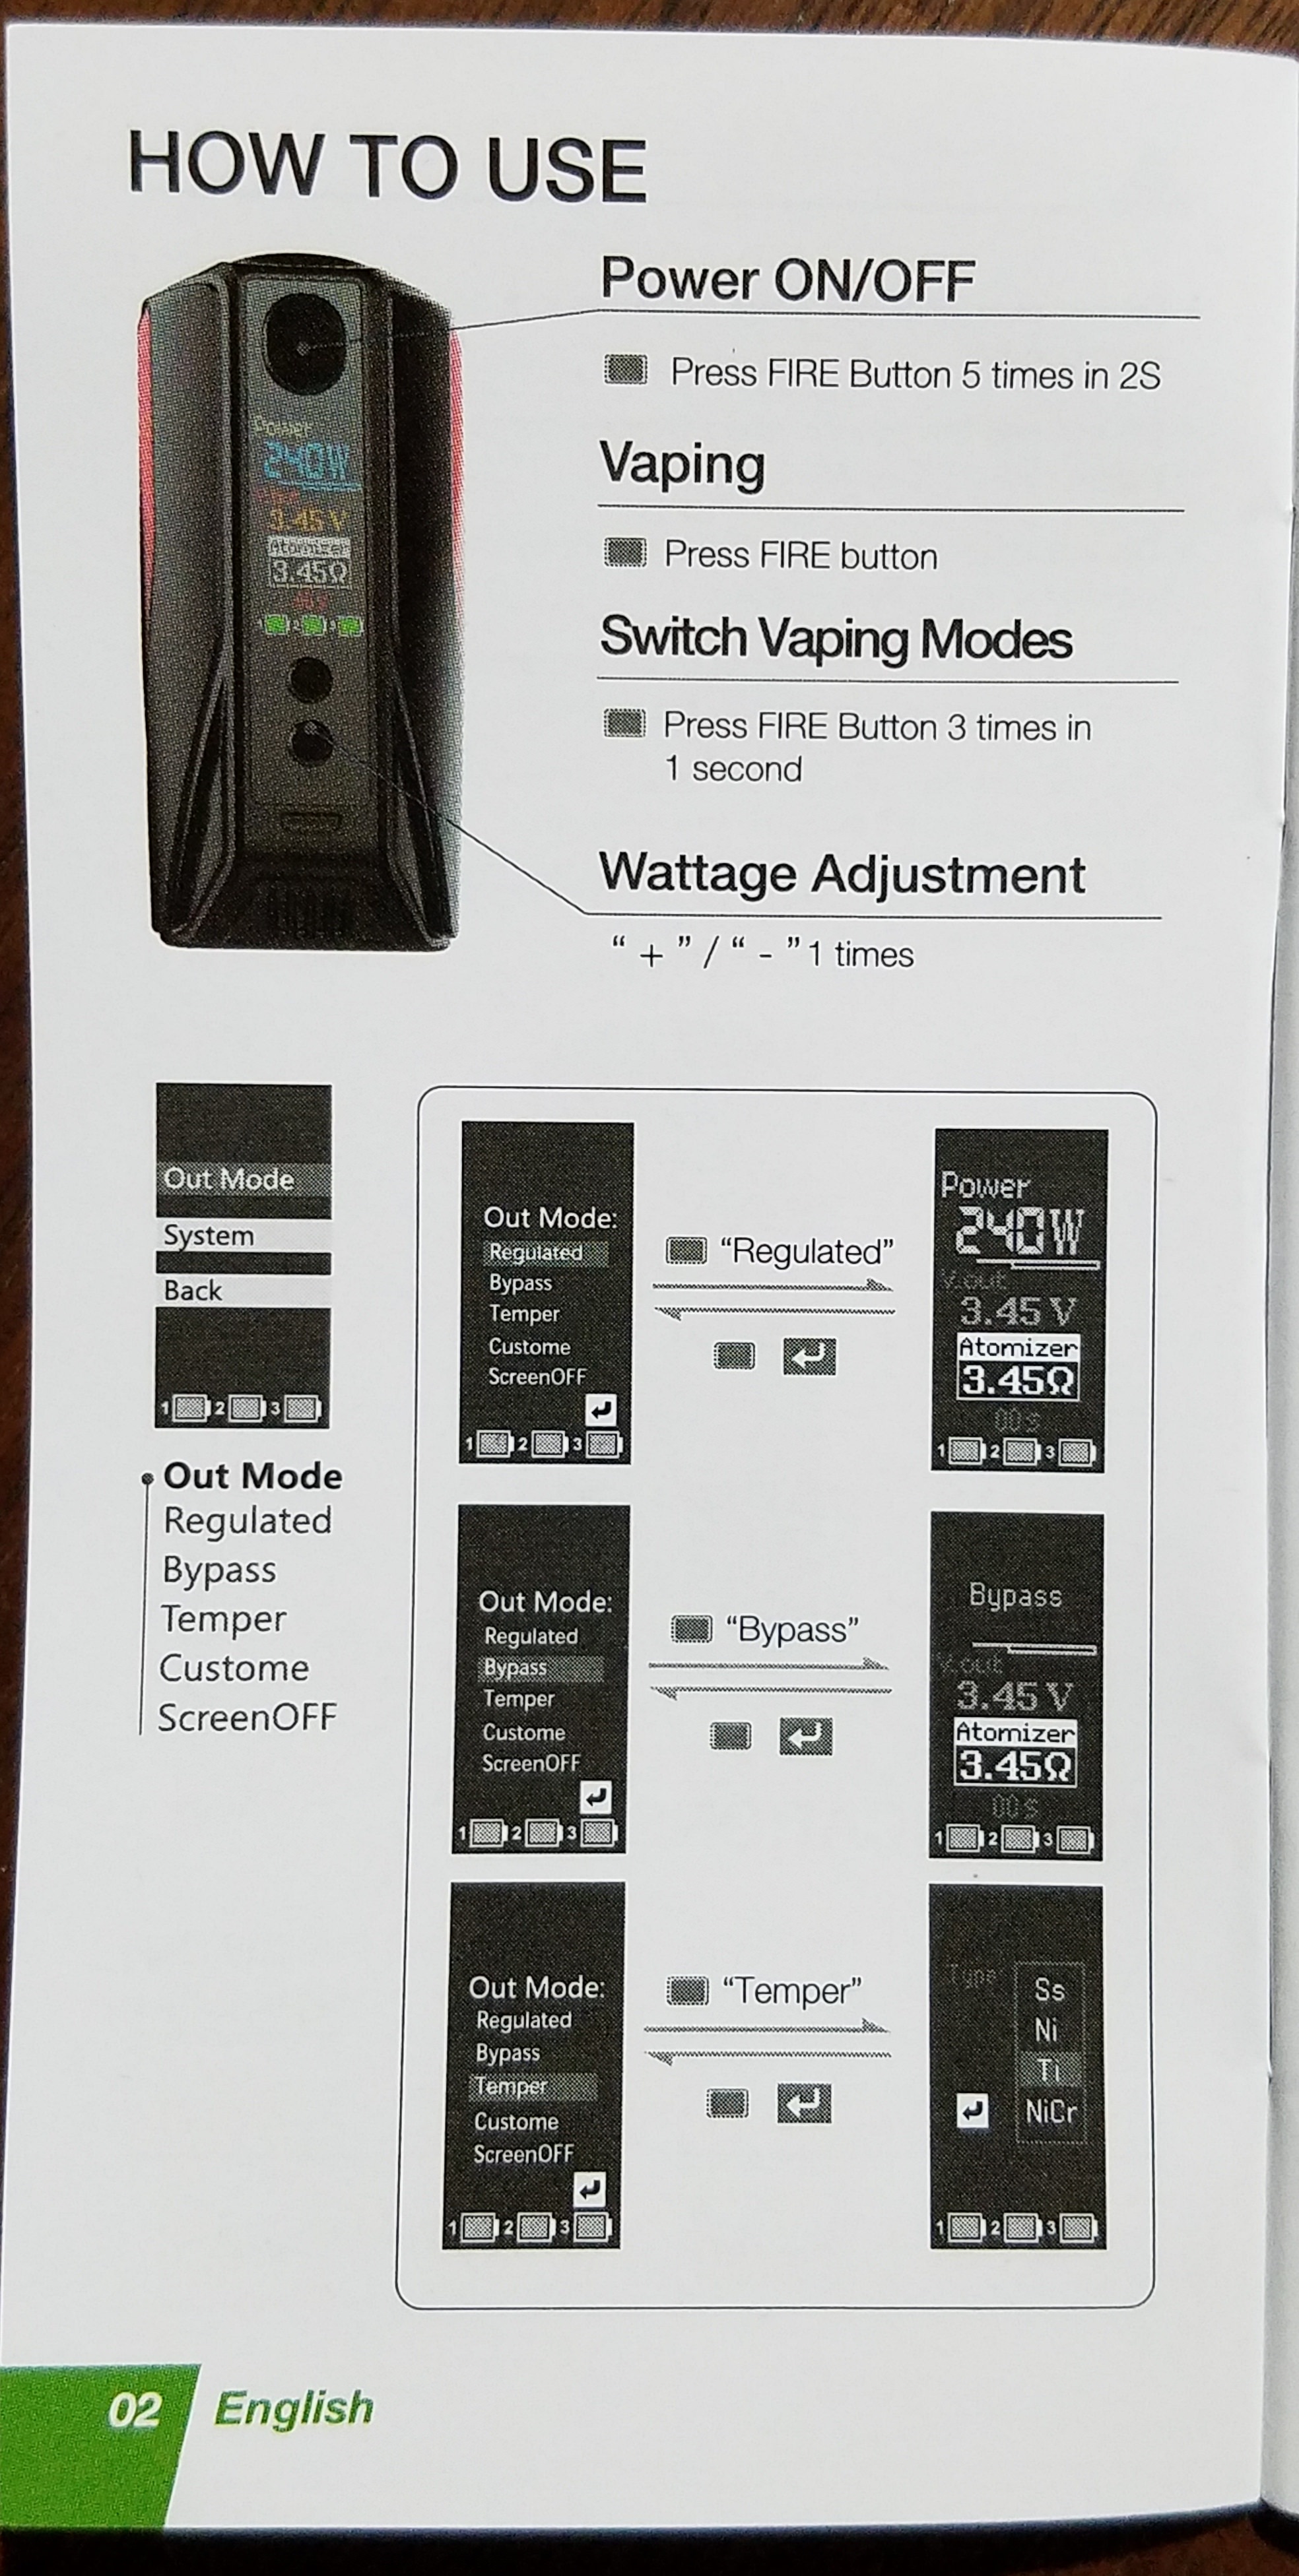
Just like 90% of all other regulated mods on the market, 5 clicks of the fire button to turn it on and 3 clicks to get into the menu.
All three buttons are clicky and textured.
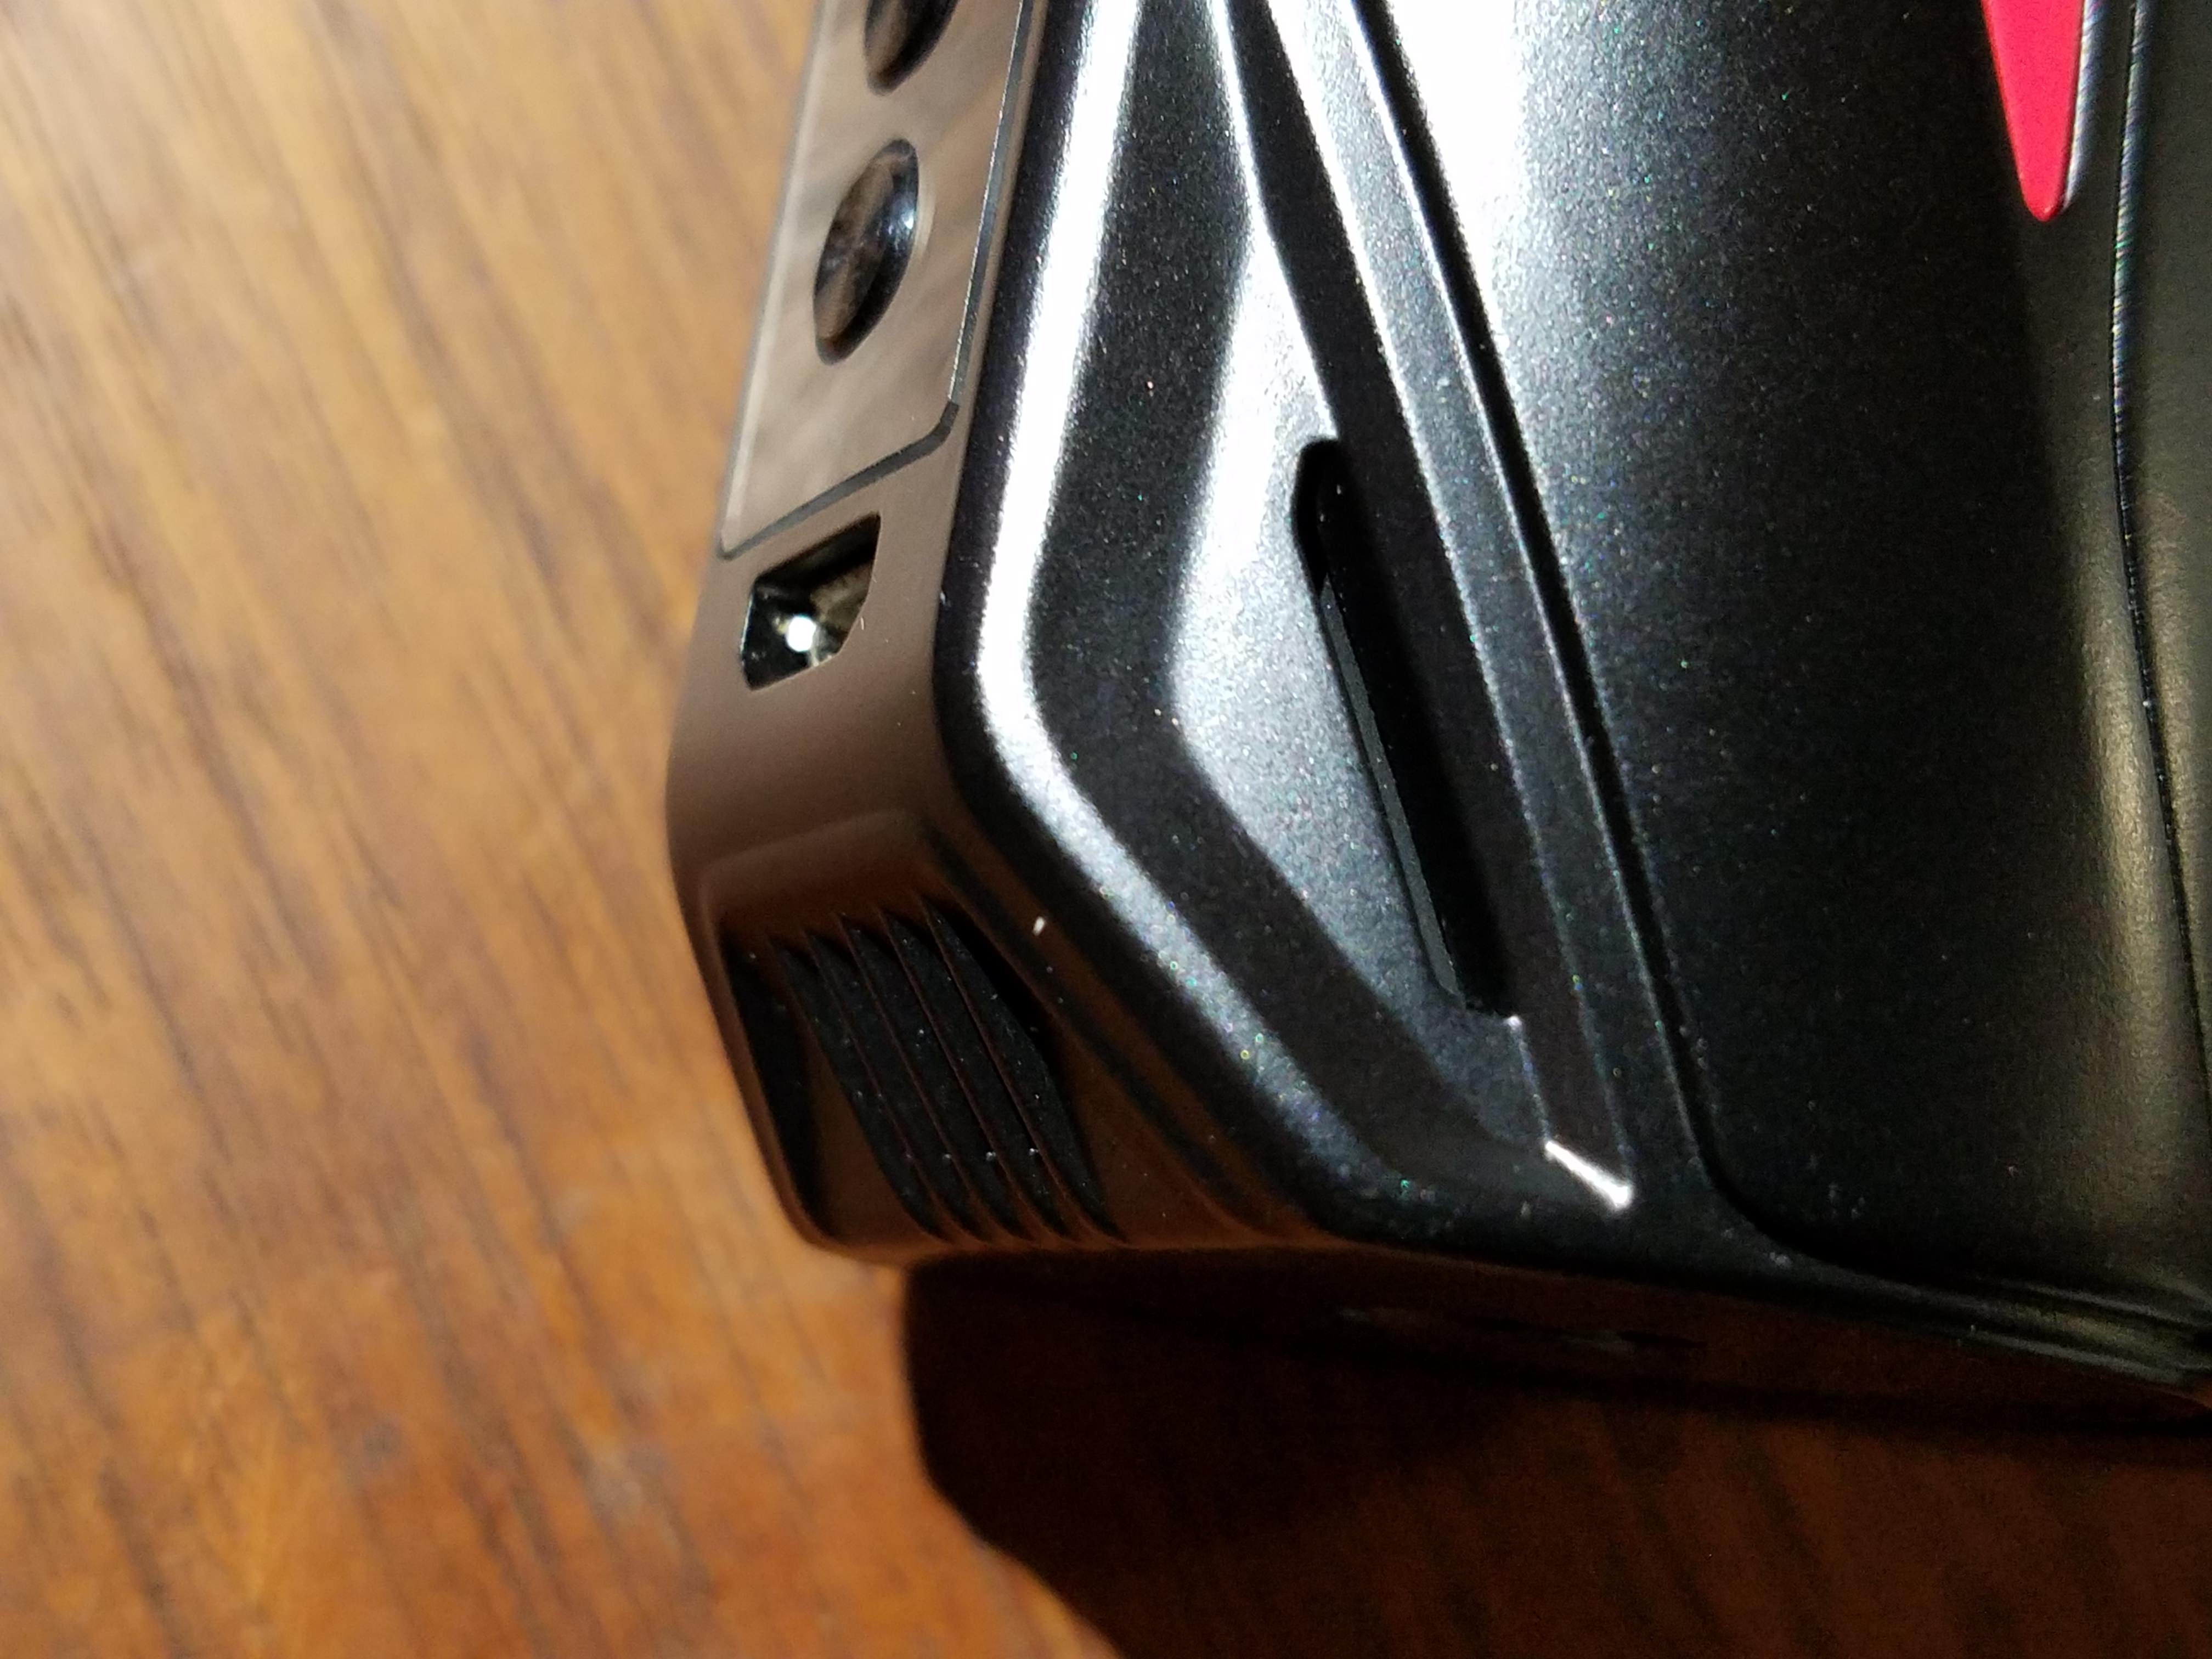
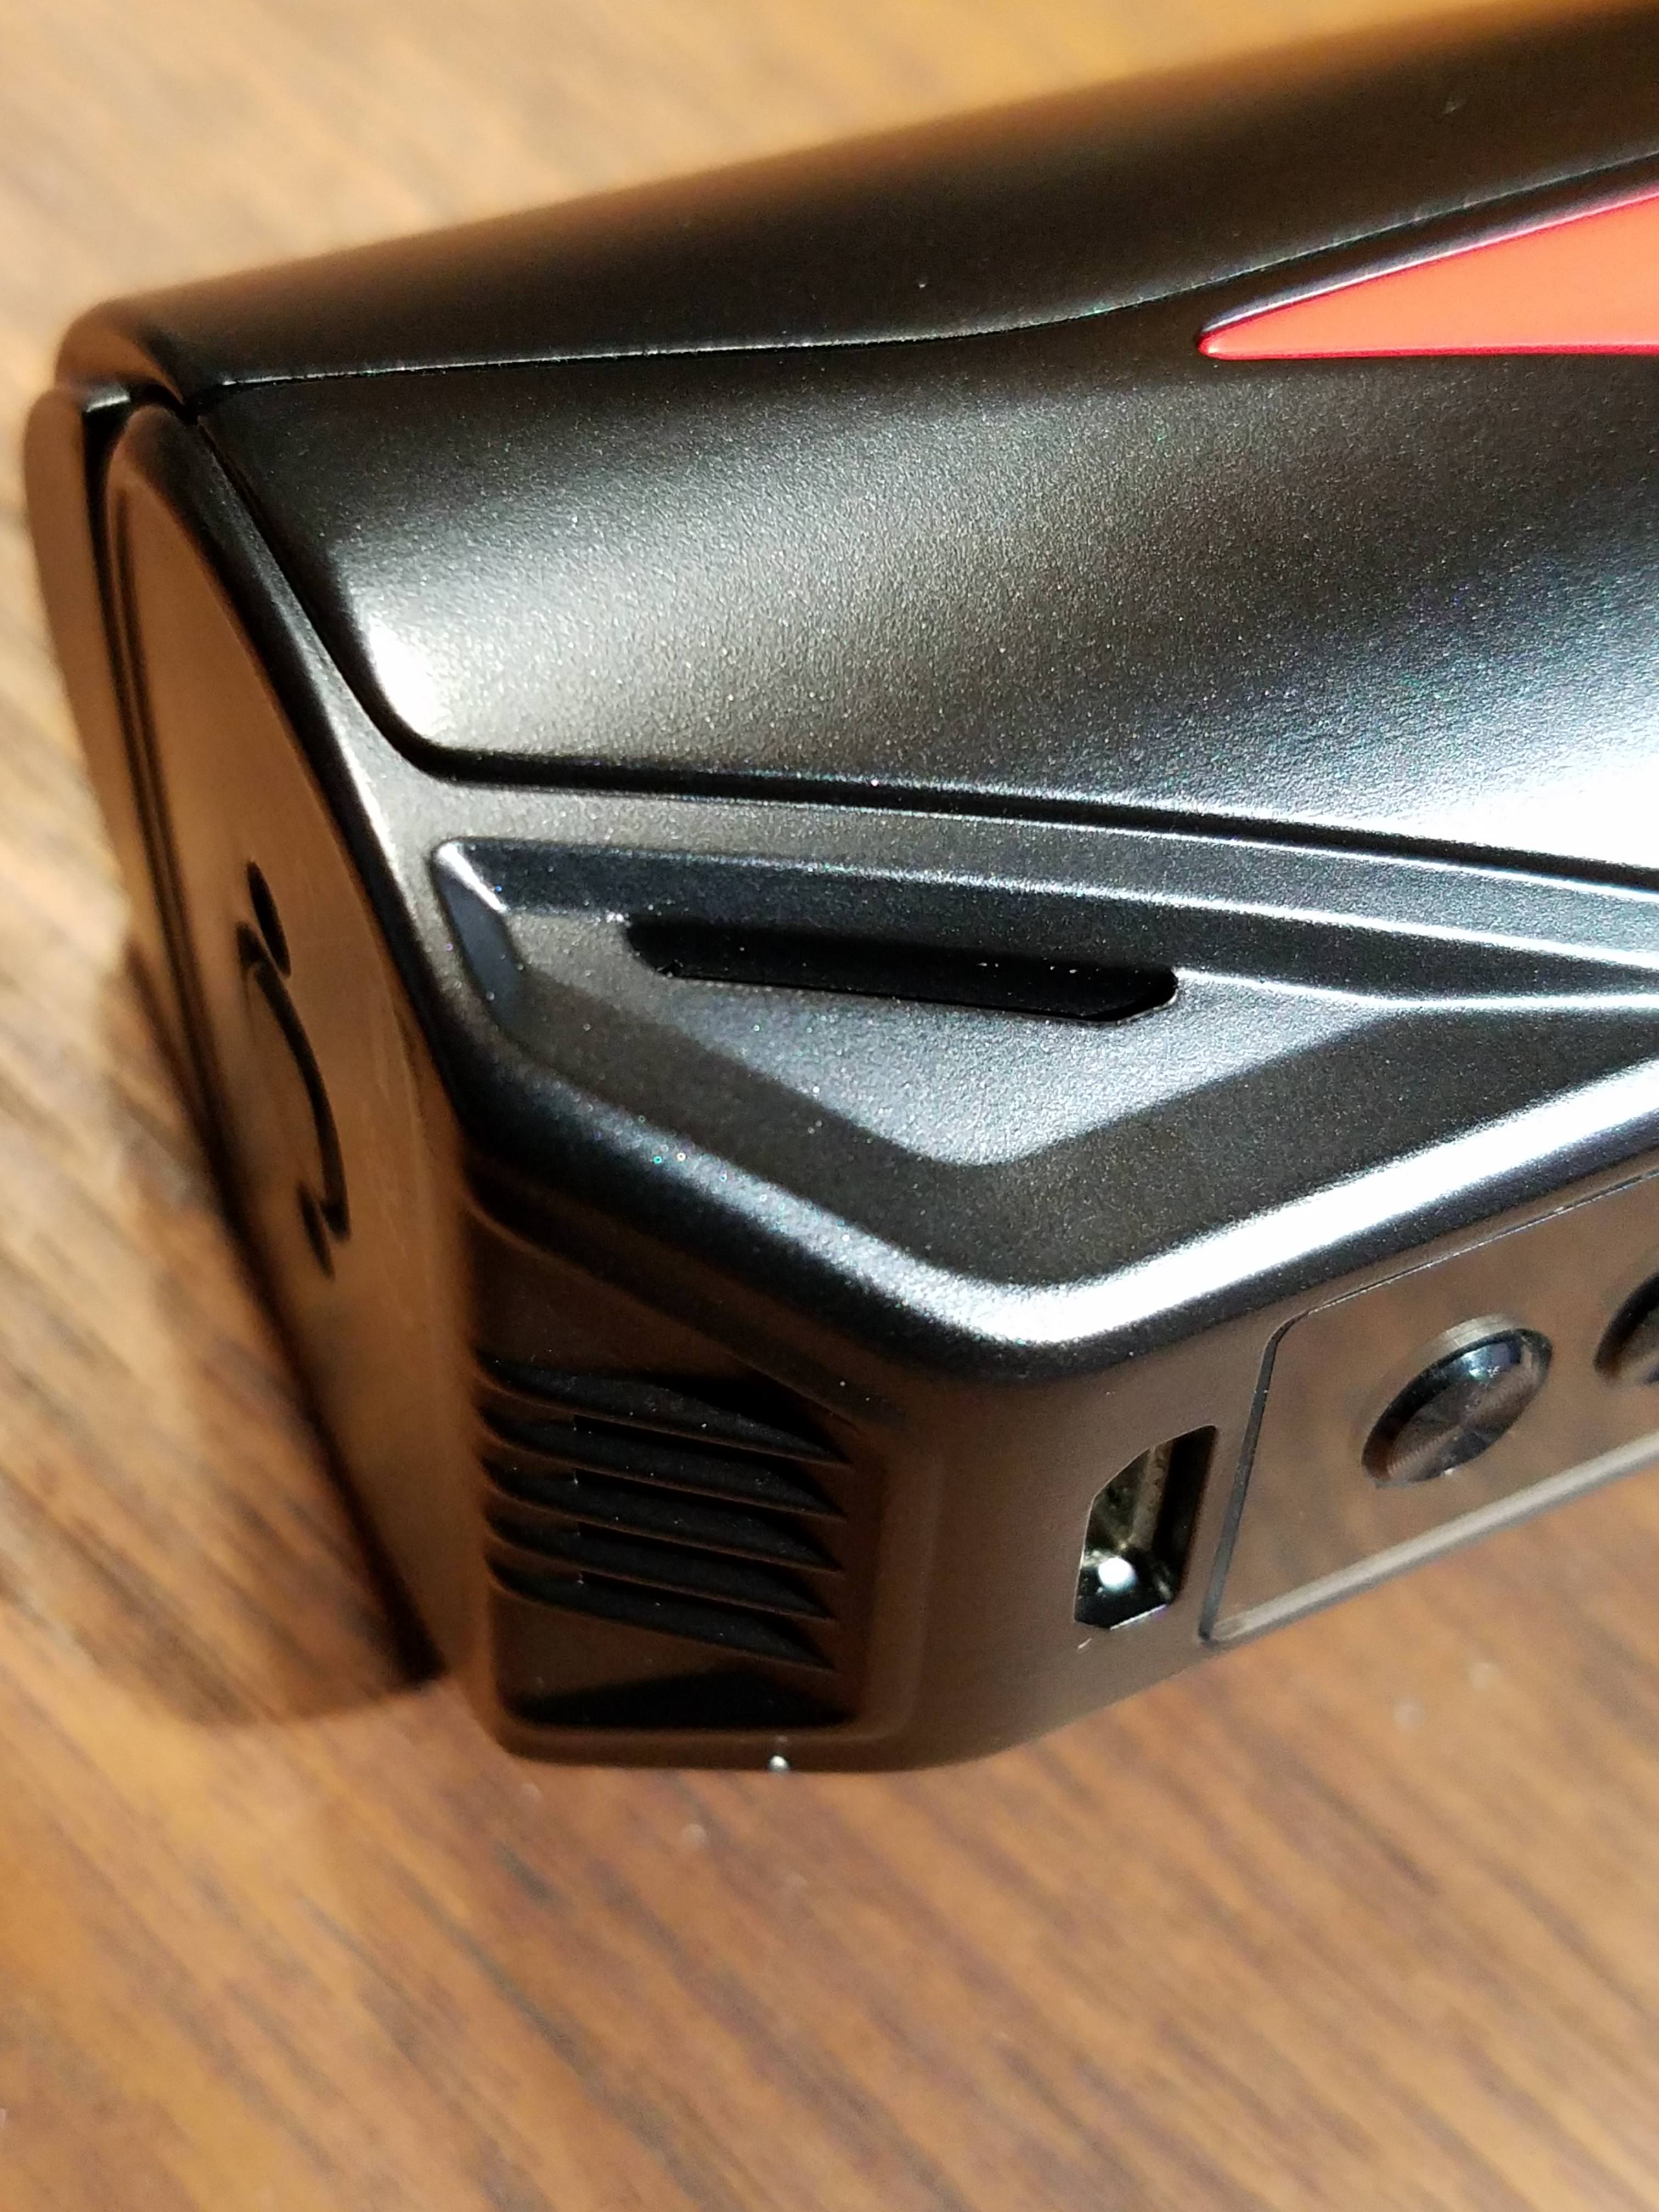
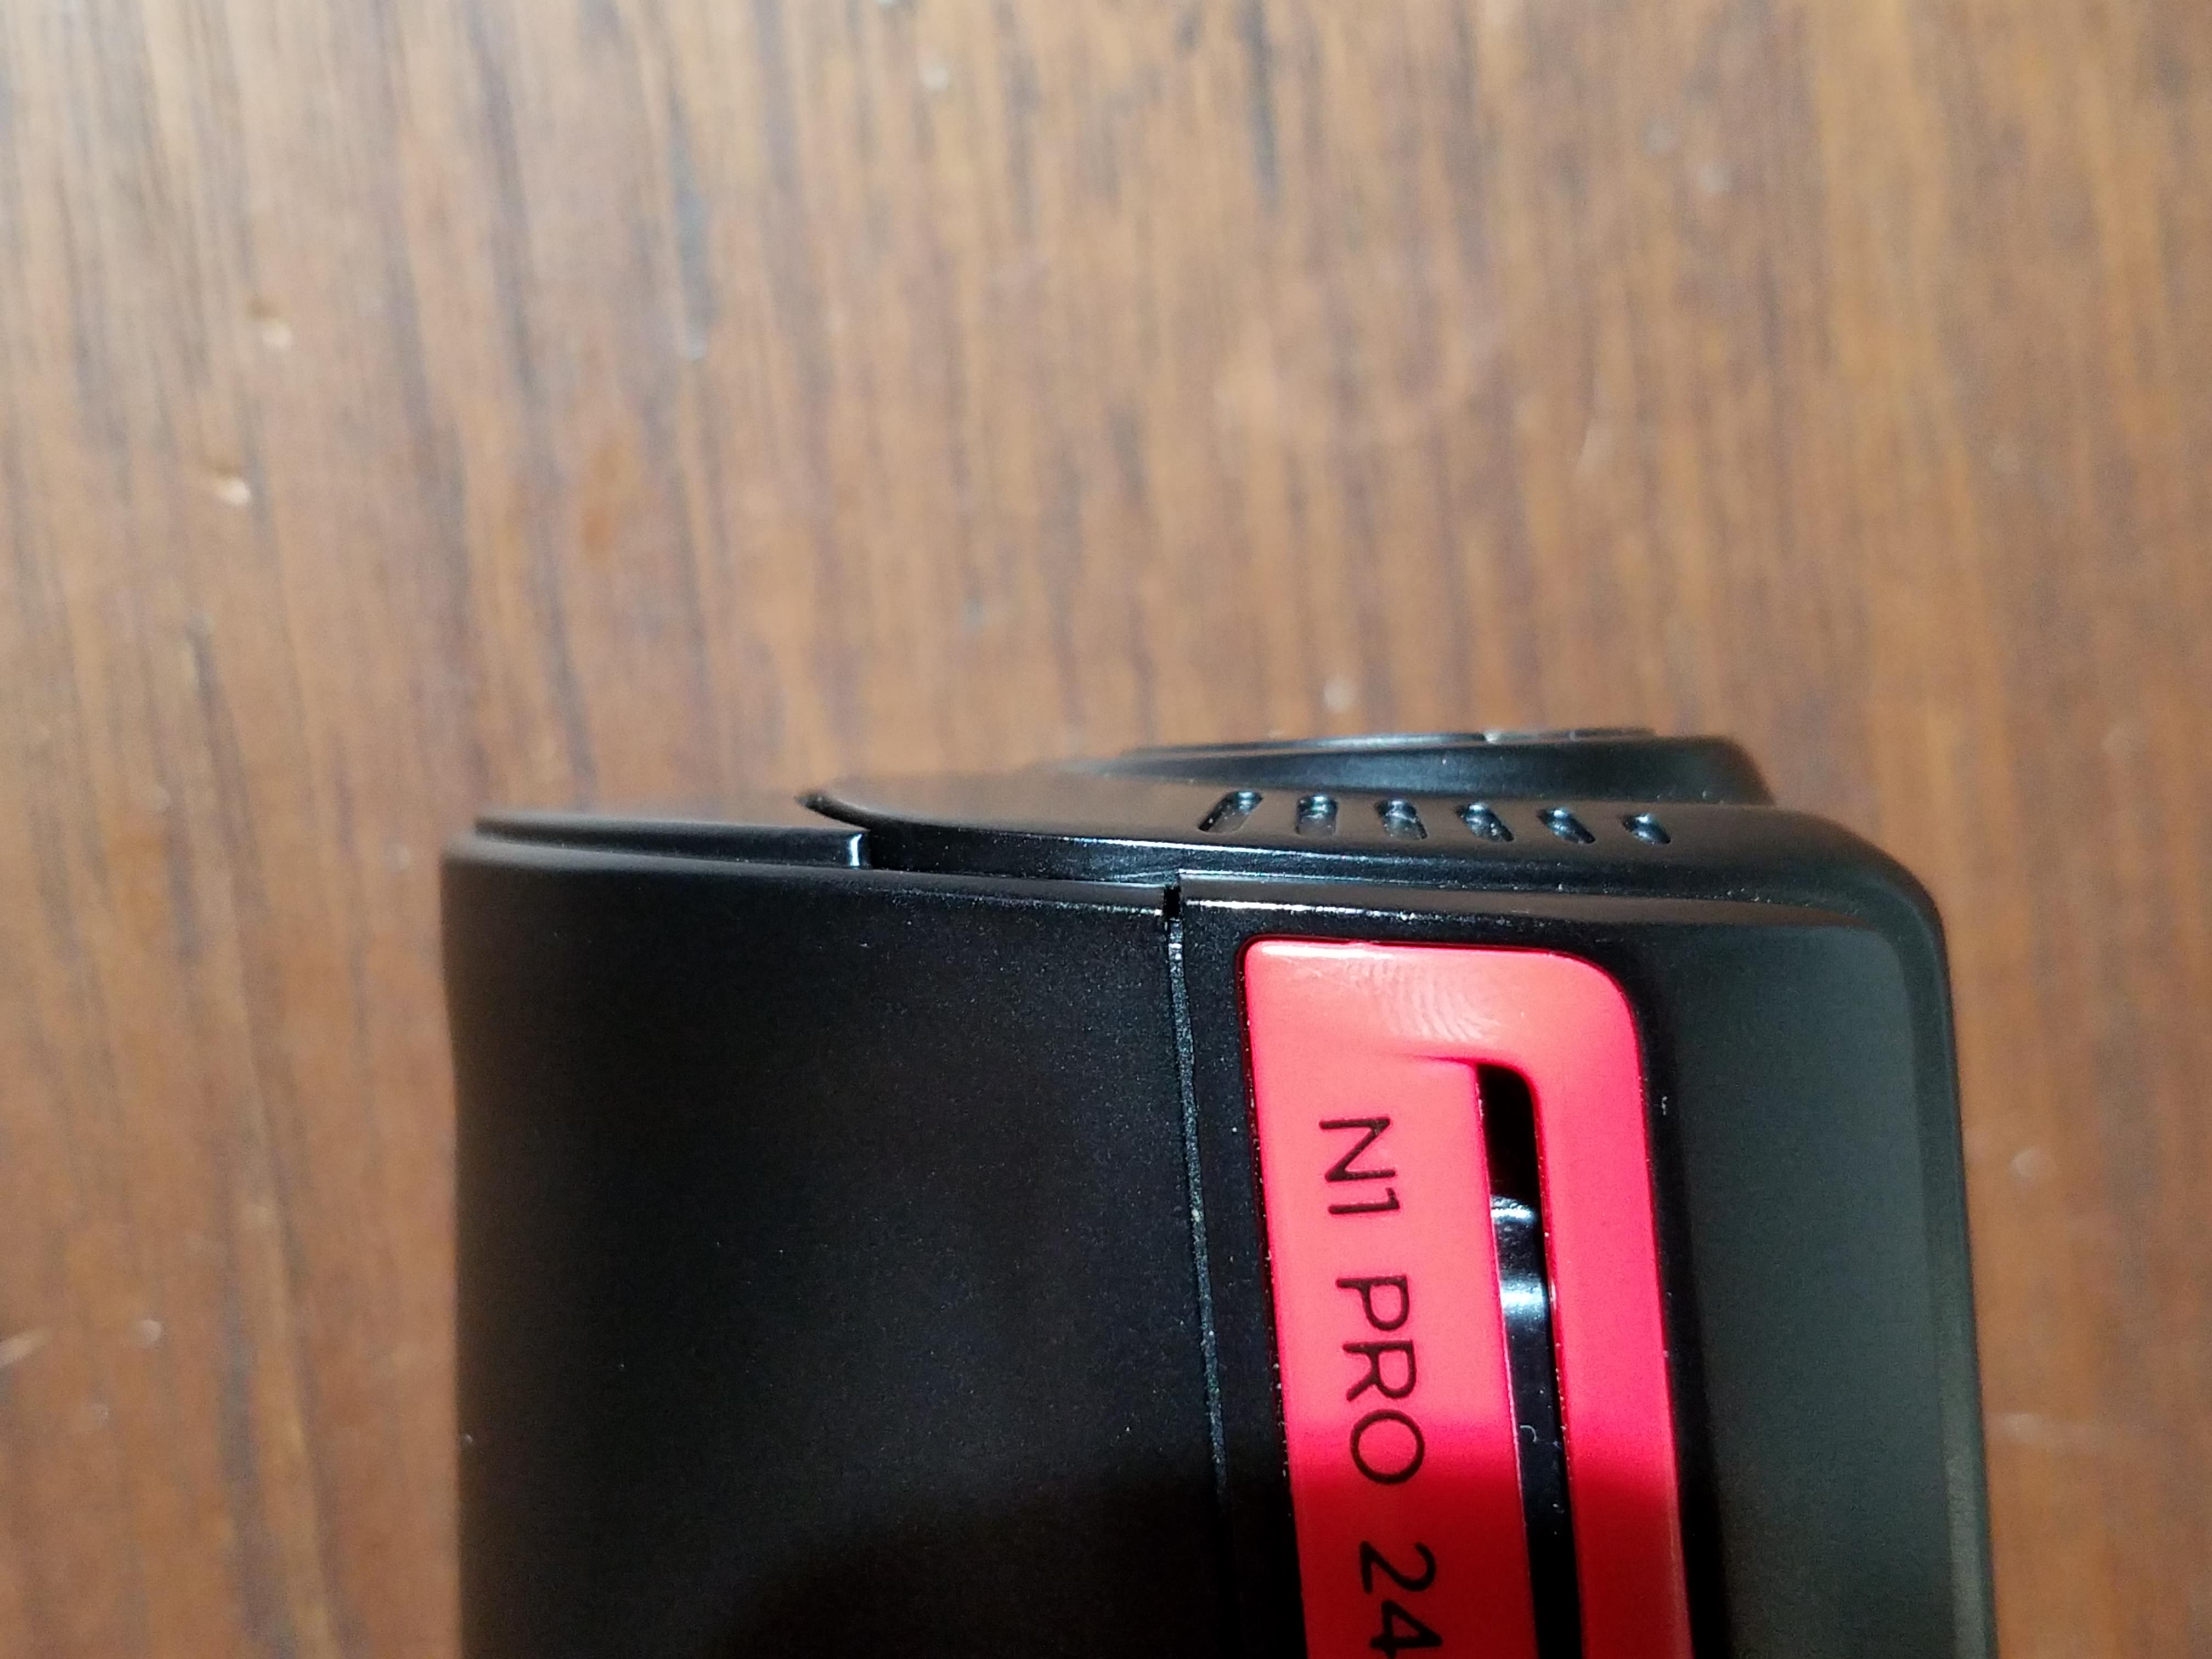
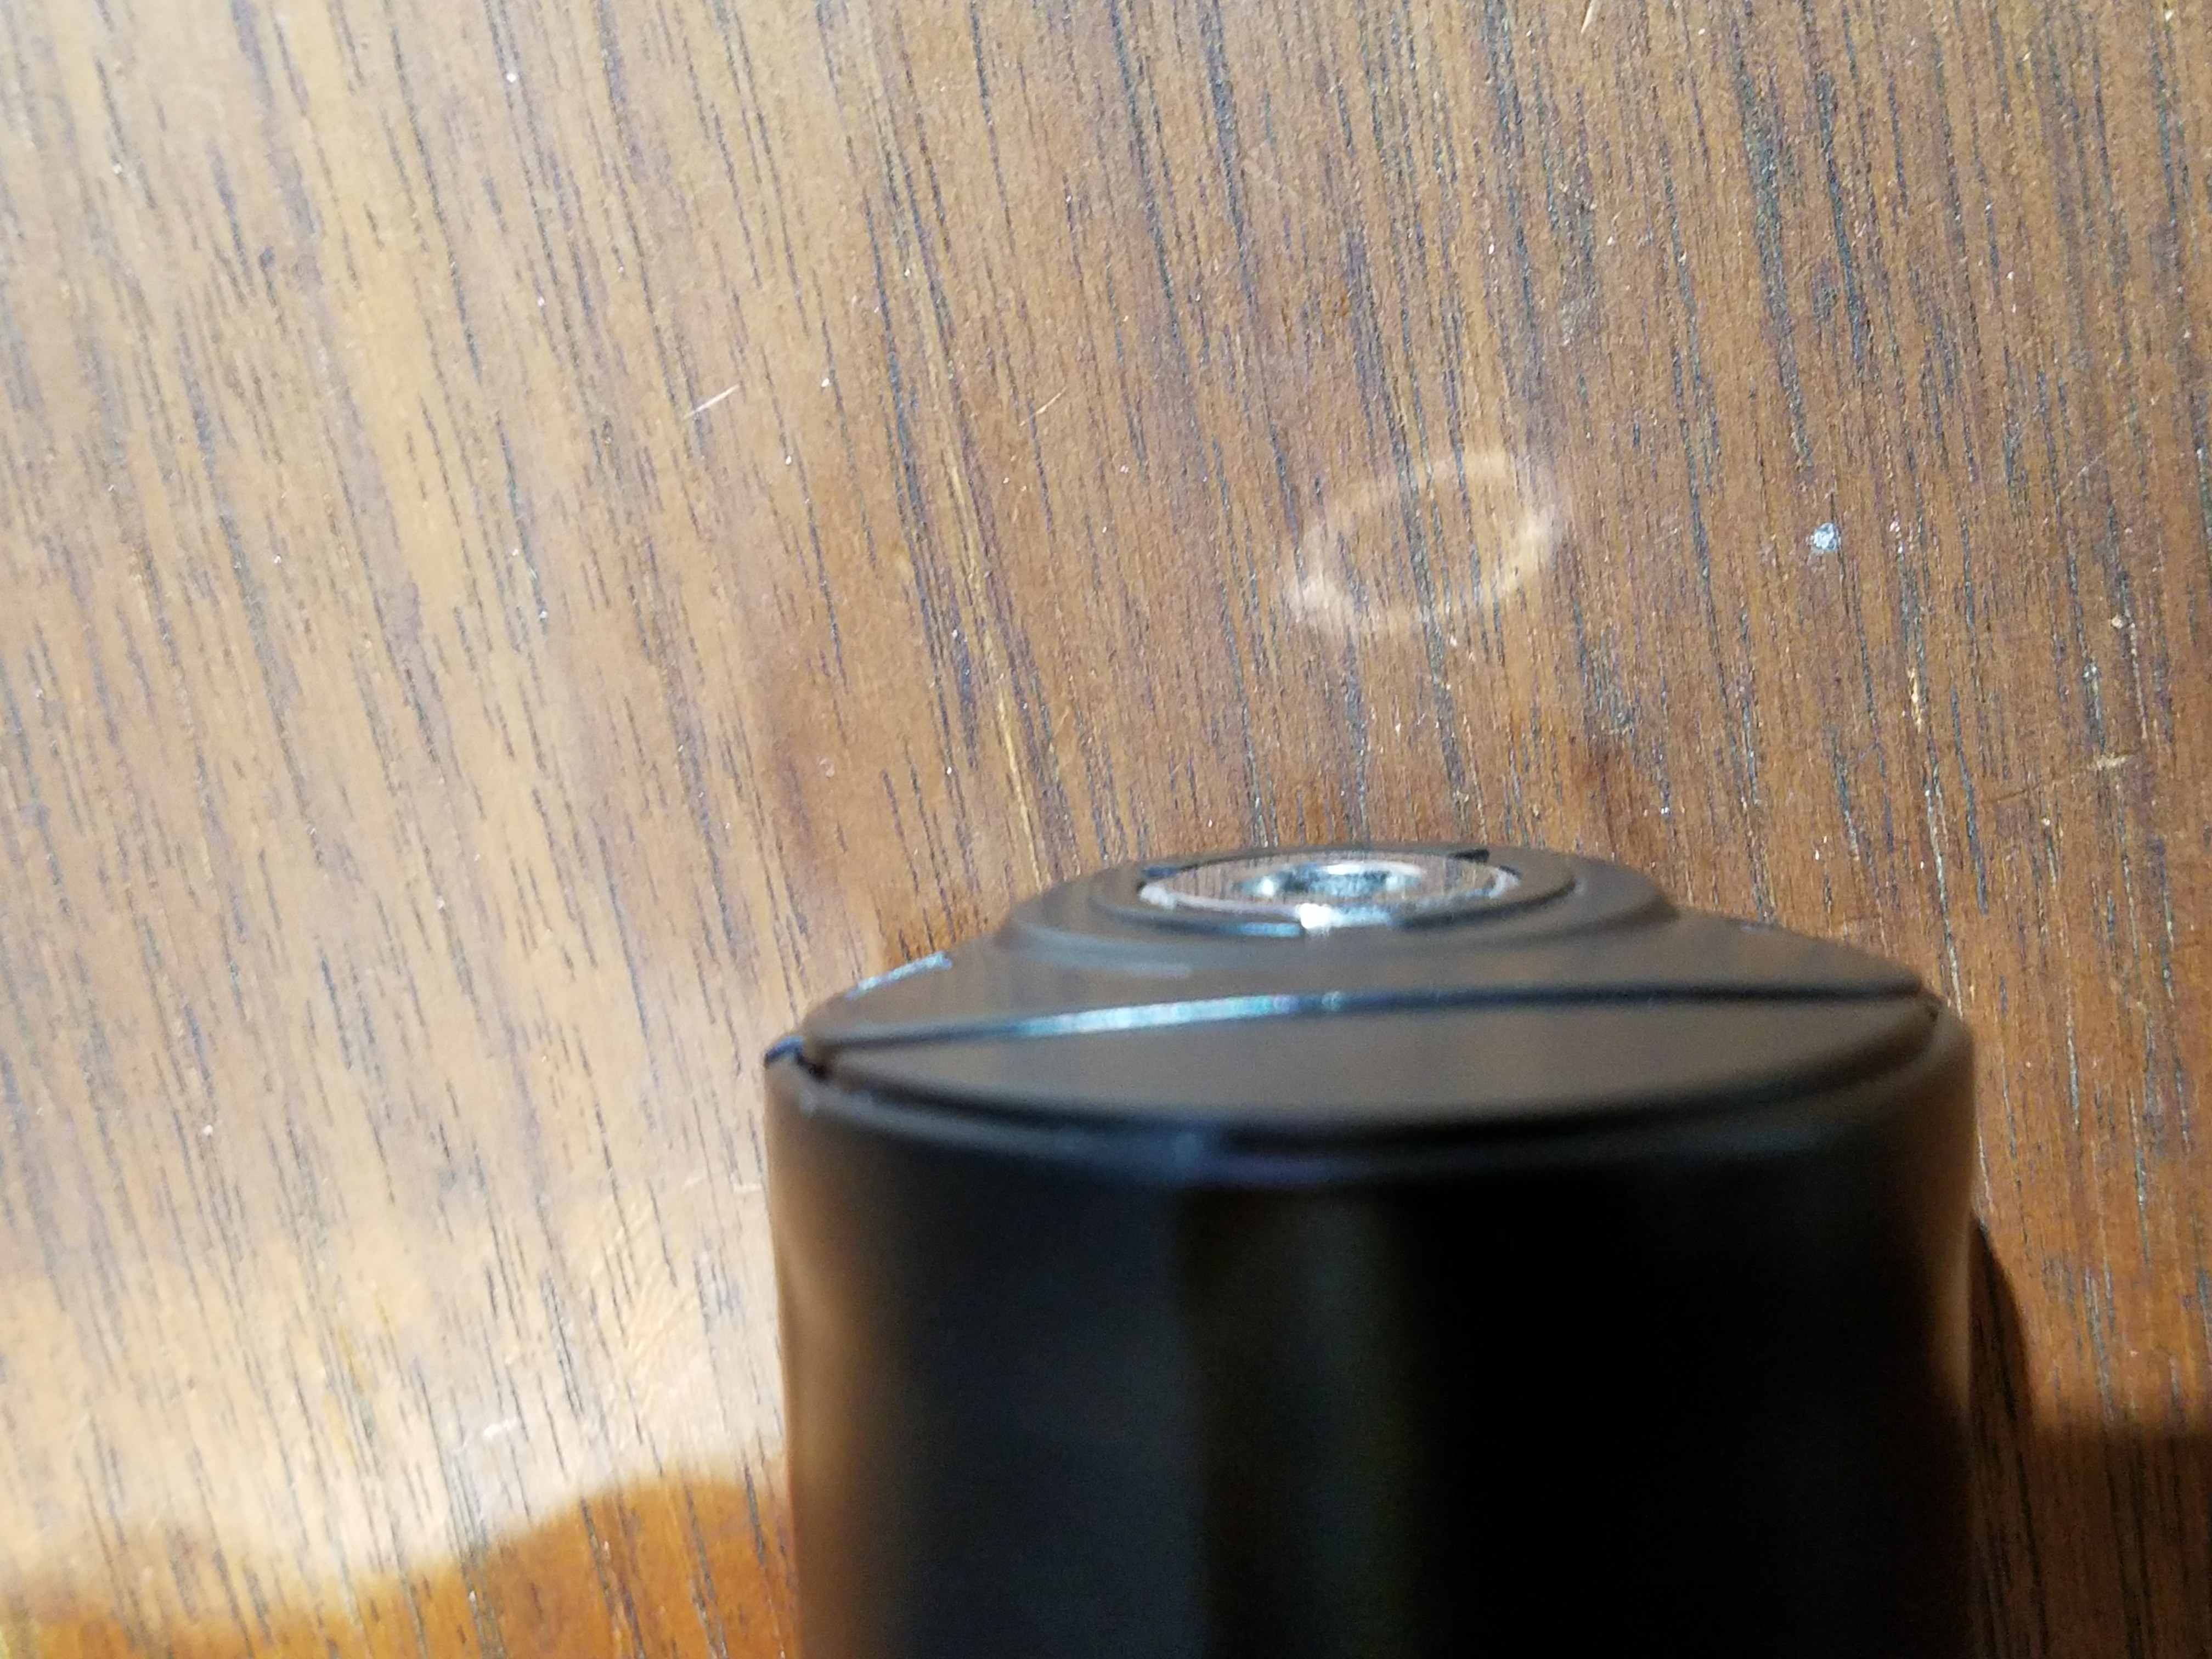
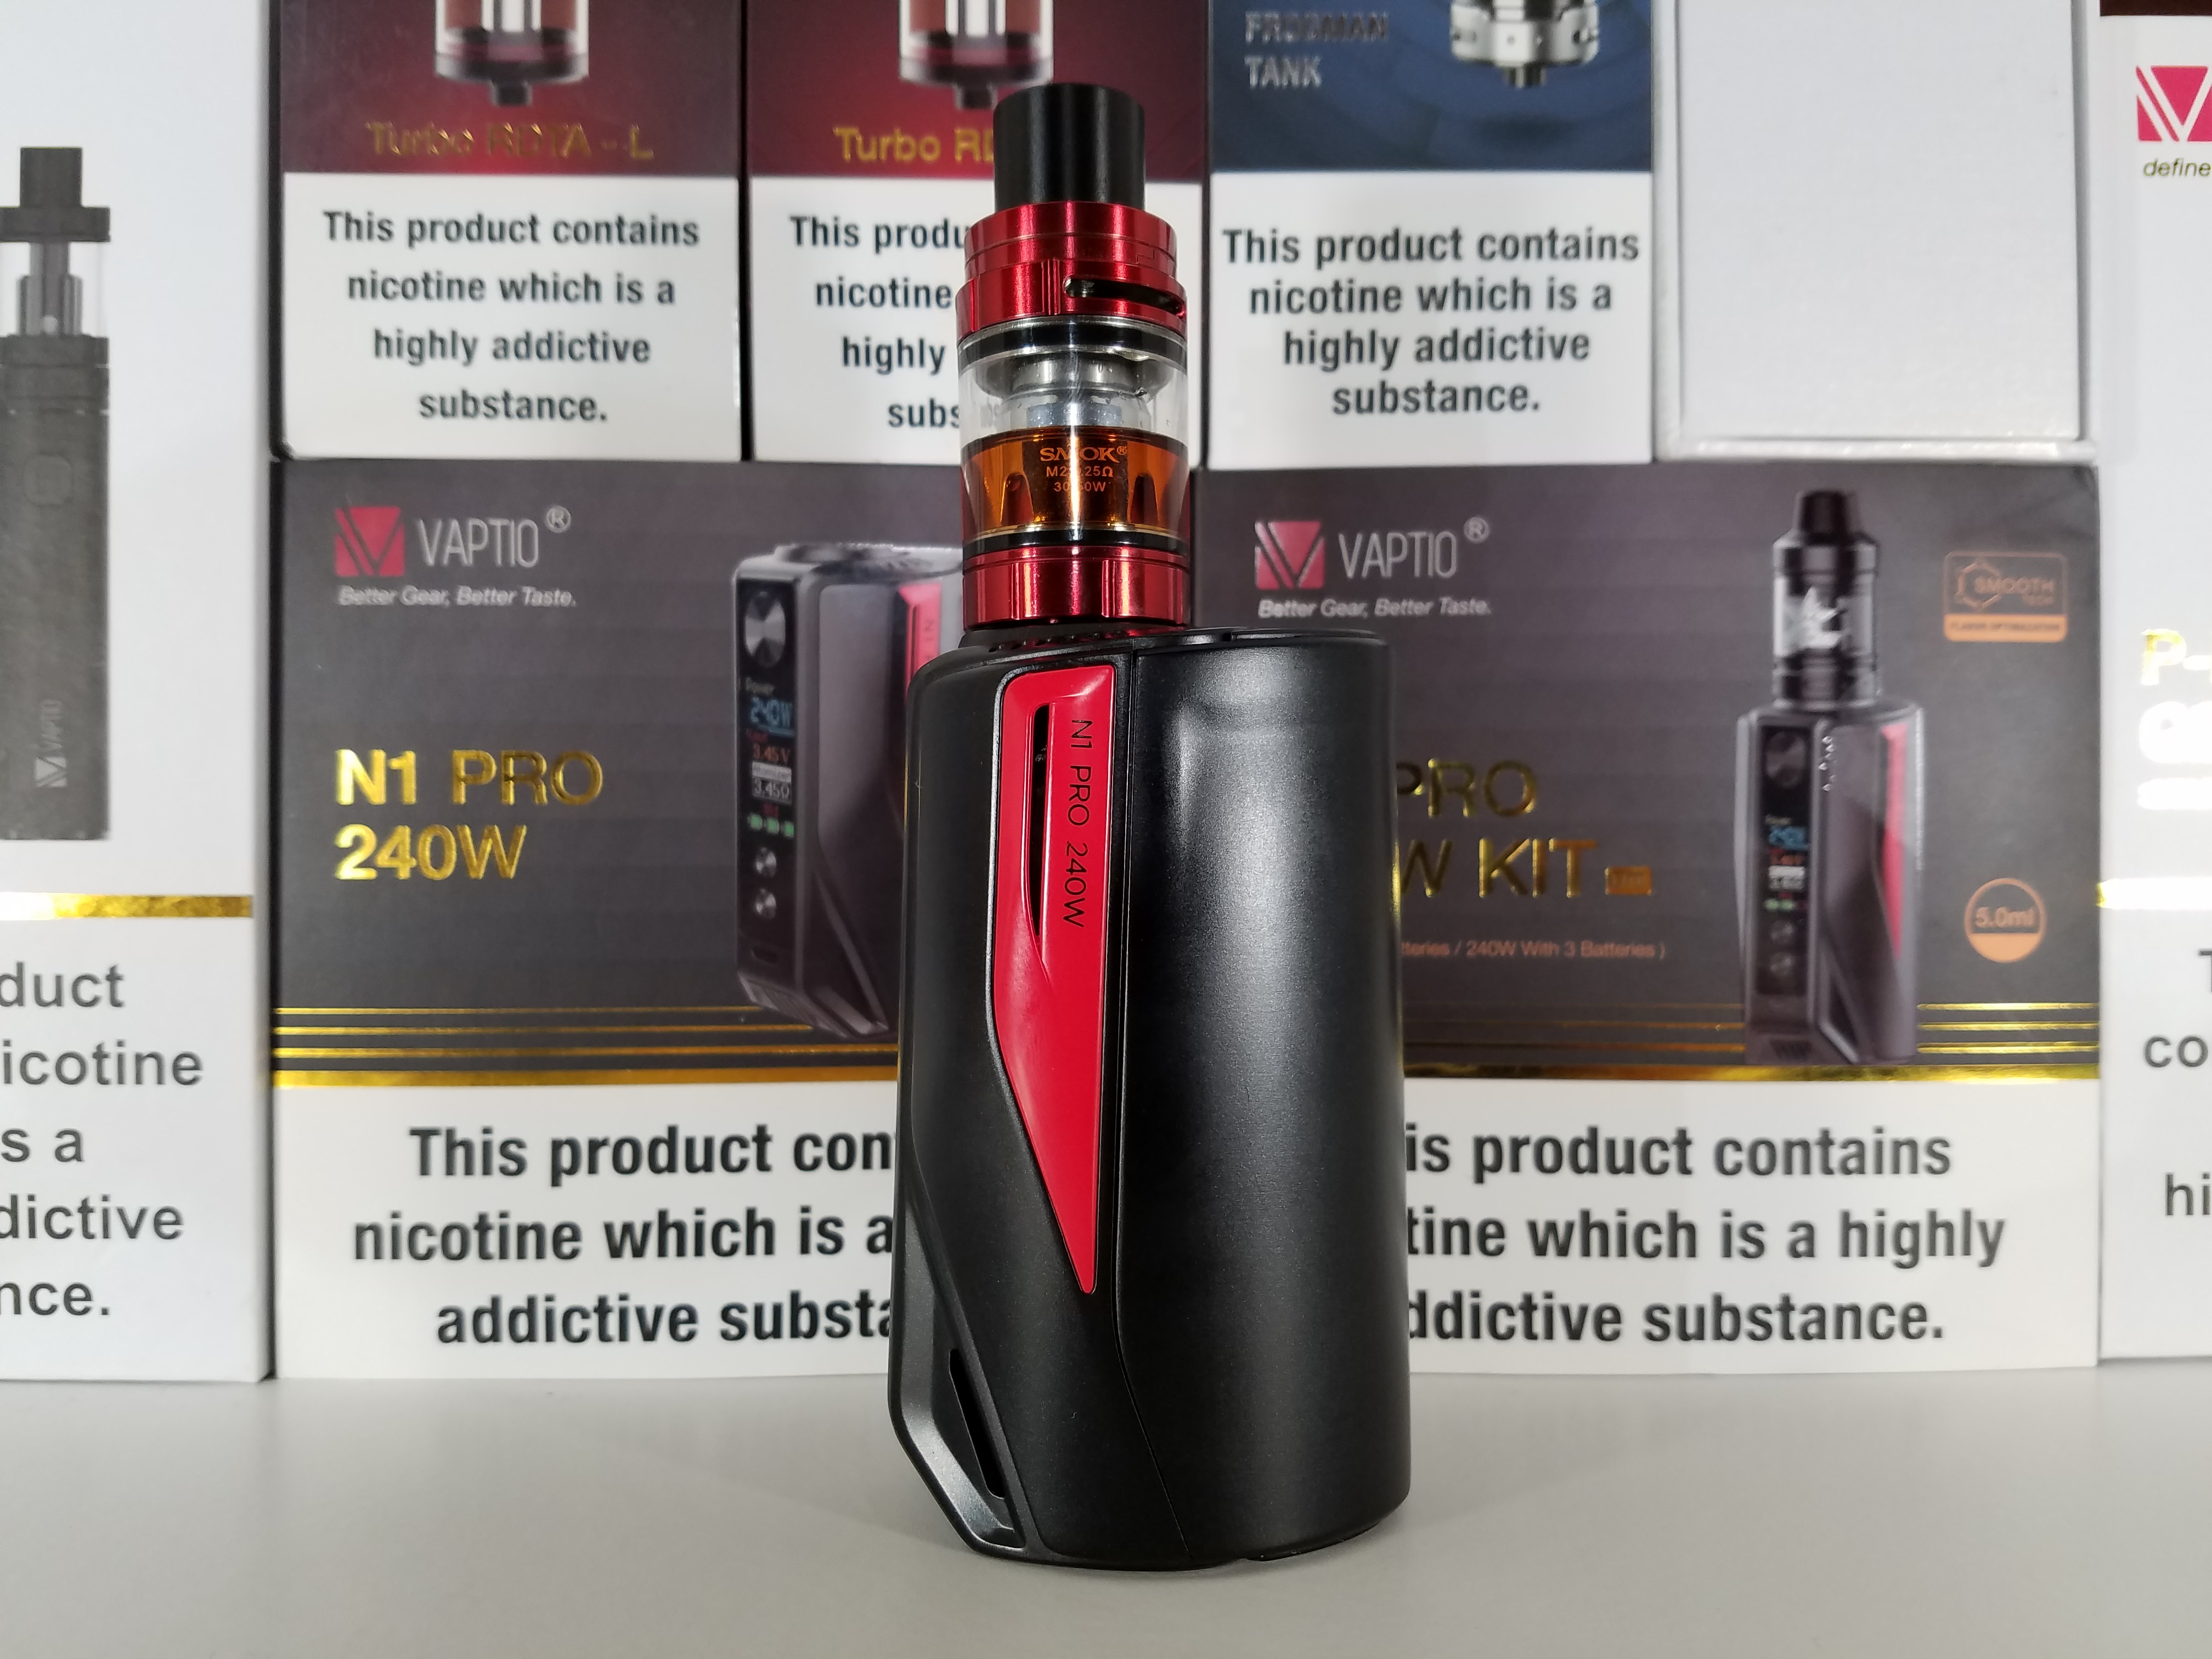
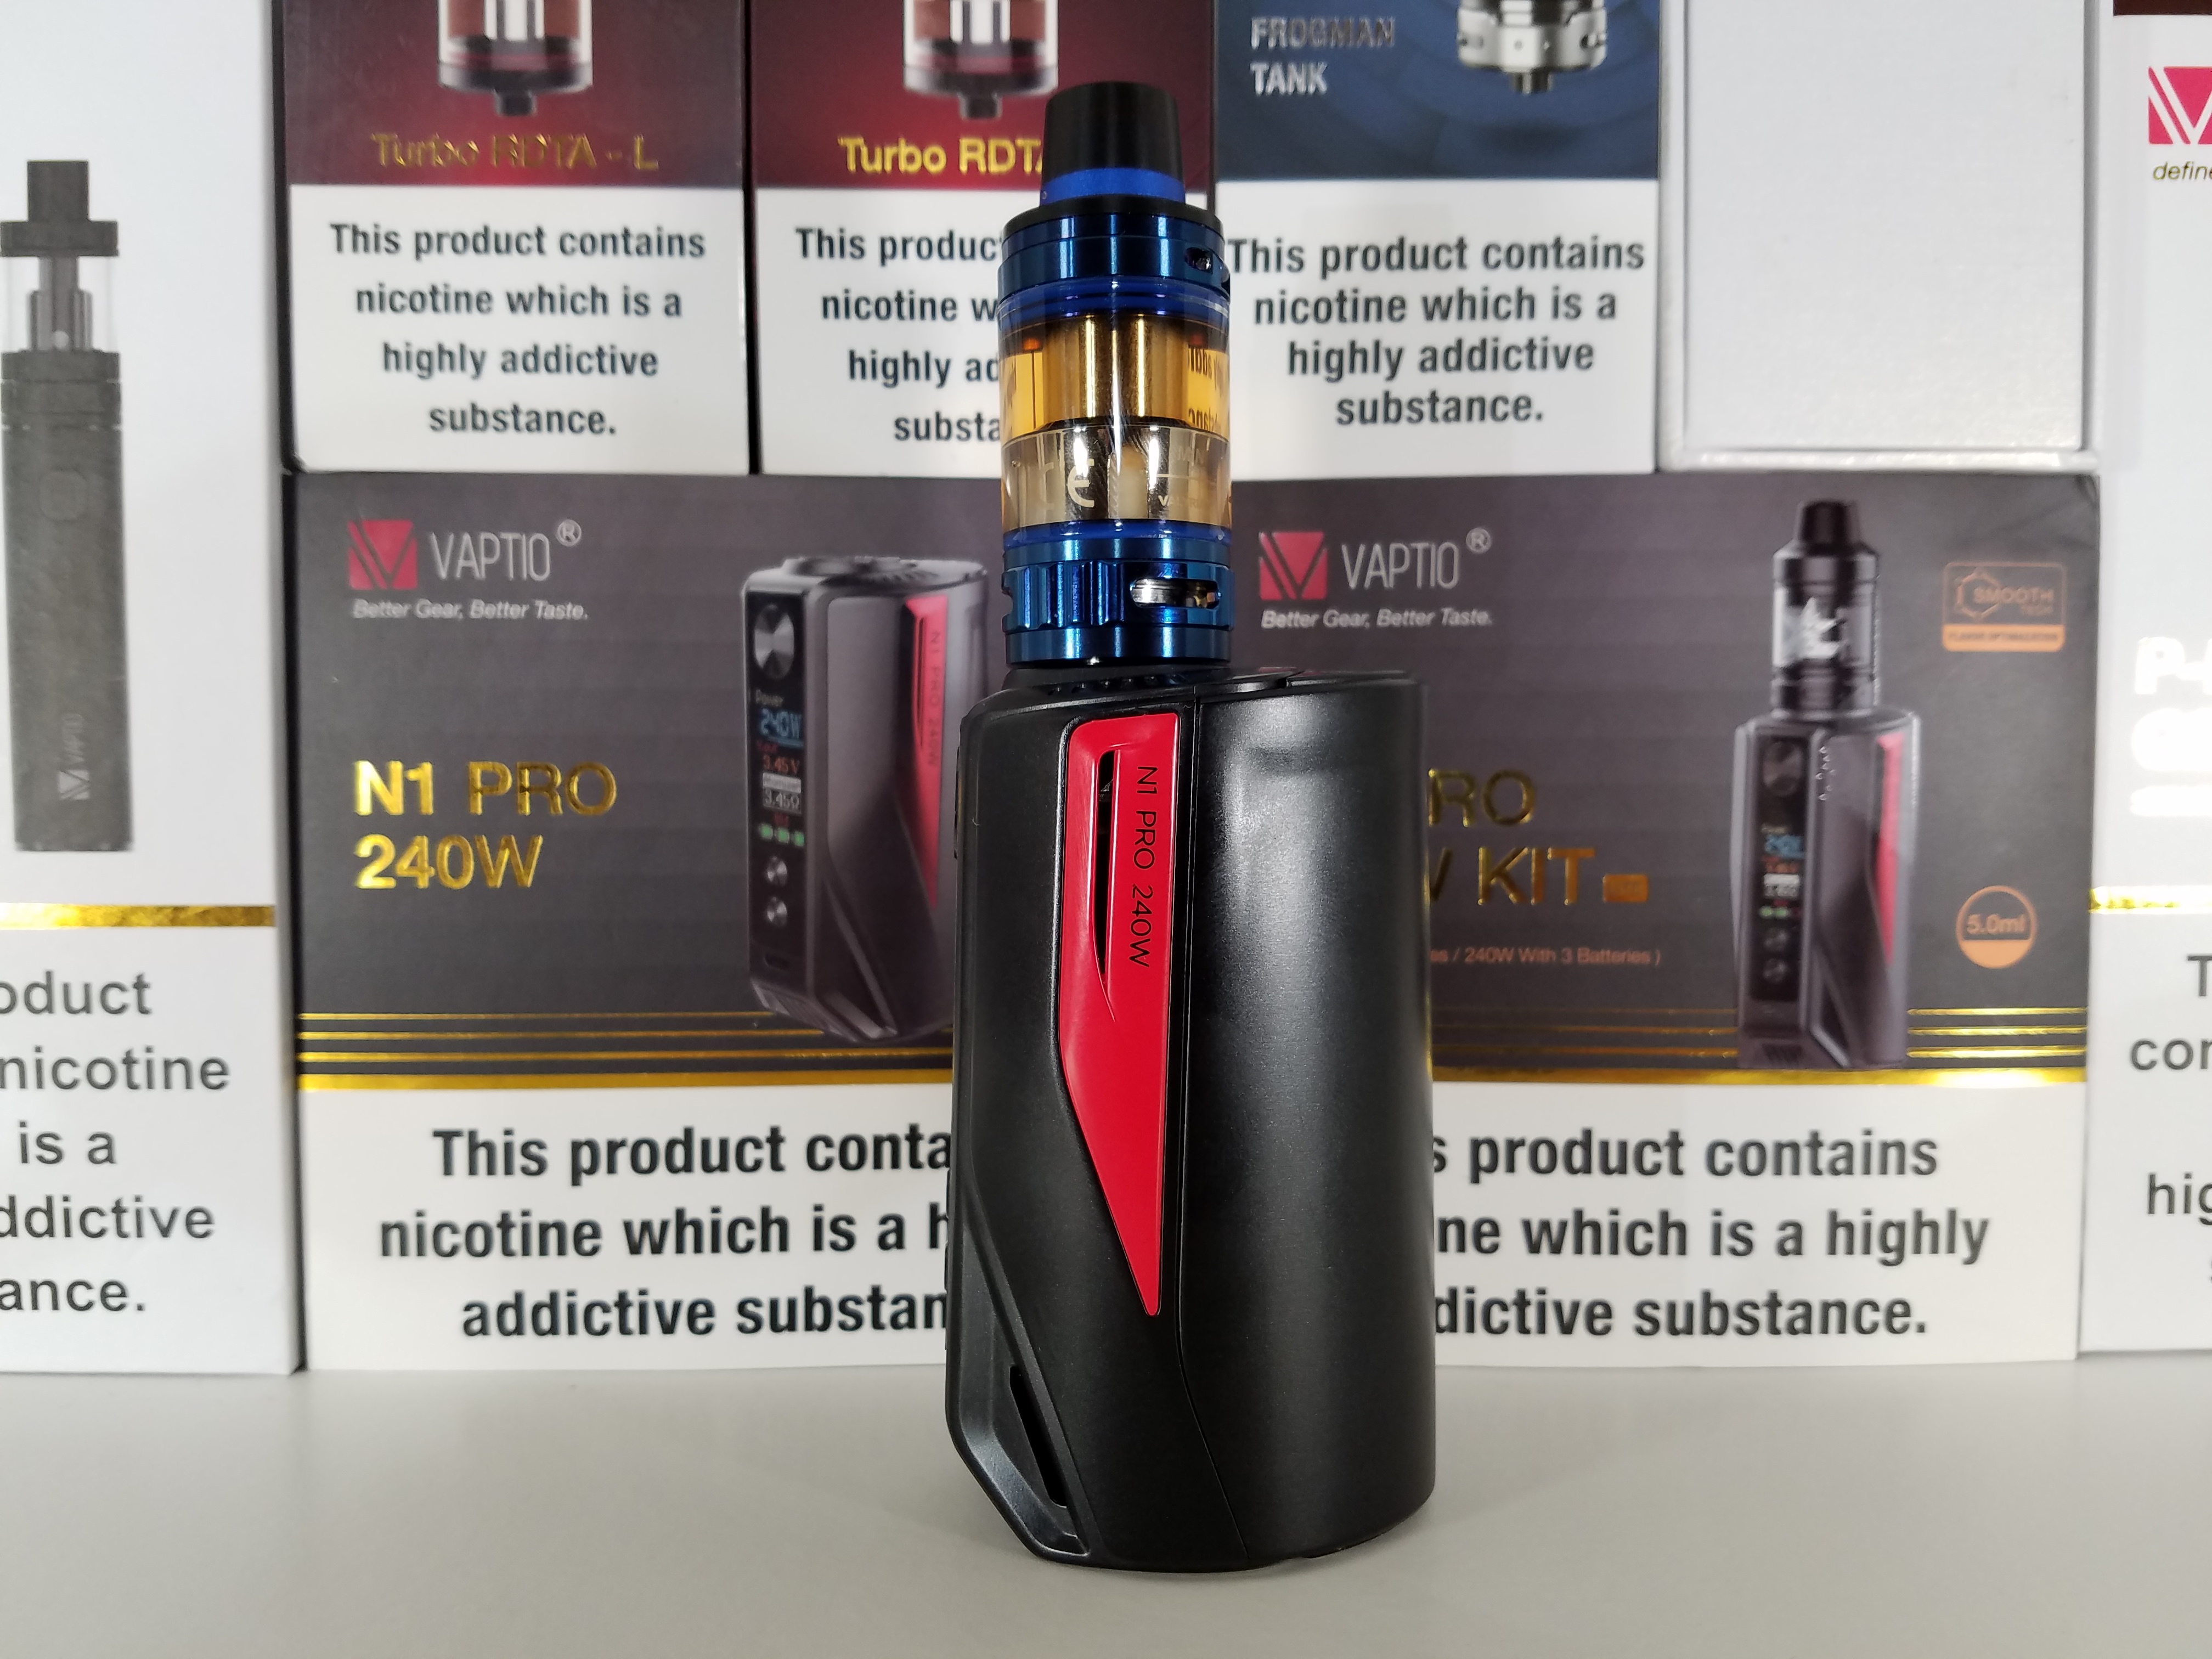
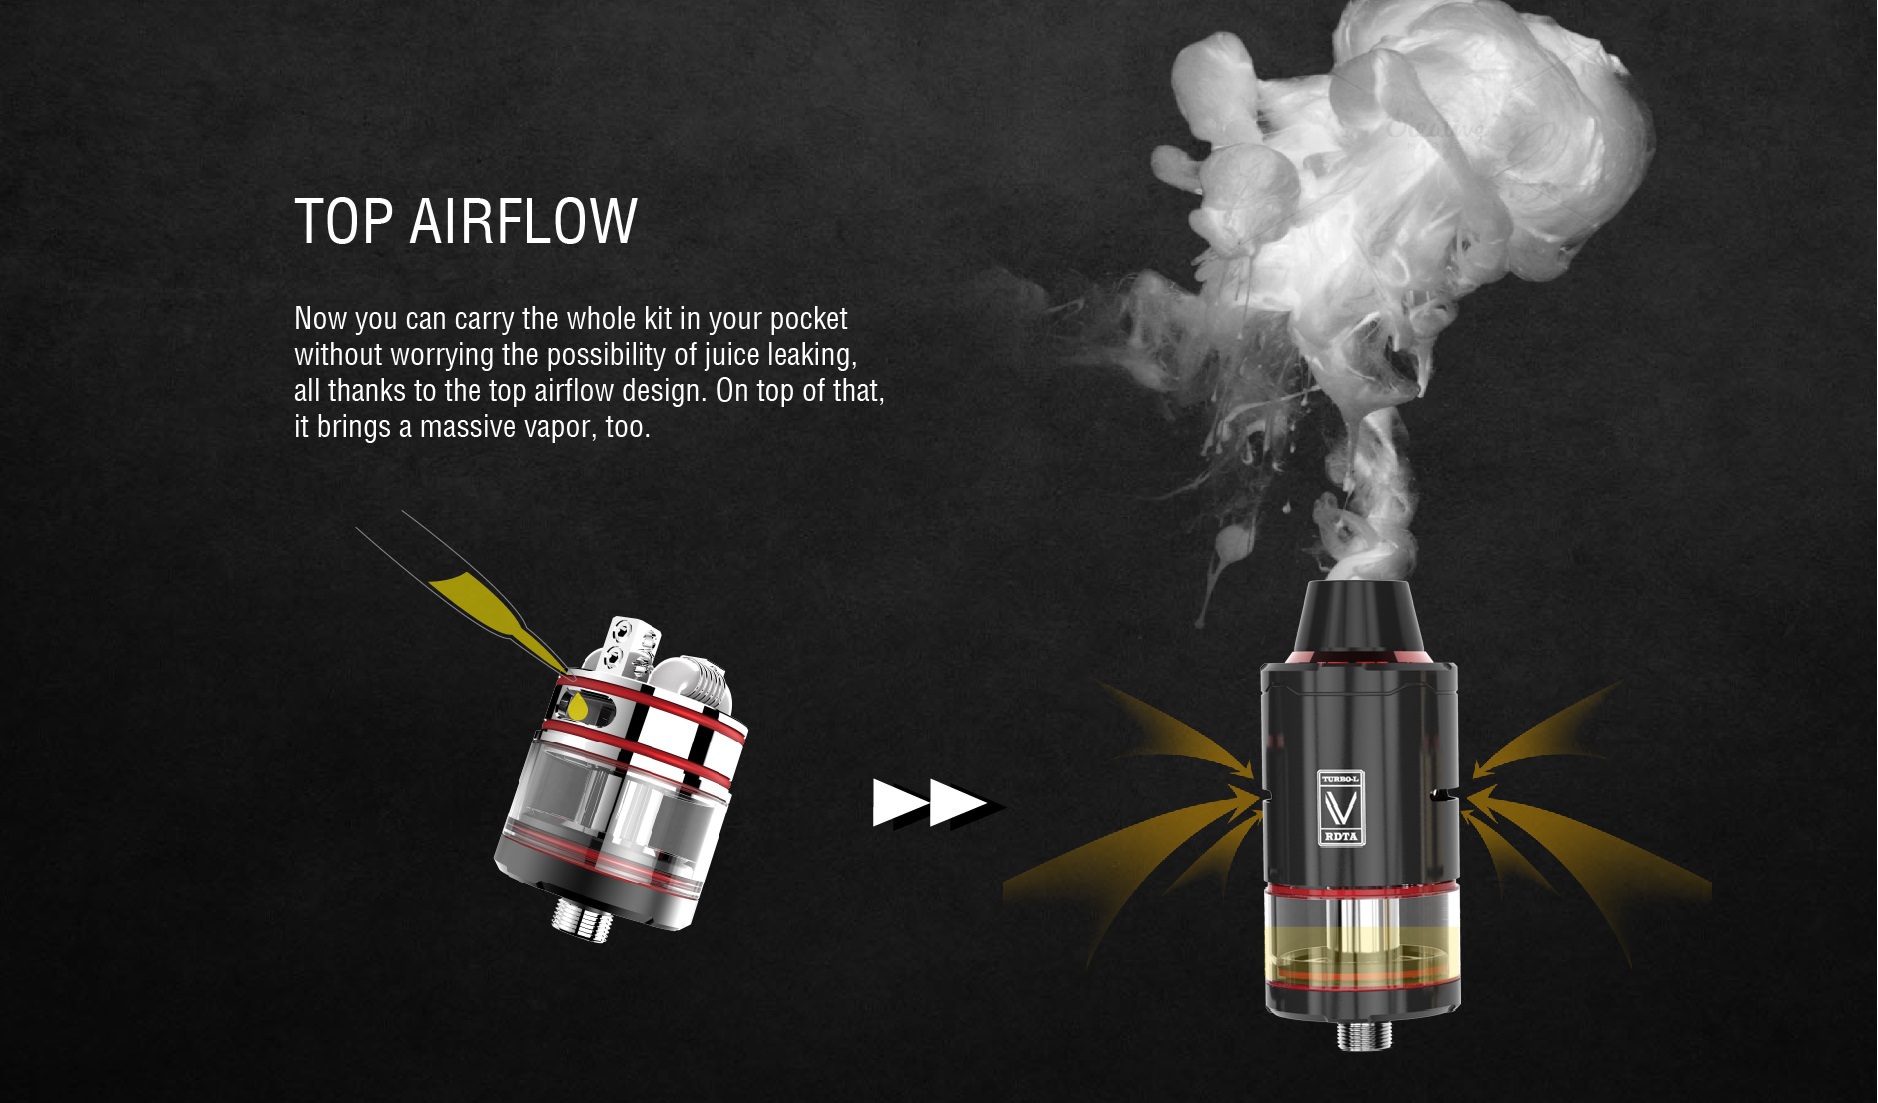
There is venting on both sides towards the top.
(visible in the red accent pieces)
There is venting across the front at the bottom.
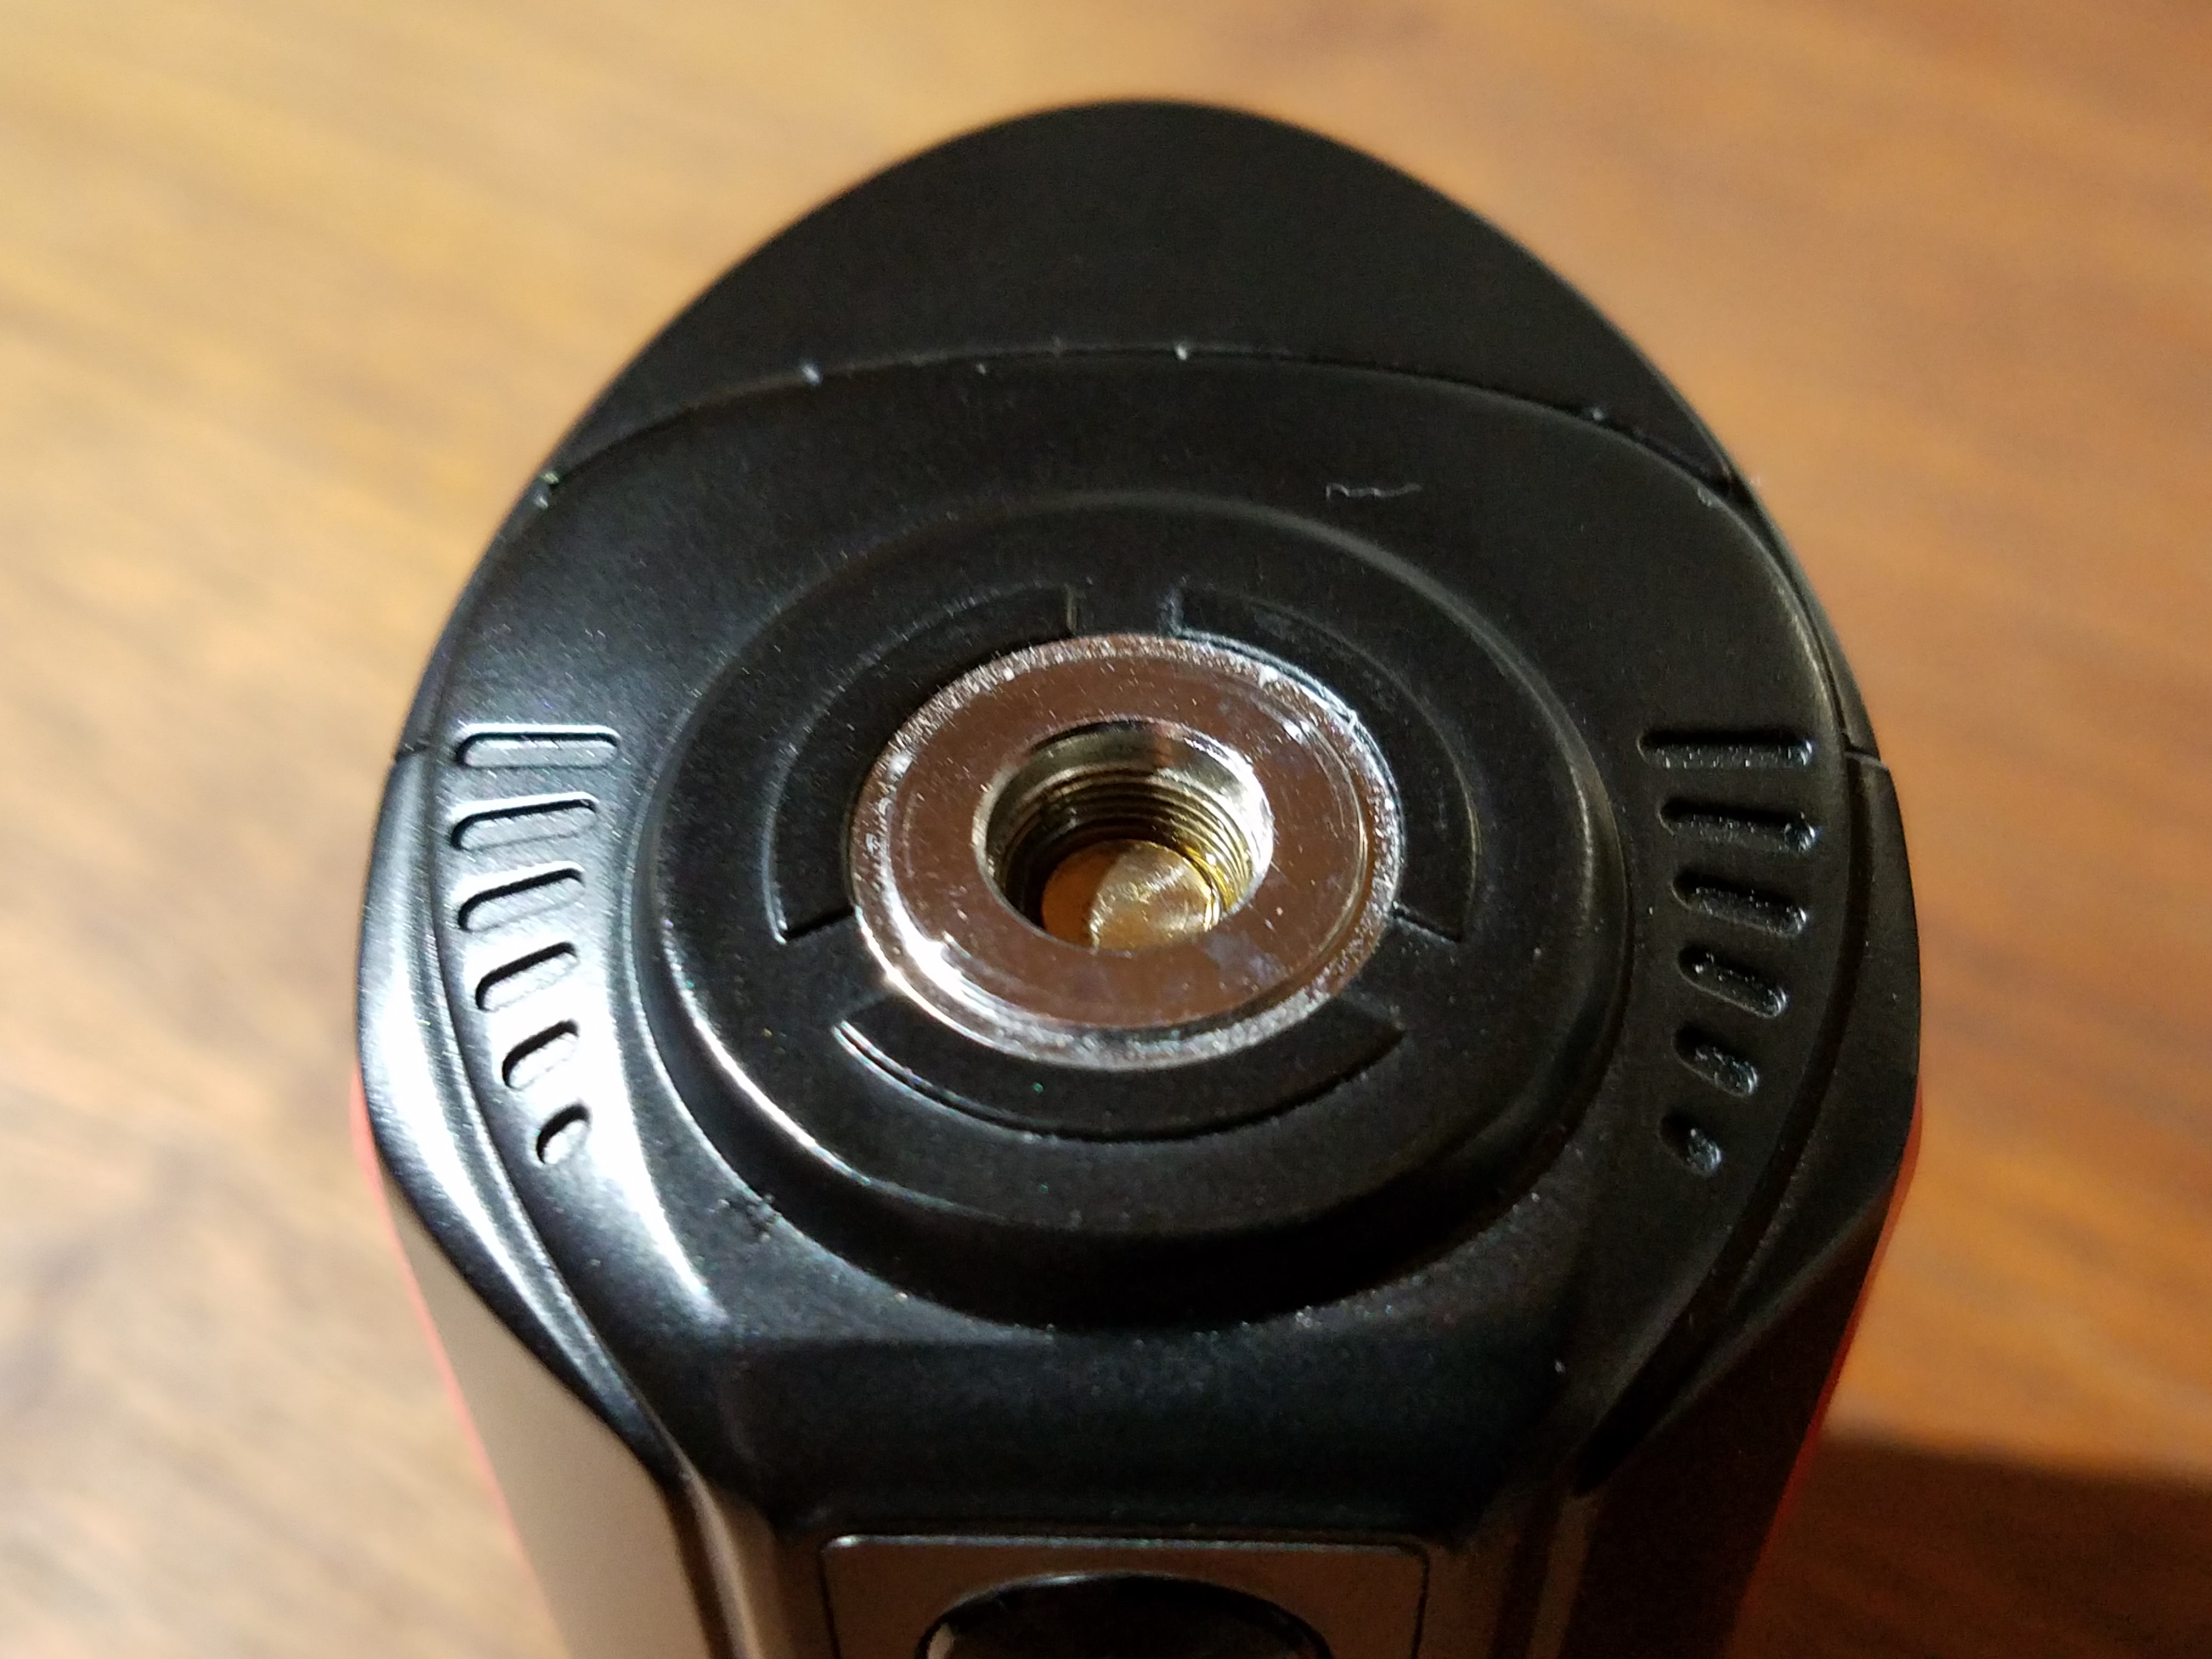
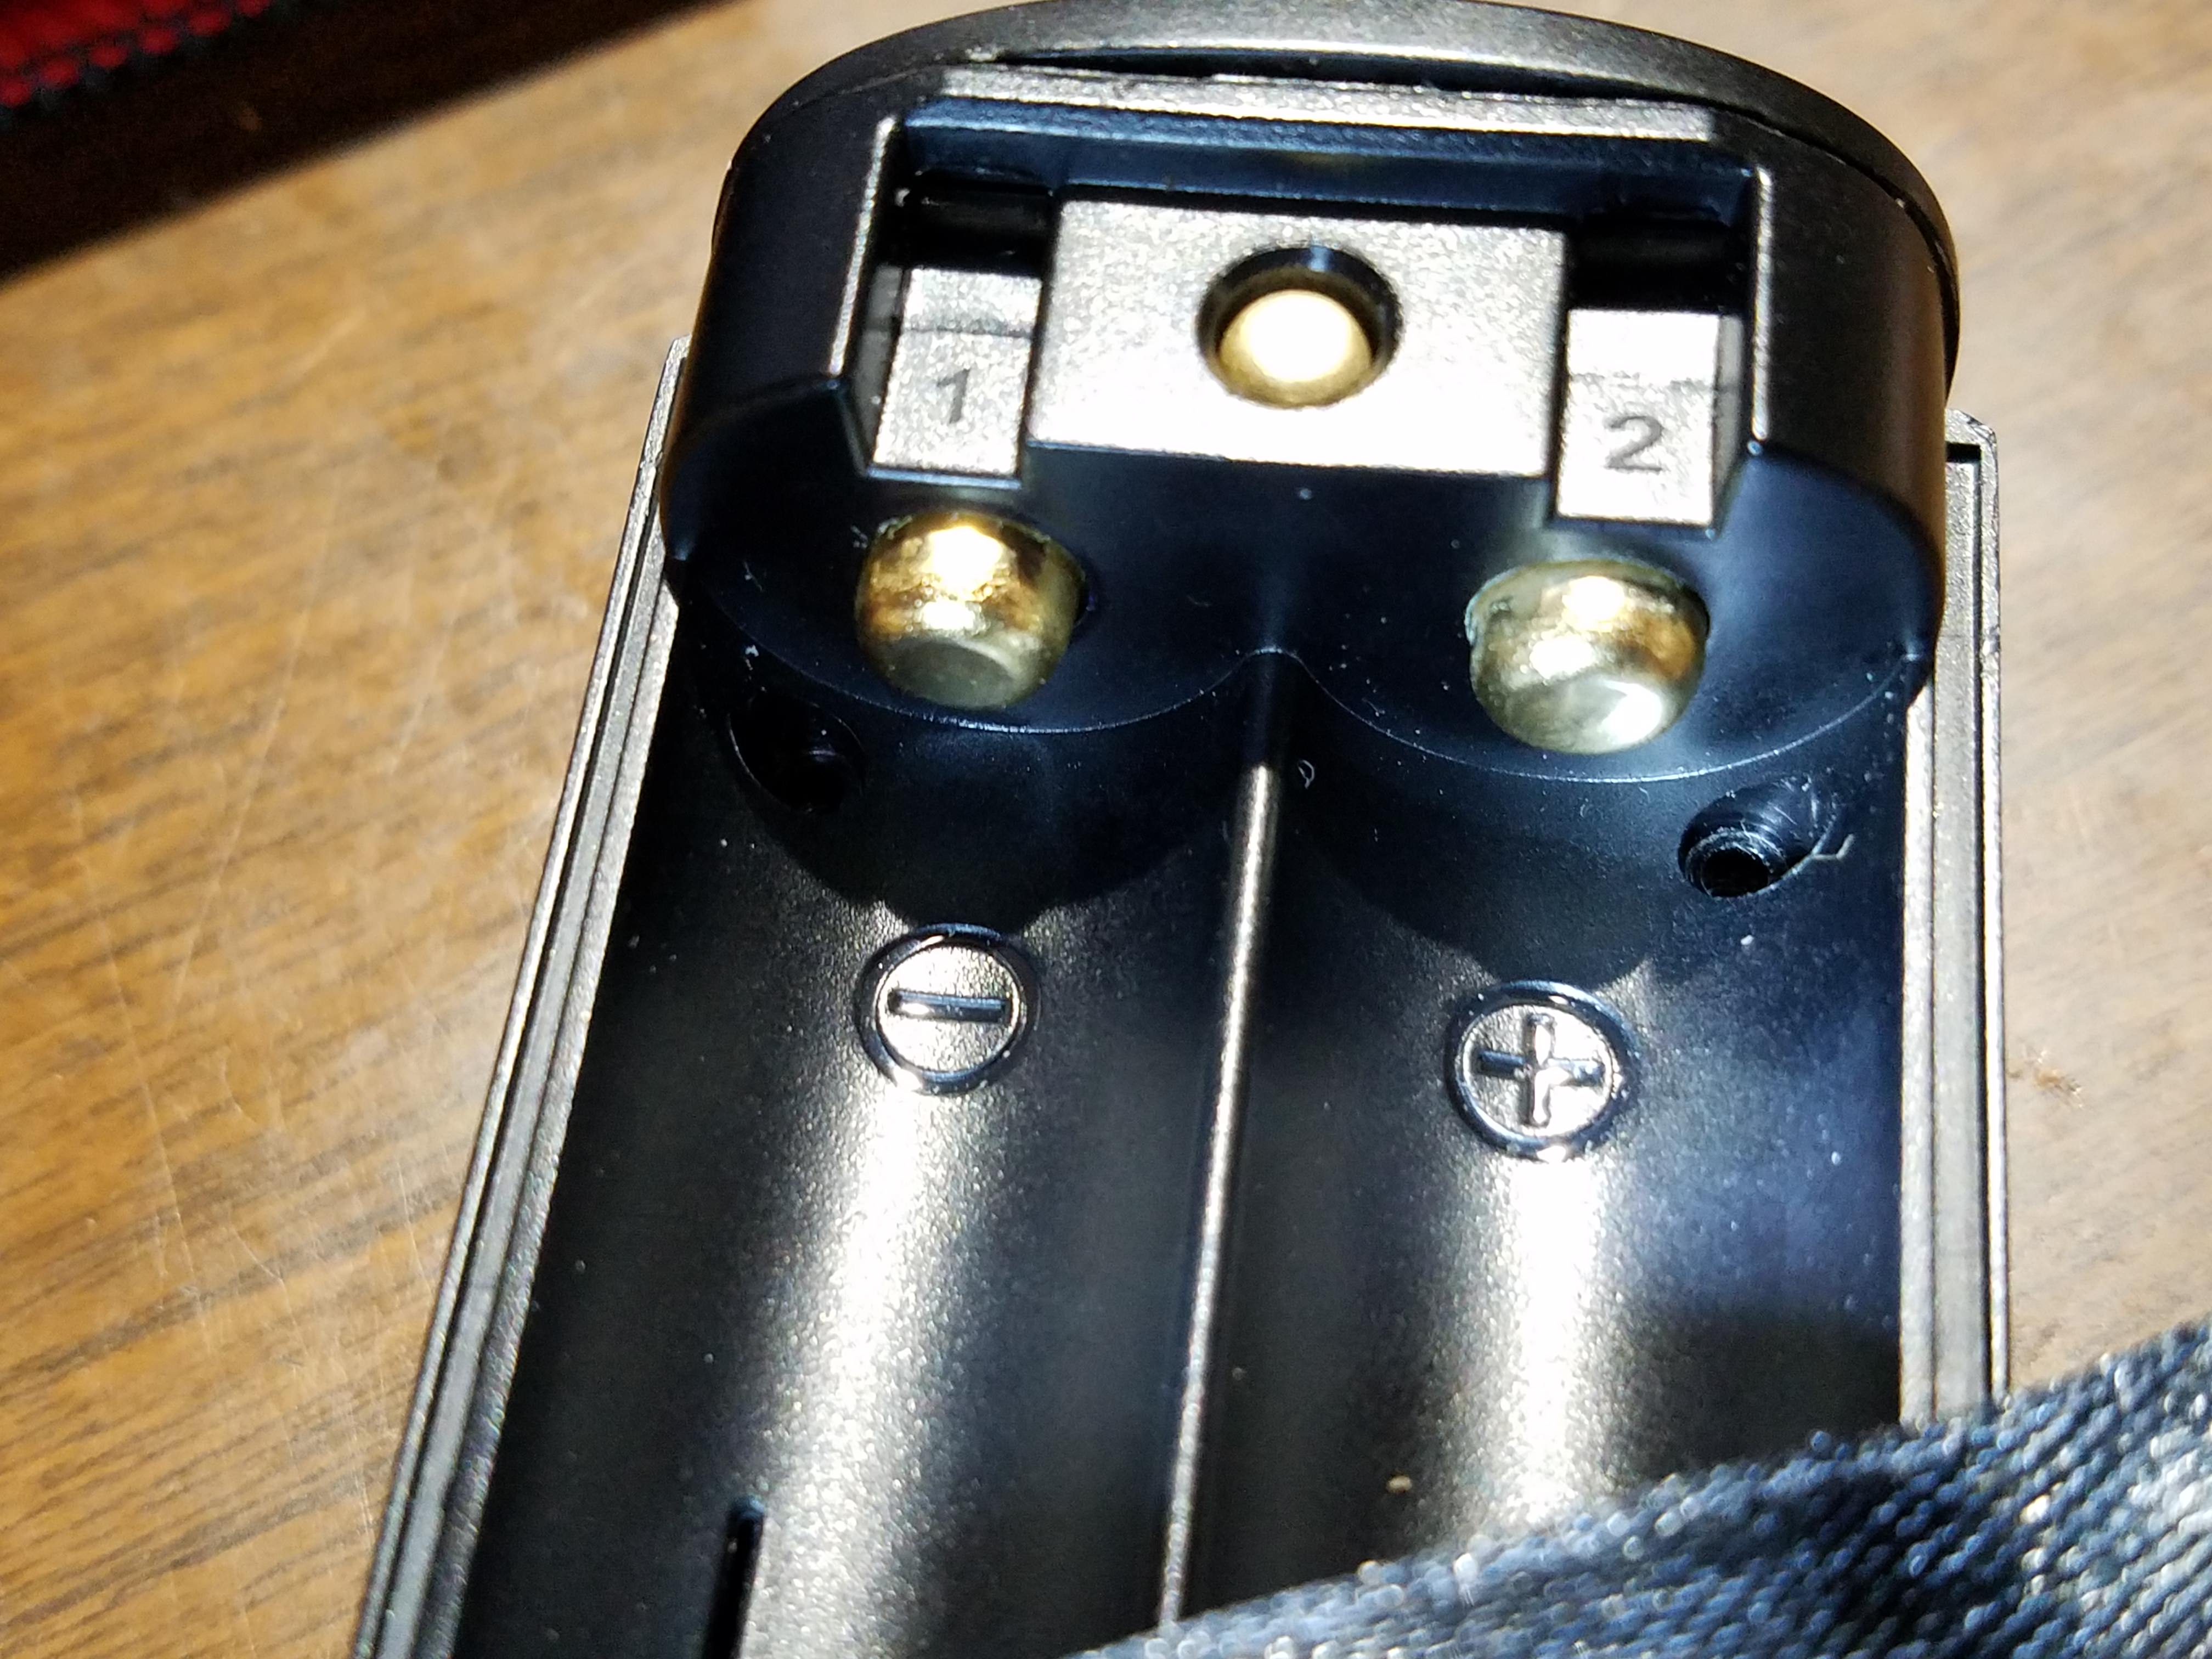
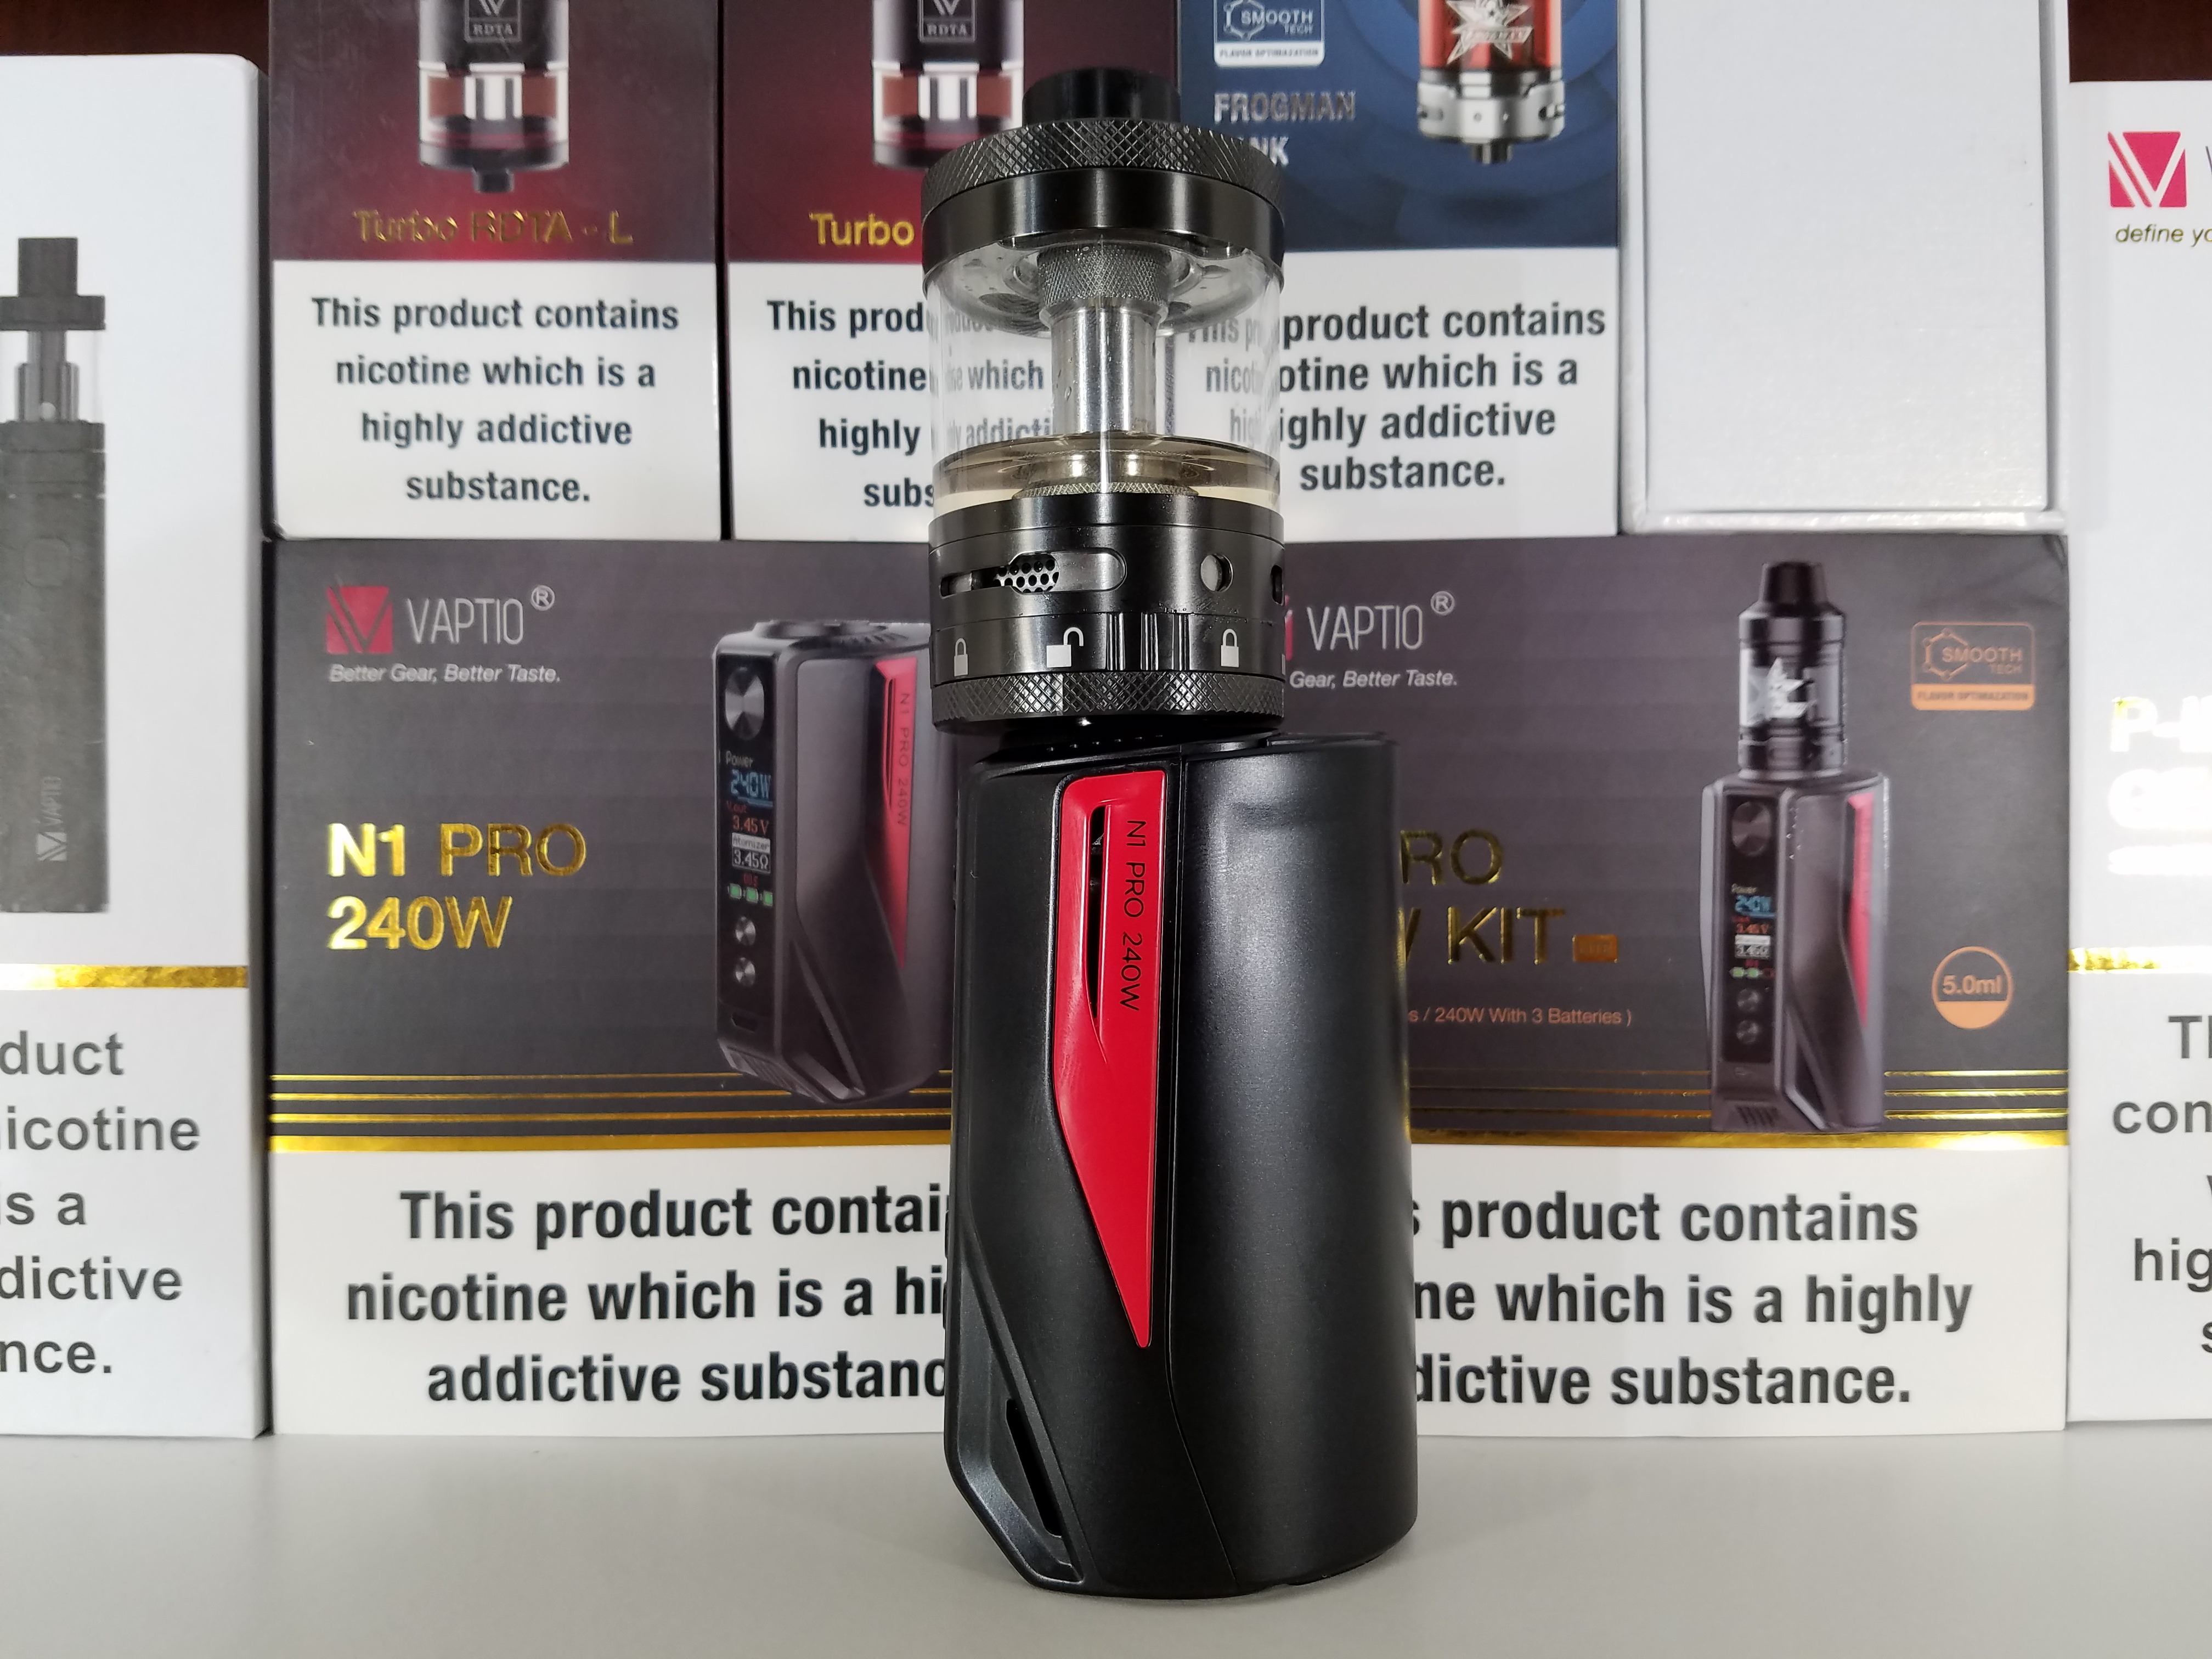
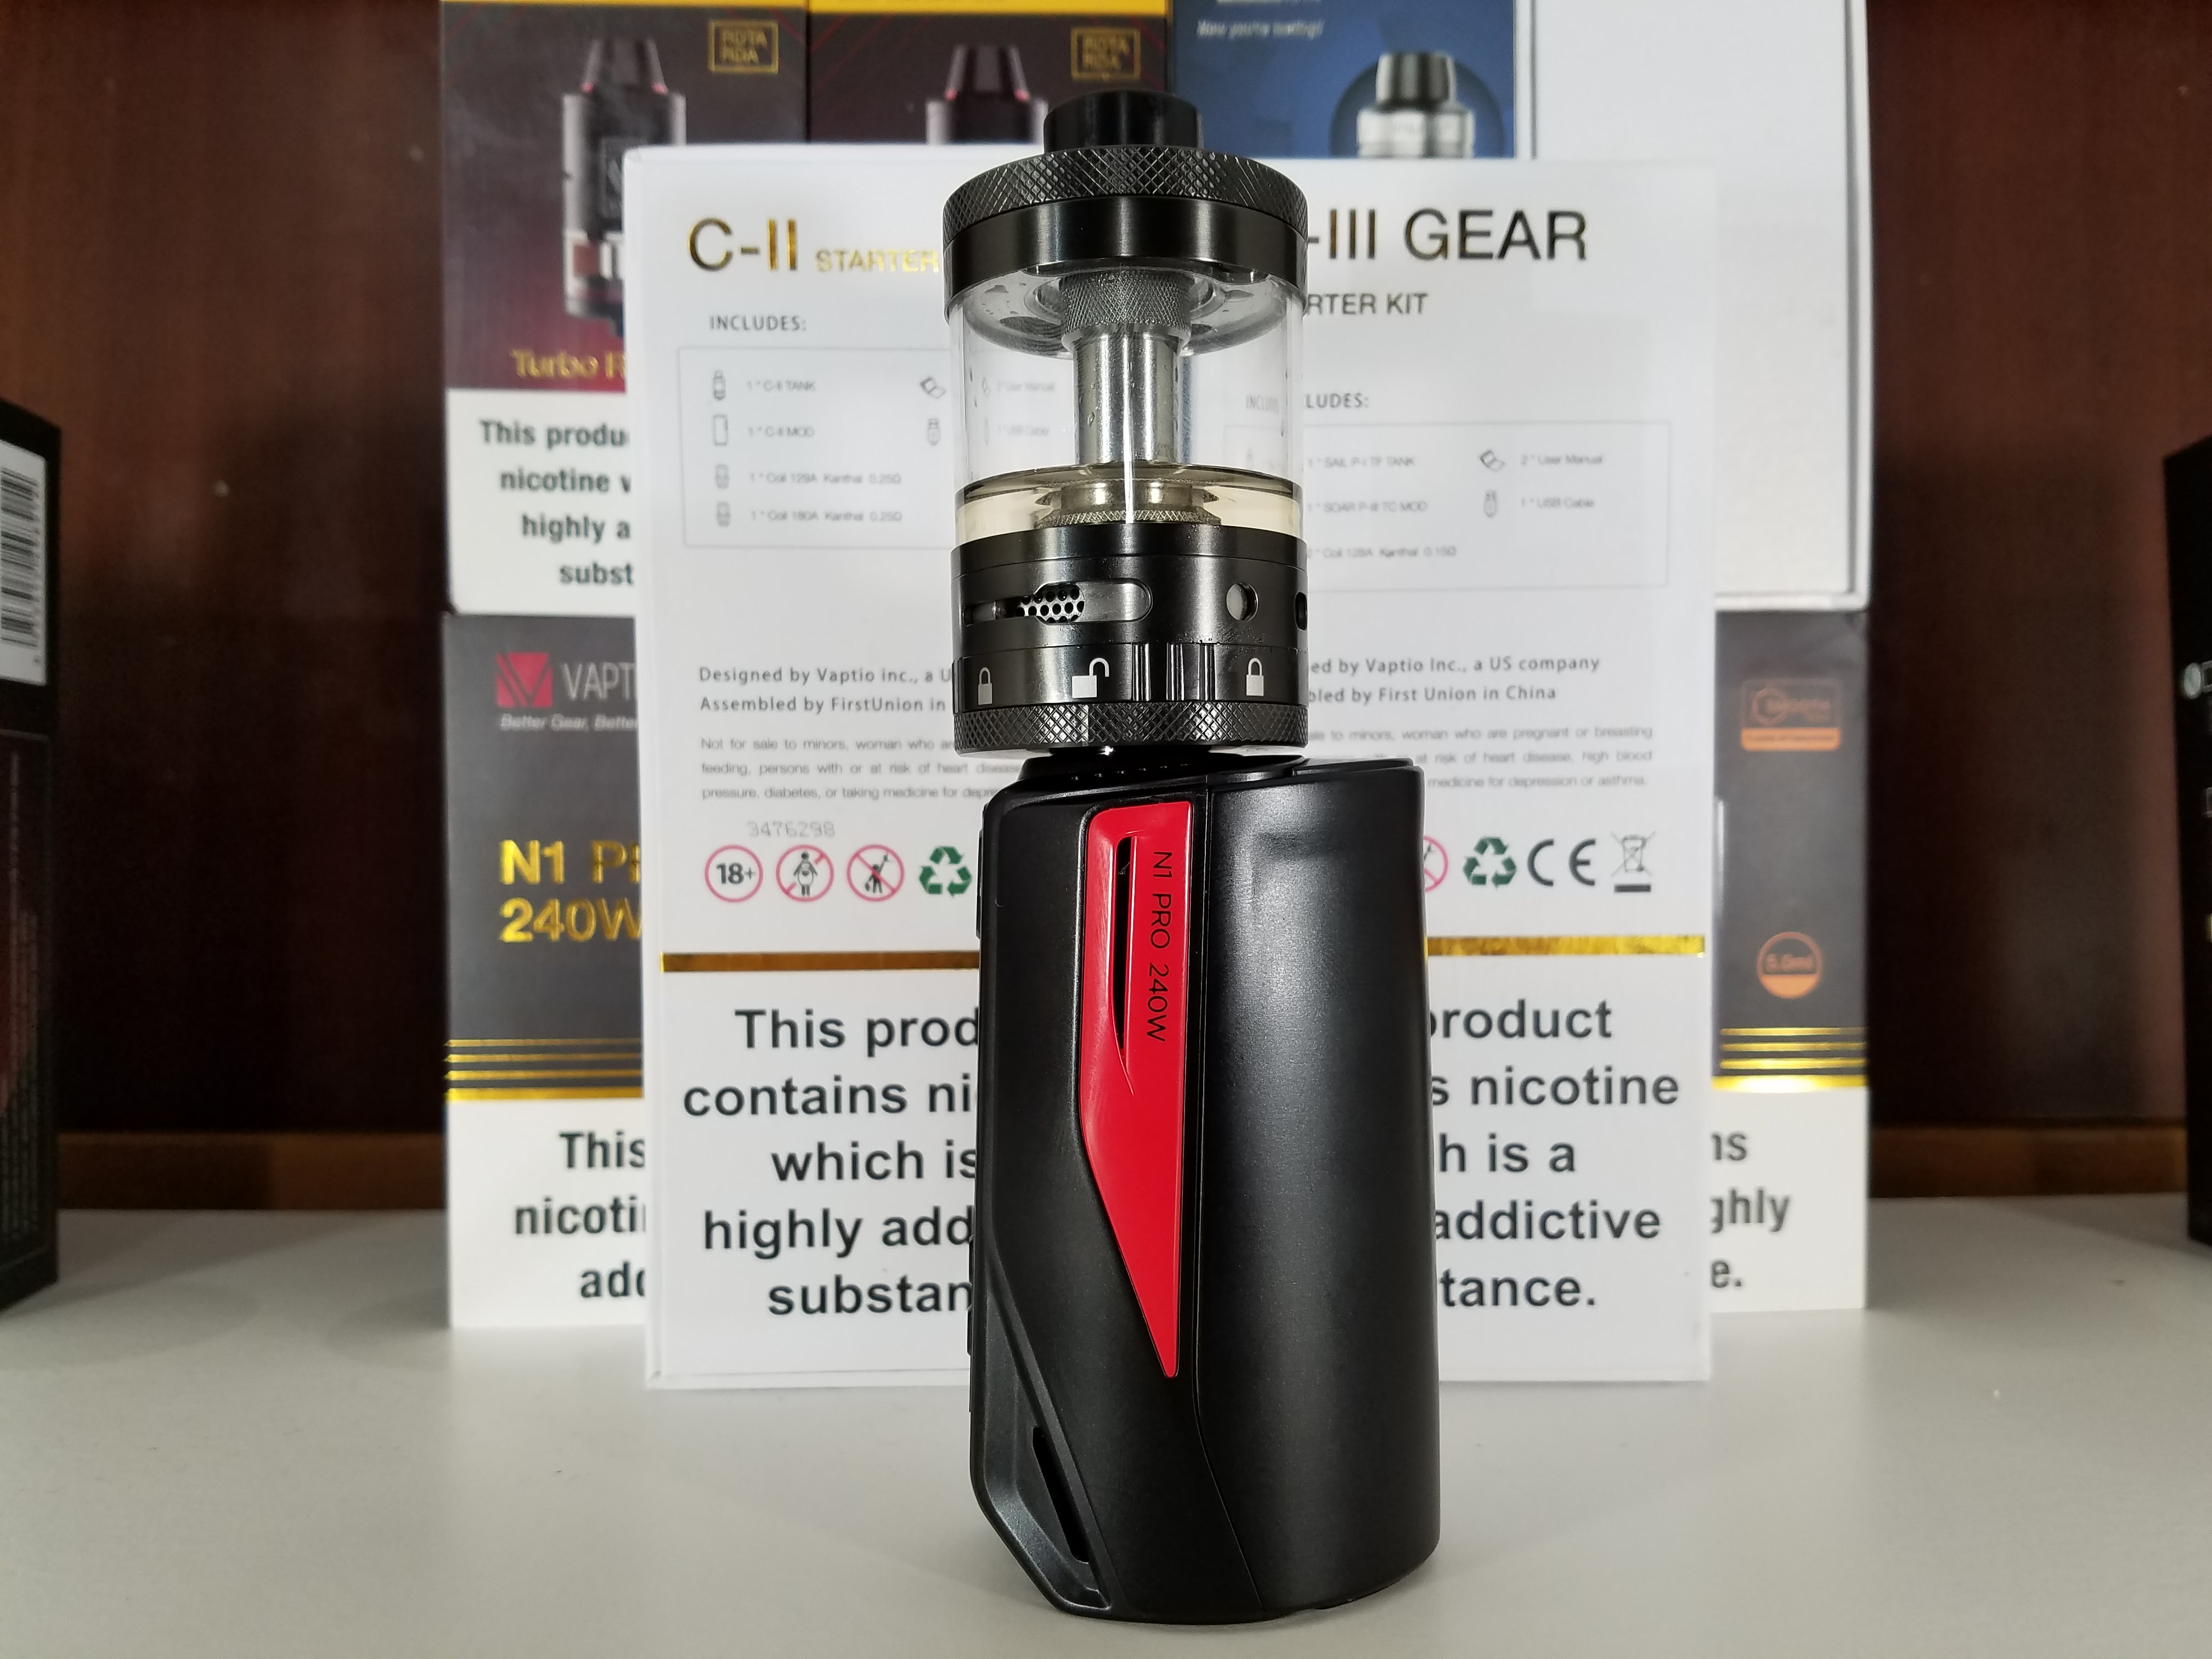
The 510 is spring loaded.
They failed miserably with the top of the mod in such that it is raised.
Anything over 24mm will overhang this raised deck.
A mod of this size and Vaptio decided to not only raise the 510 but also slant the entire top so all larger tanks will have a gap under them.
I'm not going to harp on this cosmetic design flaw, but it certainly could have been avoided.
On a real positive note, the 510 is indeed centered.
If you don't mind a slanted gap under your tank, you can easily fit a 30mm on it without it overhanging the mod its self.
If the entire top of the mod were to have been made flat, you could have fit a 35mm tank.
How to adjust the wattage in temp mode:
3 clicks to Menu,
Select System,
Select TCR data,
Select the TC mode you want to adjust by using the Up/Down button,
Hit Fire button,
It will jump to the wattage:
Hit the Fire button,
Adjust the wattage to desired setting by hitting the Up/Down button,
Hit Fire button,
Use Up/Down button to get to the RETURN Arrow
Repeat to the RETURN Arrow,
Select Out Mode,
Select Temper,
Select the mode you just adjusted,
Hit Fire button.
While that might seem like a pain in the ass, it really isn't that bad considering the result will be you'll get the end result from the setting you just adjusted.
To power the mod off you must first lock it.
Press the fire button 5 times quickly.
Once locked, press and hold the fire button for 2 - 3 seconds.
*************************************************************
*************************************************************
I did run into one issue.
I have not heard of anyone else having this issue, so it may be isolated to lucky people like myself.
Even though I resolved it, I wanted to share the issue as well as what I did to resolve it.
Hopefully this was just an unlucky one-time situation and no one else runs into it.
However, if someone encounters it, following is the resolution.
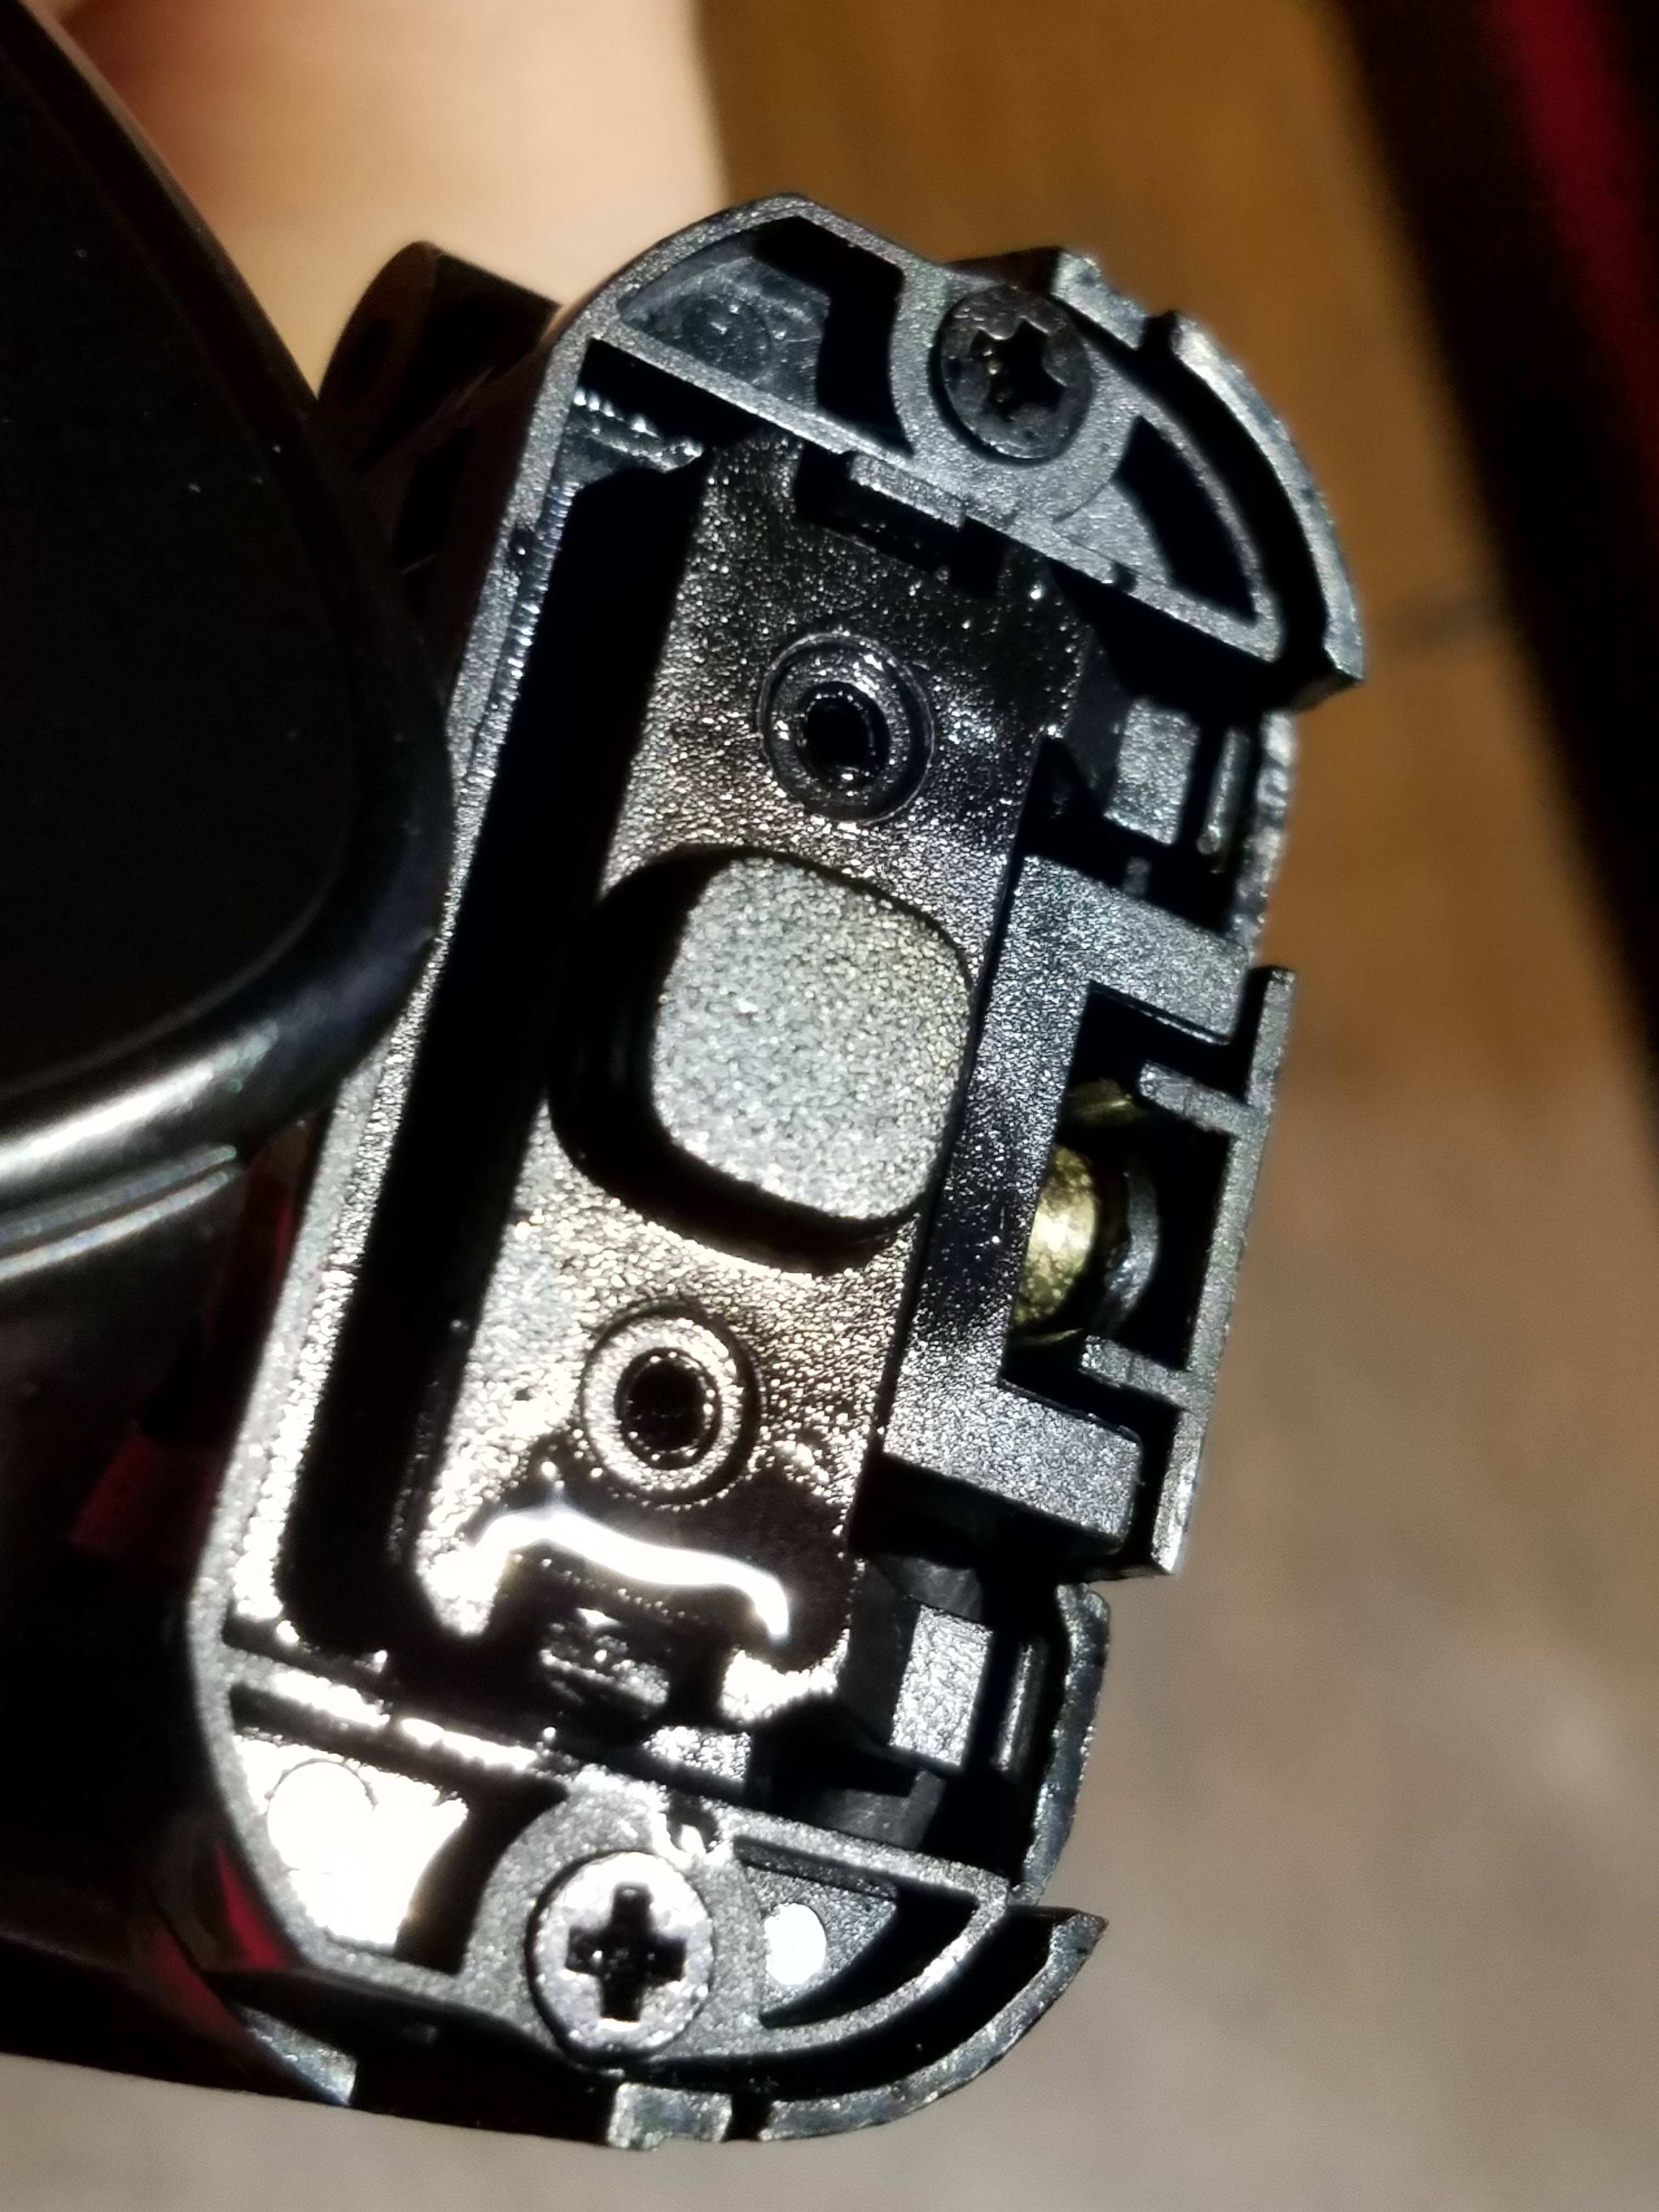
Issue:
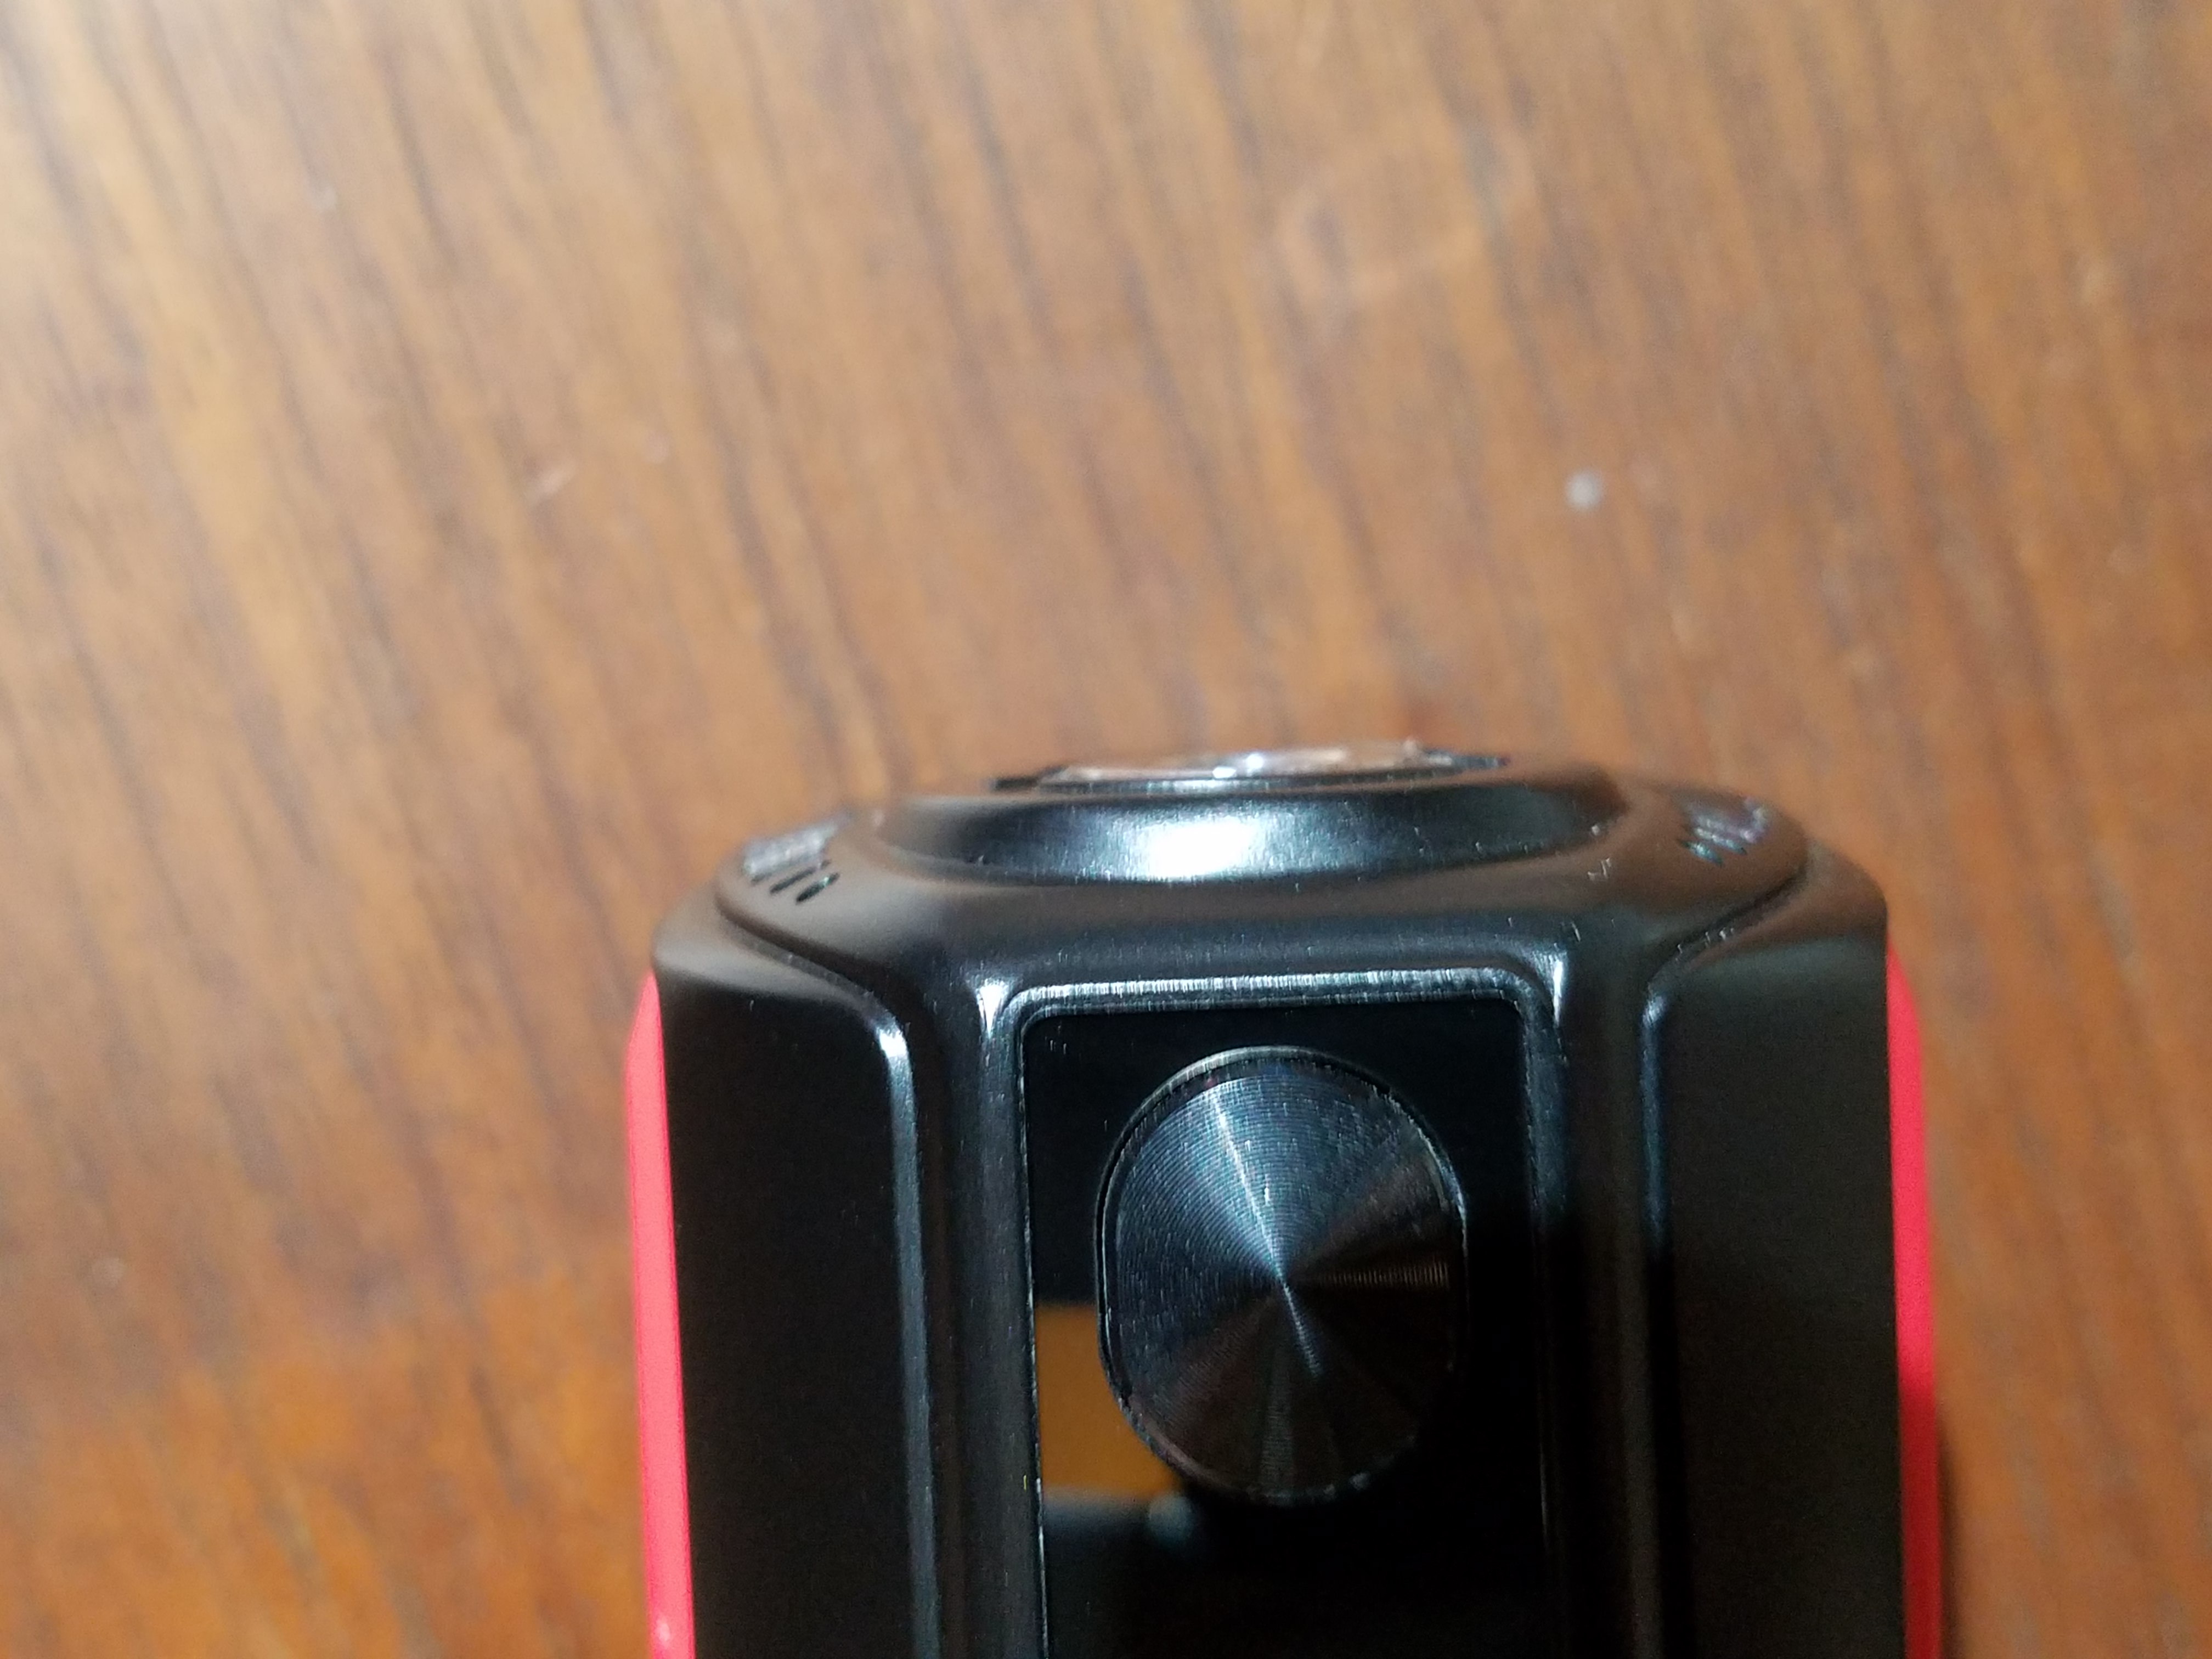
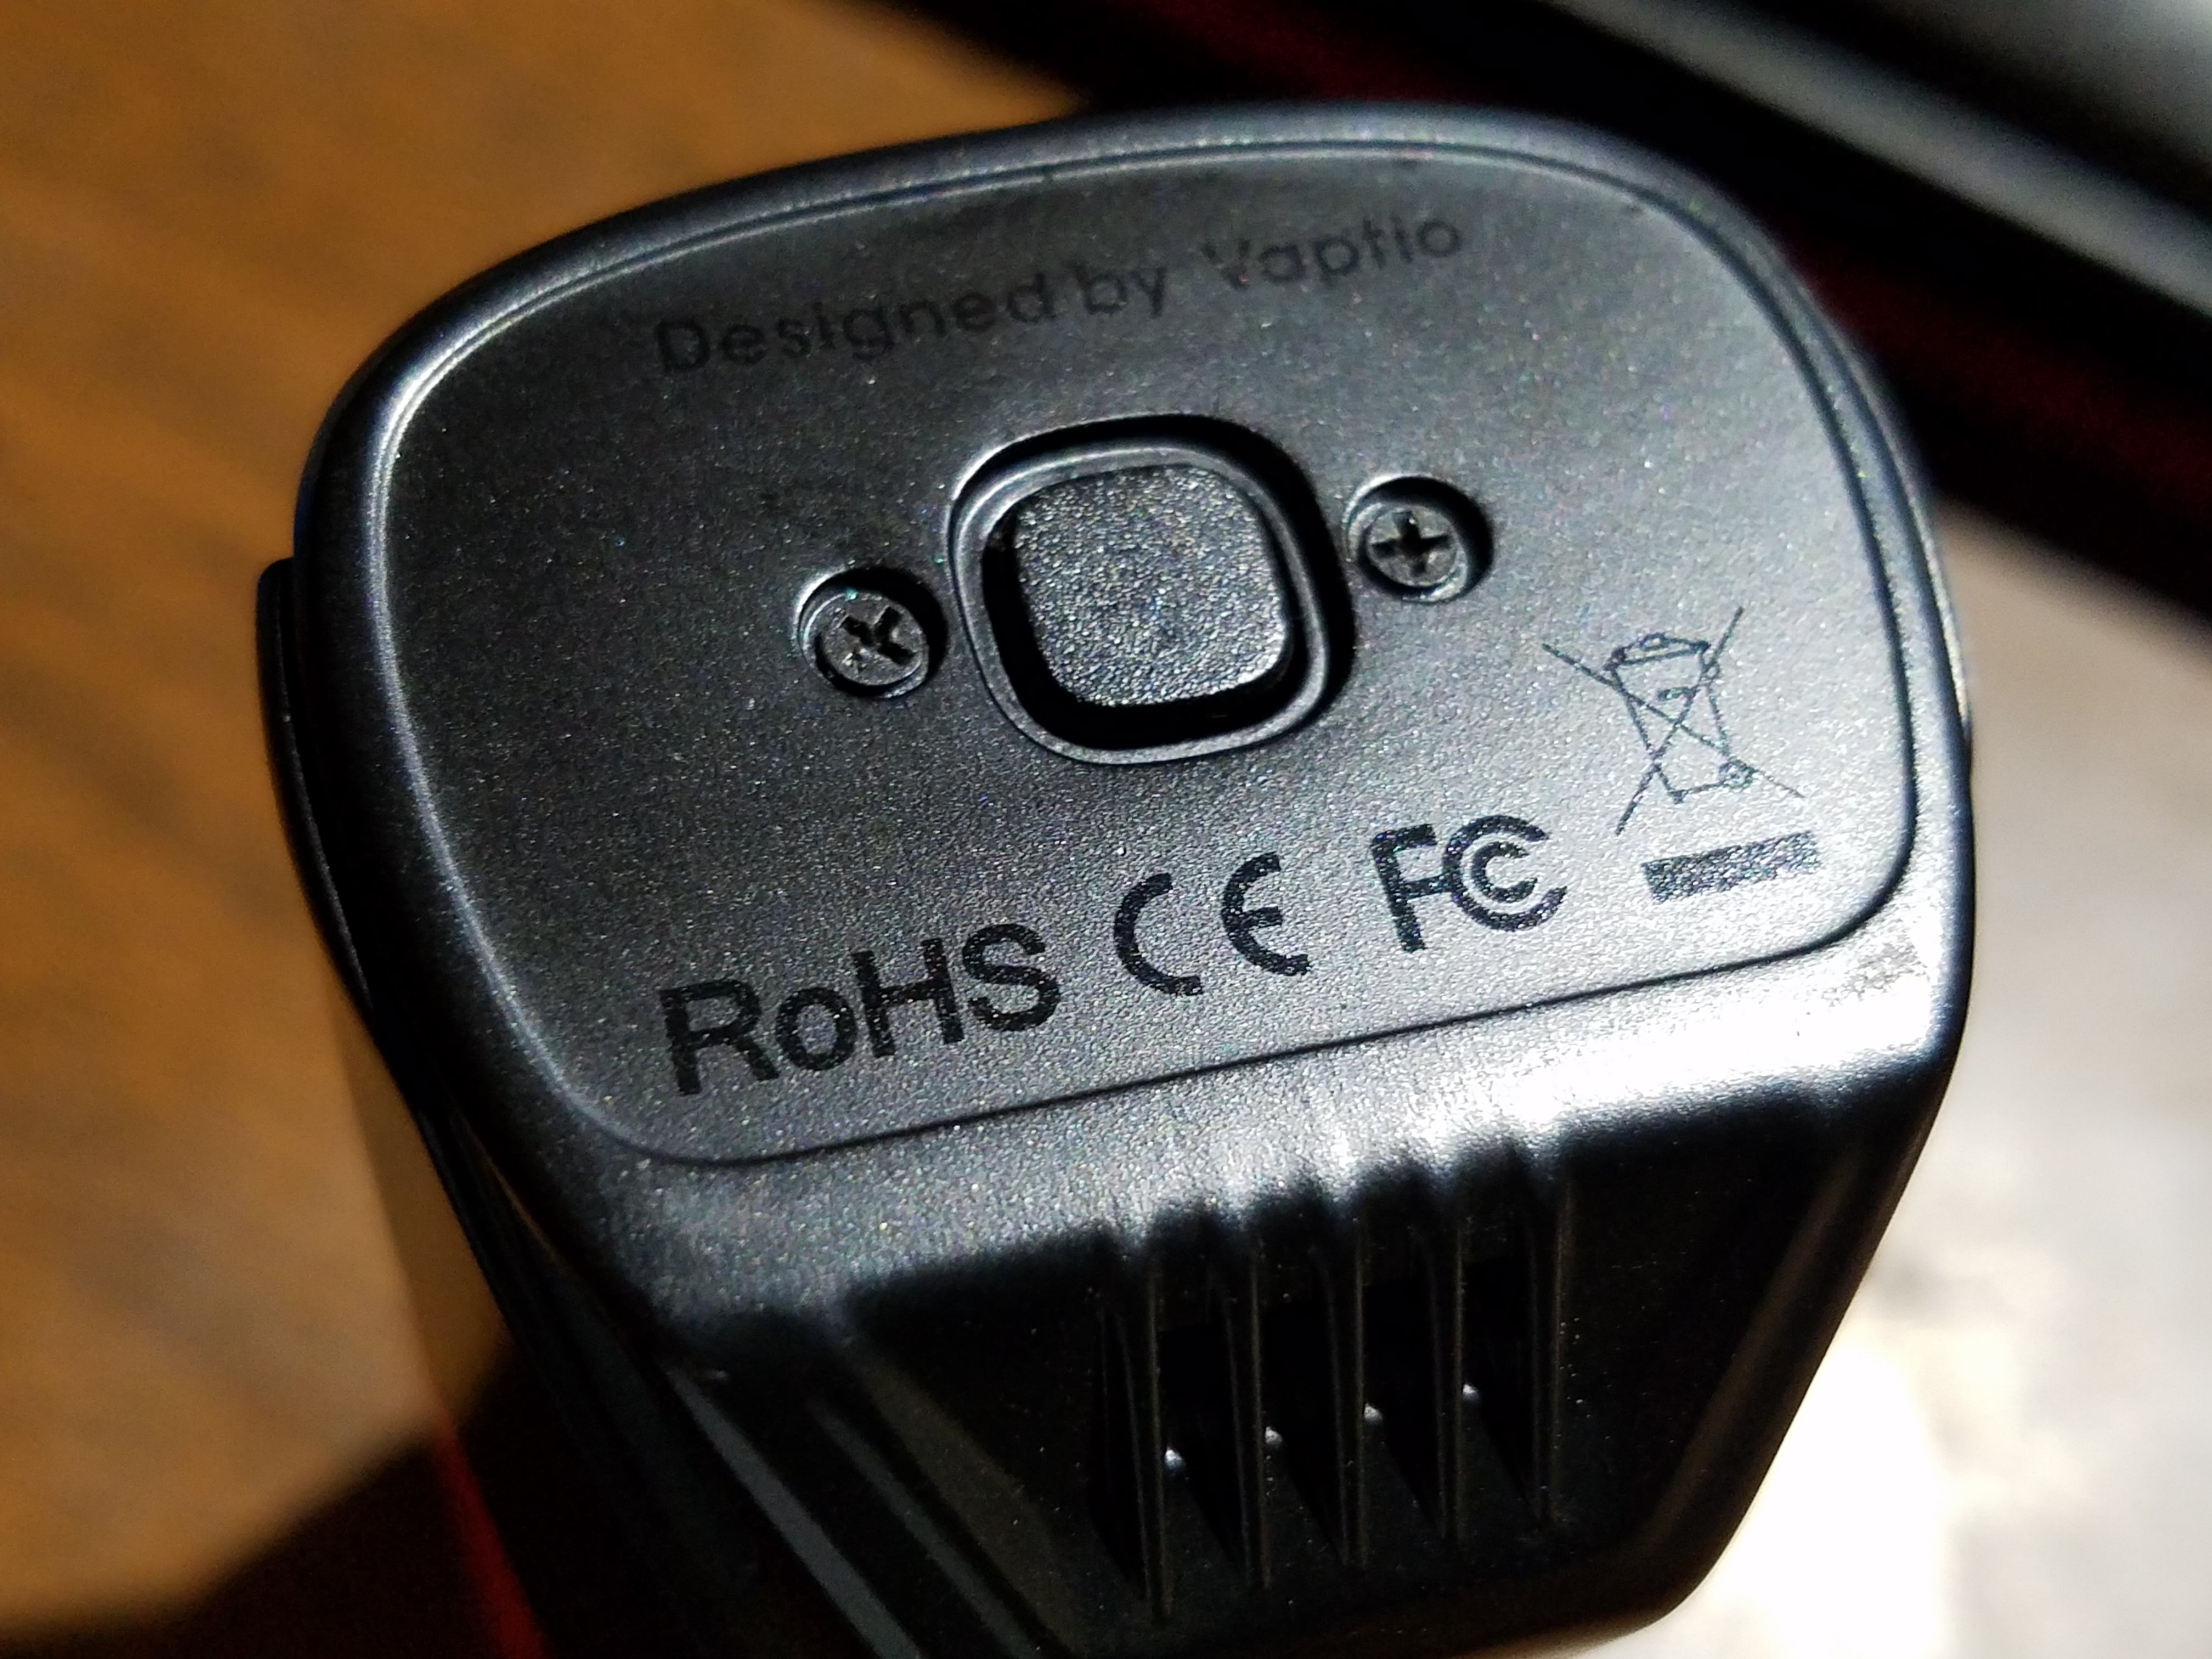
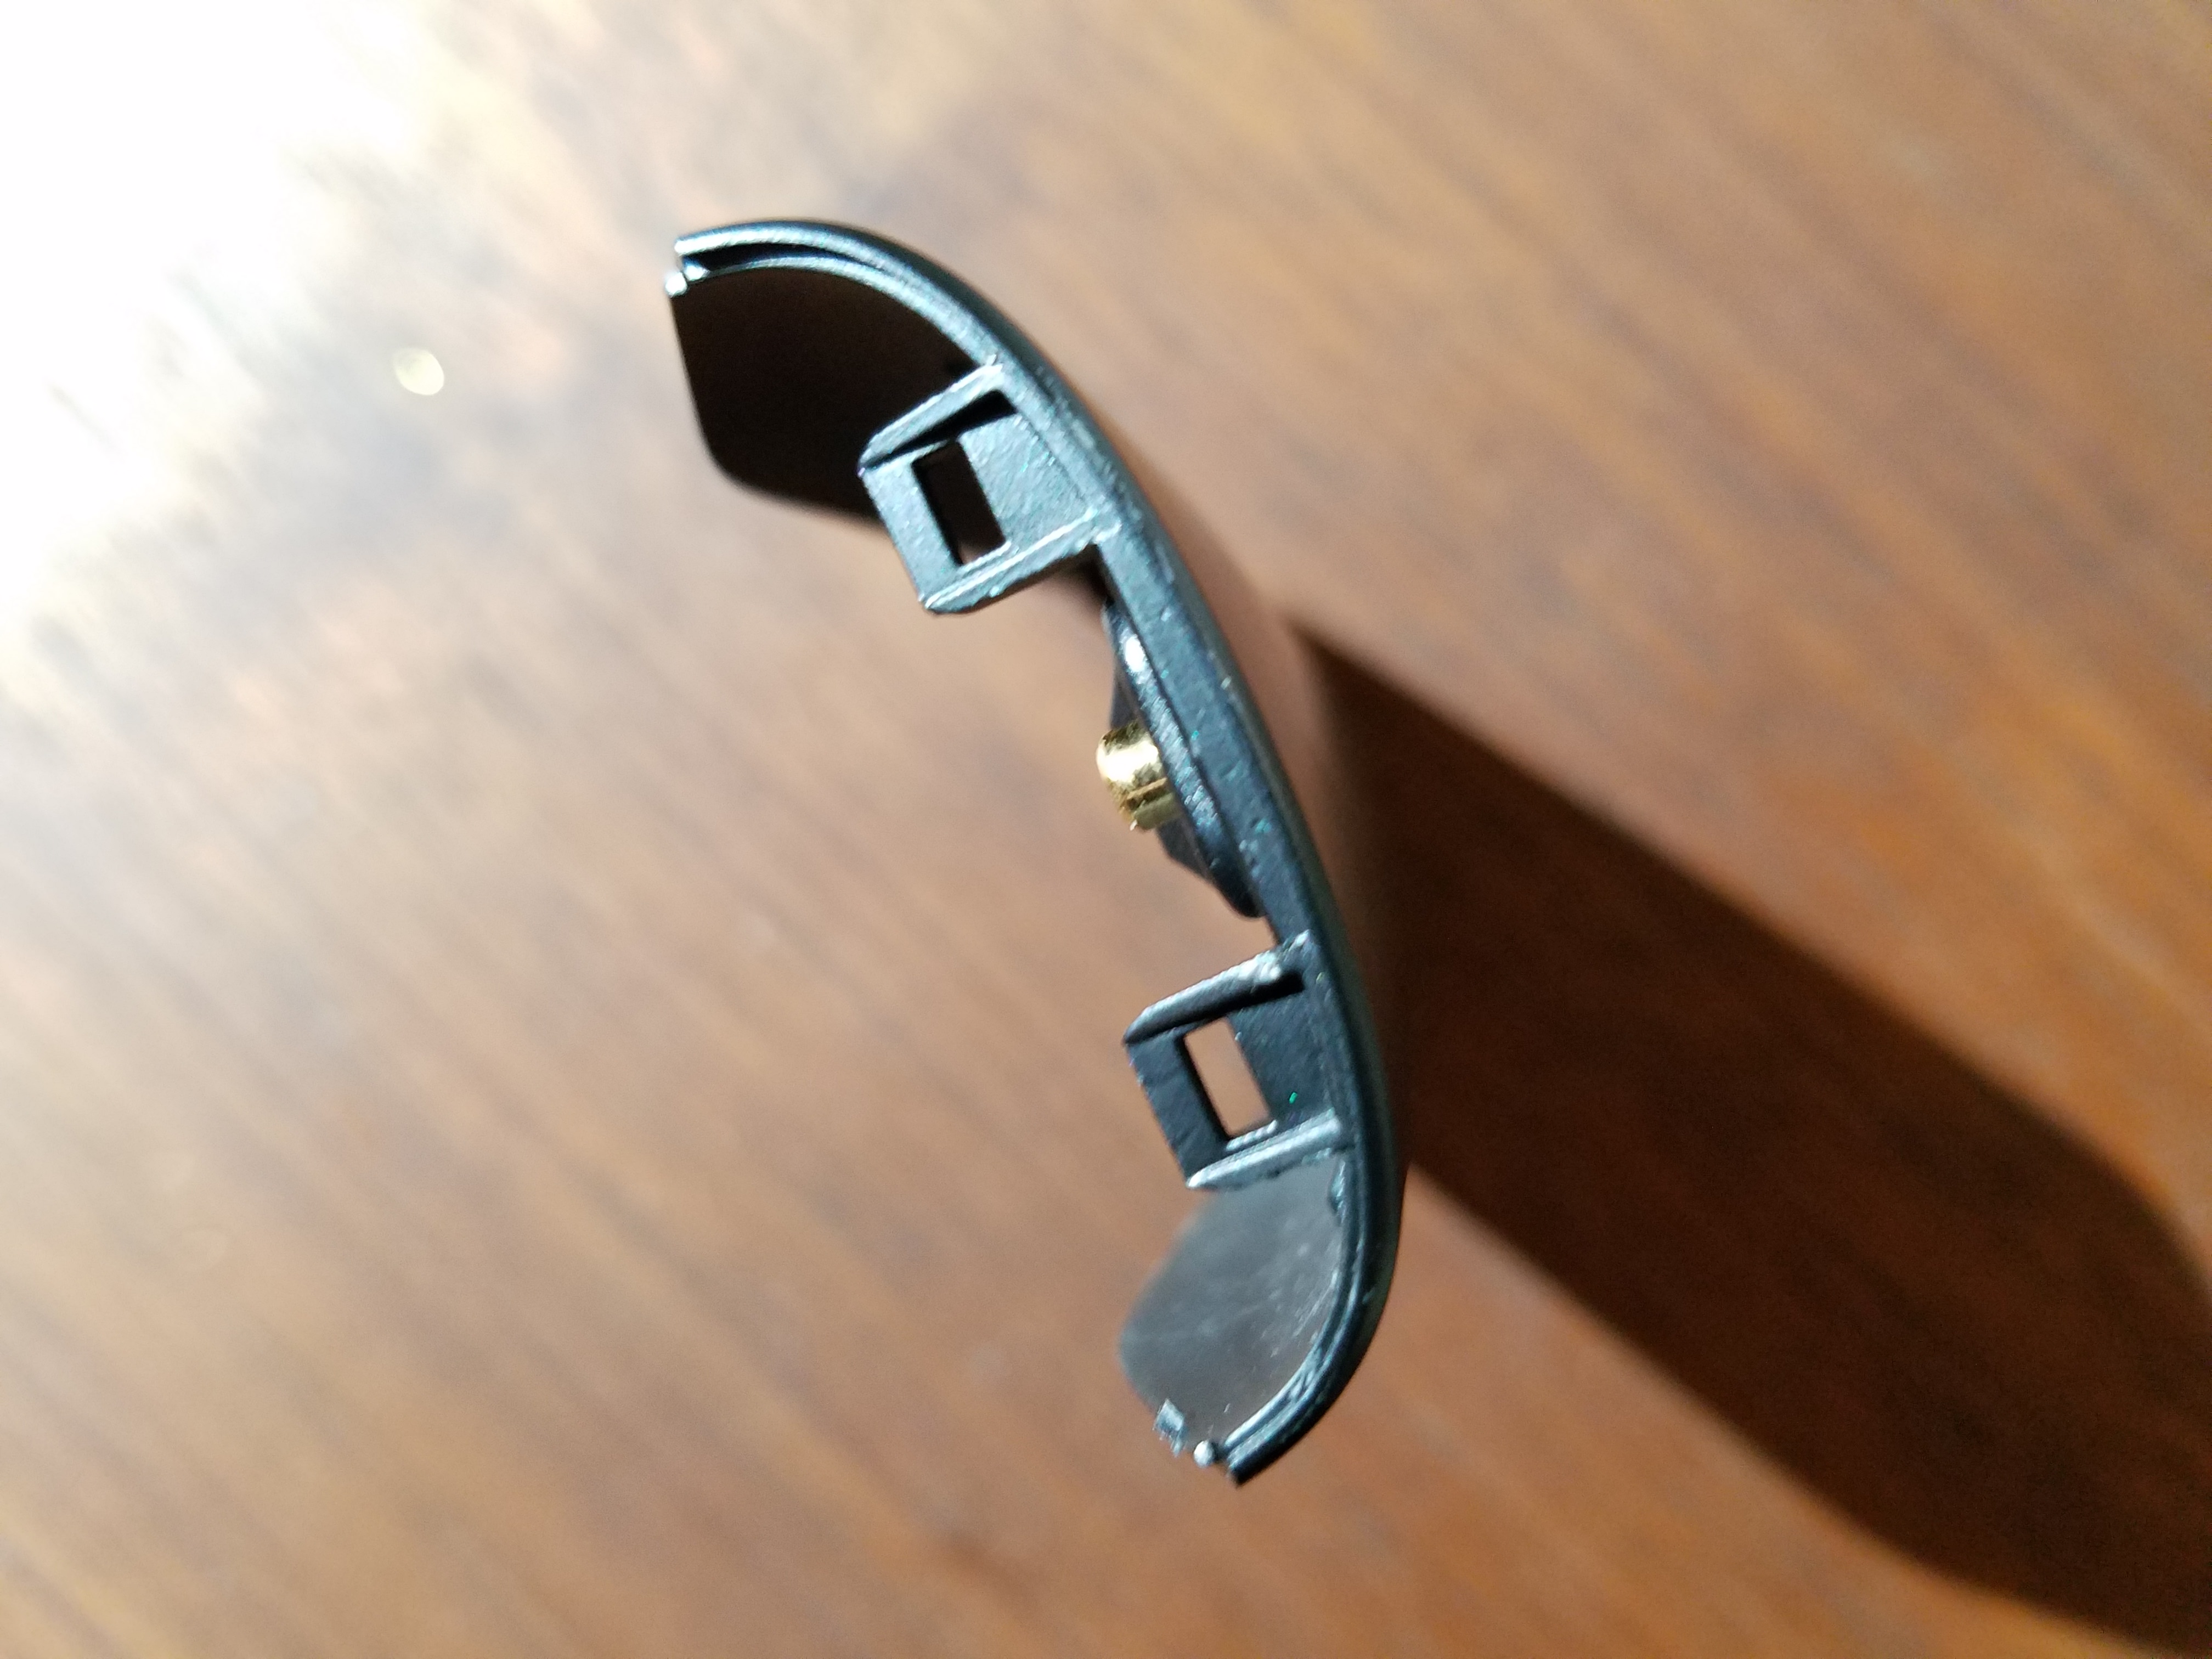
The button to remove the battery cover was stuck depressed.
While you might think that button is plastic, it is actually metal.
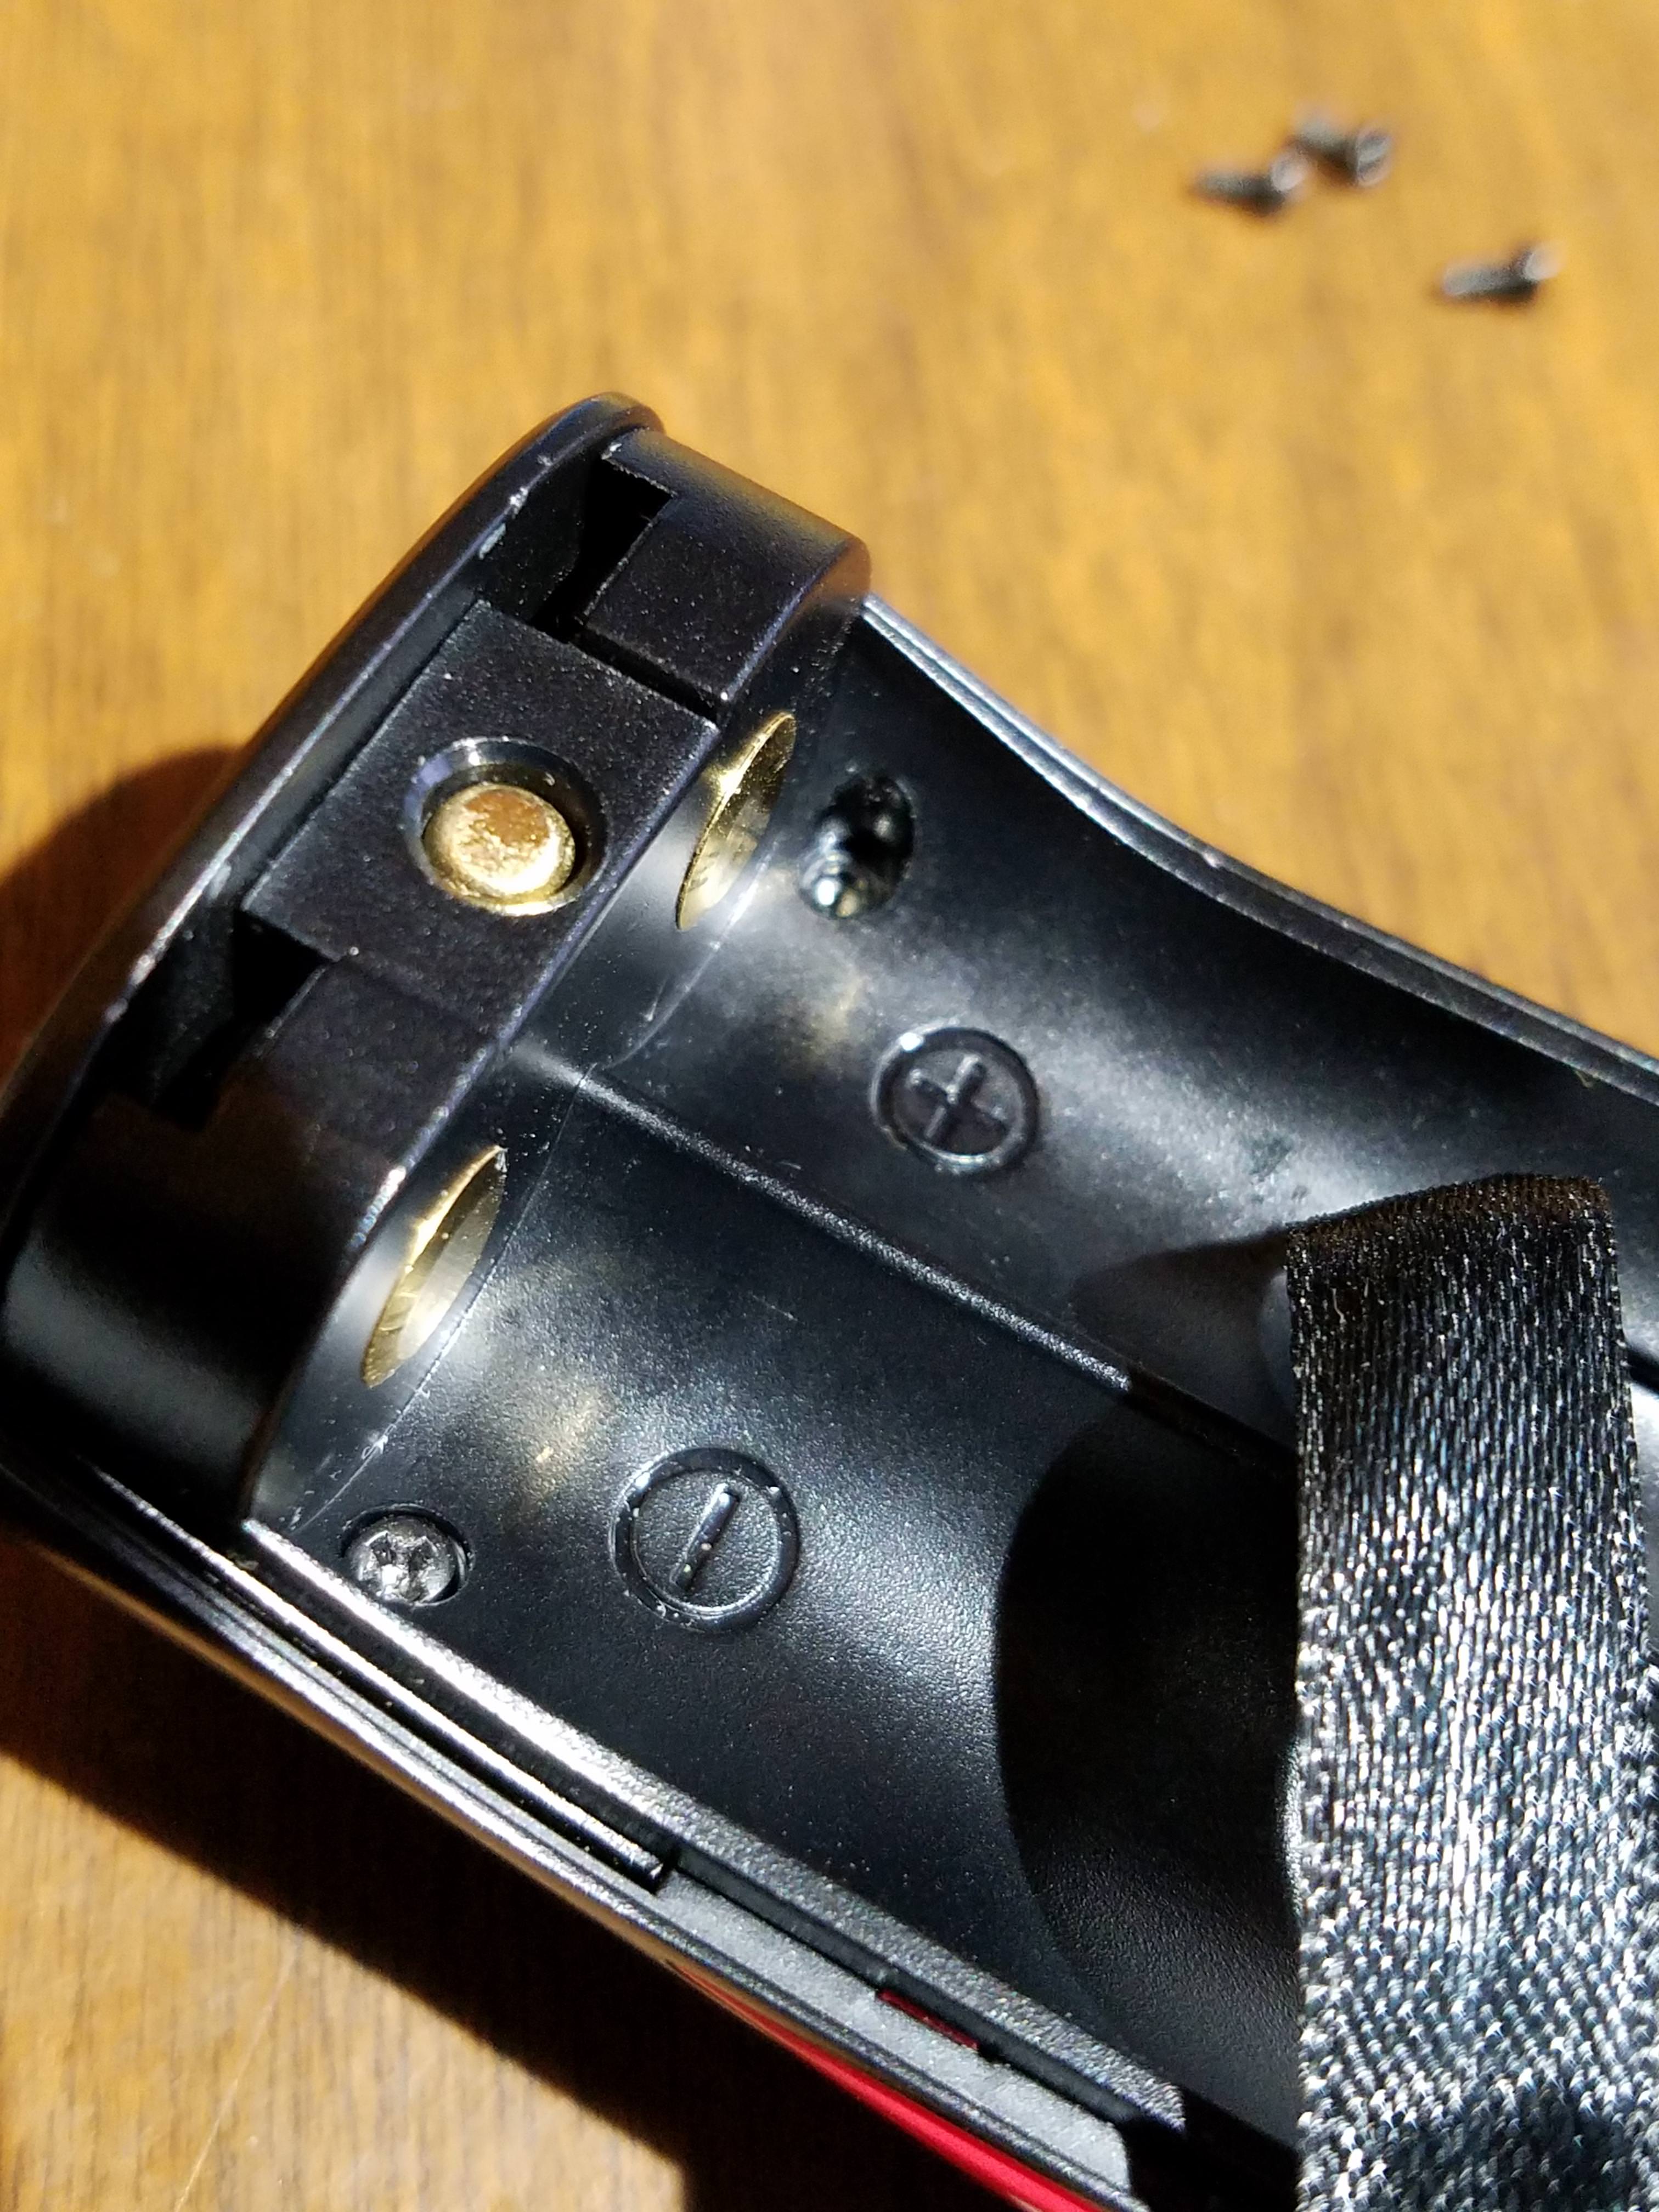
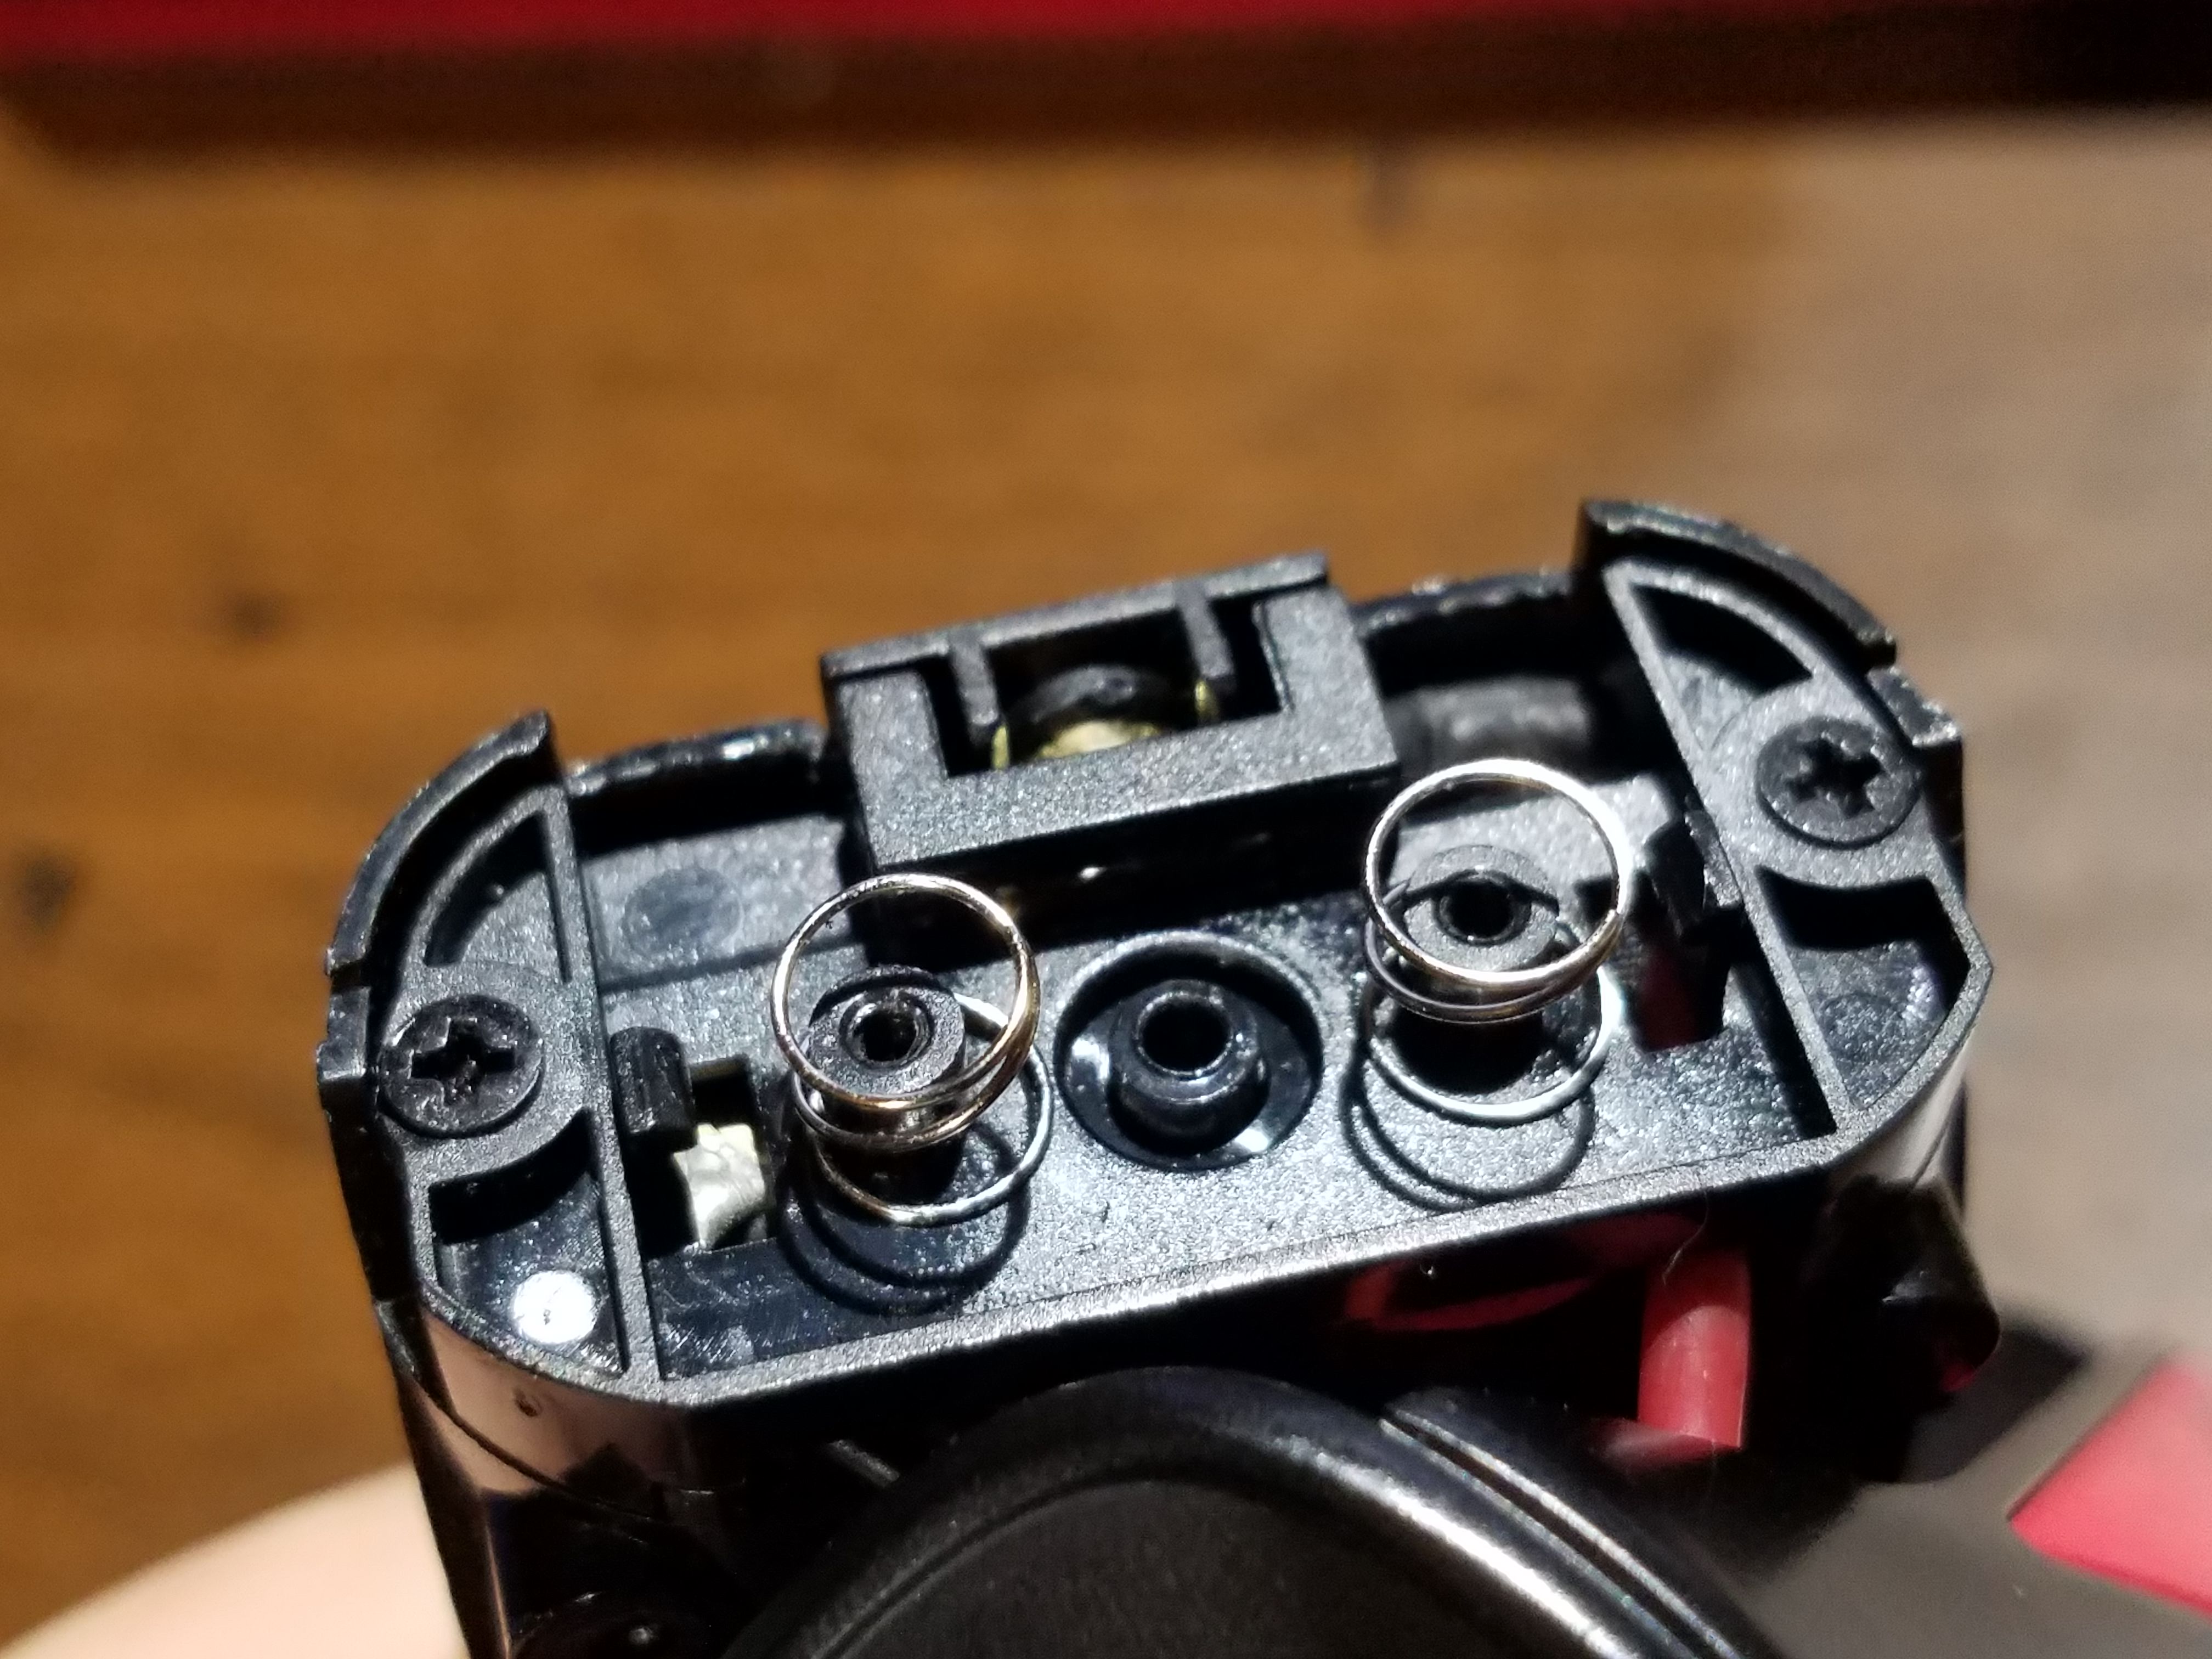
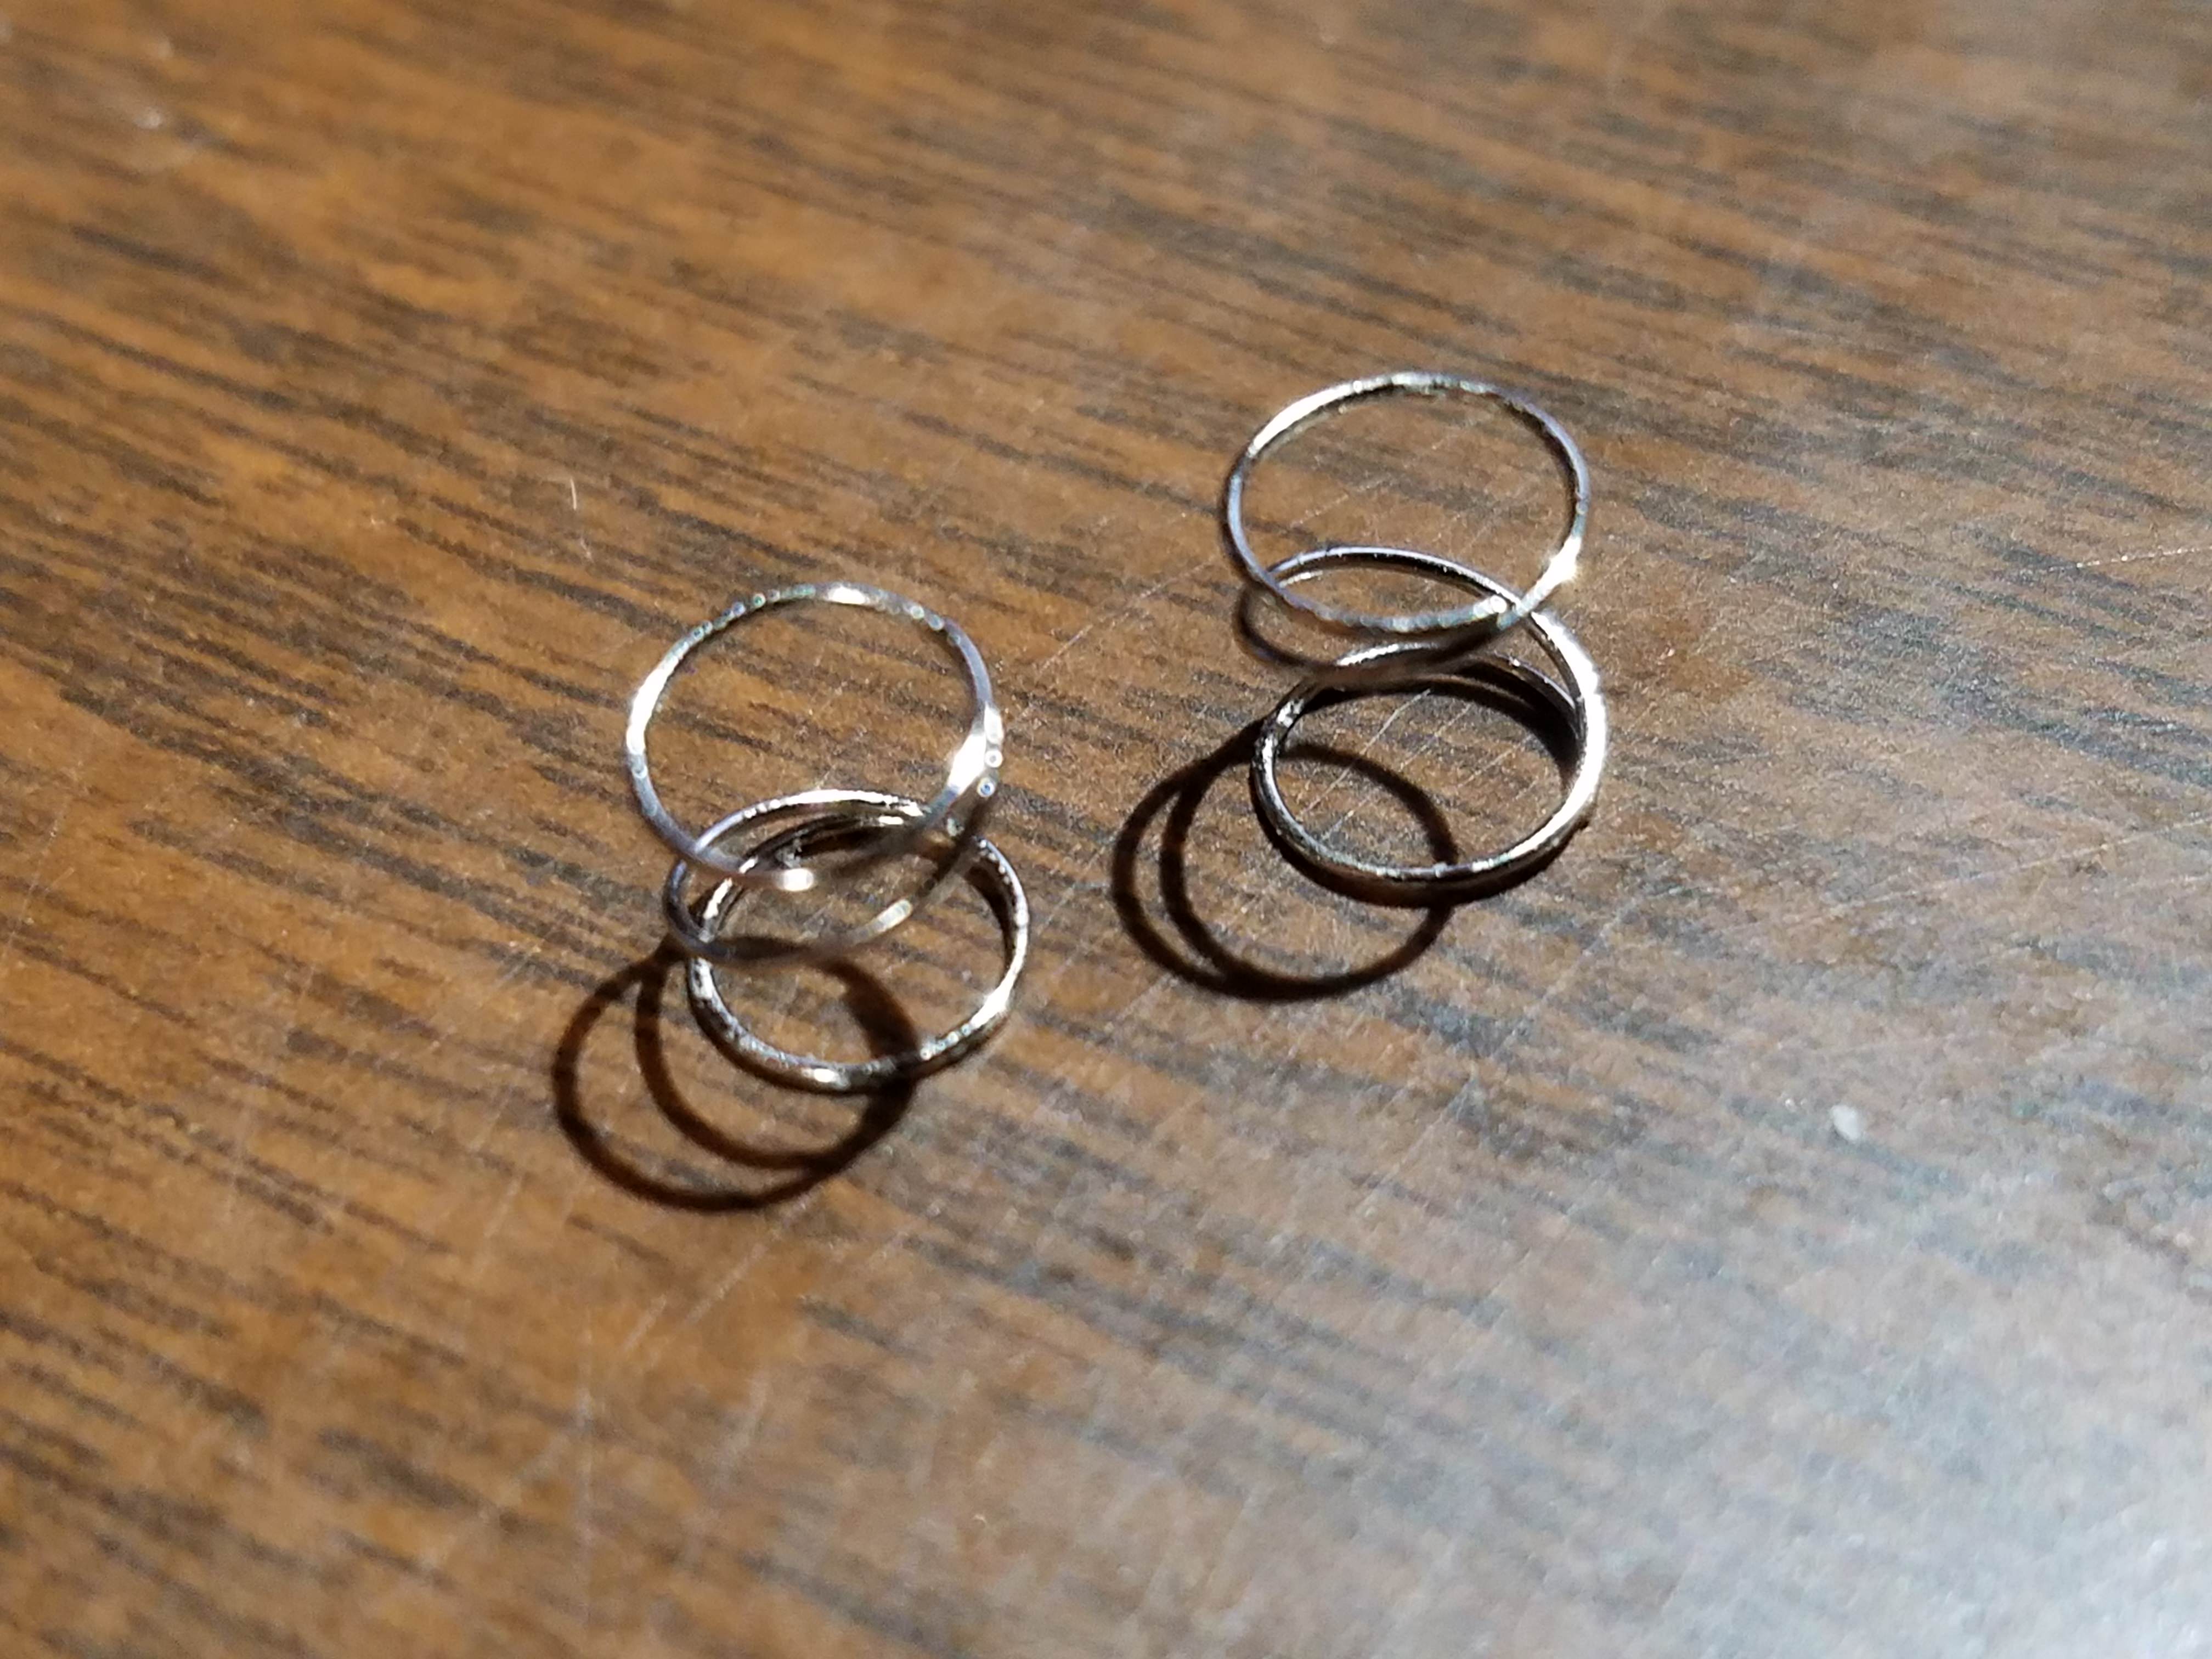
I removed the paint from the two holes, stretched the springs, and added a drop of silicone spray.
It was actually pretty simple to perform this (even though it shouldn't be required)
Personally, I feel the springs used are a bit on the weaker side but after I did this, they seem to be perfectly adequate.
Process:
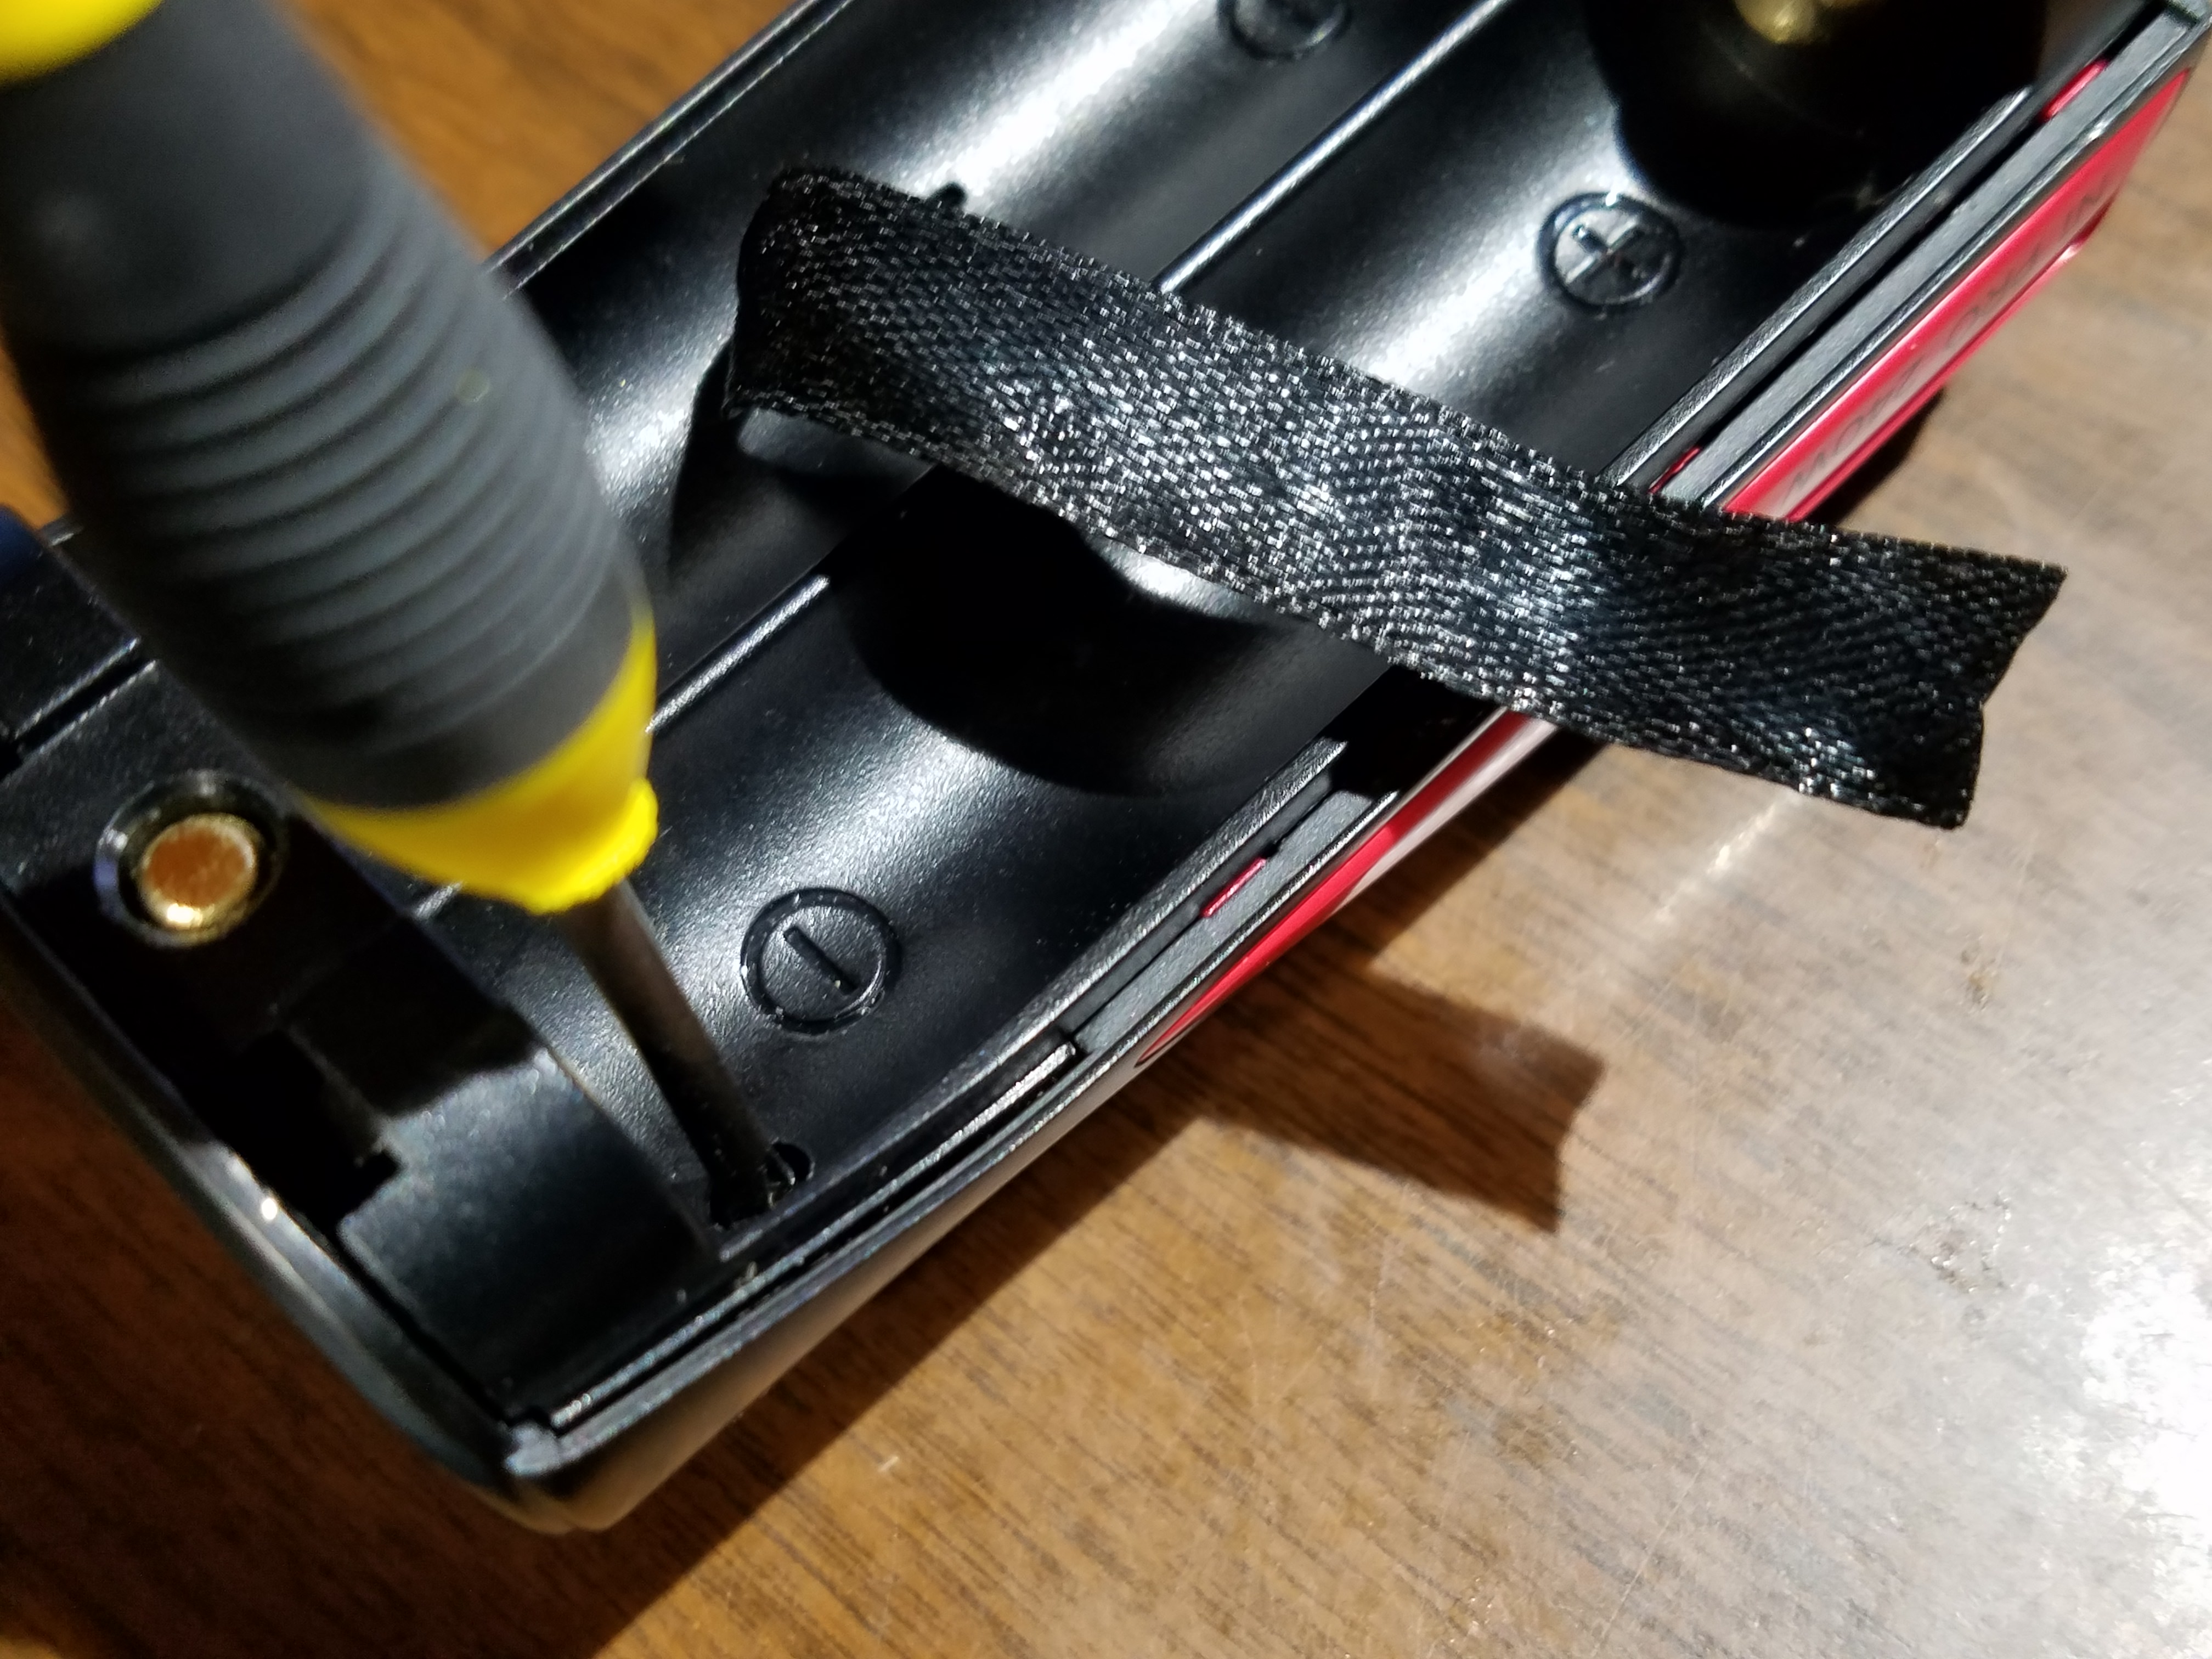
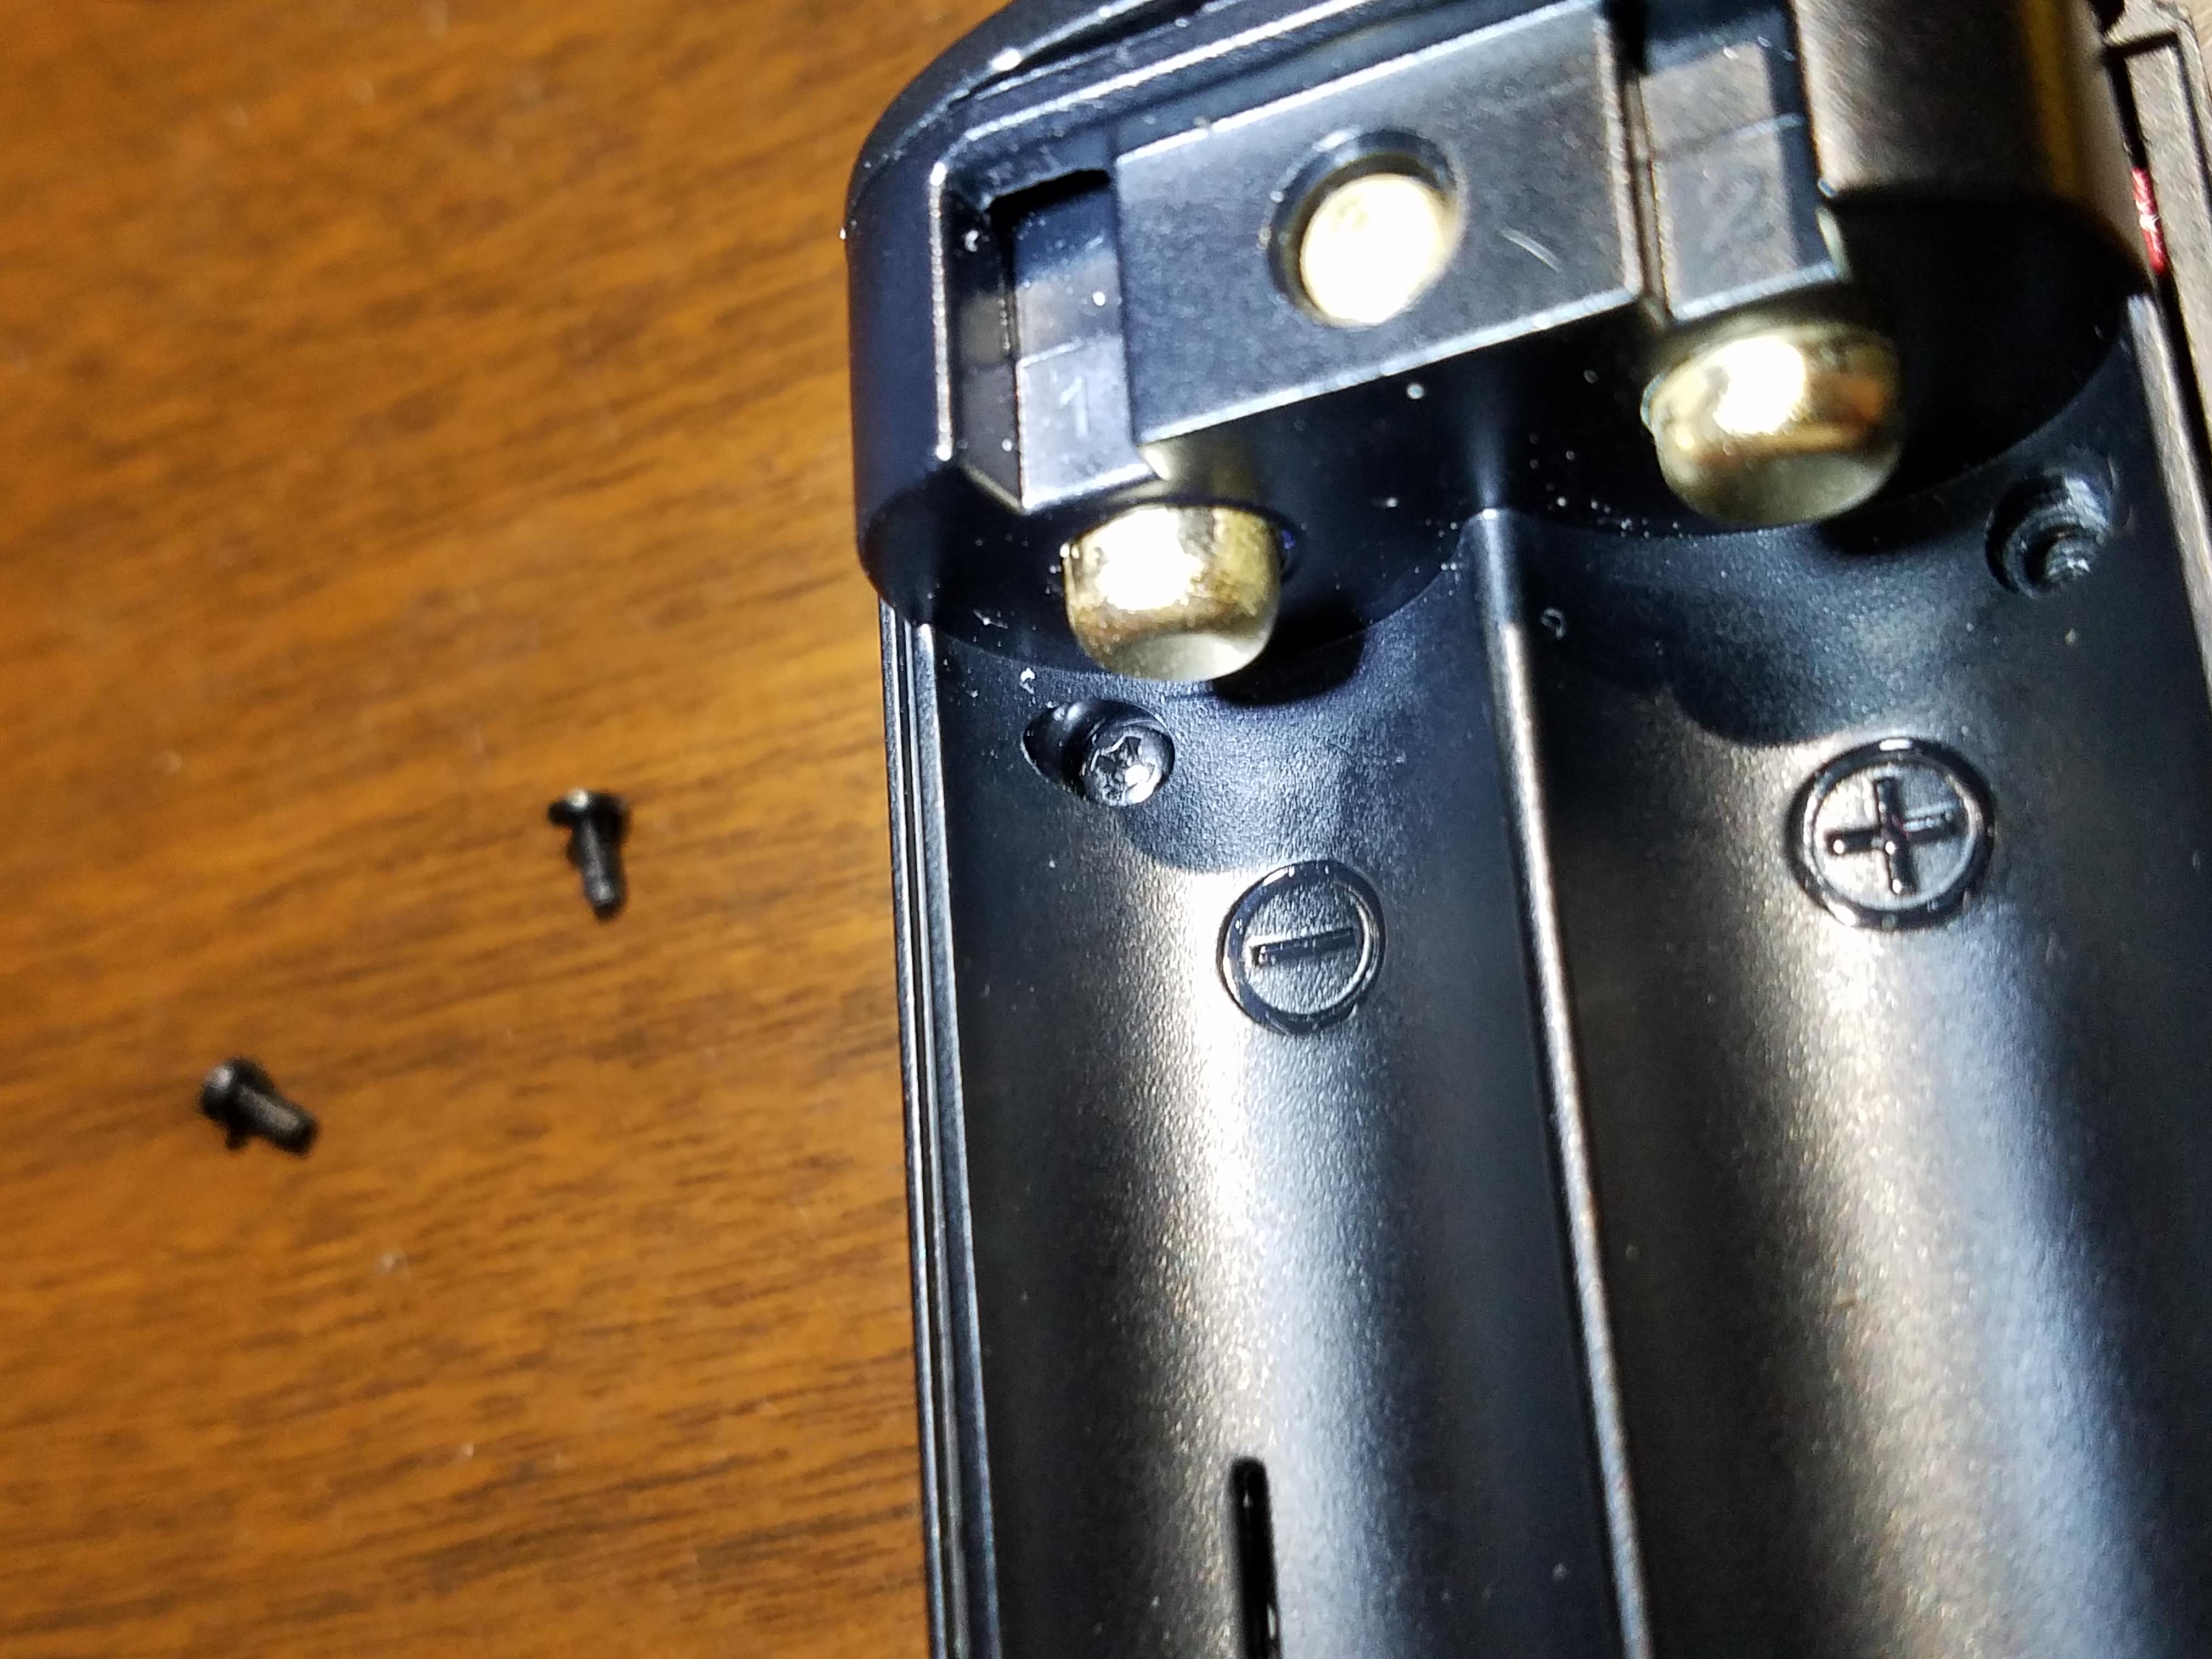
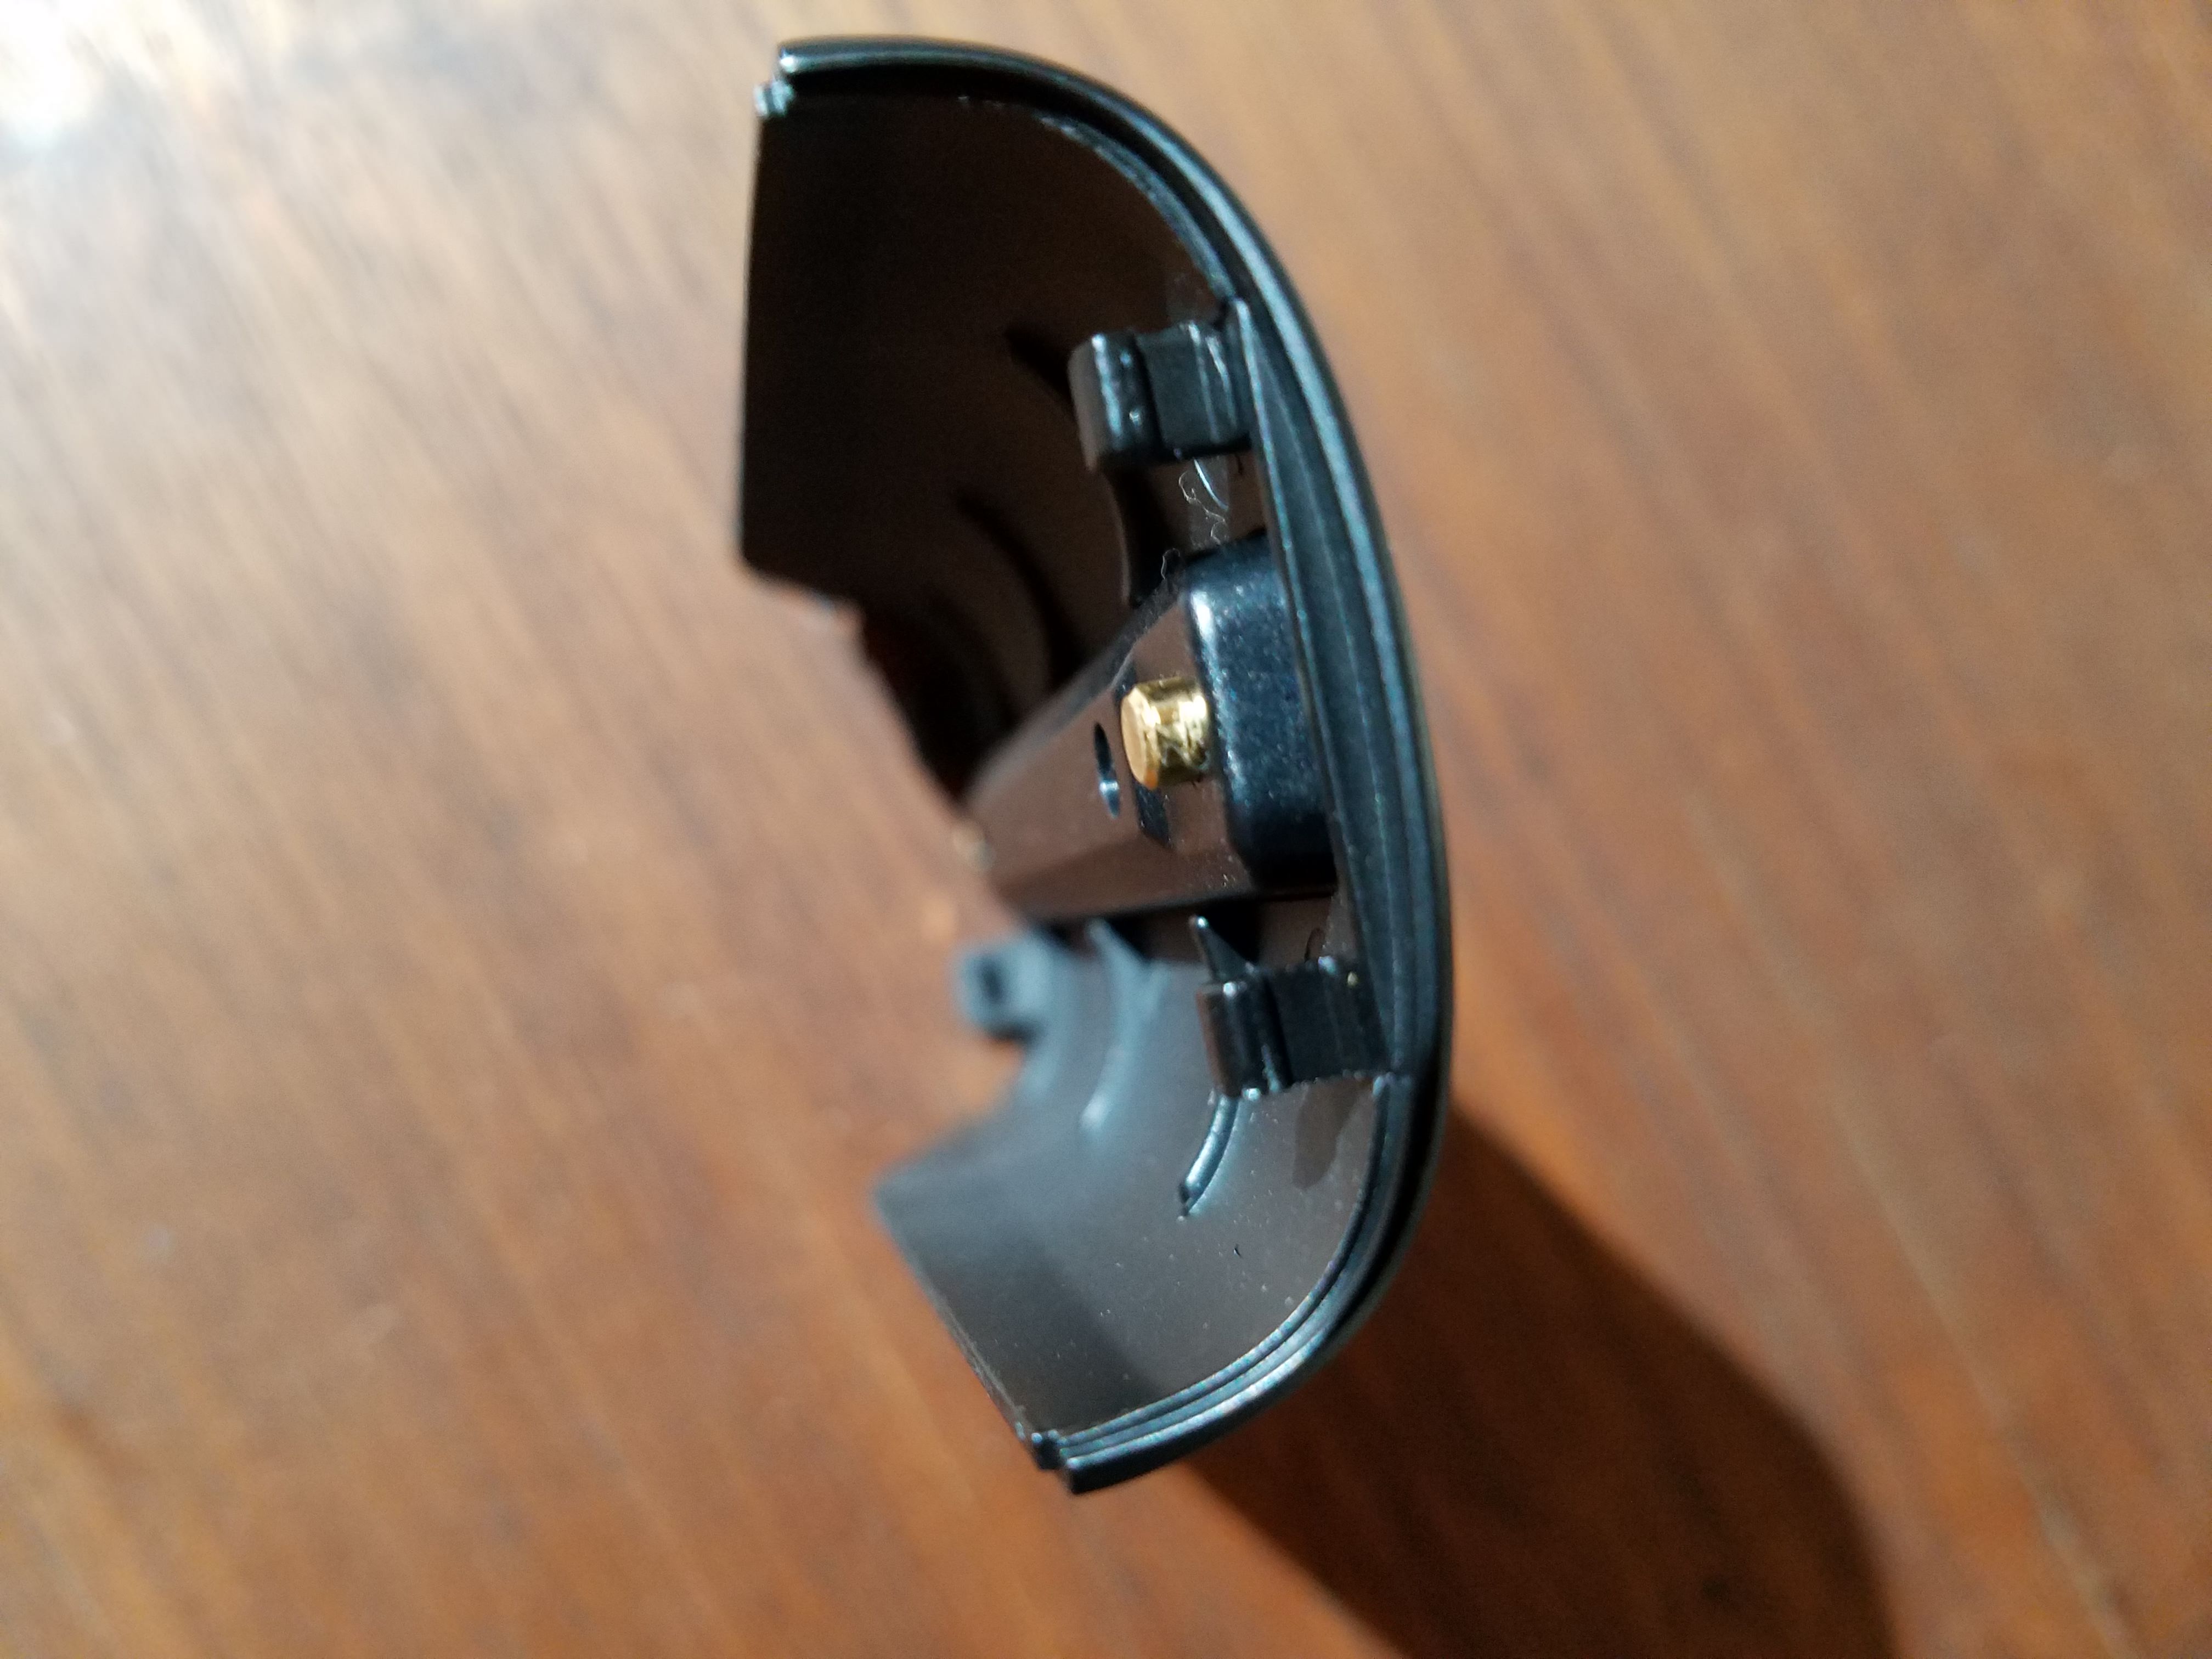
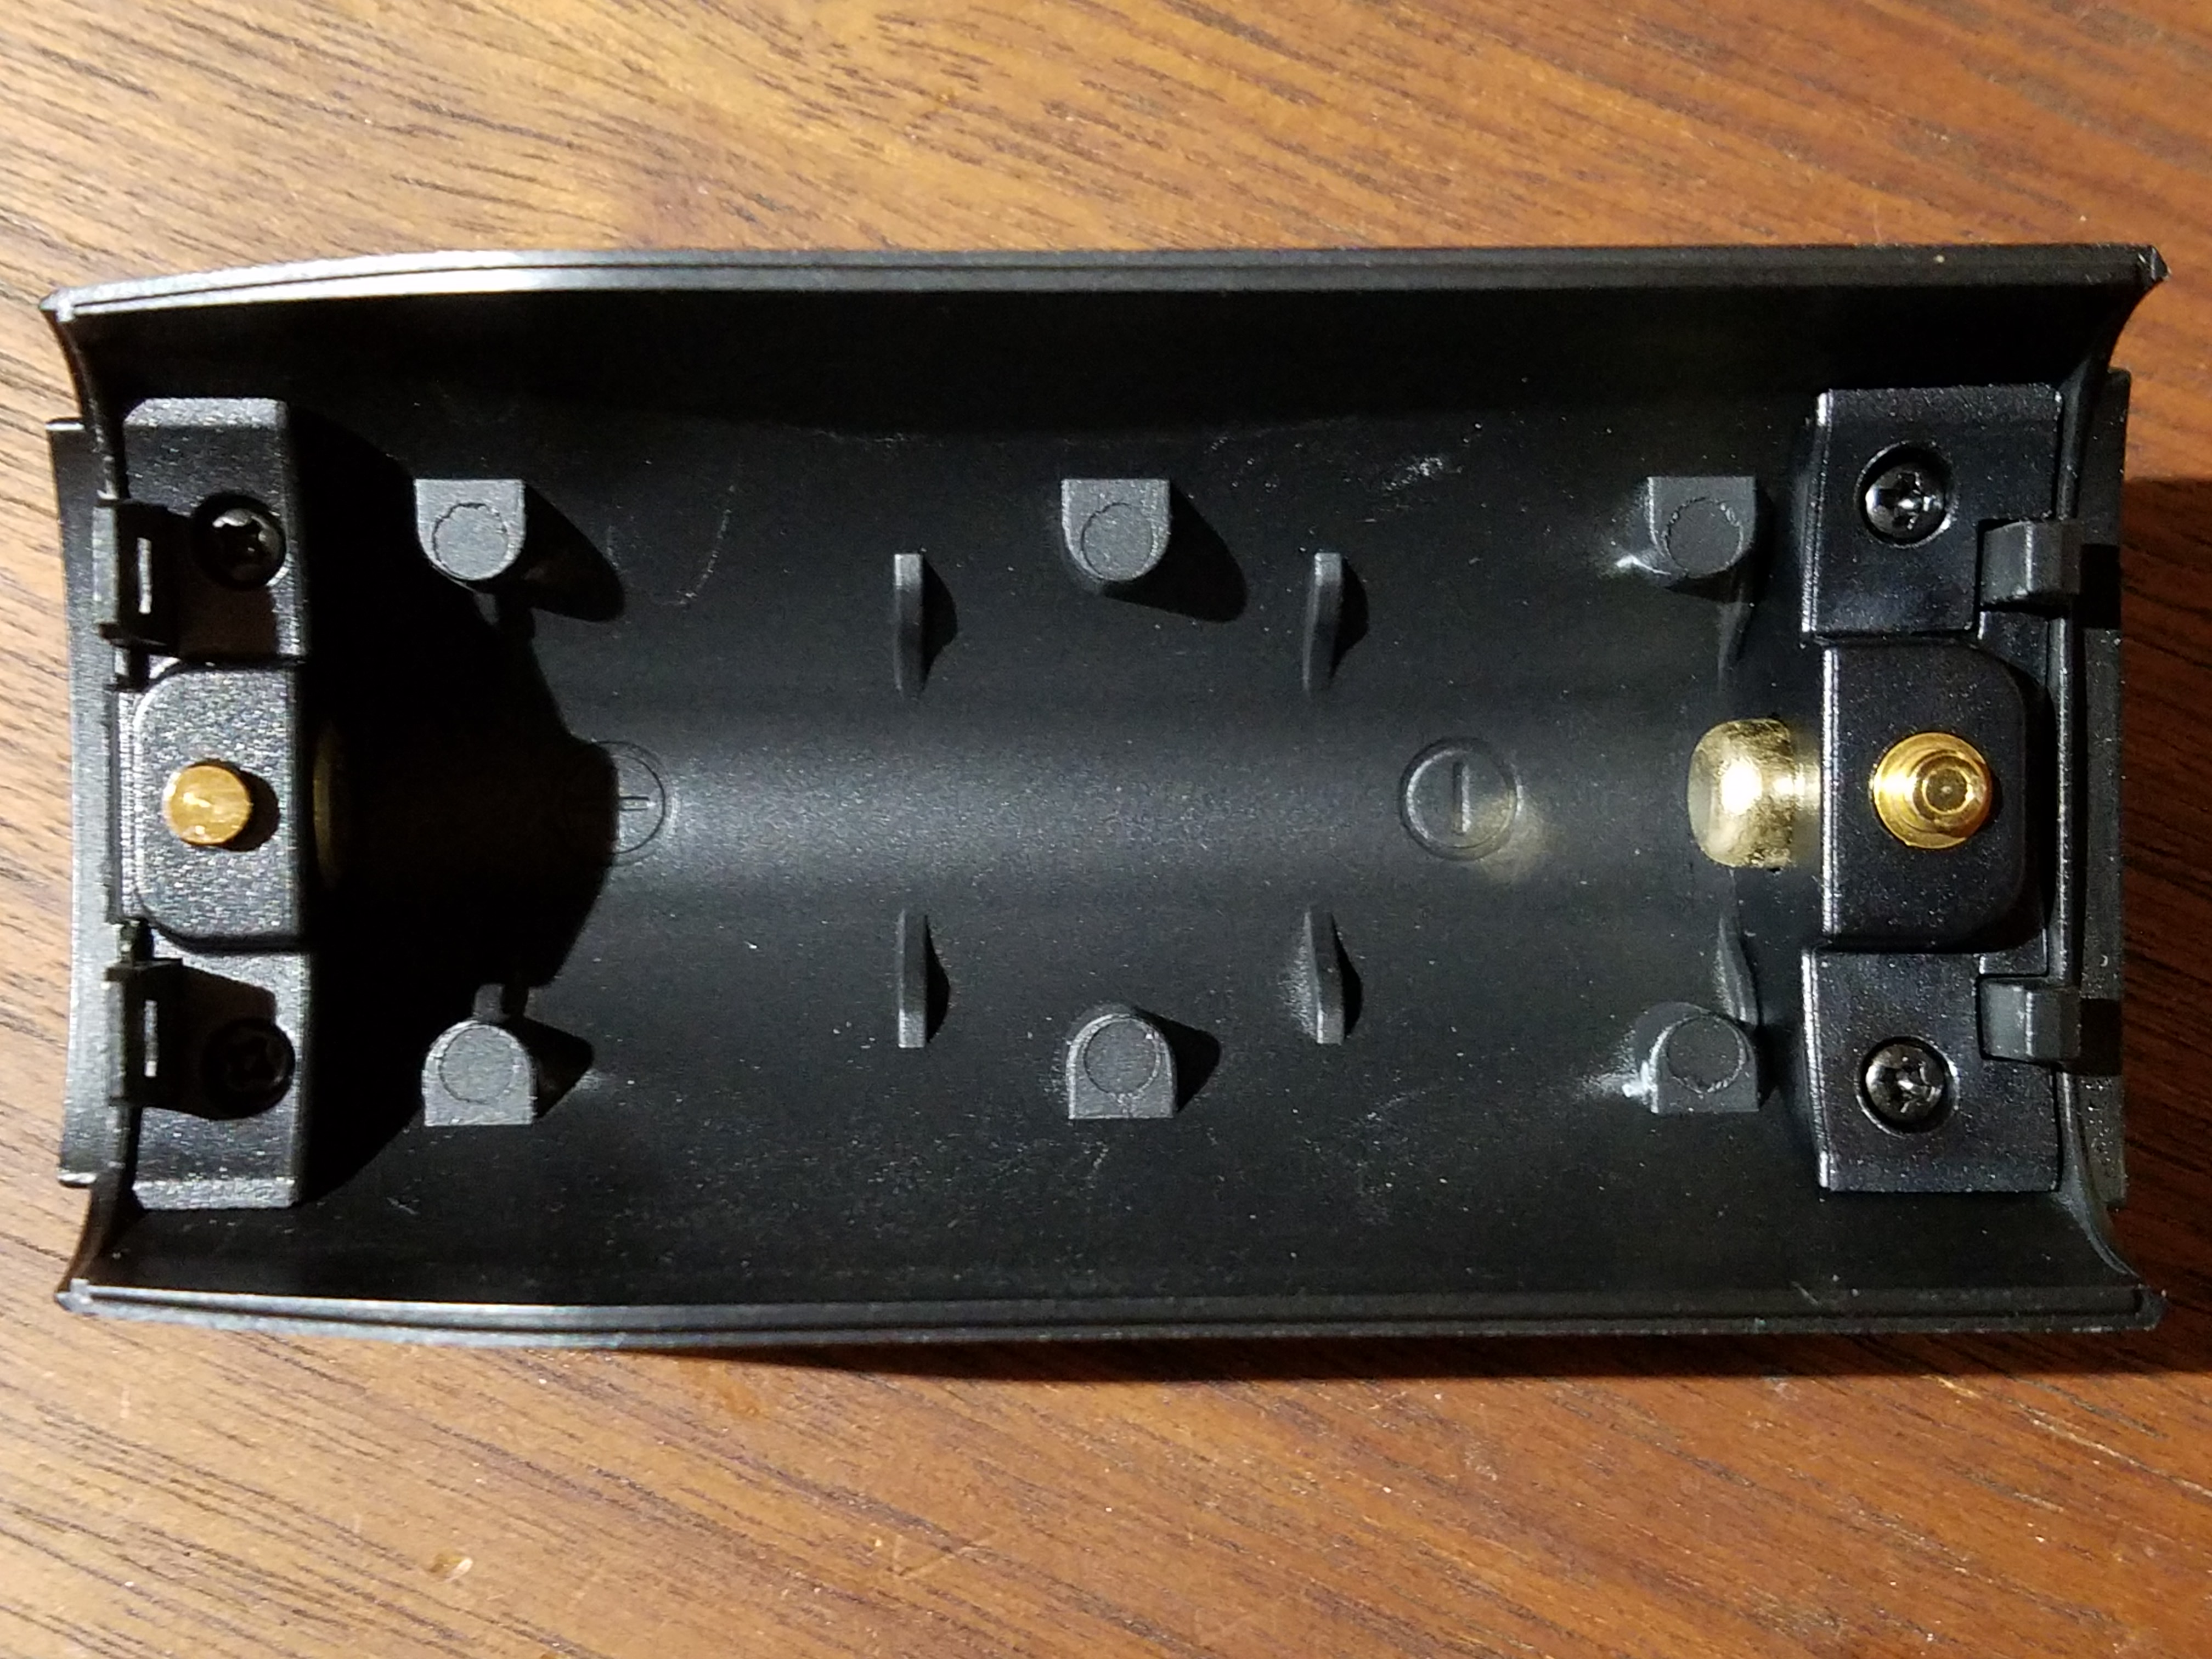
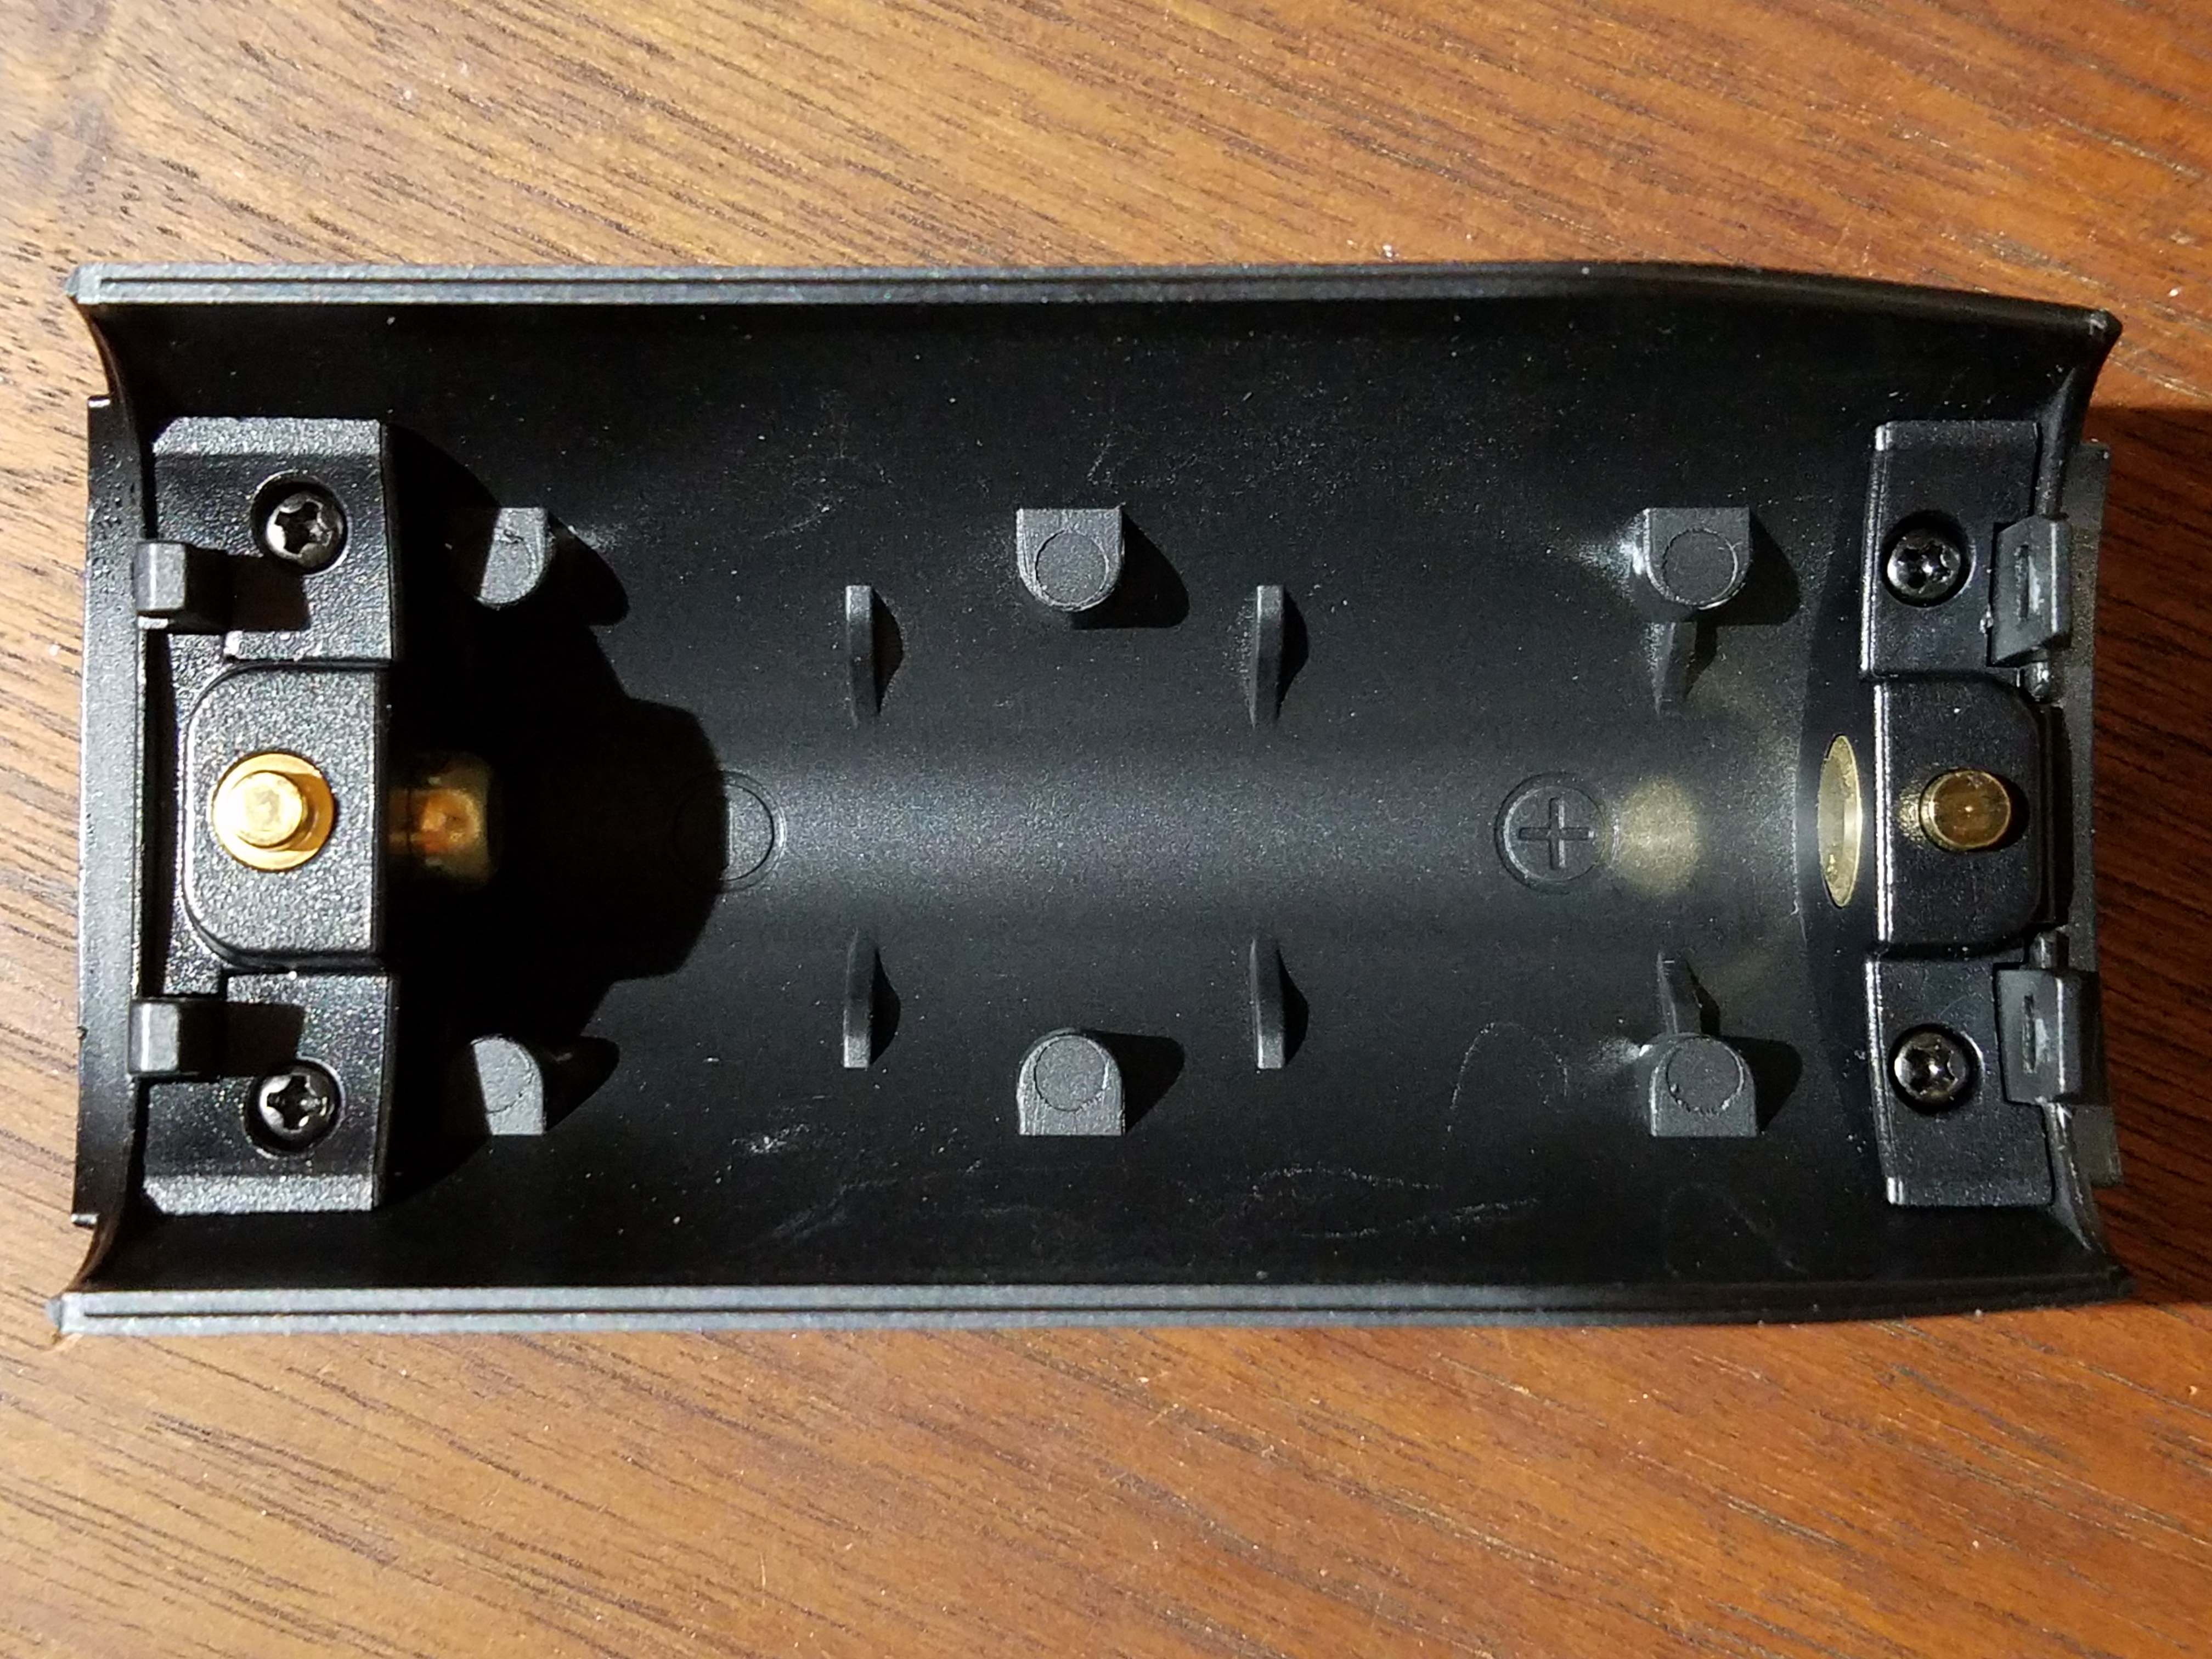
Remove the two screws on the bottom of the mod holding the button
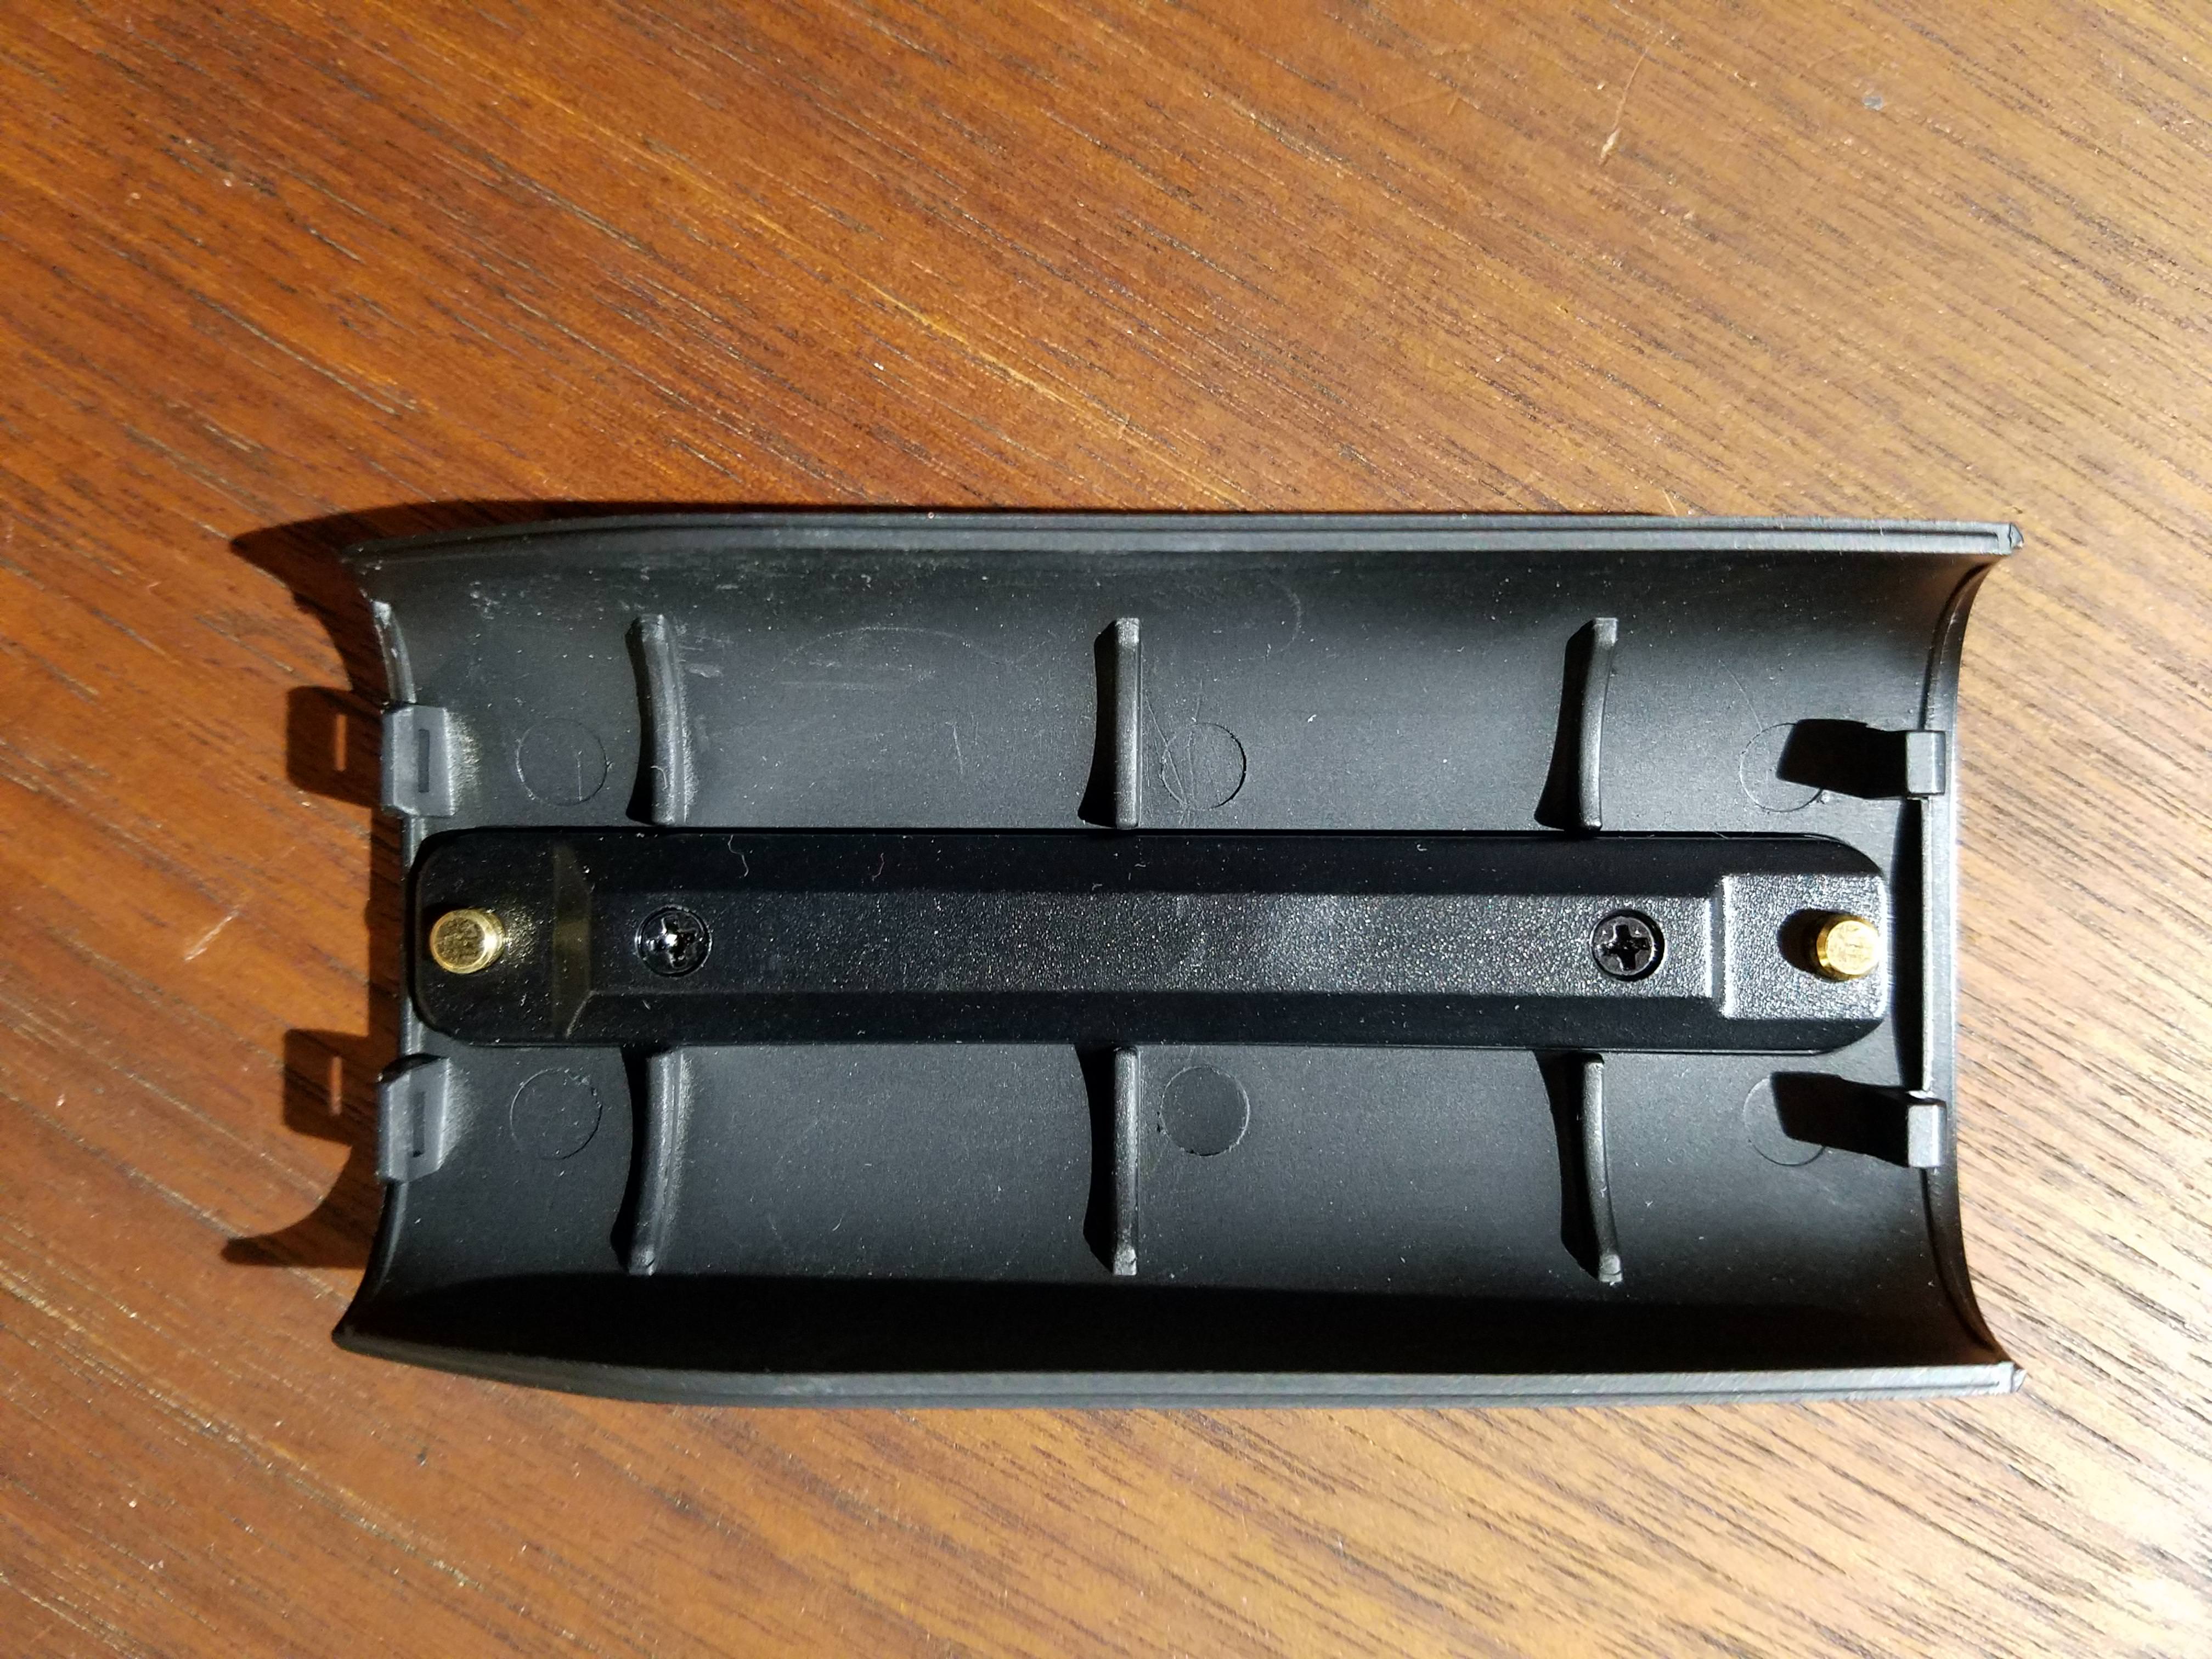
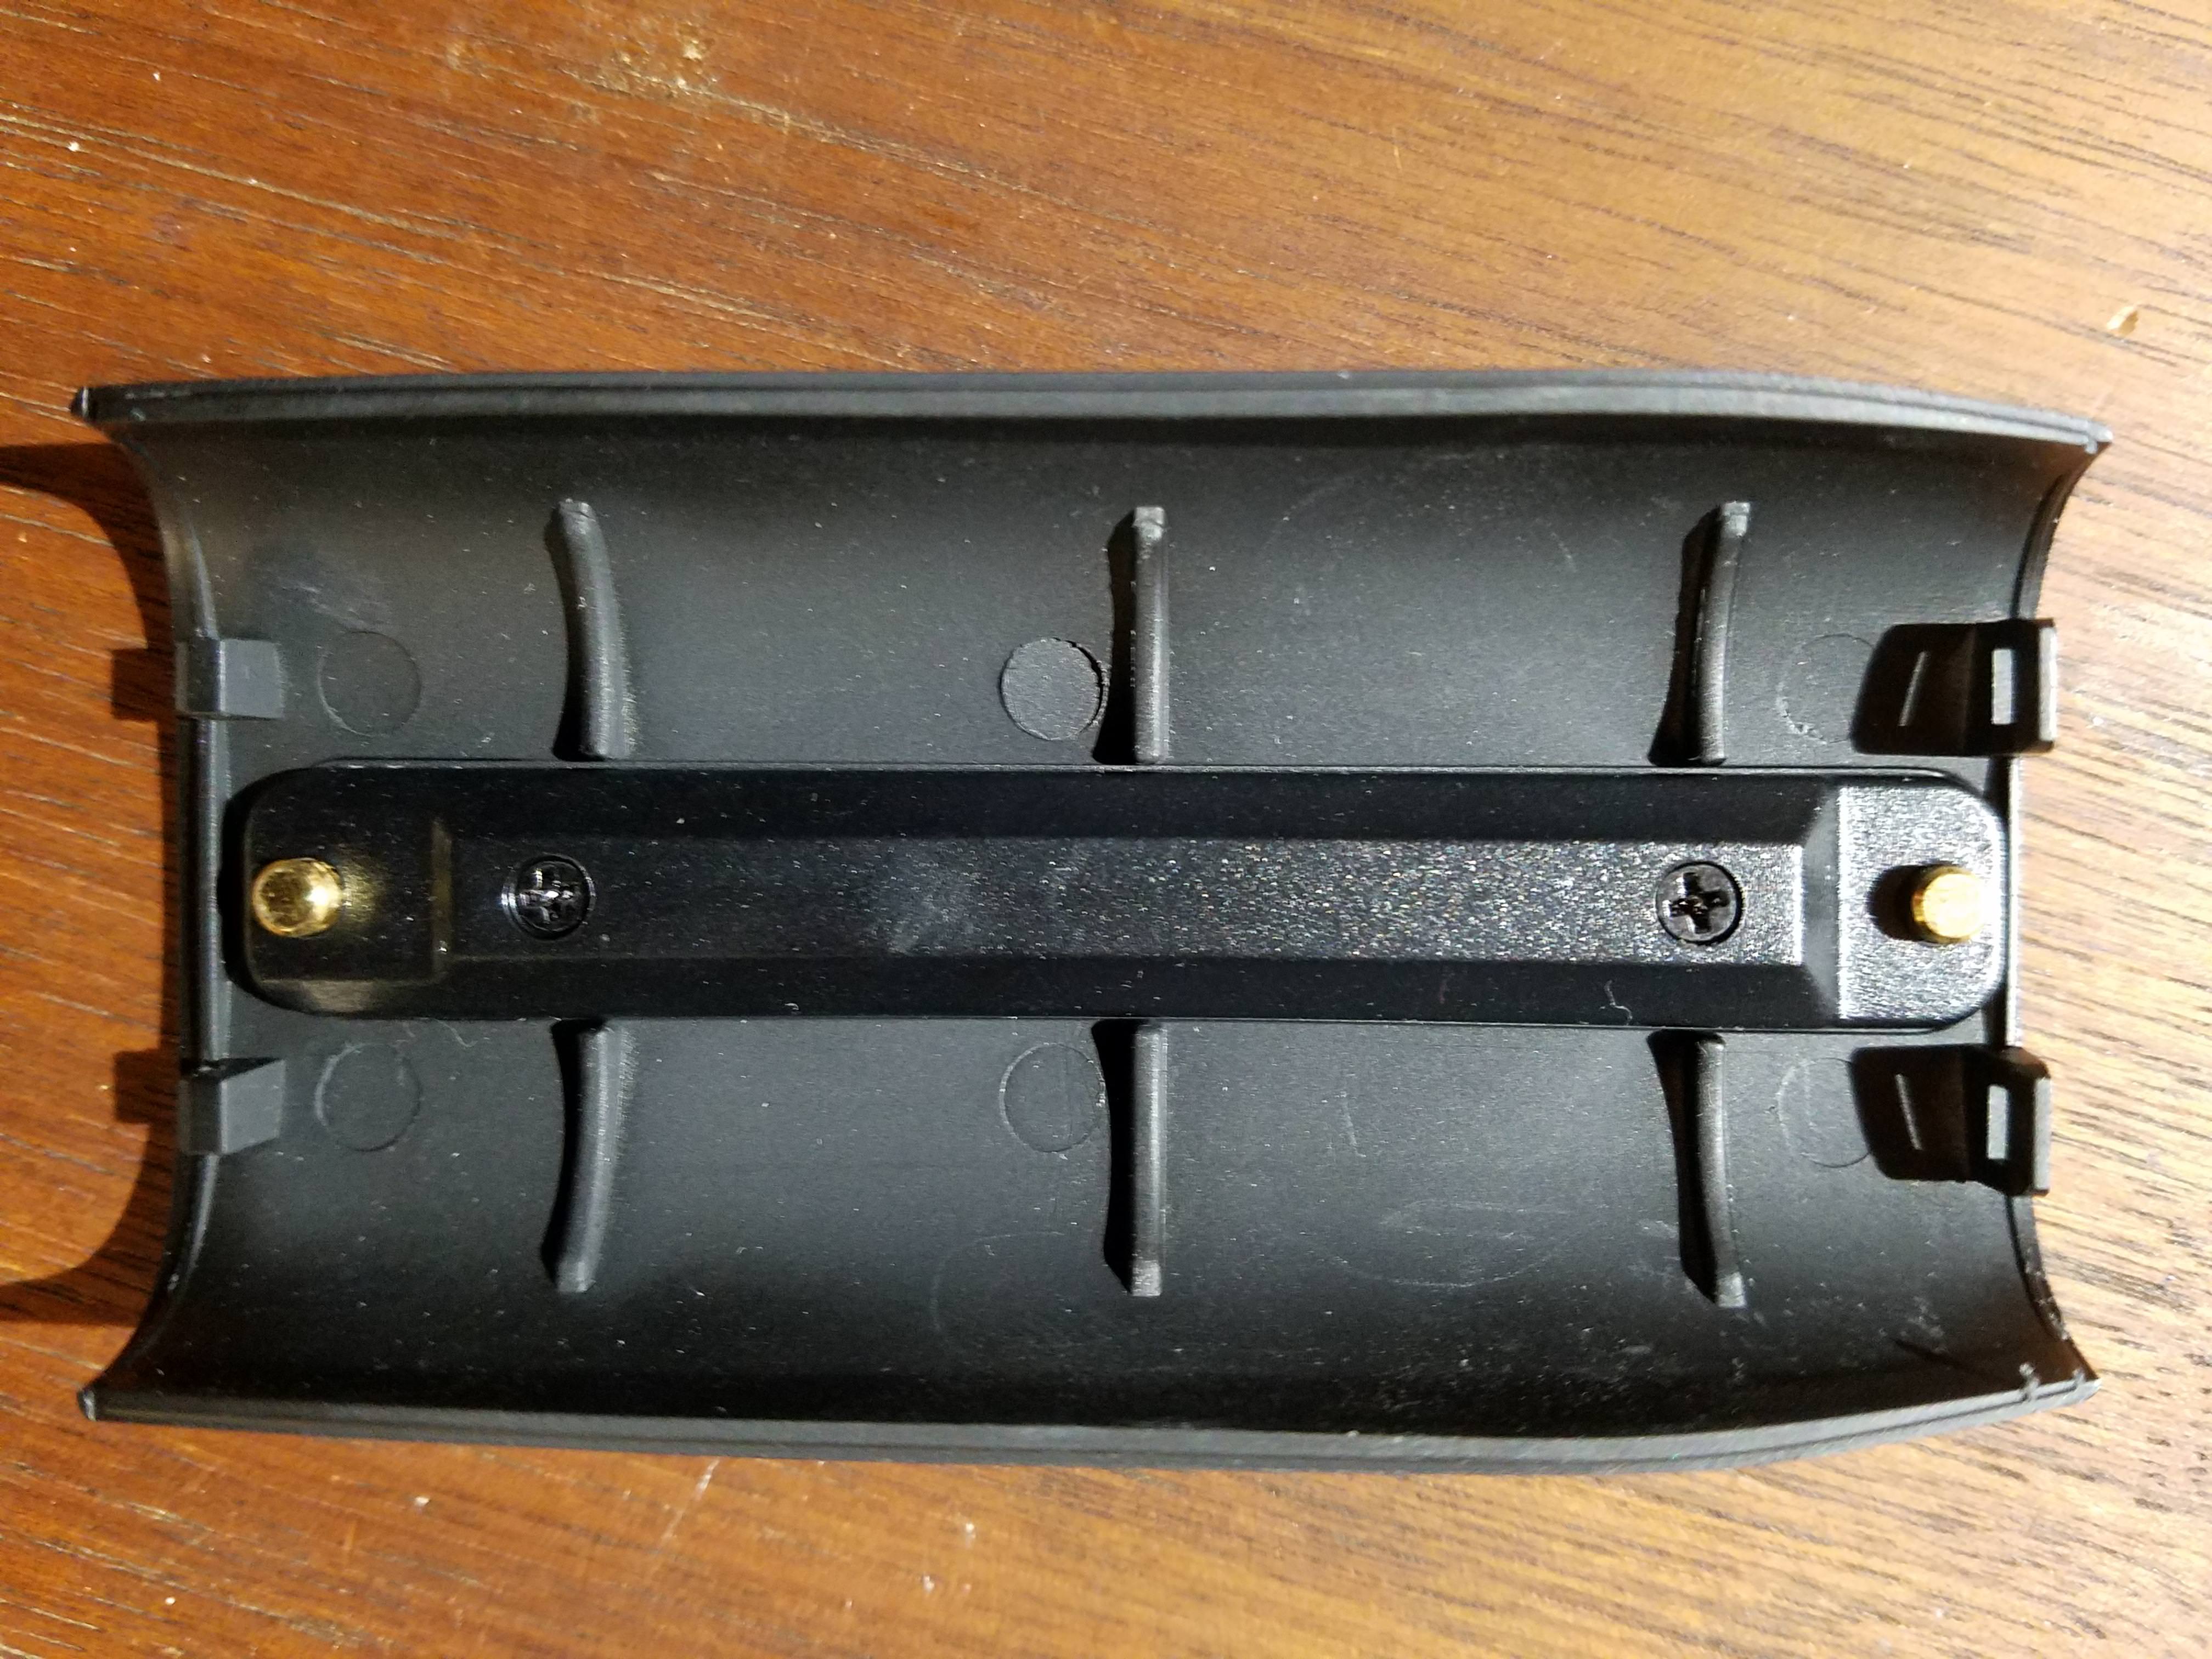
Remove the 4 screws holding the battery sled in place
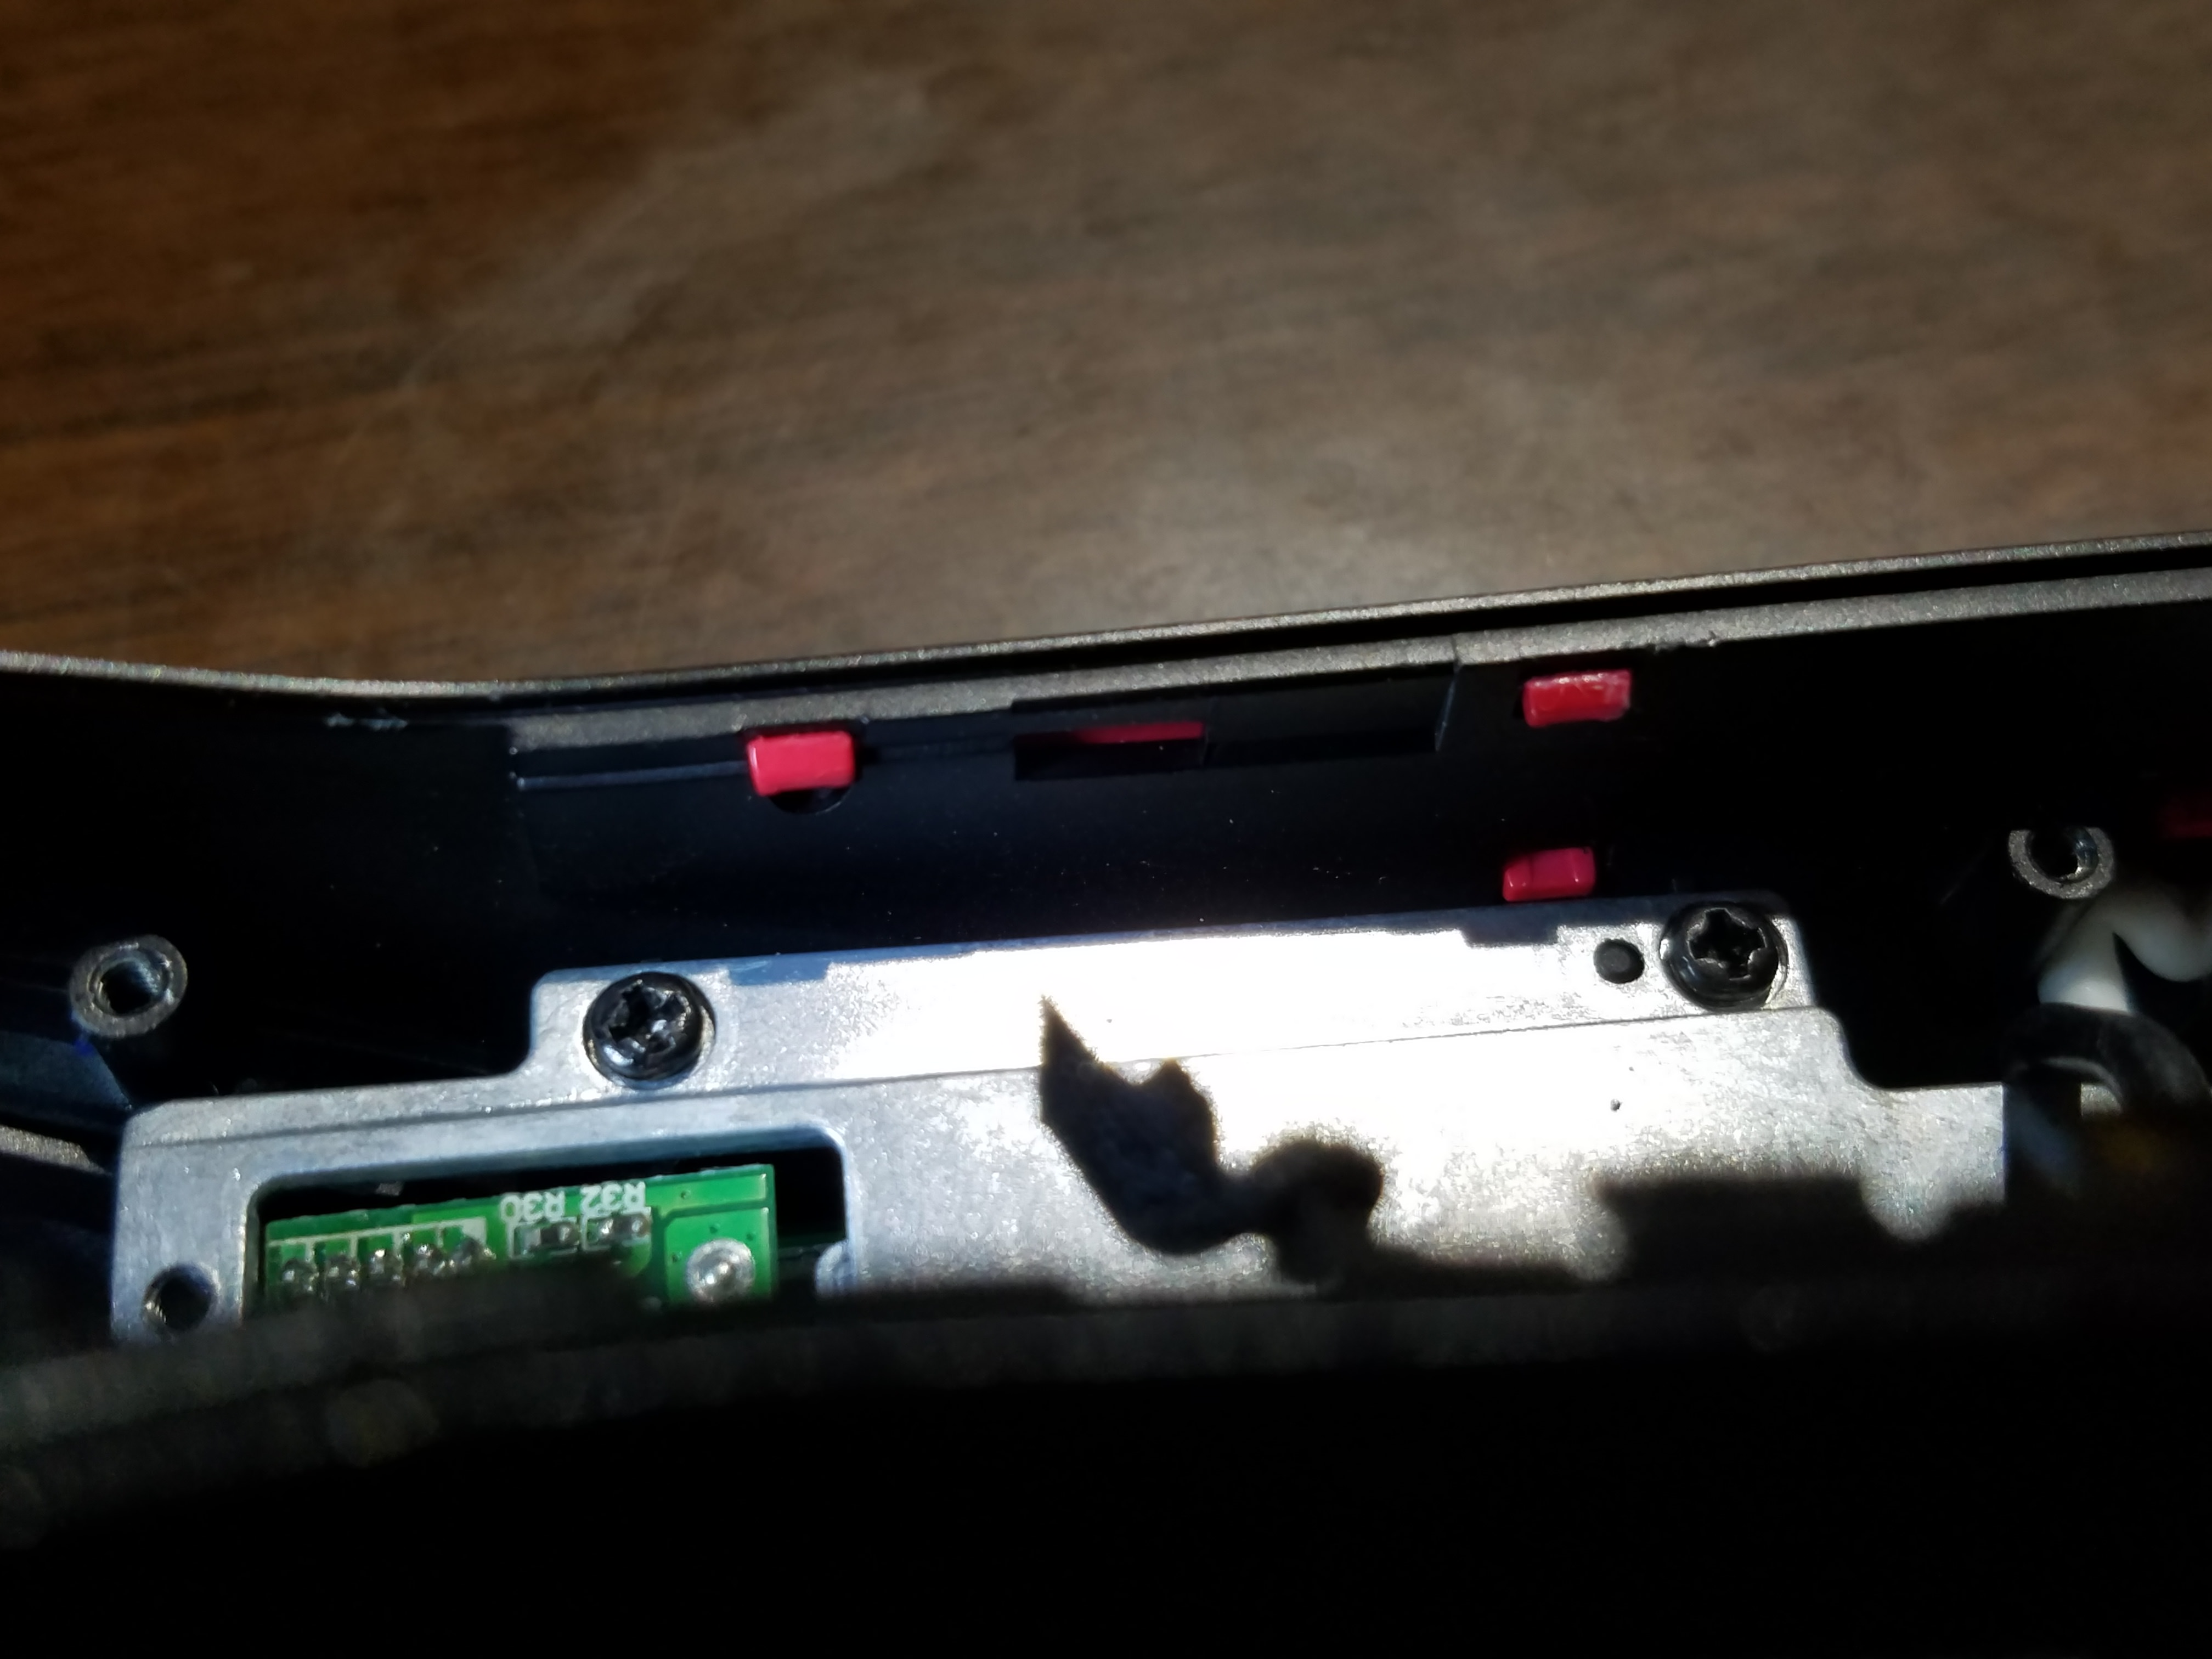
There are tabs on the side of the battery sled holding it in place.
Use a fingernail or something thin to slip in between the sled and the shell to pop them out.
The tabs I am referring to are NOT the red ones shown in this image, they are in between those.
That space in the middle is where the tabs would have been inserted.
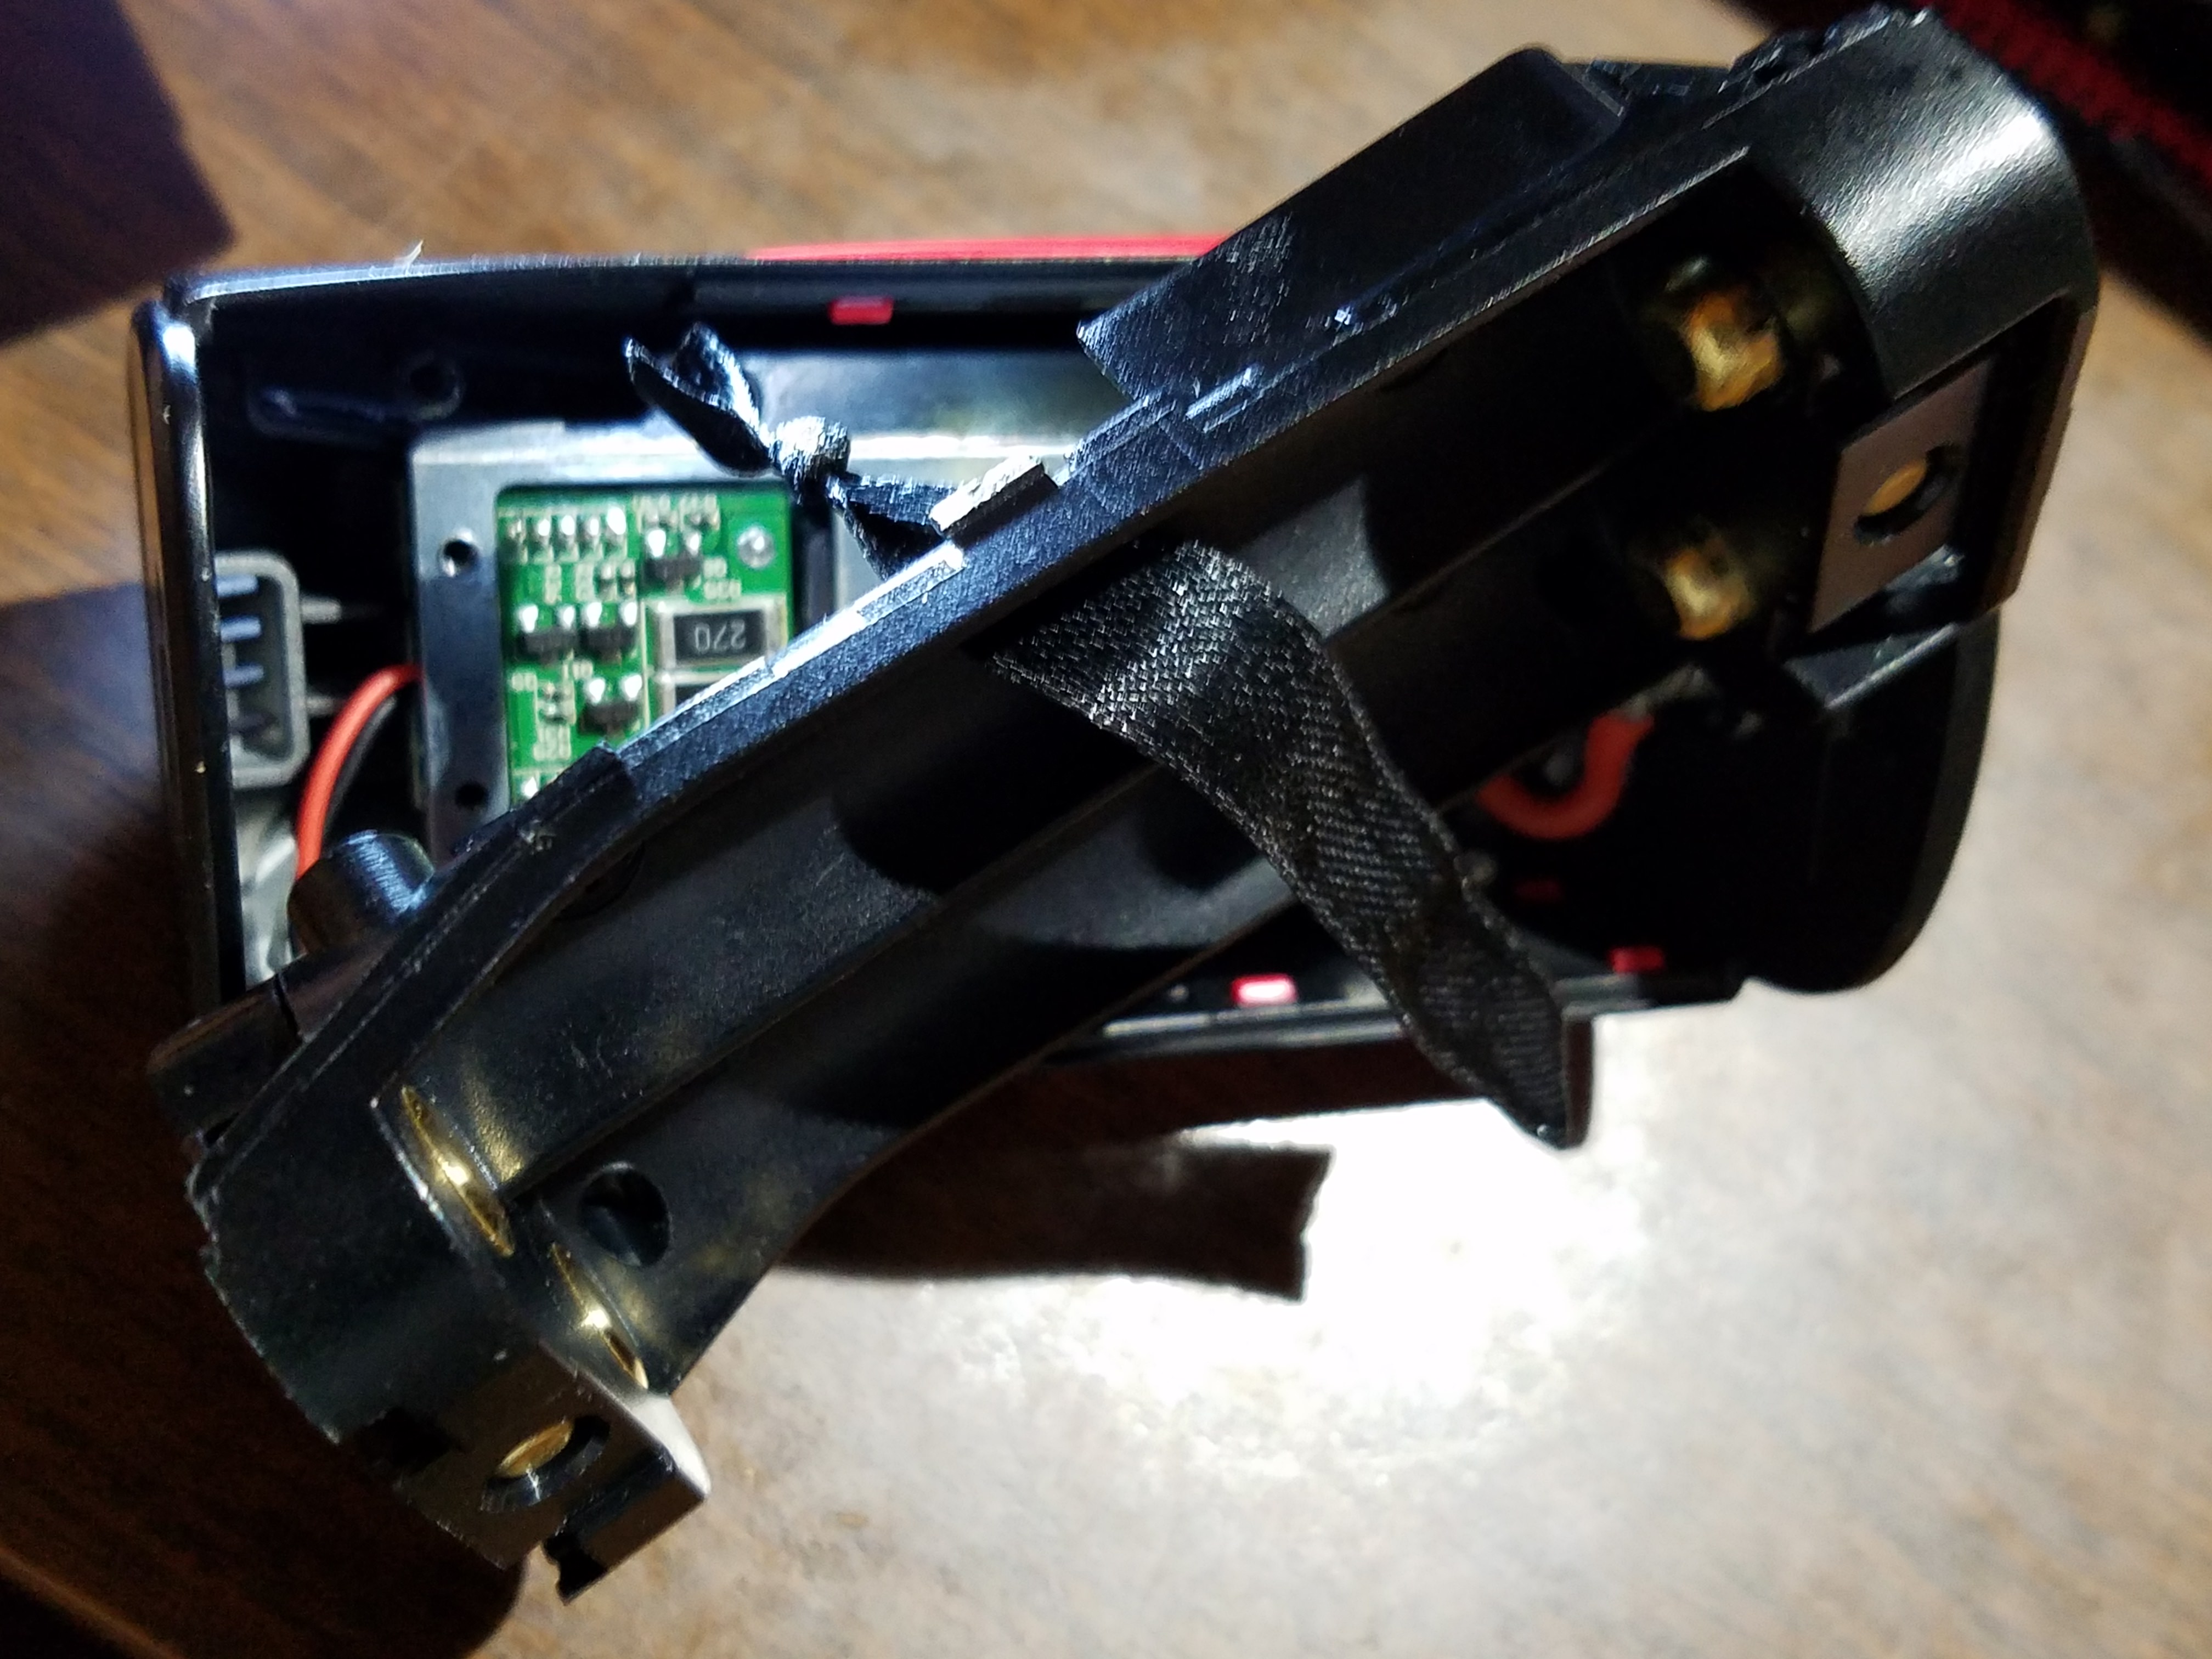
Remove battery sled
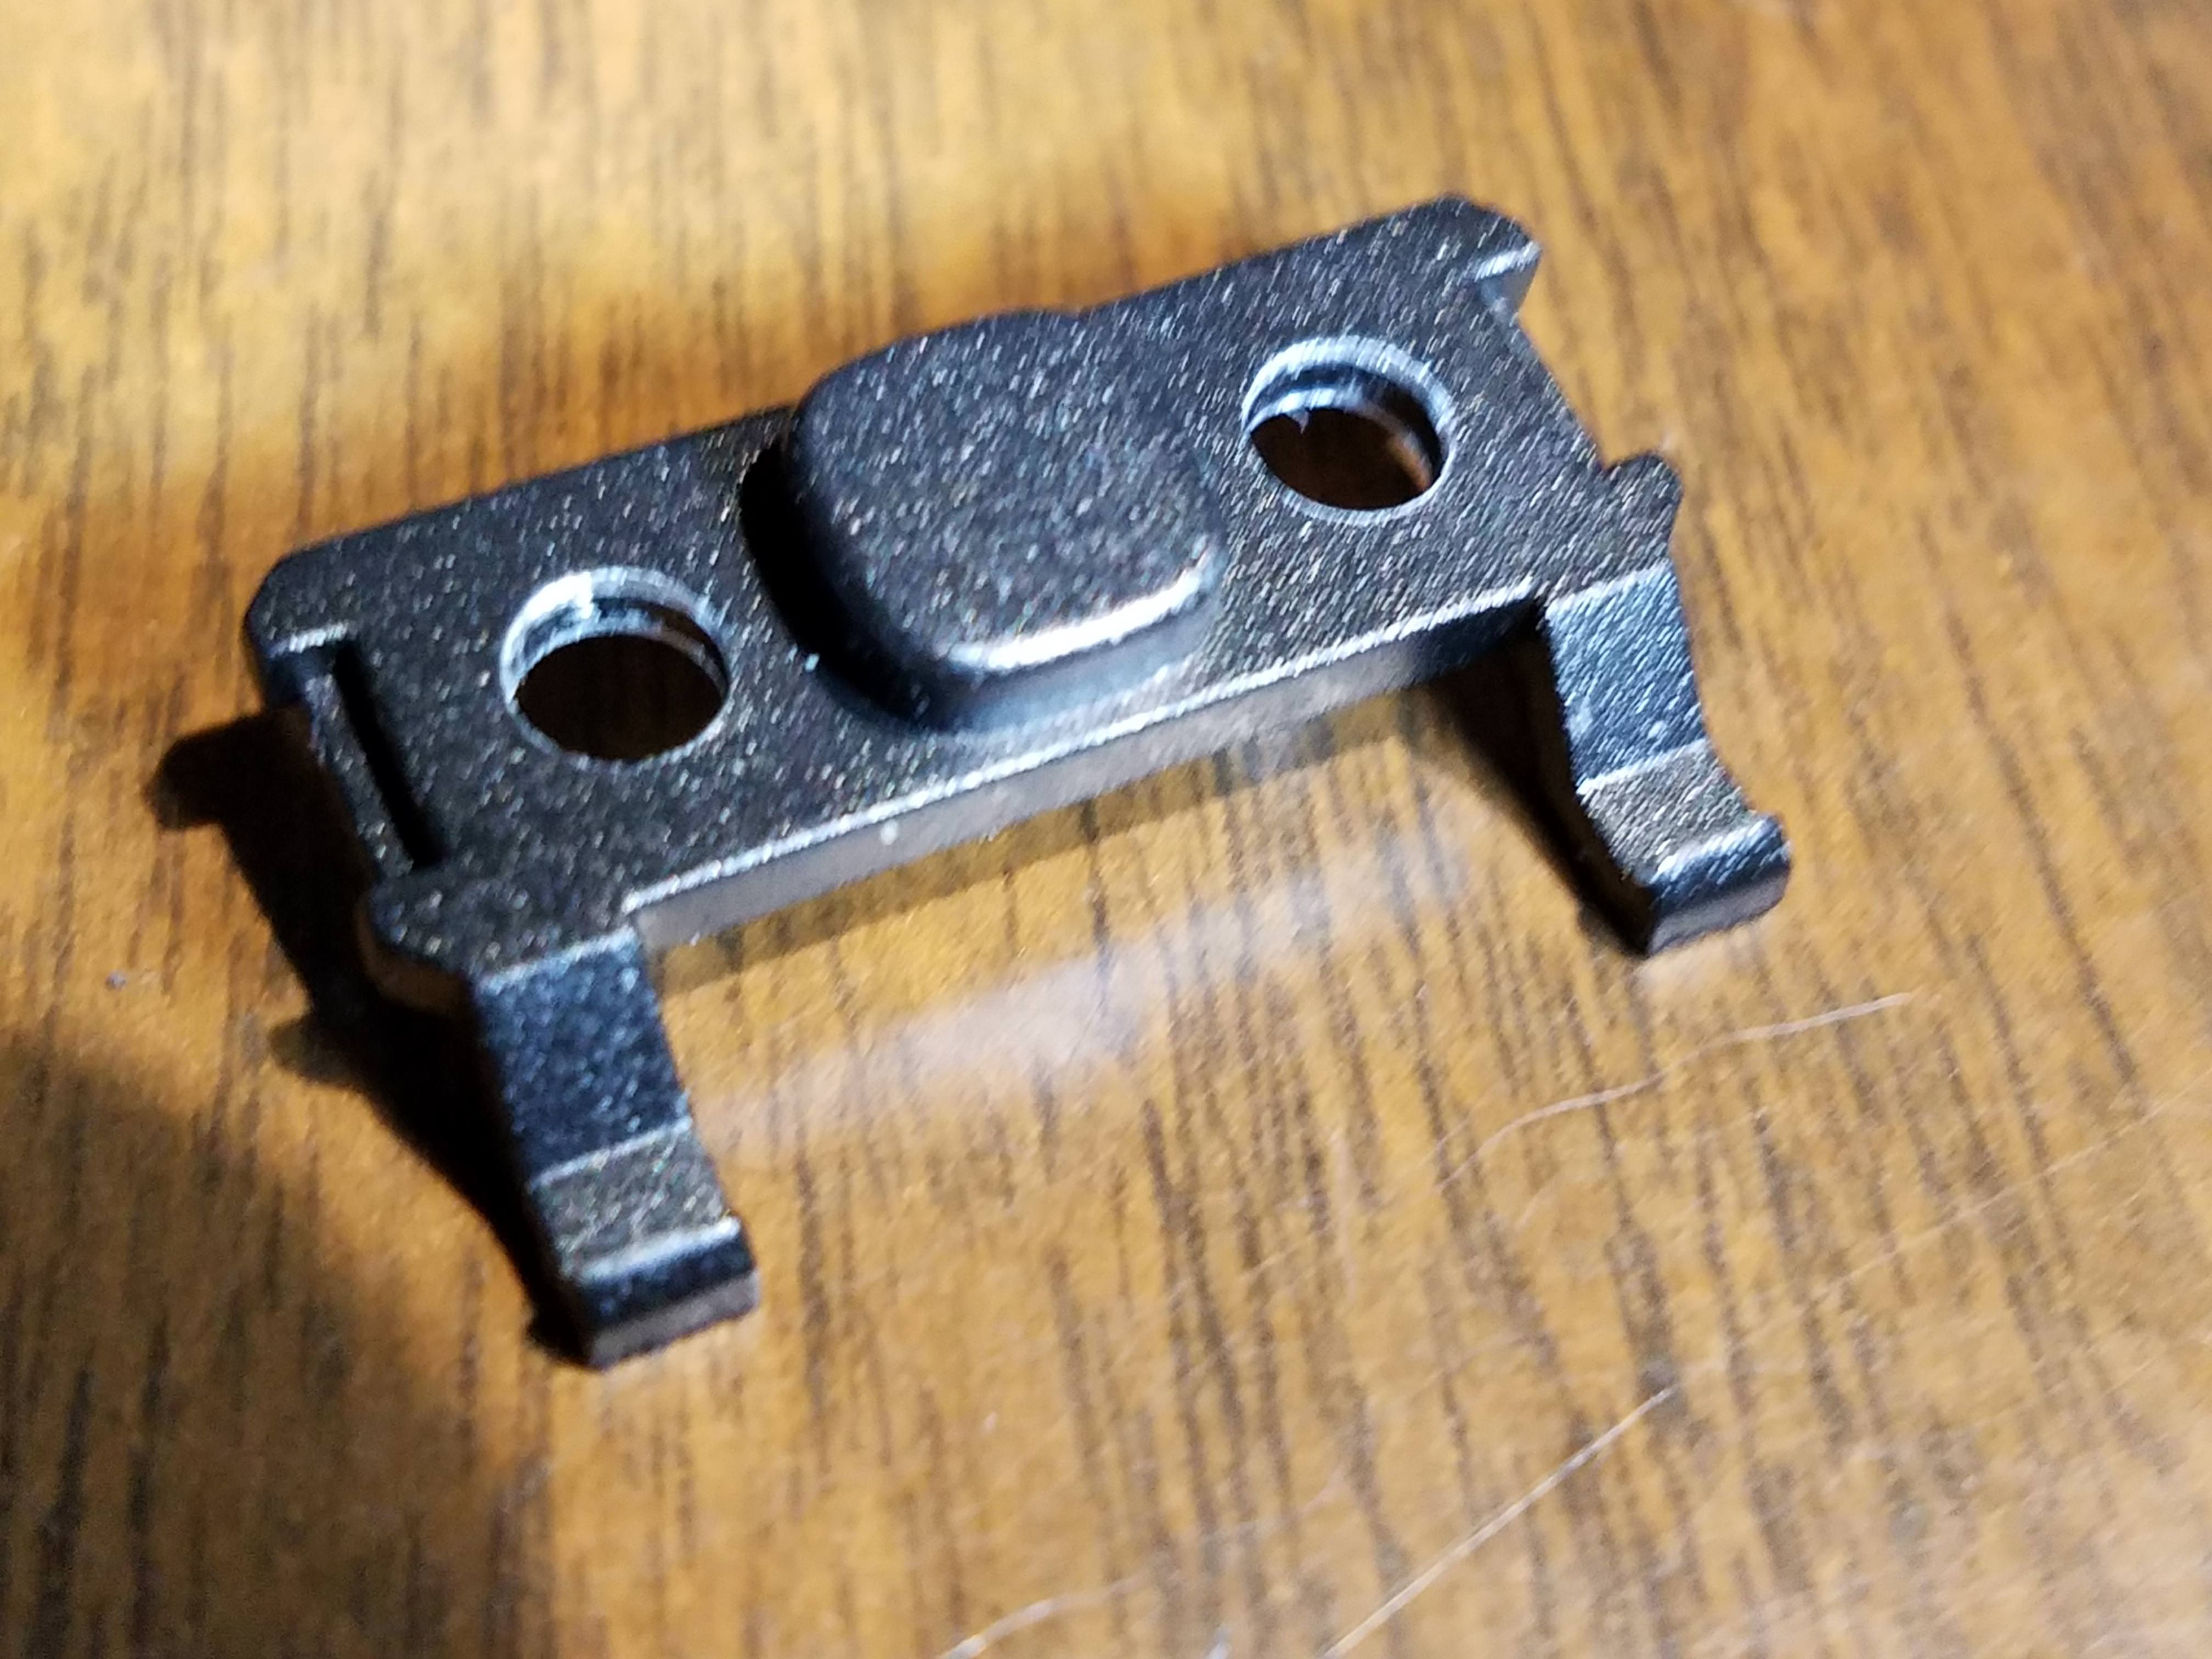
Remove the button
Image of button