The RBA Deck and Wicking Guide
This deck is actually really good. There is ample amount of room for a decent sized set of coils. If anyone has ever used the Uwell D2 RTA think of this velocity style deck as it’s bigger brother, massive bottom airflows and decent wicking channels ensure a fantastic vape.
The stock coils are excellent as I mentioned earlier, ok the post screws are slotted (including the 4 spares) which I know will put some people off but they are decent quality and I can confirm I was able to wrench the coils legs in without any bother.
This is probably the best RBA decks I’ve used on any sub ohm tank but then I really like the Uwell D2 so I was bound to like this deck.
So here’s how I went about building and wicking it;
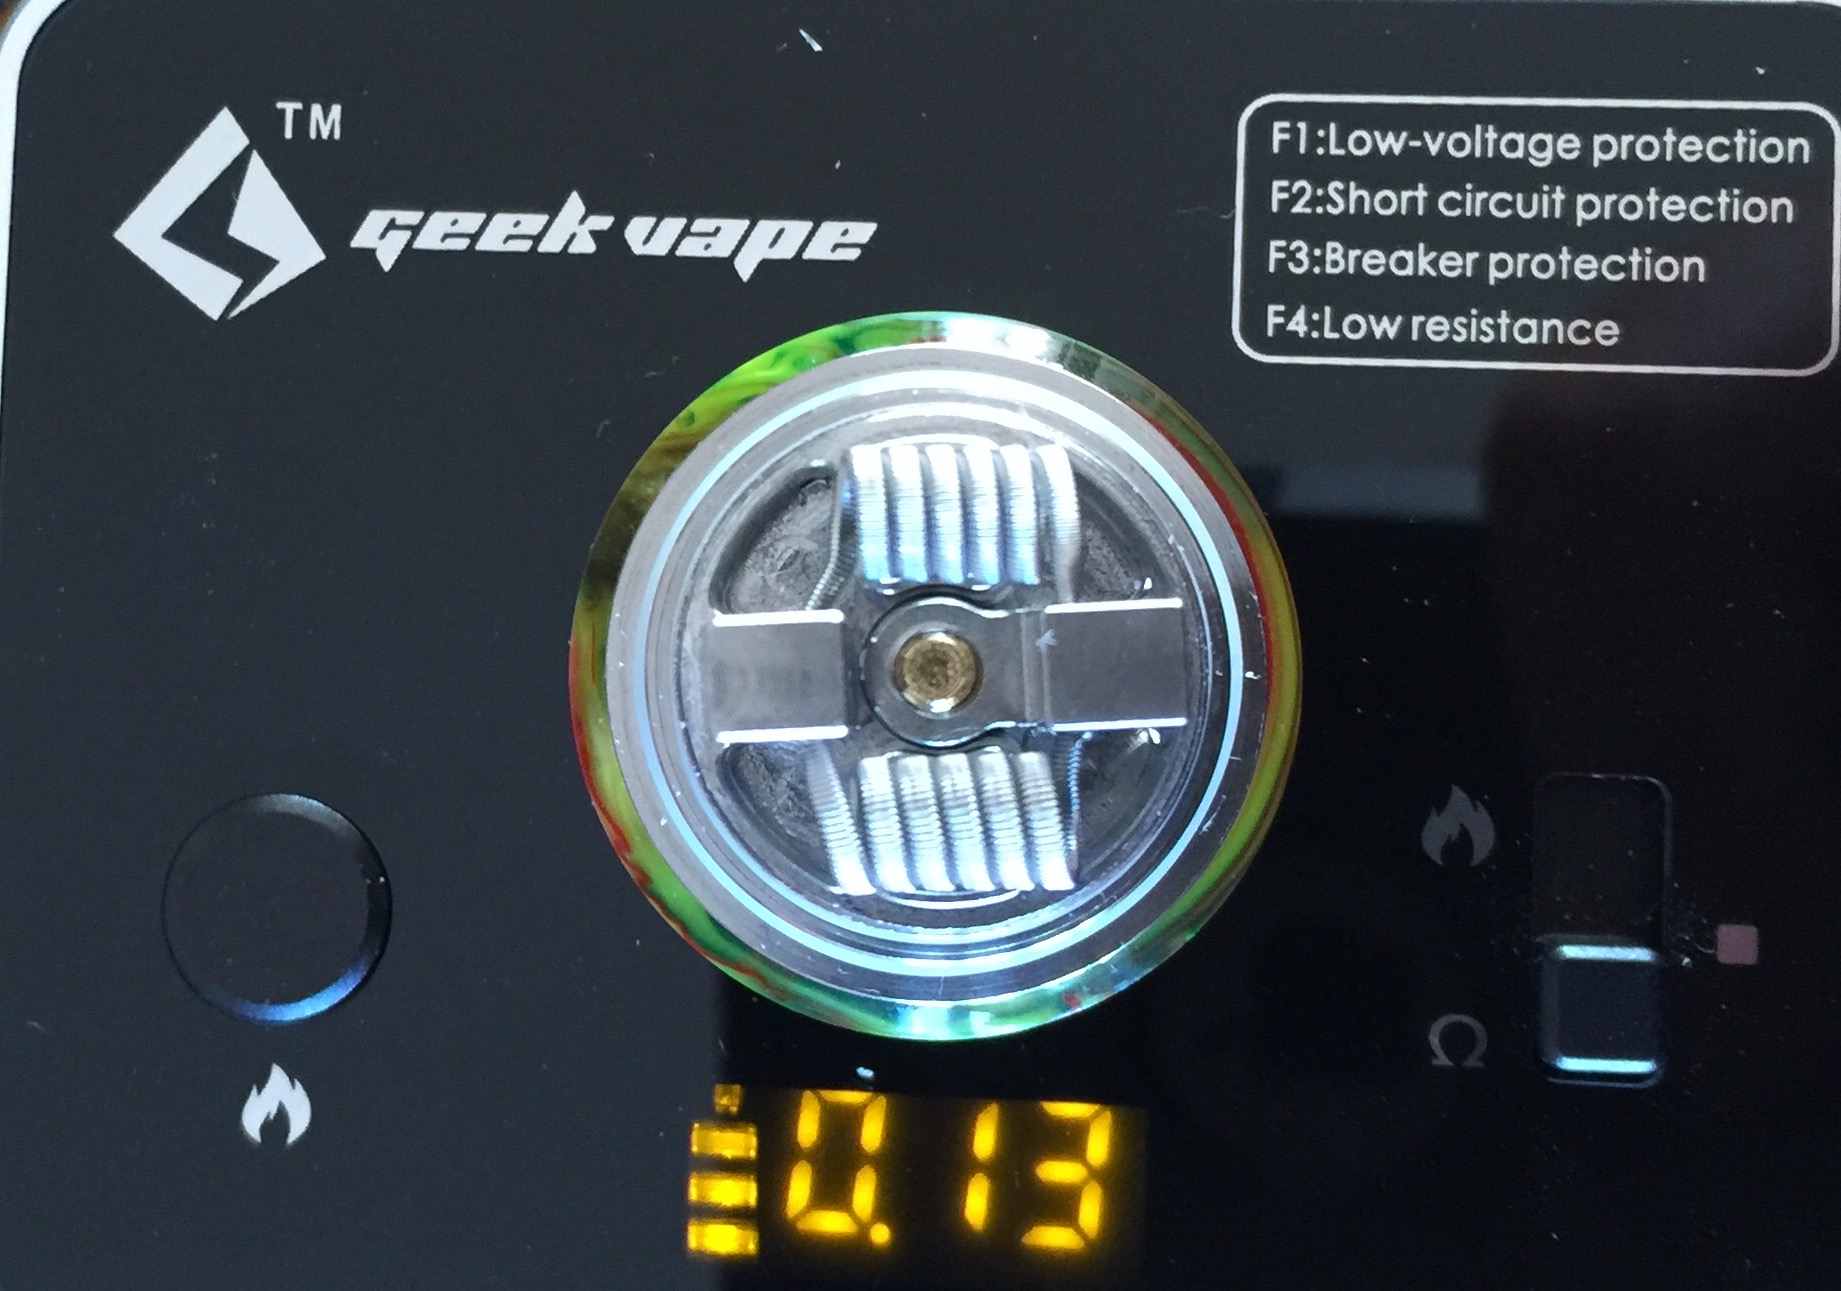
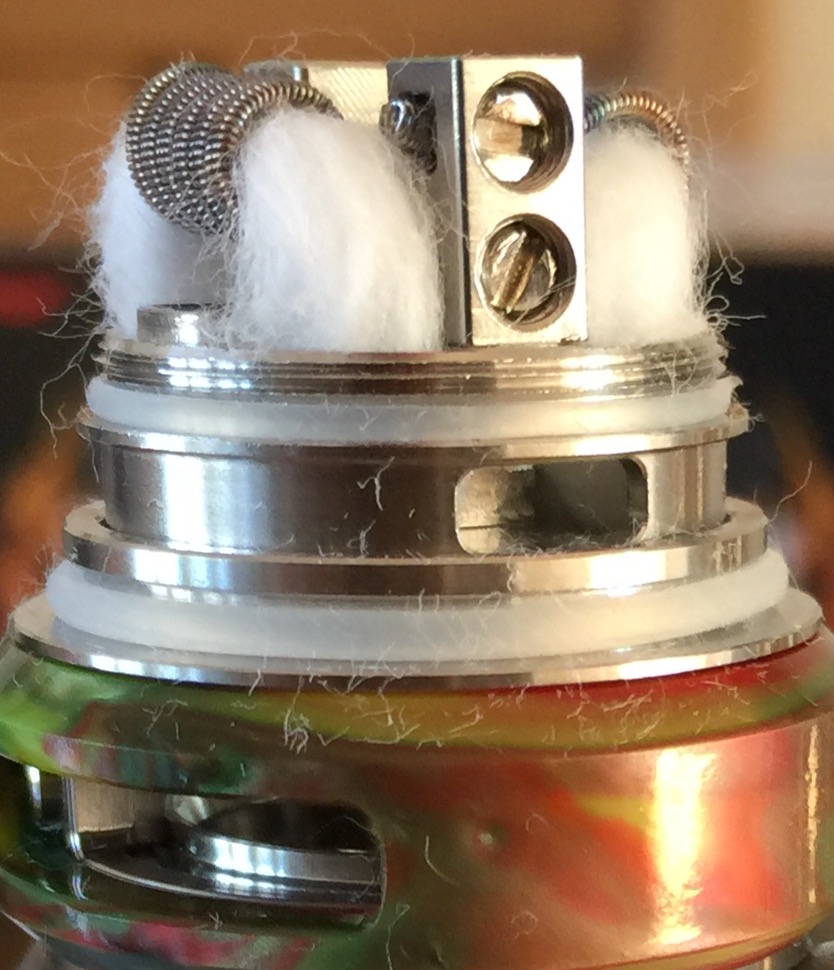
1) First install both of your coils. I pushed mine all the way the posts and tightened down the screws. (put a 3mm screwdriver or a coil jig bit in the middle to ensure it maintains its shape)
2) Now they are secured both sides use the screwdriver to pull them away from the posts. I positioned mine like this. When you are done just screw the RBA casing on to make sure the coils aren’t touching otherwise you’ll cause a short later.
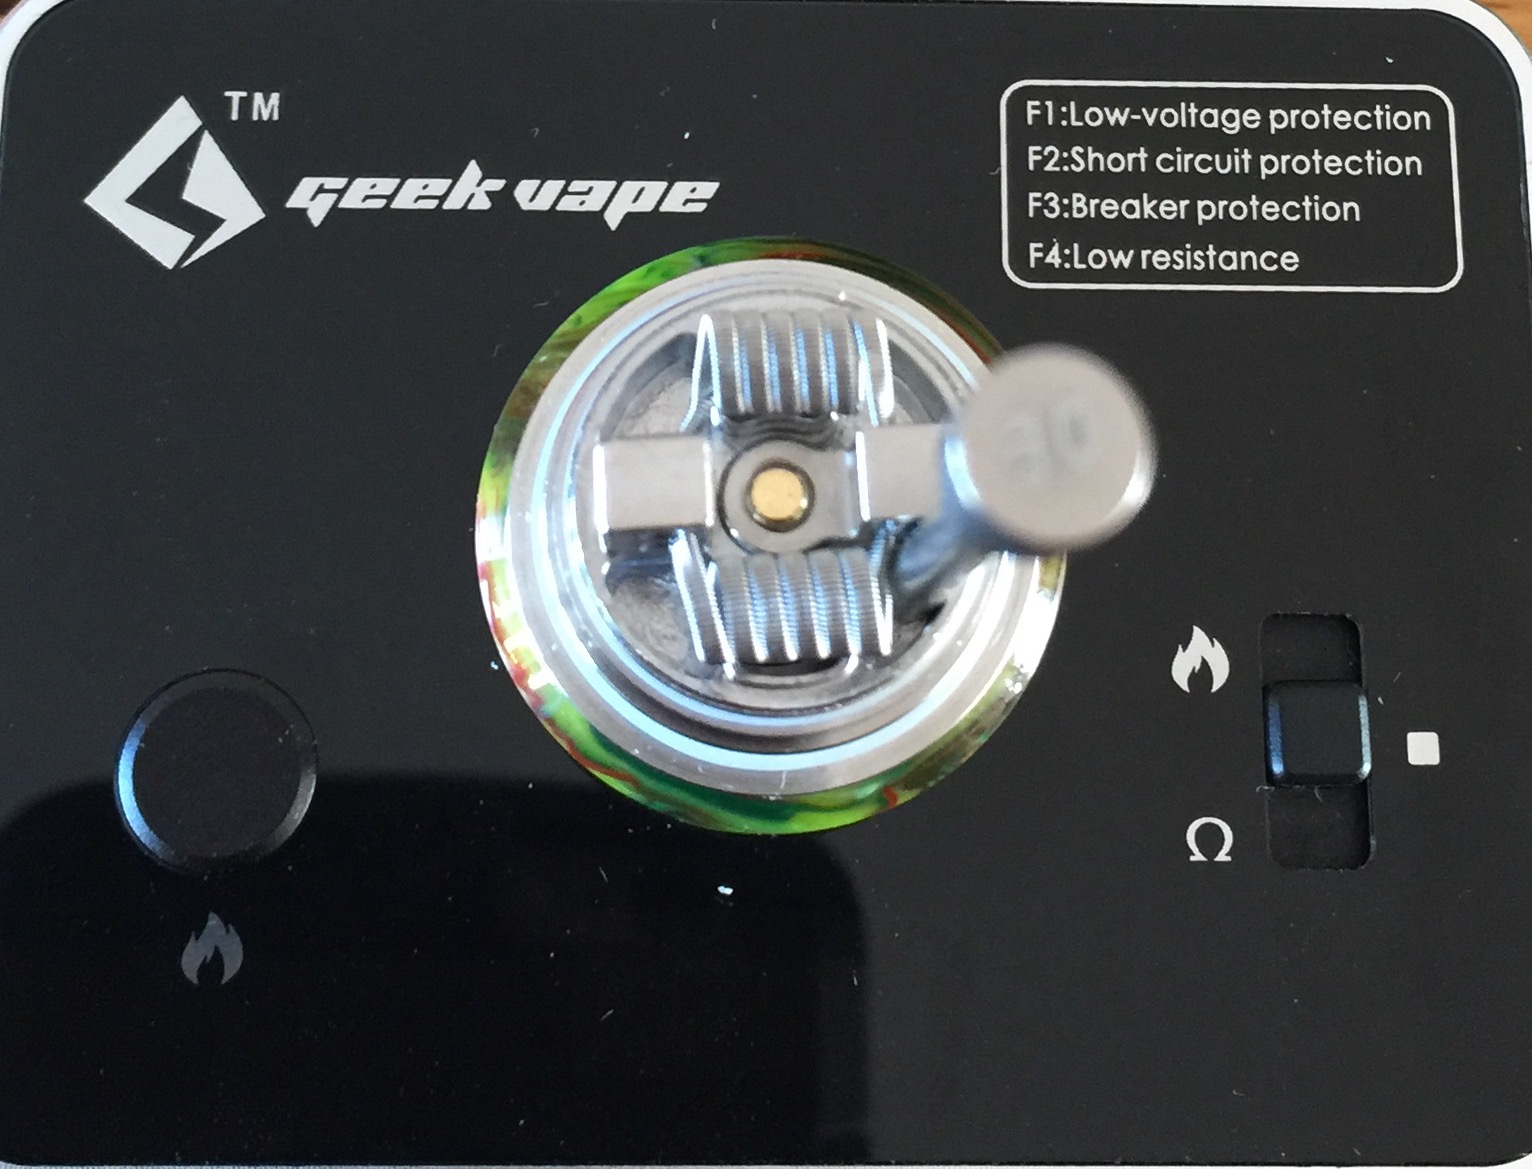
3) Insert your screwdriver or coil jig into the juice and use it to bend the legs in so they are clear of the juice wells
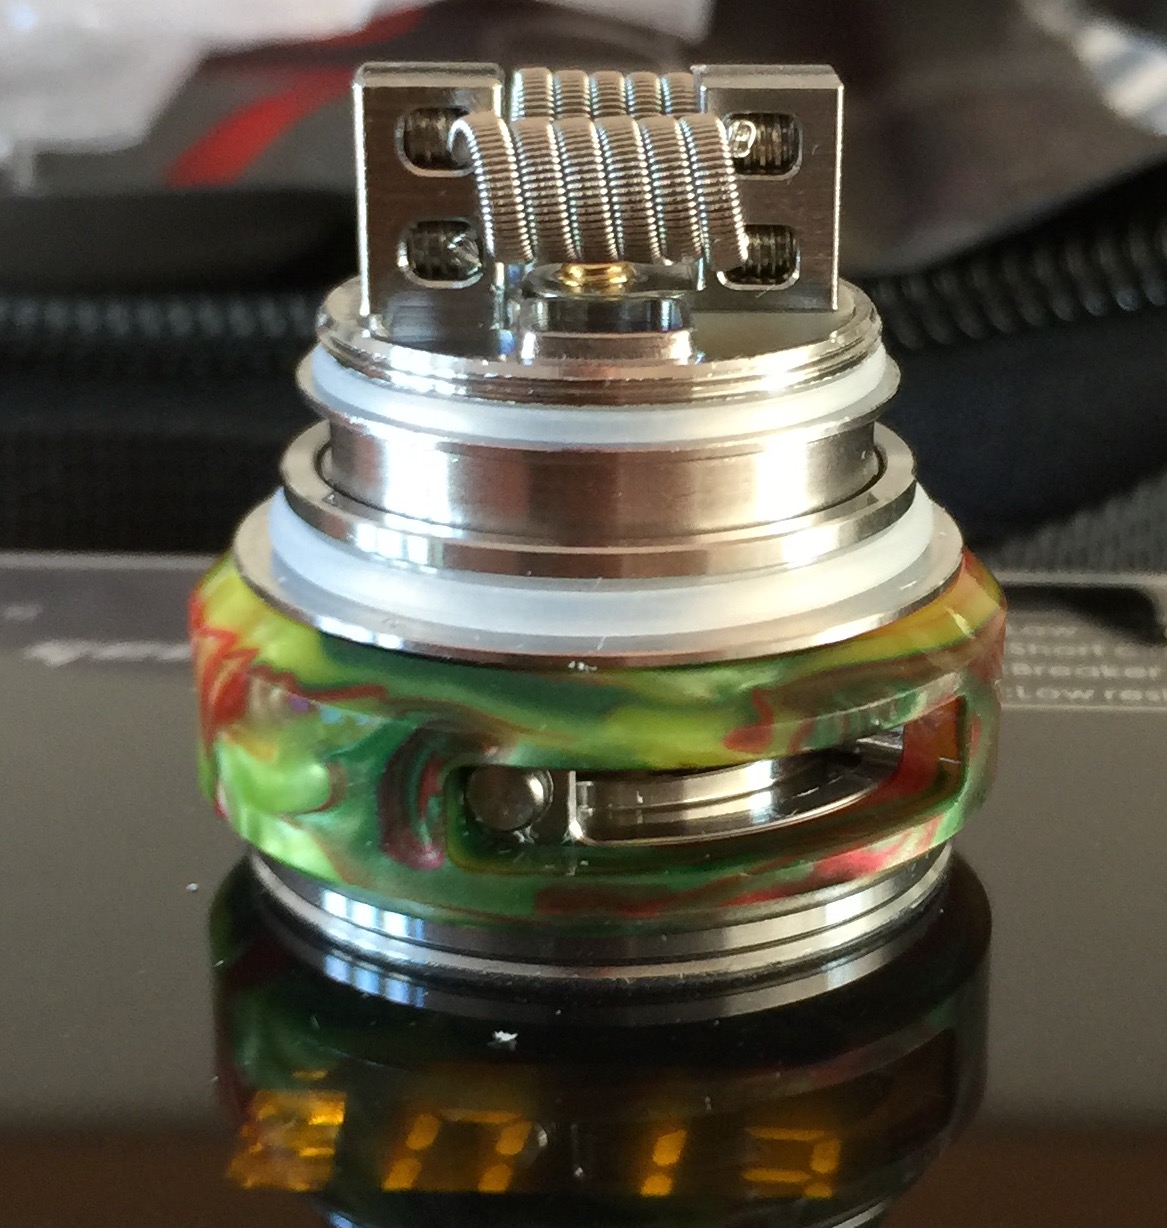
4) Once this is done if you have some ceramic tweezers pinch the coils back together, re-insert the screwdriver or coil jig and position the coil vertically like so.
5) Now heat the coils and ensure they are heating evenly. Strum them with the tweezers, pinch them and check the screws are fastened securely, also move them a little if you need to, You need to get rid of the hot spots and ensure both coils heat evenly from the centre outwards
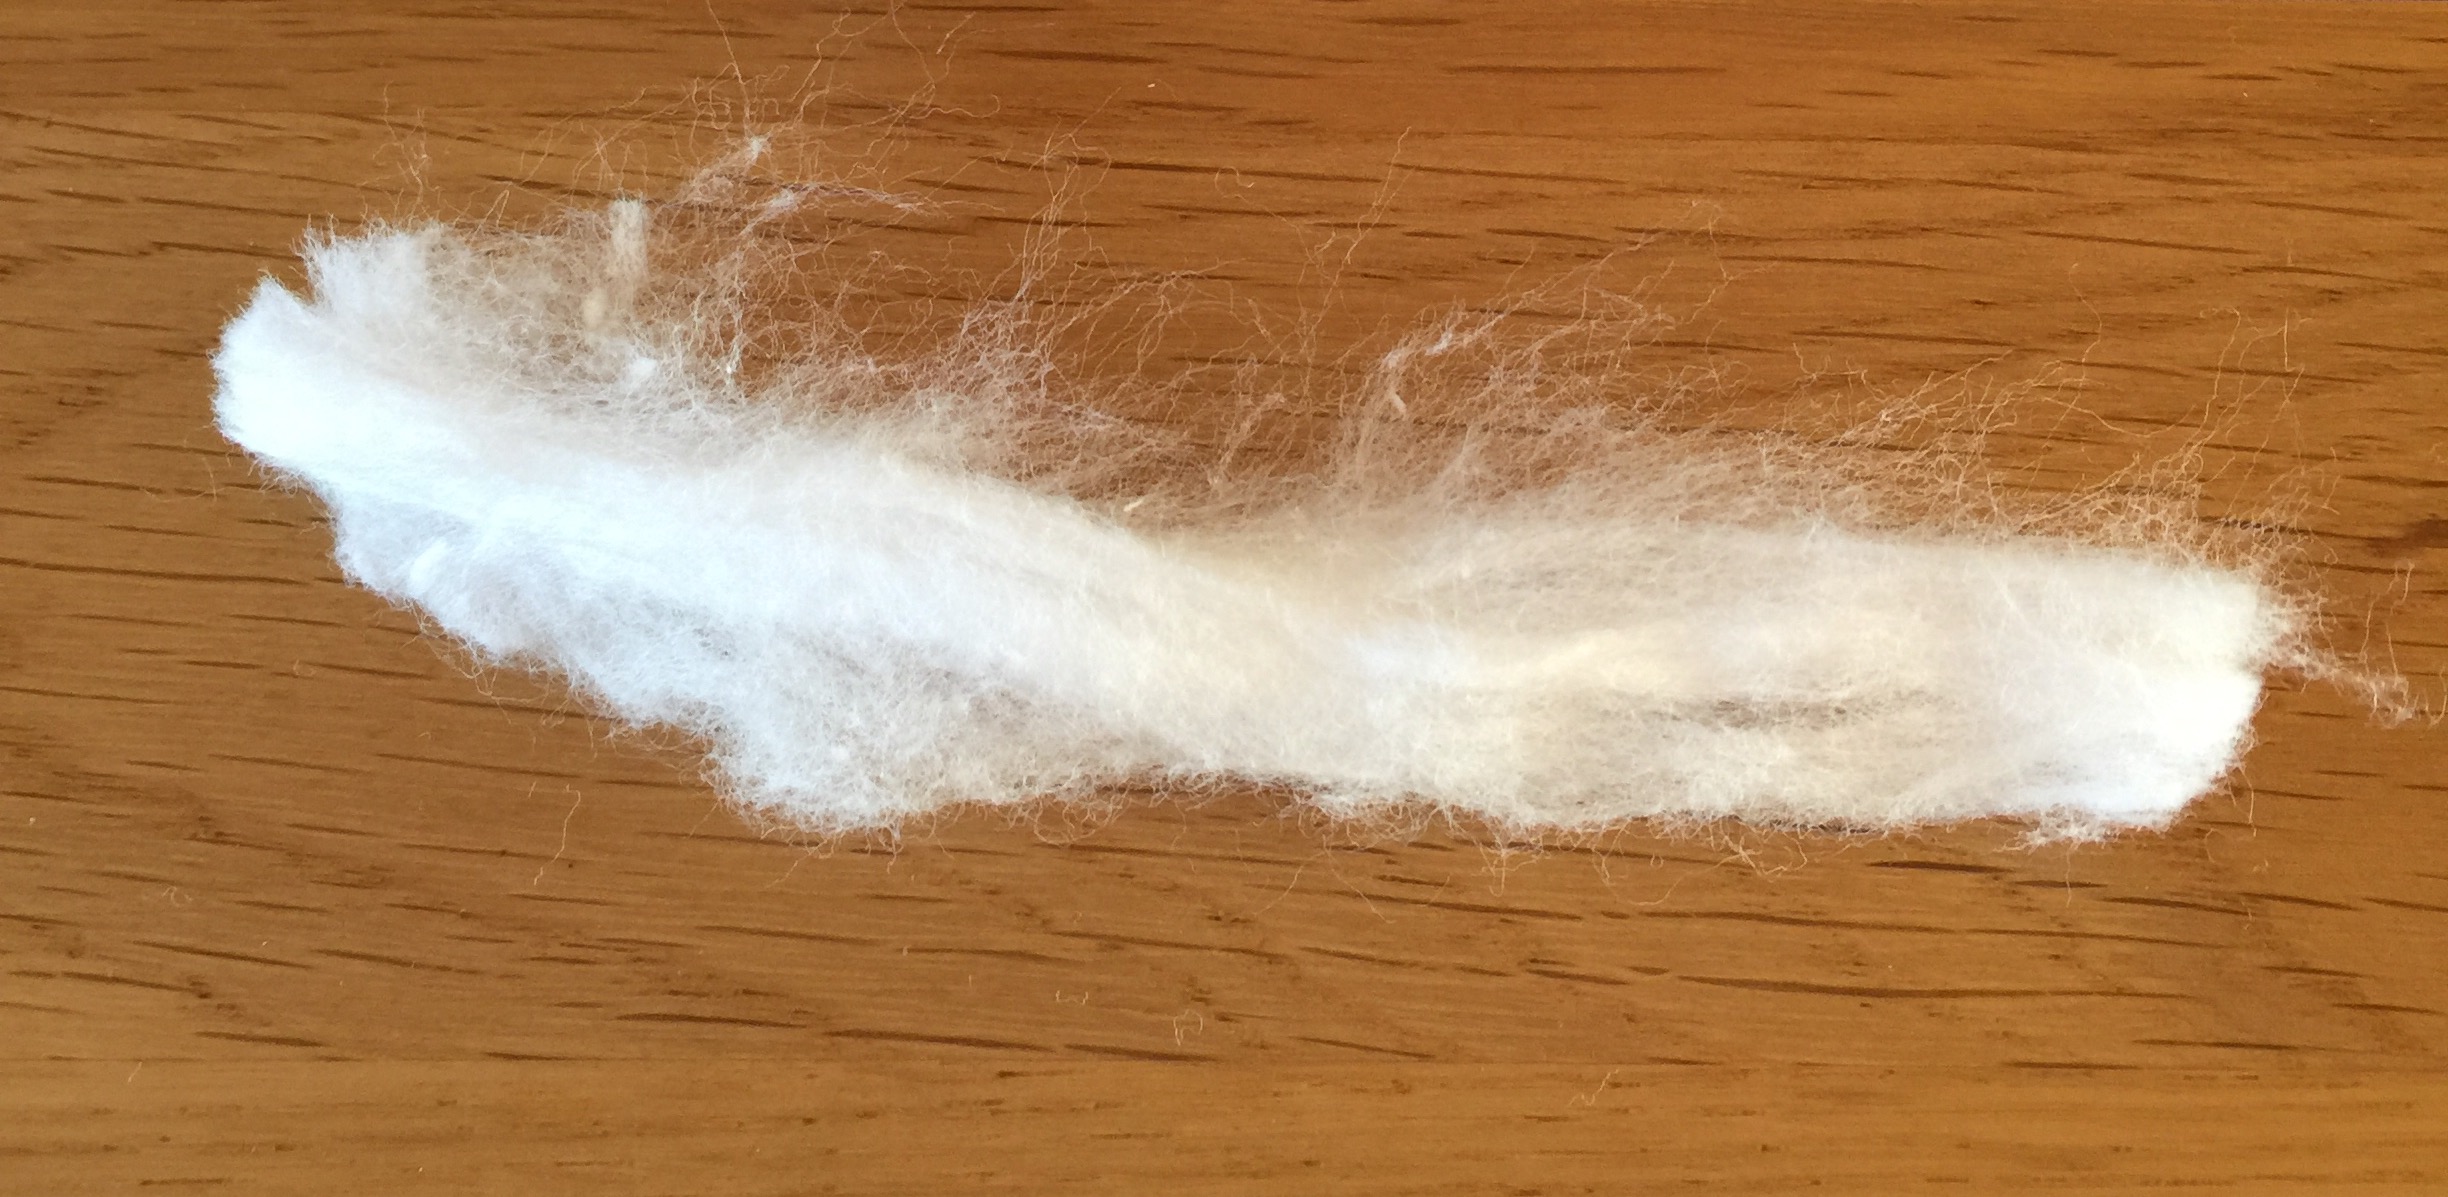
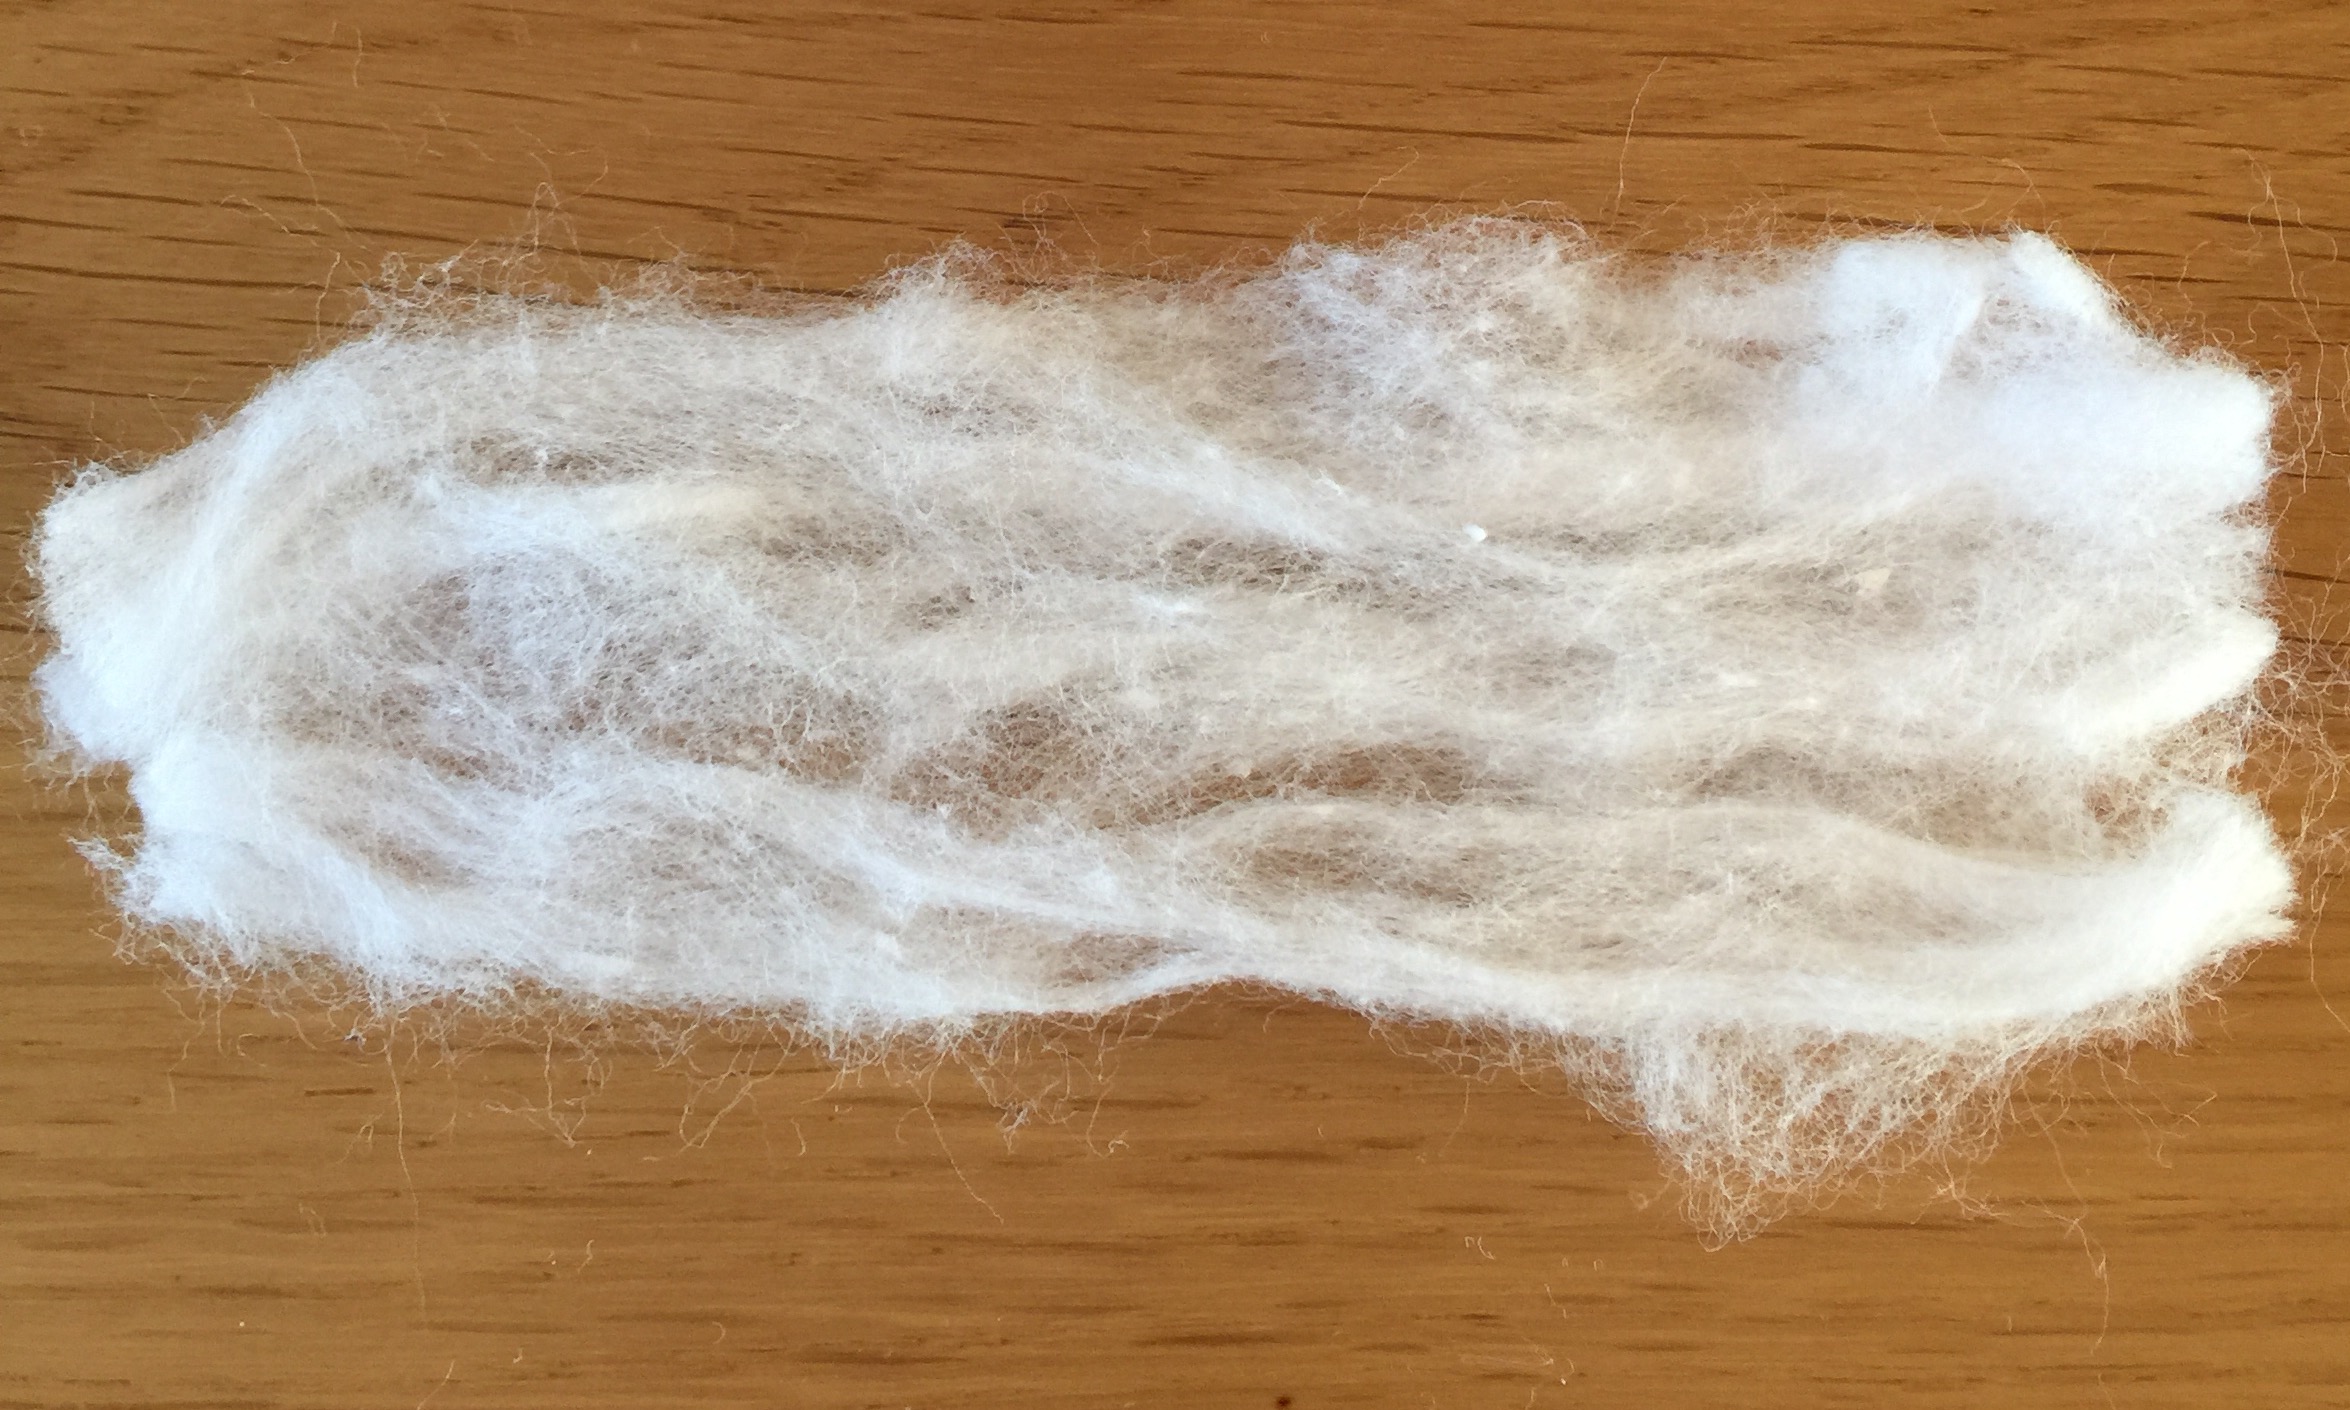
6) I always use the Scottish roll method for my wicking using cotton bacon v2. First tear a strip off not too much it’s really not needed
7) Using your fingers spread it out a little (don’t tear it) so it’s flat like below. I also stretch mine a little as well
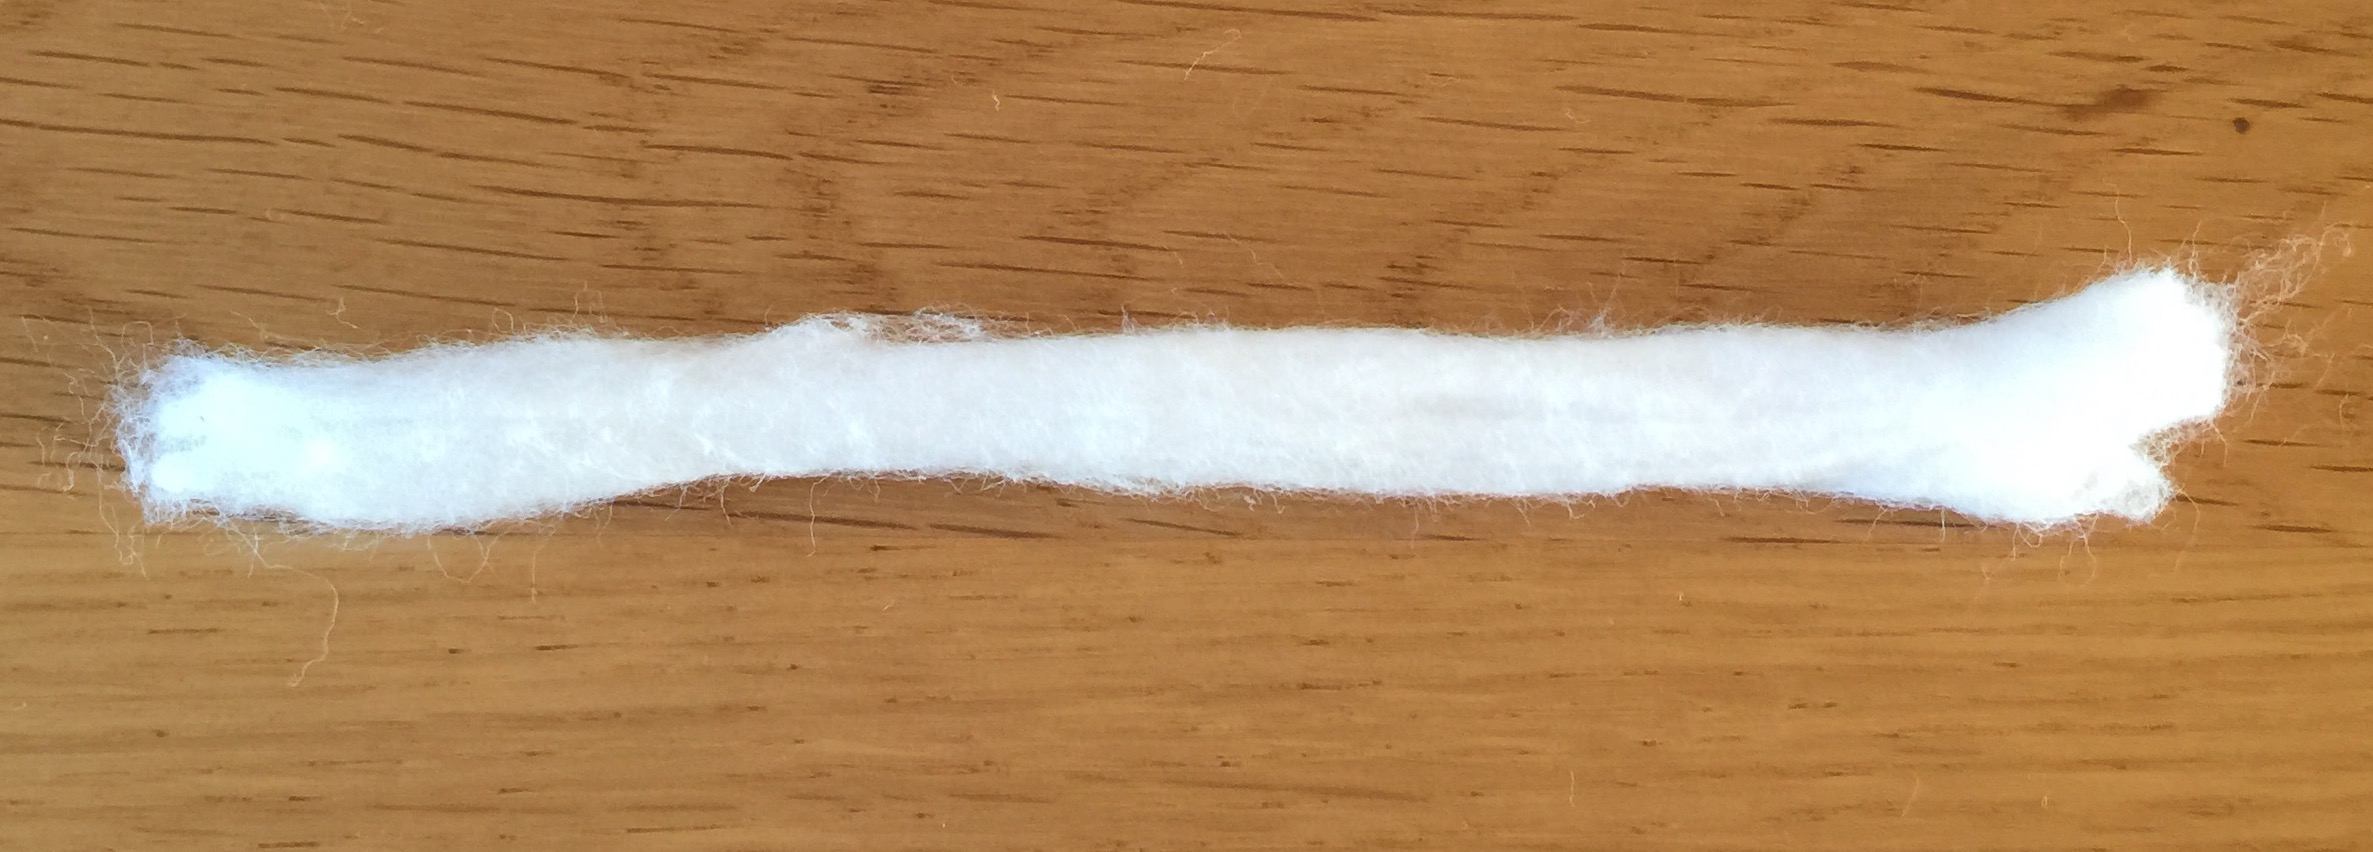
8) Now roll it up, don’t do it too tight.
9) Twist the end
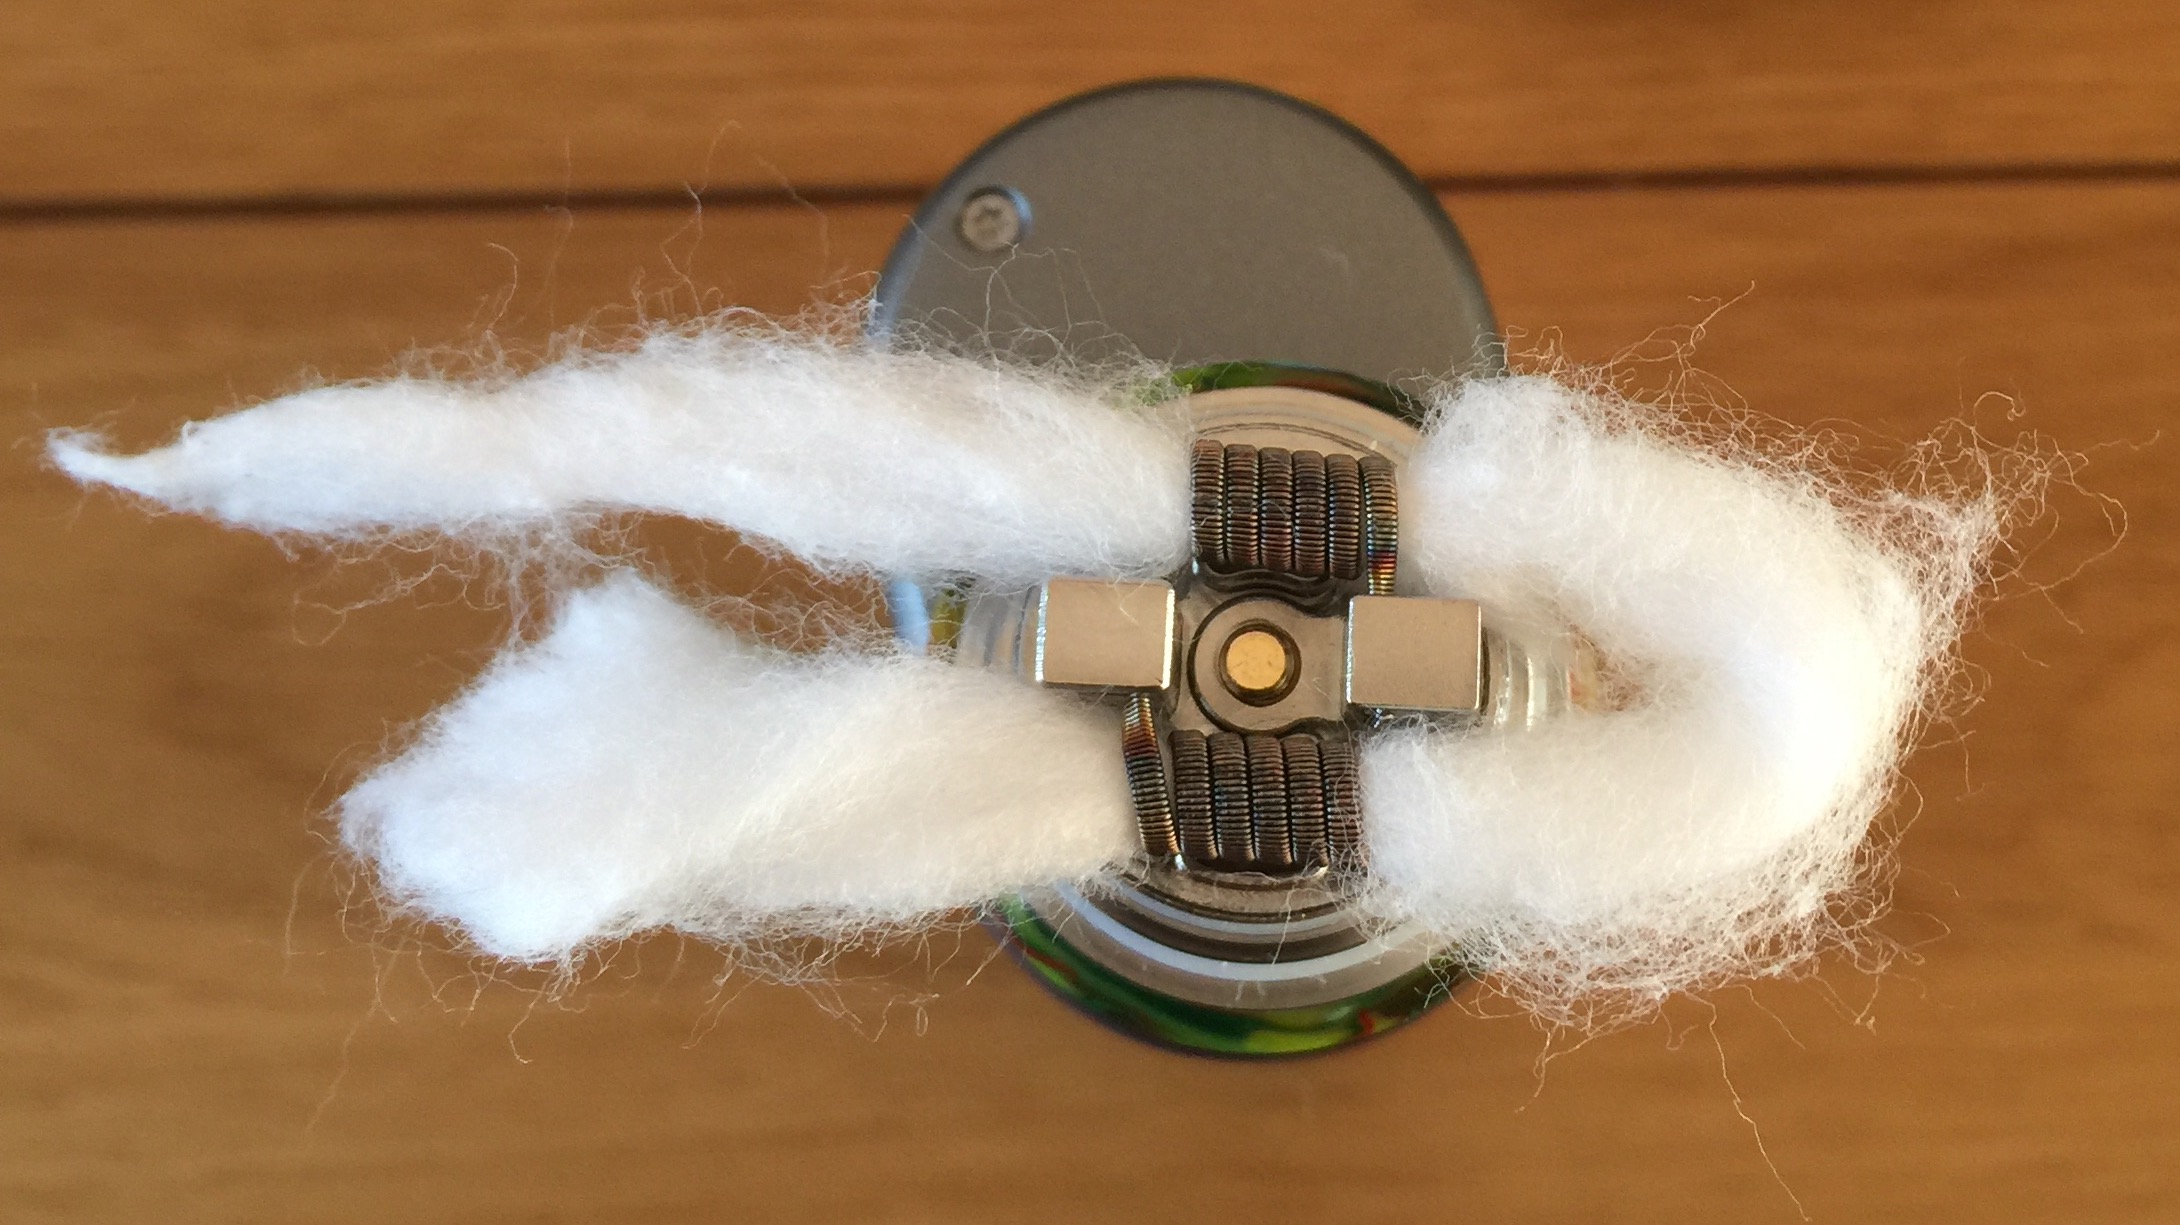
10) Feed it through the coils like so and snip the end
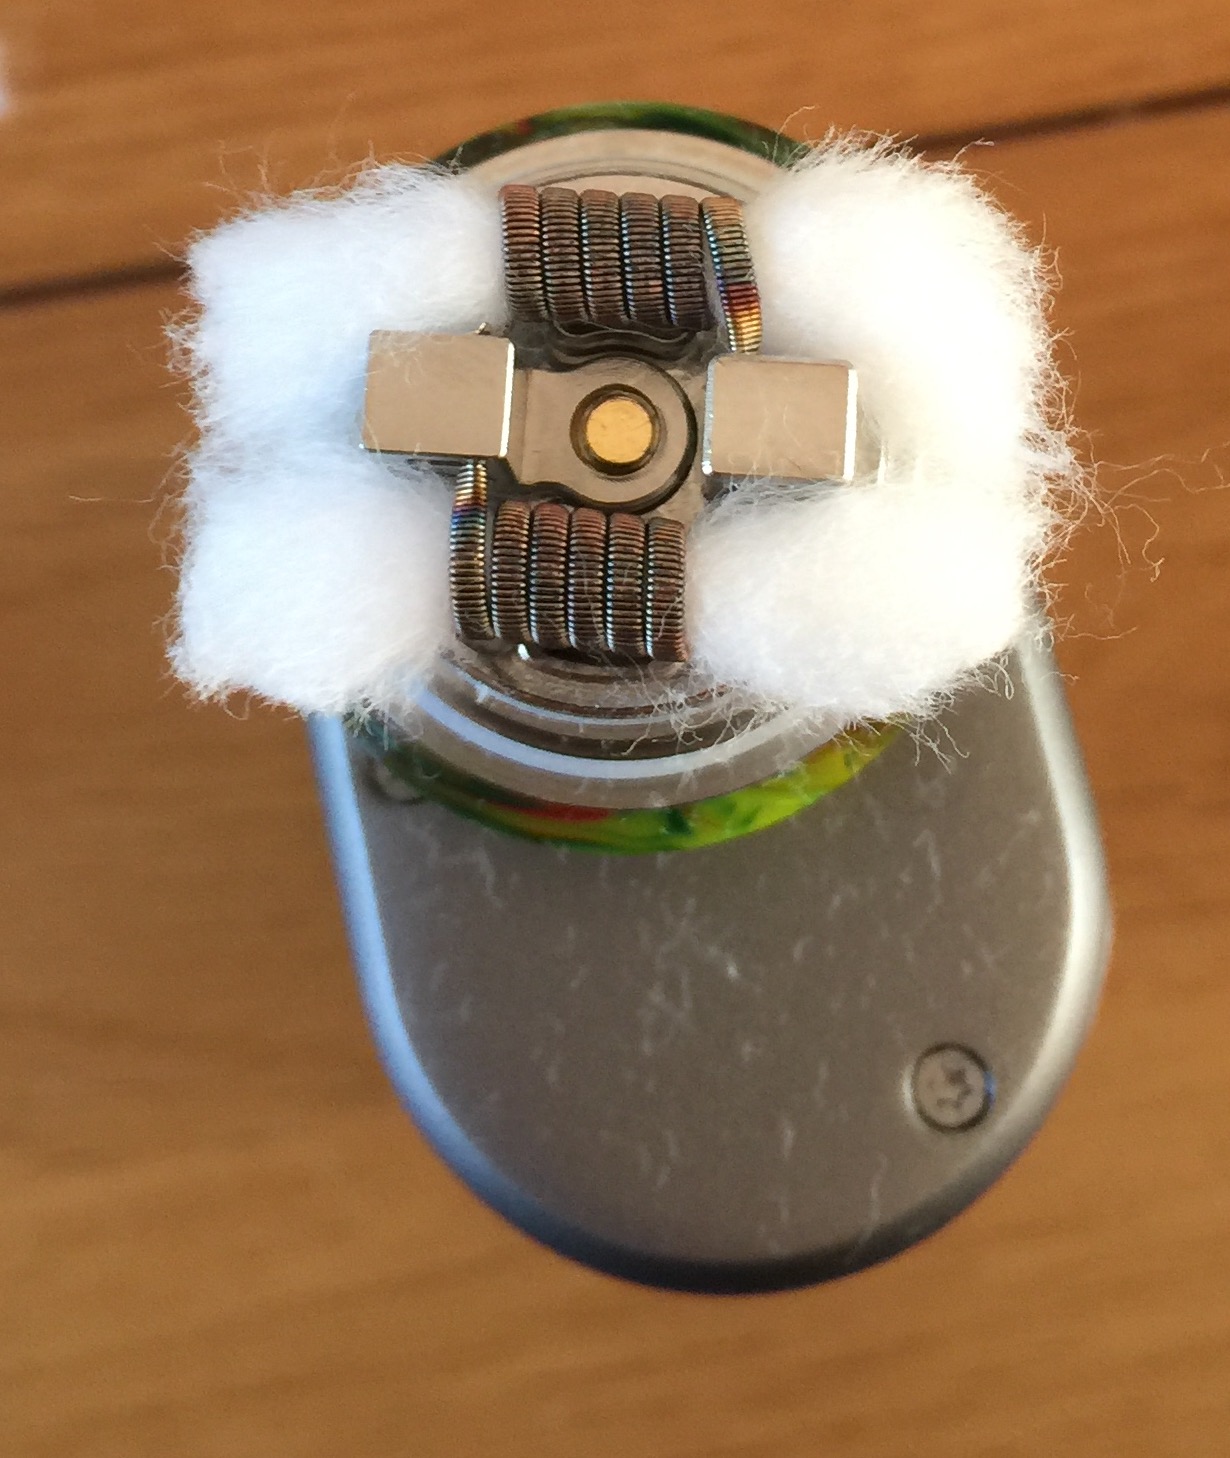
11) Straight cut the ends to where the bottom of the airflow is (my are right they just sprung back up a little makes them look longer). Once measured and cut rake the ends like so
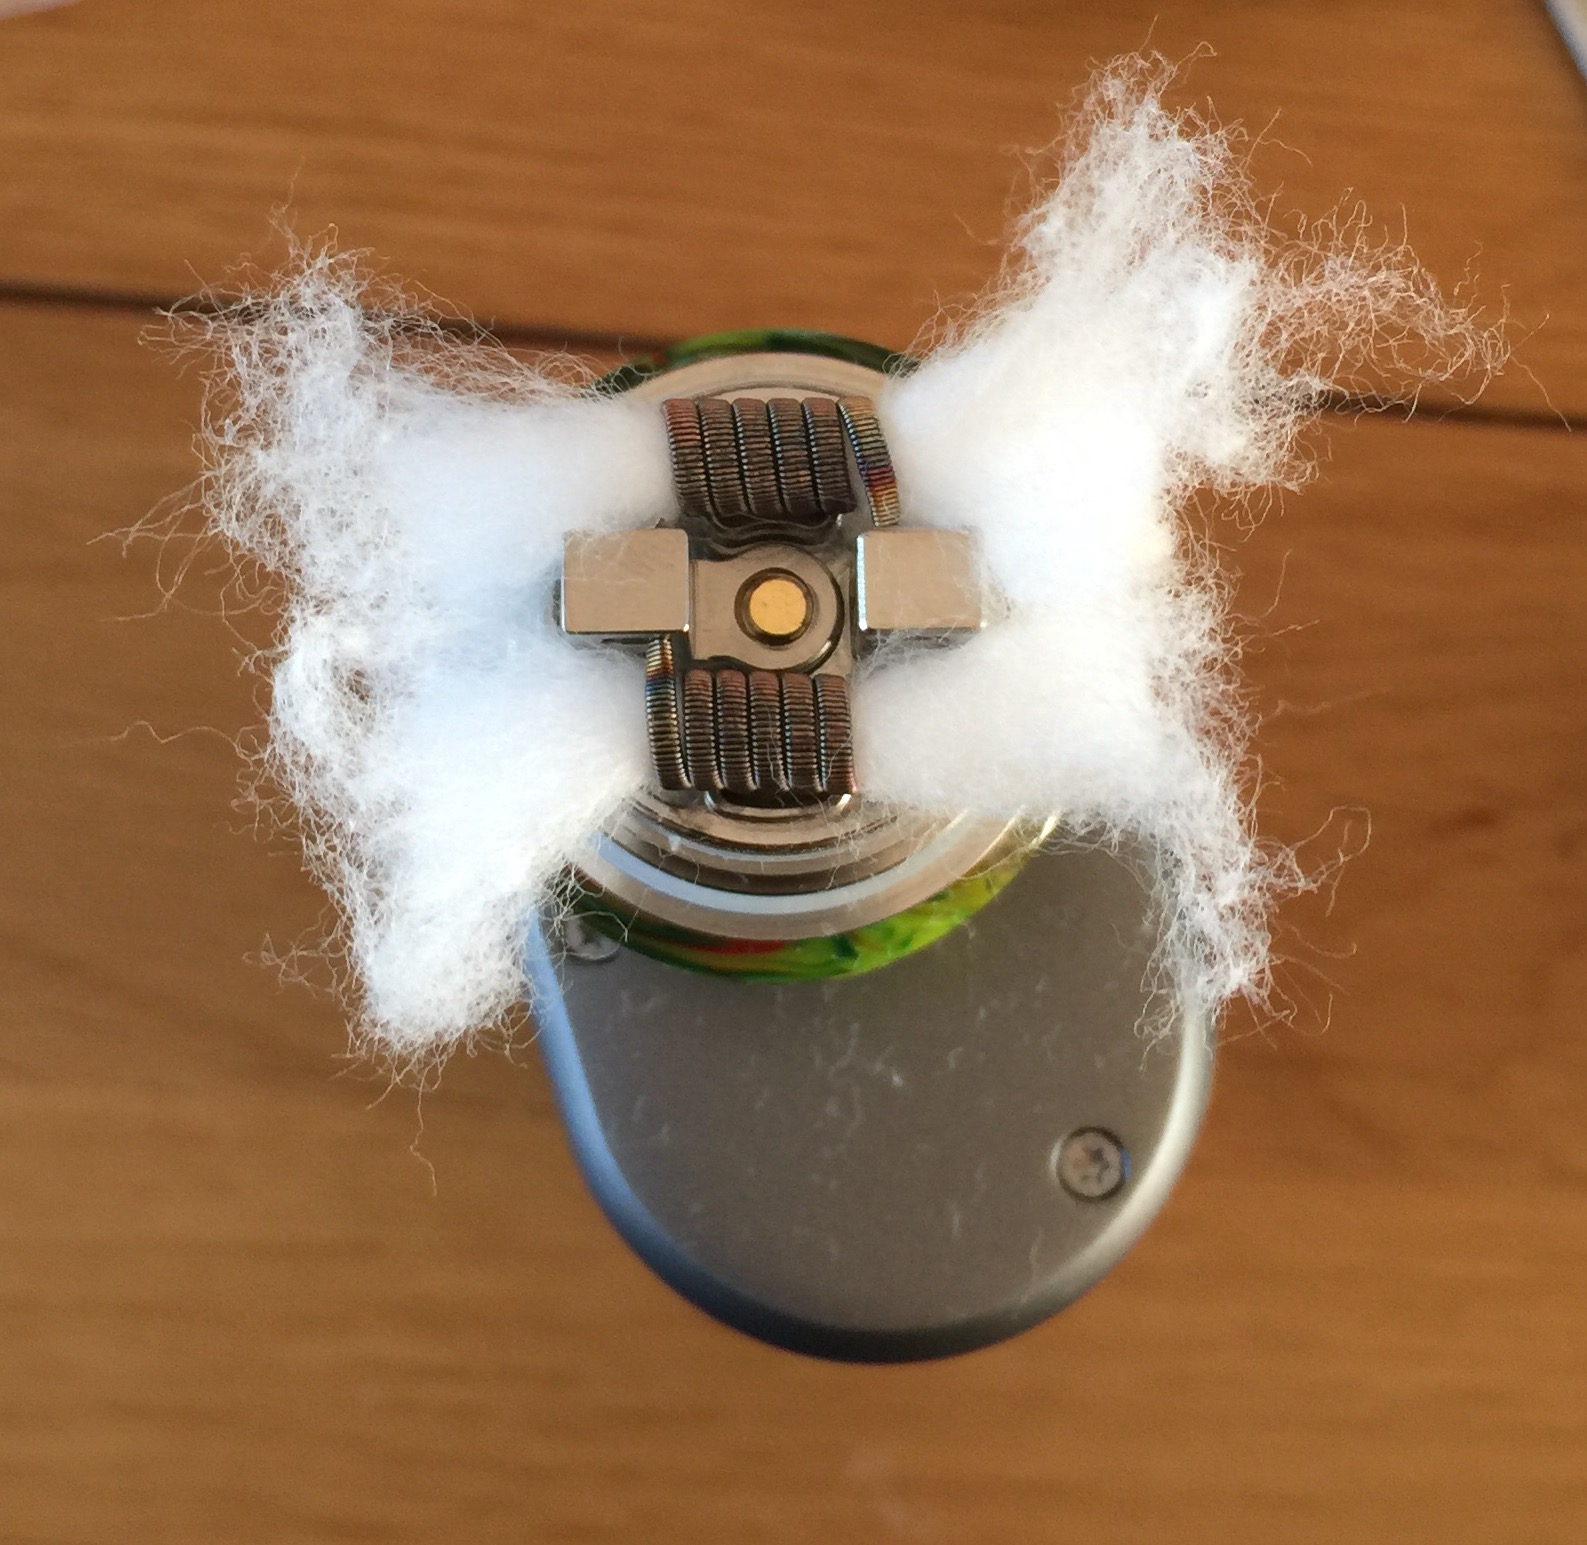
12) Now give them a tidy up and snip the corners at an angle. I use the AFC as a guide on the resin version
13) Now tease the end into the juice wells. Don’t push them in you don’t want a ball of cotton. Also really important here make sure there is no cotton hanging over the airflow (just use the tweezers to push it back a little)
14) The aim of this wicking guide is to plug the holes of the juice chamber. Inspect all around before you juice up and make sure there are no gaps anywhere
15) Juice her up, check everything around again as the cotton swells (thinking airflow gap here) slap the housing on, reassemble everything, fill her up and let’s see if Luke really does limit your vaping!
How's the Vape?
Ok down to business, other than when I’m at home on a flavour chasing mission, for all day vaping I like a warm balanced vape (more towards flavour) with a decent cloud to boot. On that basis this really is one of the best Sub Ohm’s tanks I’ve tried to date. Flavour is very impressive both from the premade coil and the RBA deck.
The draw itself is fairly restricted no matter where you leave the airflow which suits me perfectly but won’t be to everyone’s liking if they like an airy vape. I personally run the airflow only a fifth the way open to maximise flavour from it. It’s also fairly noisy on the inhale but not annoyingly so to me.
Vapour production is very satisfying. I always got a nice moist flavour packed hit even when warming up the coil so the flavour comes through well. Wicking was never a problem on the premade coil especially after pinning it.
I need to give a special mention to the Rebuildable deck for the Fireluke. Most companies provide one as an afterthought giving new vapers a really bad insight into the DIY side of vaping. Due to the Fireluke having that big bowl you actually get a decent space to use. For me this the closest I’ve got to a dedicated Rebuildable Tank Atomiser (RTA) experience using an RBA, yes it really is that good.
The top cap never gets close to being too warm on either Stainless Steel or Resin versions, and both are comfortable to use.
Finally the break in time was very good. Literally only half a tank I had to put up with that premade coil taste (you all know what I’m talking about here)
Things I Feel Could Be Improved
- Coil Quality control on the premade coil with wire sticking out from the gasket.
- Scratchy threading on the top cap, more so on the resin
- Vertical play in the AFC causes condensation to collect especially on the resin version.
- Not a fan of proprietary drip tips & lack of 510 drip tip adaptor
- Would like to have seen the other Duodenary coil available in the kit
- Spare screws for the RBA could have been hex for those that hate slotted screws
- Would like to have seen a band included for the bowl tank.
Things I Feel It Does Well
- Fantastic flavour on both the sextuple coil and Rebuildable deck.
- Love the craziness of this tank stands out from the crowd.
- Excellent price point.
- RBA deck is fantastic to build and learn on, and the stock DIY coils are actually decent.
- Wicking holes on the RBA are placed right at the bottom of the tank so can vape until empty.
- Top cap doesn’t get hot so no bacon lips.
- The draw isn’t overly airy they have it set correctly for the recommended wattage range.
- Satisfying vapour production.
Final Conclusion
I do like to bring other things into the mix when I place tanks so it loses points on its potential durability issues which I just cannot ignore, otherwise it would have been sitting pretty right at the top of my favourite sub ohm list. This tank brings a lot to the table for a sub ohm. I’ve really enjoyed using it especially the RBA deck. I know styling is not to everyone’s liking but I really like it, I just wish I could have hijacked this crazy drip tip for use on my other attys as well!
Thanks very much for putting up with my ramblings, I hope I covered everything you wanted to know until next time KingPin!

")