Yup,that was the easy part...
all in all it took me about 3 hours to finish.

here's where it started to get fun.
I had to mill the threads down to accept the lemo glass.
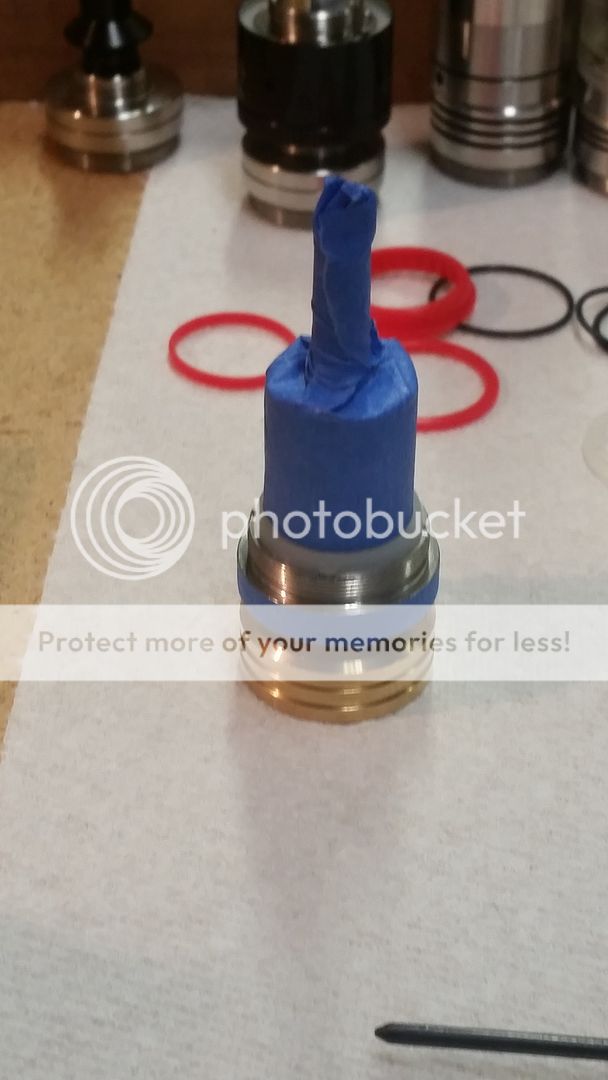
Here you can see that the threads are gone but the chamber/chimney was still too long.

my solution was to remove the lip on each end of the chamber.

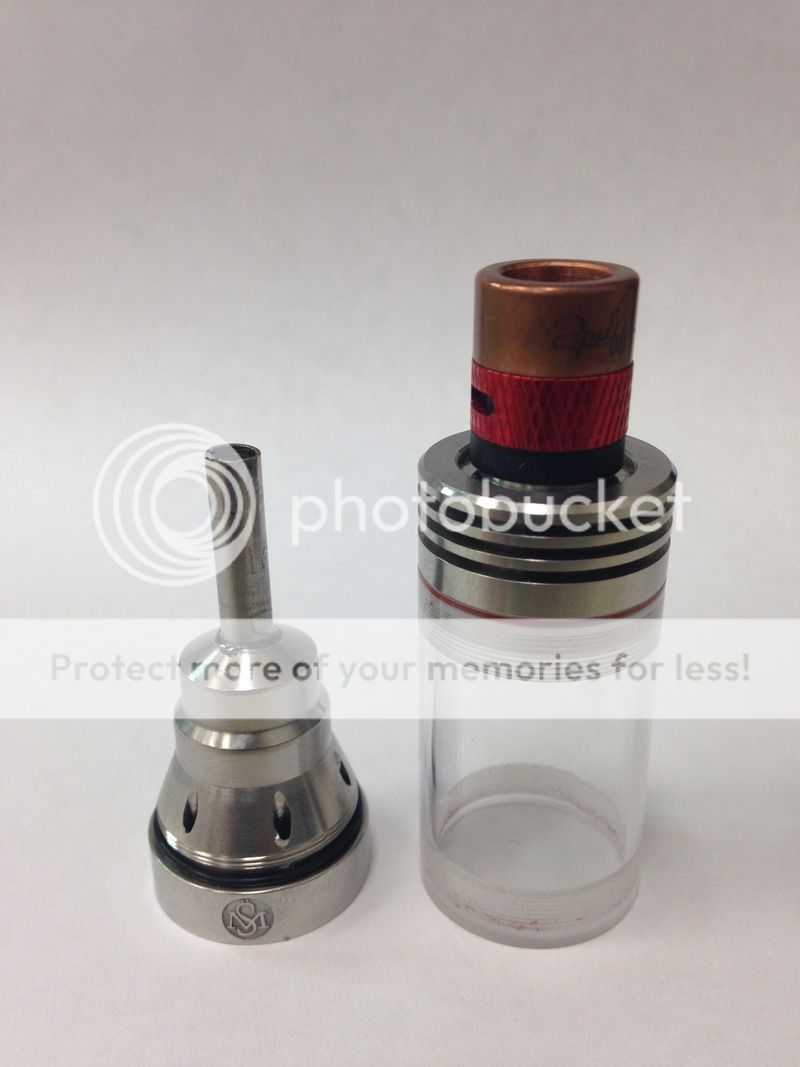
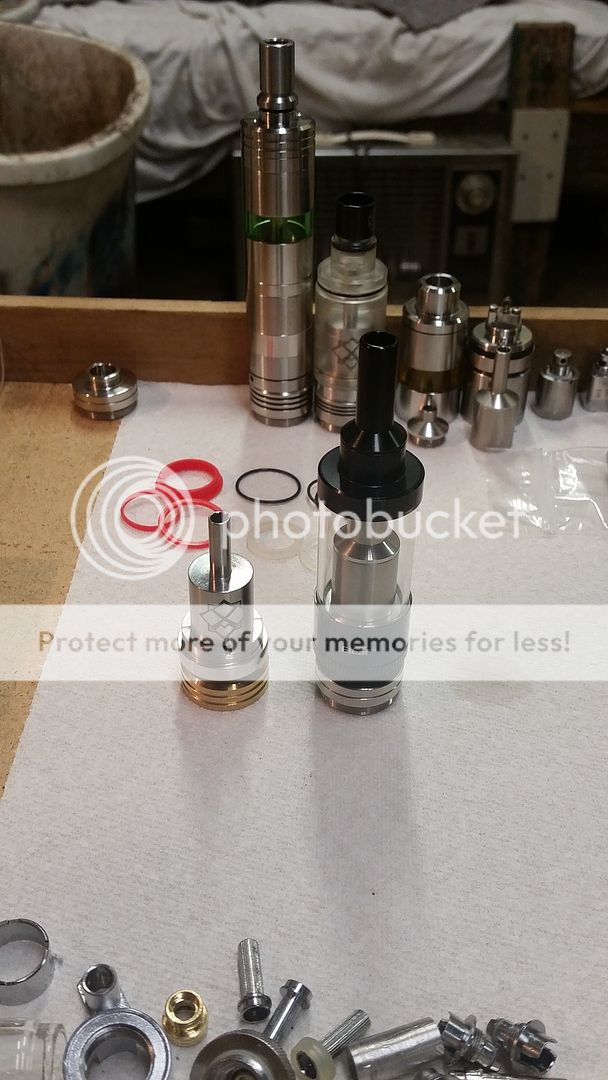
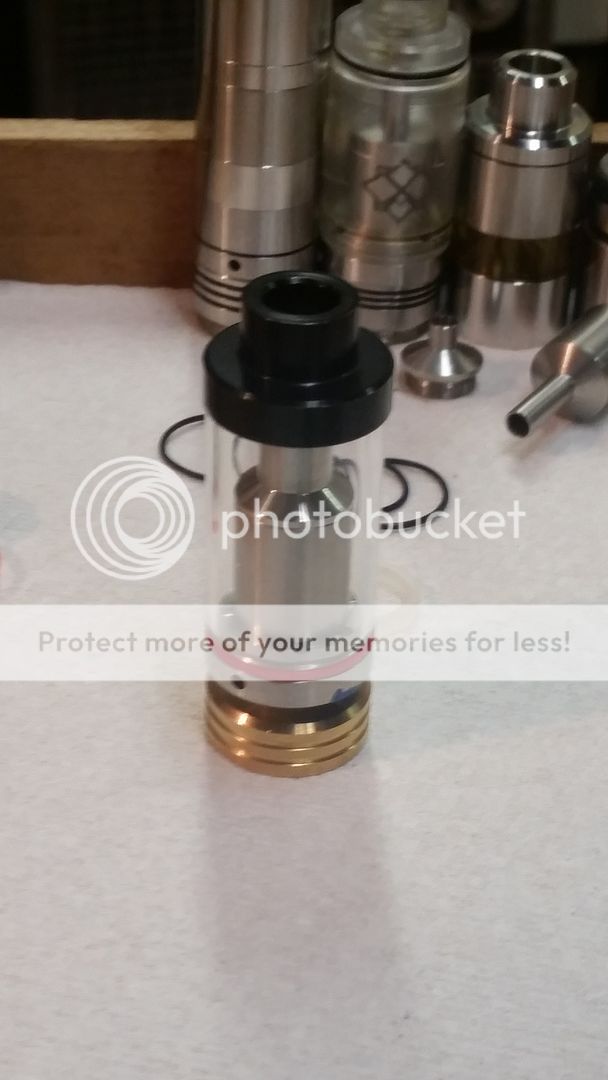
Here she is all clean and ready to build.
I added a subtank o ring to gasket the bottom. After I fully put it through its paces I plan to go back and cut a channel for that one and another smaller ring closer to the deck.
I wrapped these coils for my previous orchid build using what I had in front of me and they read@ .7ohm. 10 turns of 25g @3mm.
They're a pretty tight fit and have to be repositioned once the chamber is on to keep them off the sides and posts but I didn't feel like wrapping new coils for a build that I wasn't sure was going to work so I just slapped em on the Lemorch deck.

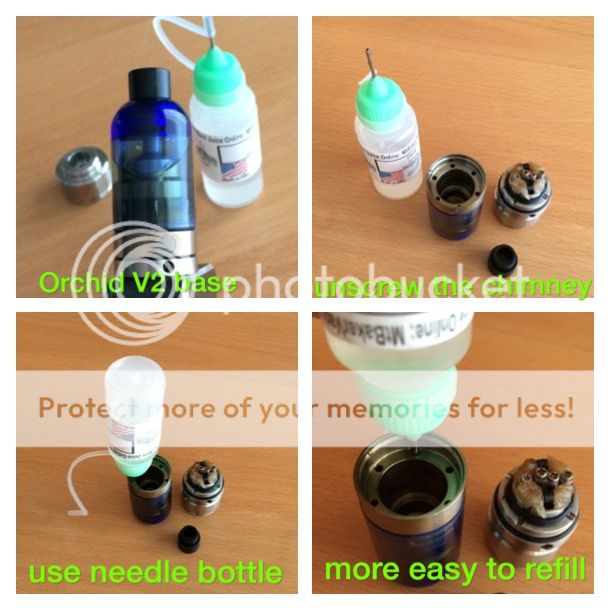
filled and waiting for leaks...
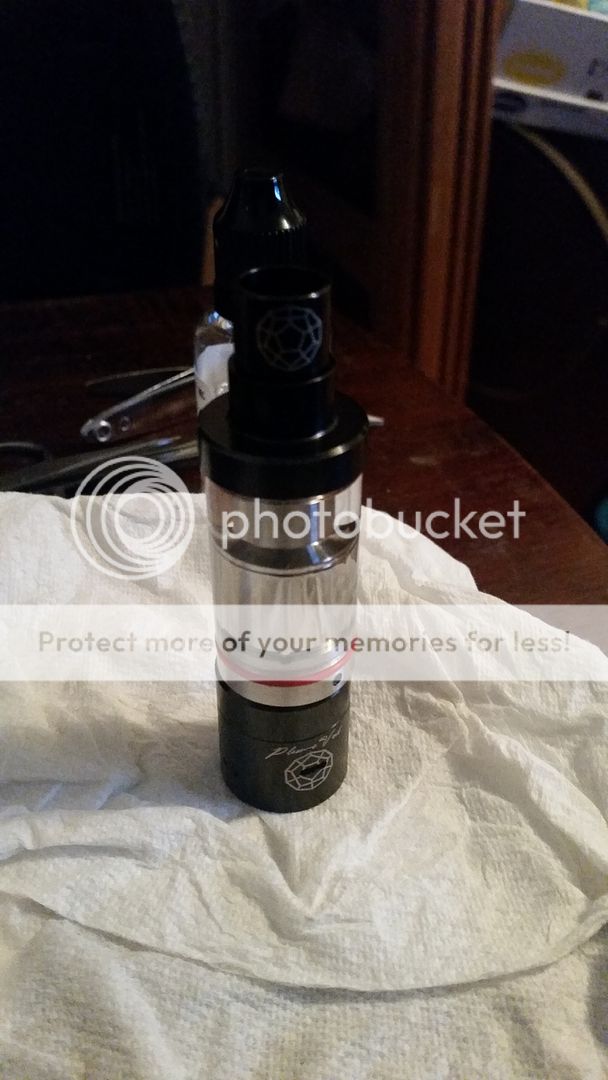
I'm just about through the first tank and it's still performing like a champ.
bottom fill is still an issue but I have a few ideas to make it top fill.
I also plan on opening up some airflow to take full advantage of that utterly huge chimney.
Im happy so far though.
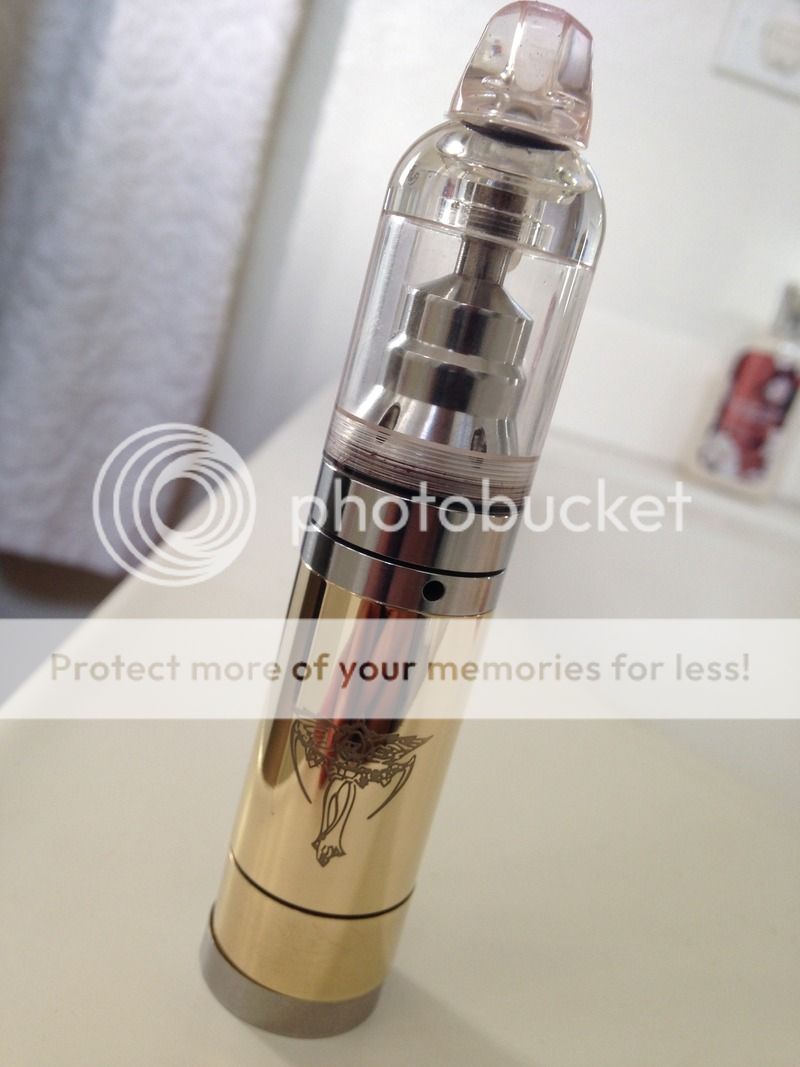
I like my KST's and delta duece but the orchid has been my favorite so far and it kind of pissed me off that I couldn't use them since almost every flavor I have on the shelf is a tank cracker.
It isn't pretty but it gets the job done.
once I get it exactly how I want it I'll build another and doll it up a bit.
what do the pro's think?
")