______________________________________________________________________________
INTRODUCTION
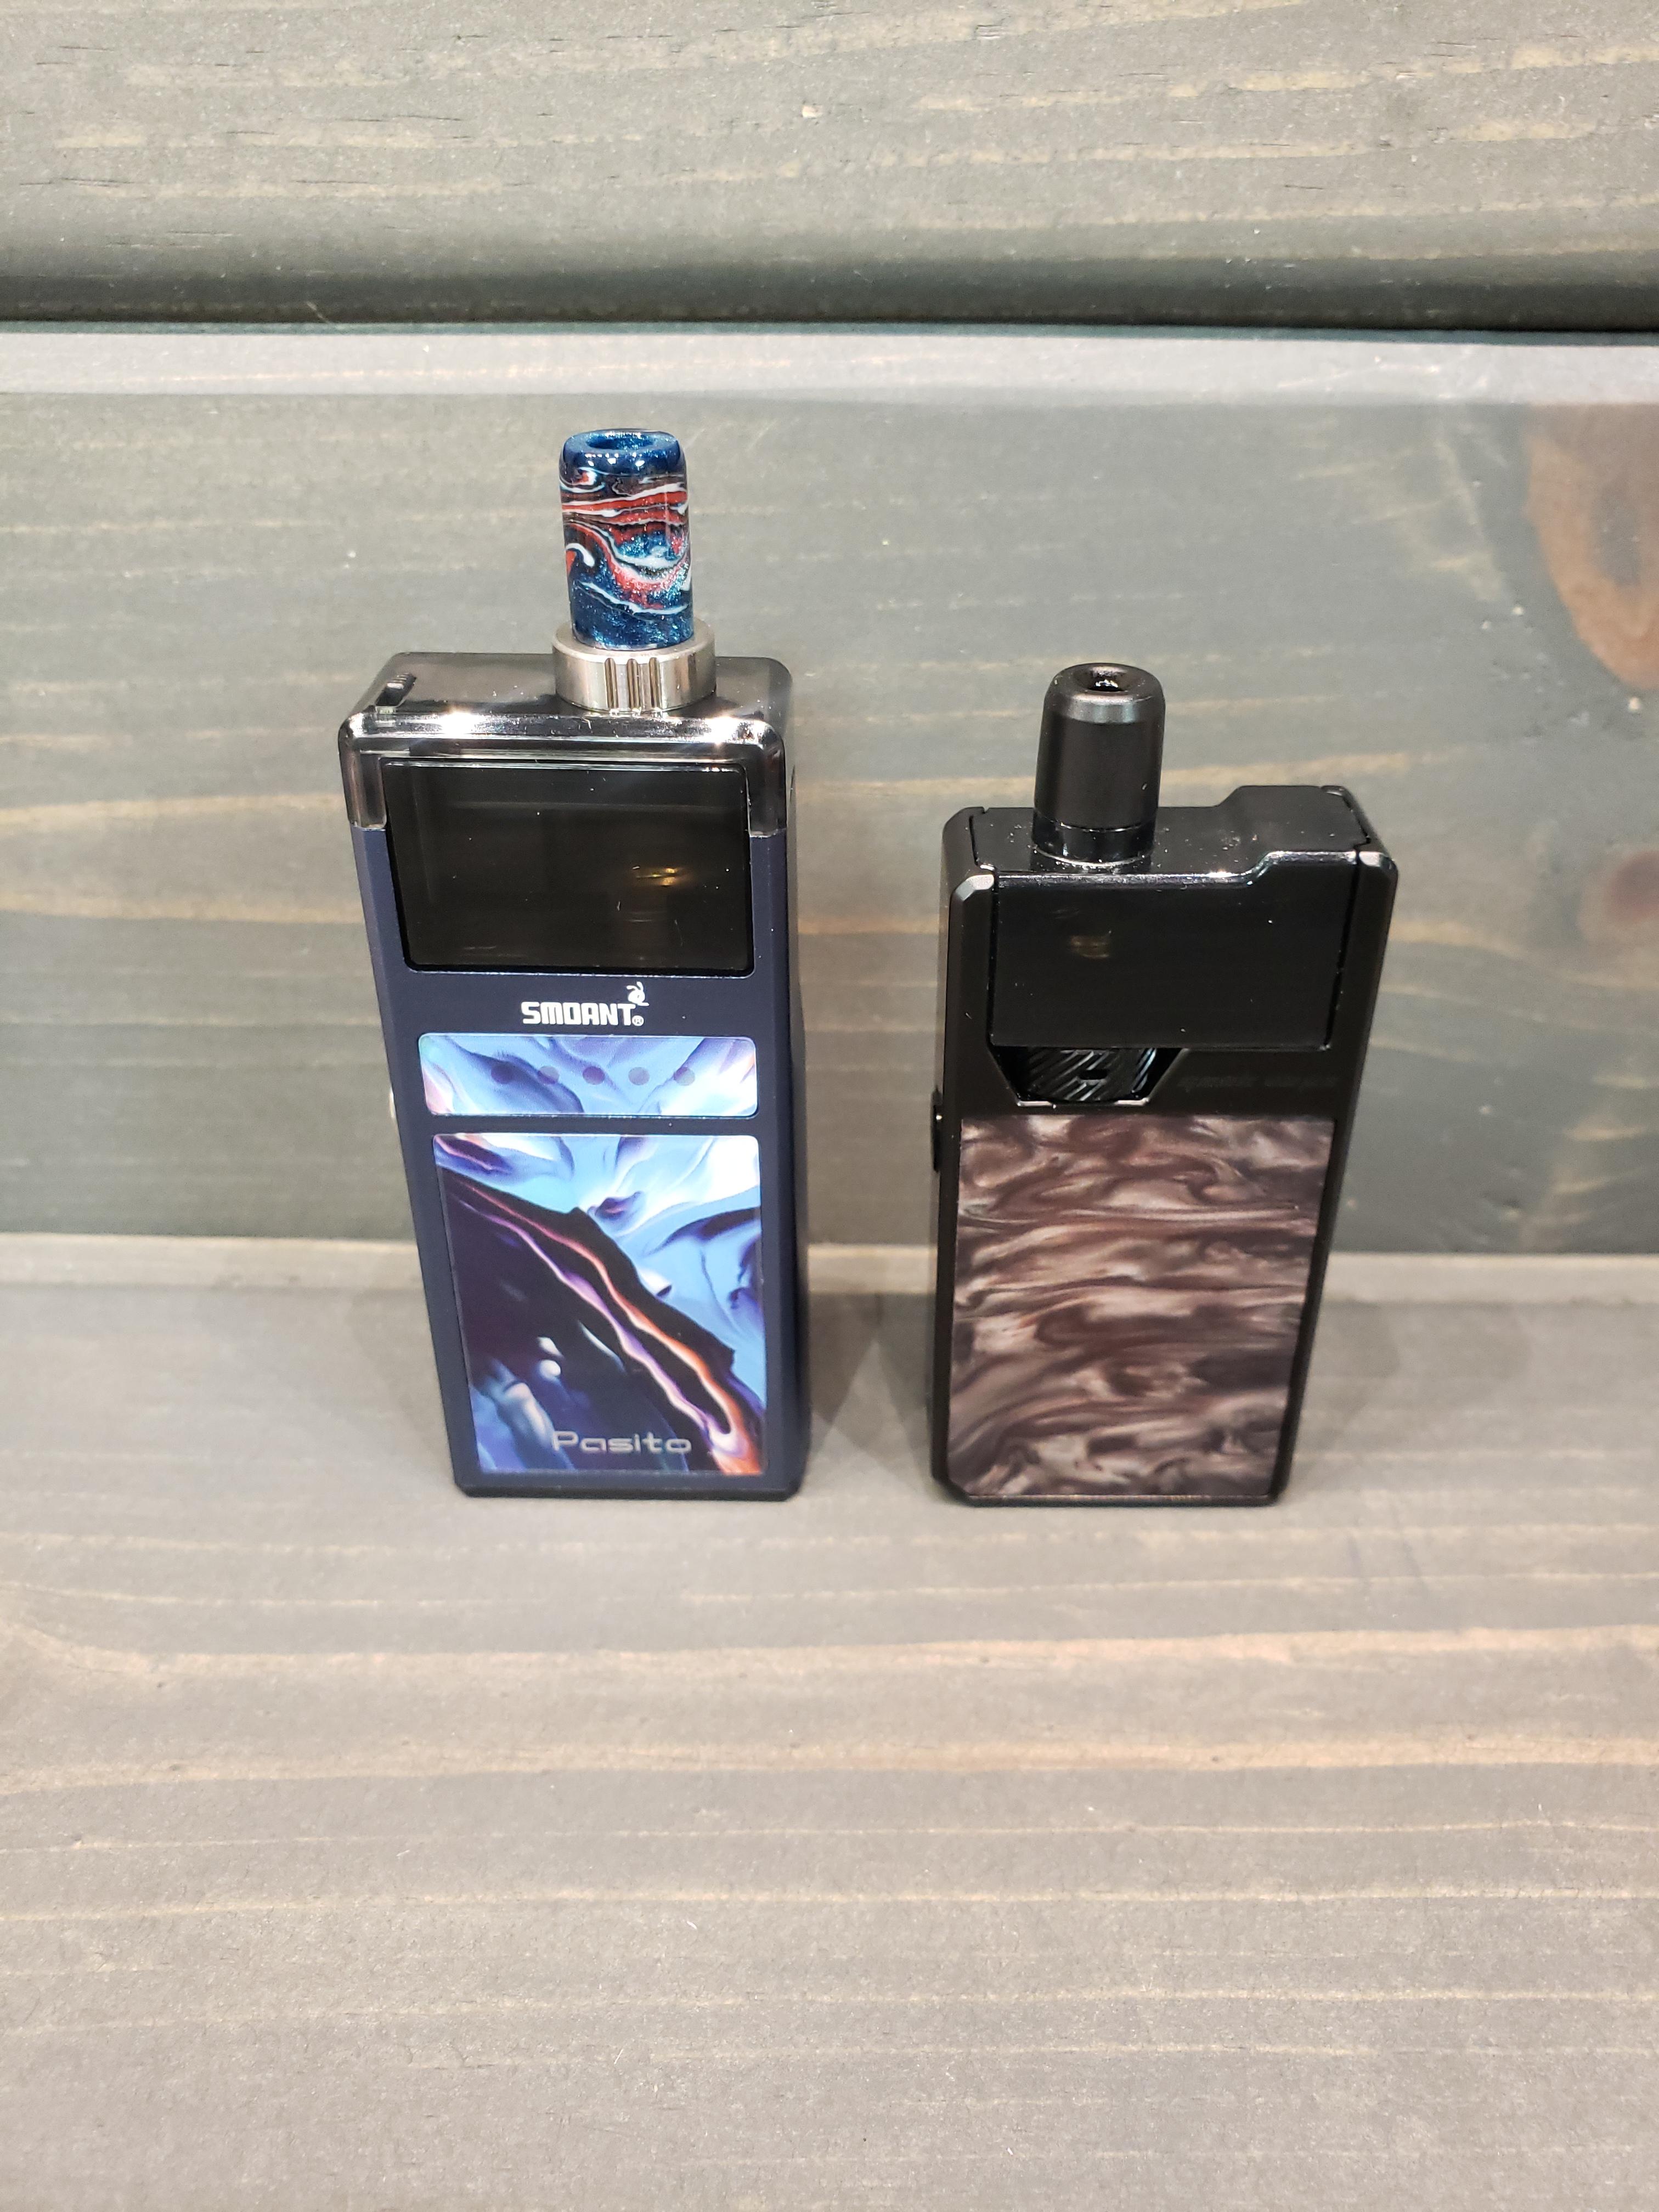
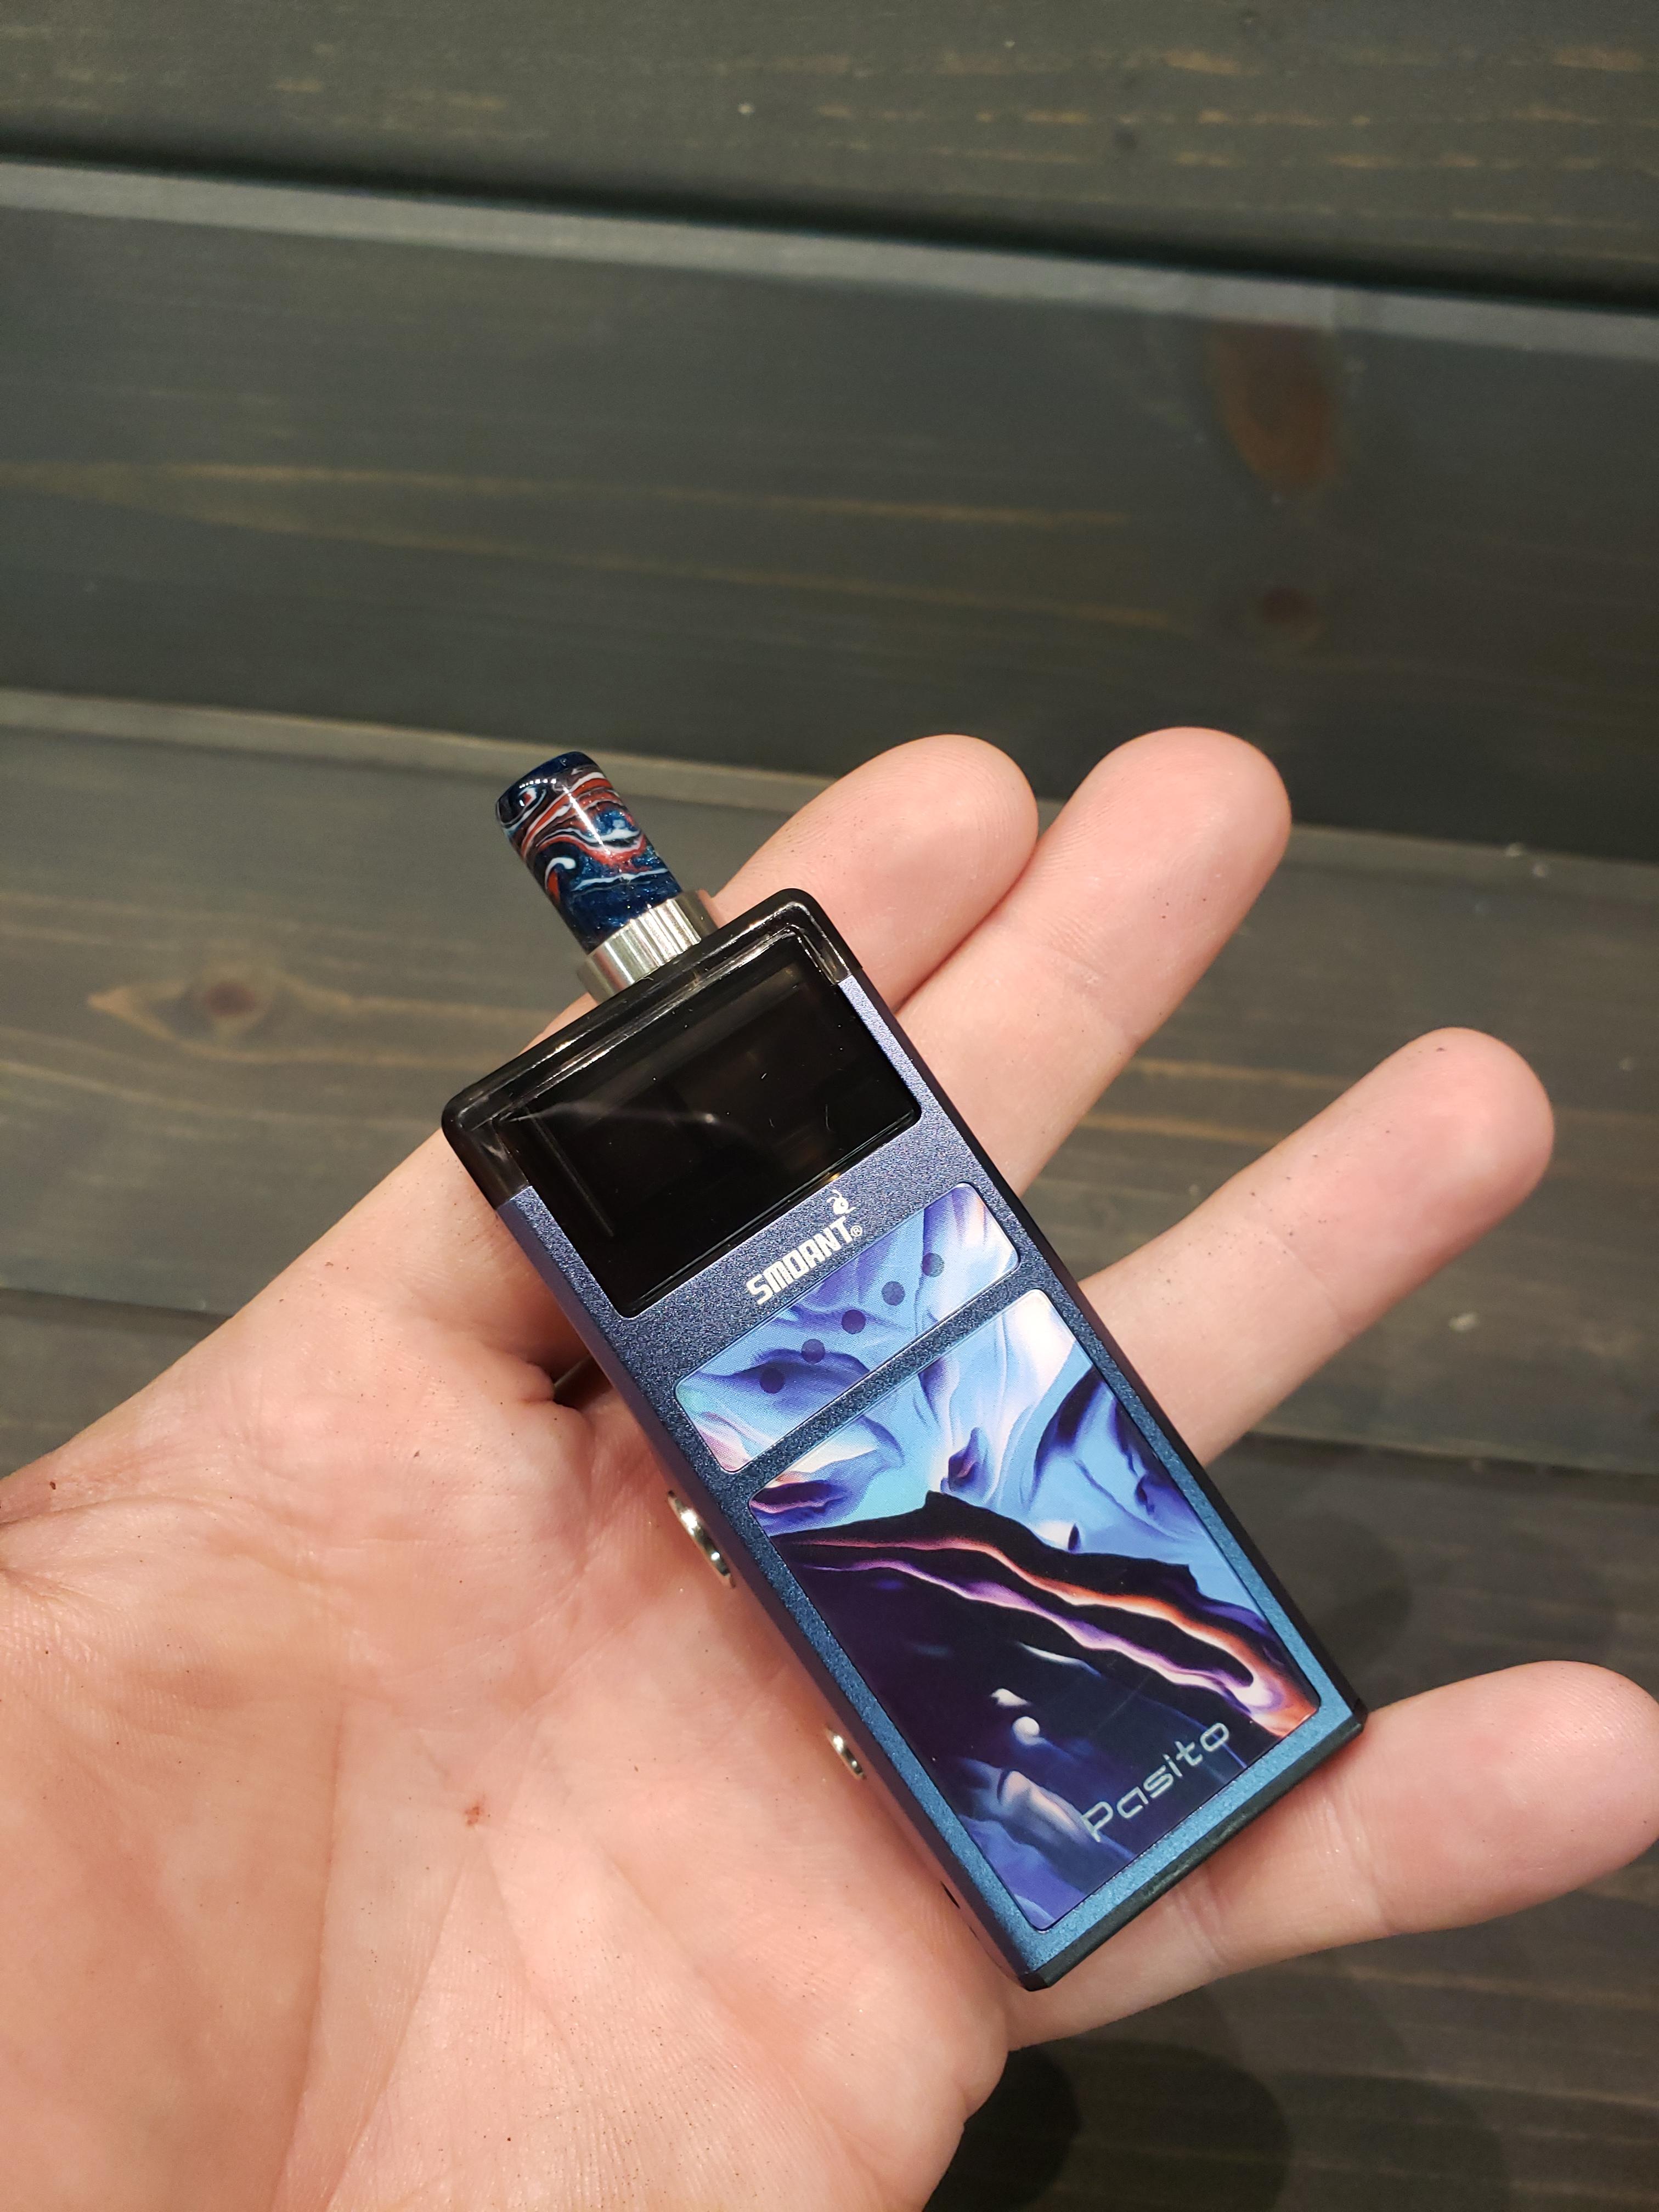
Hello everyone, Pizza Dave here, delivering you a review of the Smoant Pasito. This device is the latest AIO/Pod System to come from Smoant. Many have been looking forward to this, as Smoant has been known to release quite a few fan favorites amongst the vaping community (looking at you Battlestar and Battlestar squonk). One of the standouts that keeps getting talked about is the RBA section, which brings this pod system up to a different level and puts it into the category of pod system to advanced users. This RBA is not included in standard packaging, but the option is there. Let’s dive right in, go over the details, and as always, I will give my final thoughts down at the bottom.
DISCLAIMER: This device and liquid was sent to me by Smoant for review.
______________________________________________________________________________
WHAT YOU GET
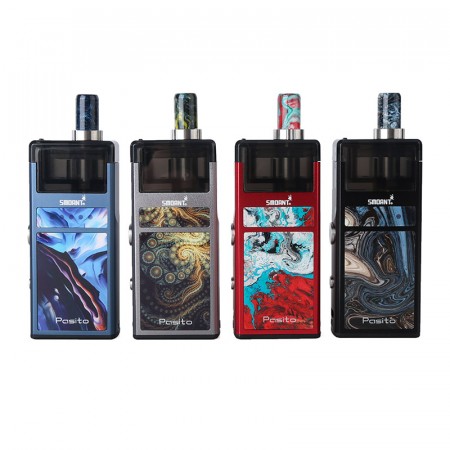
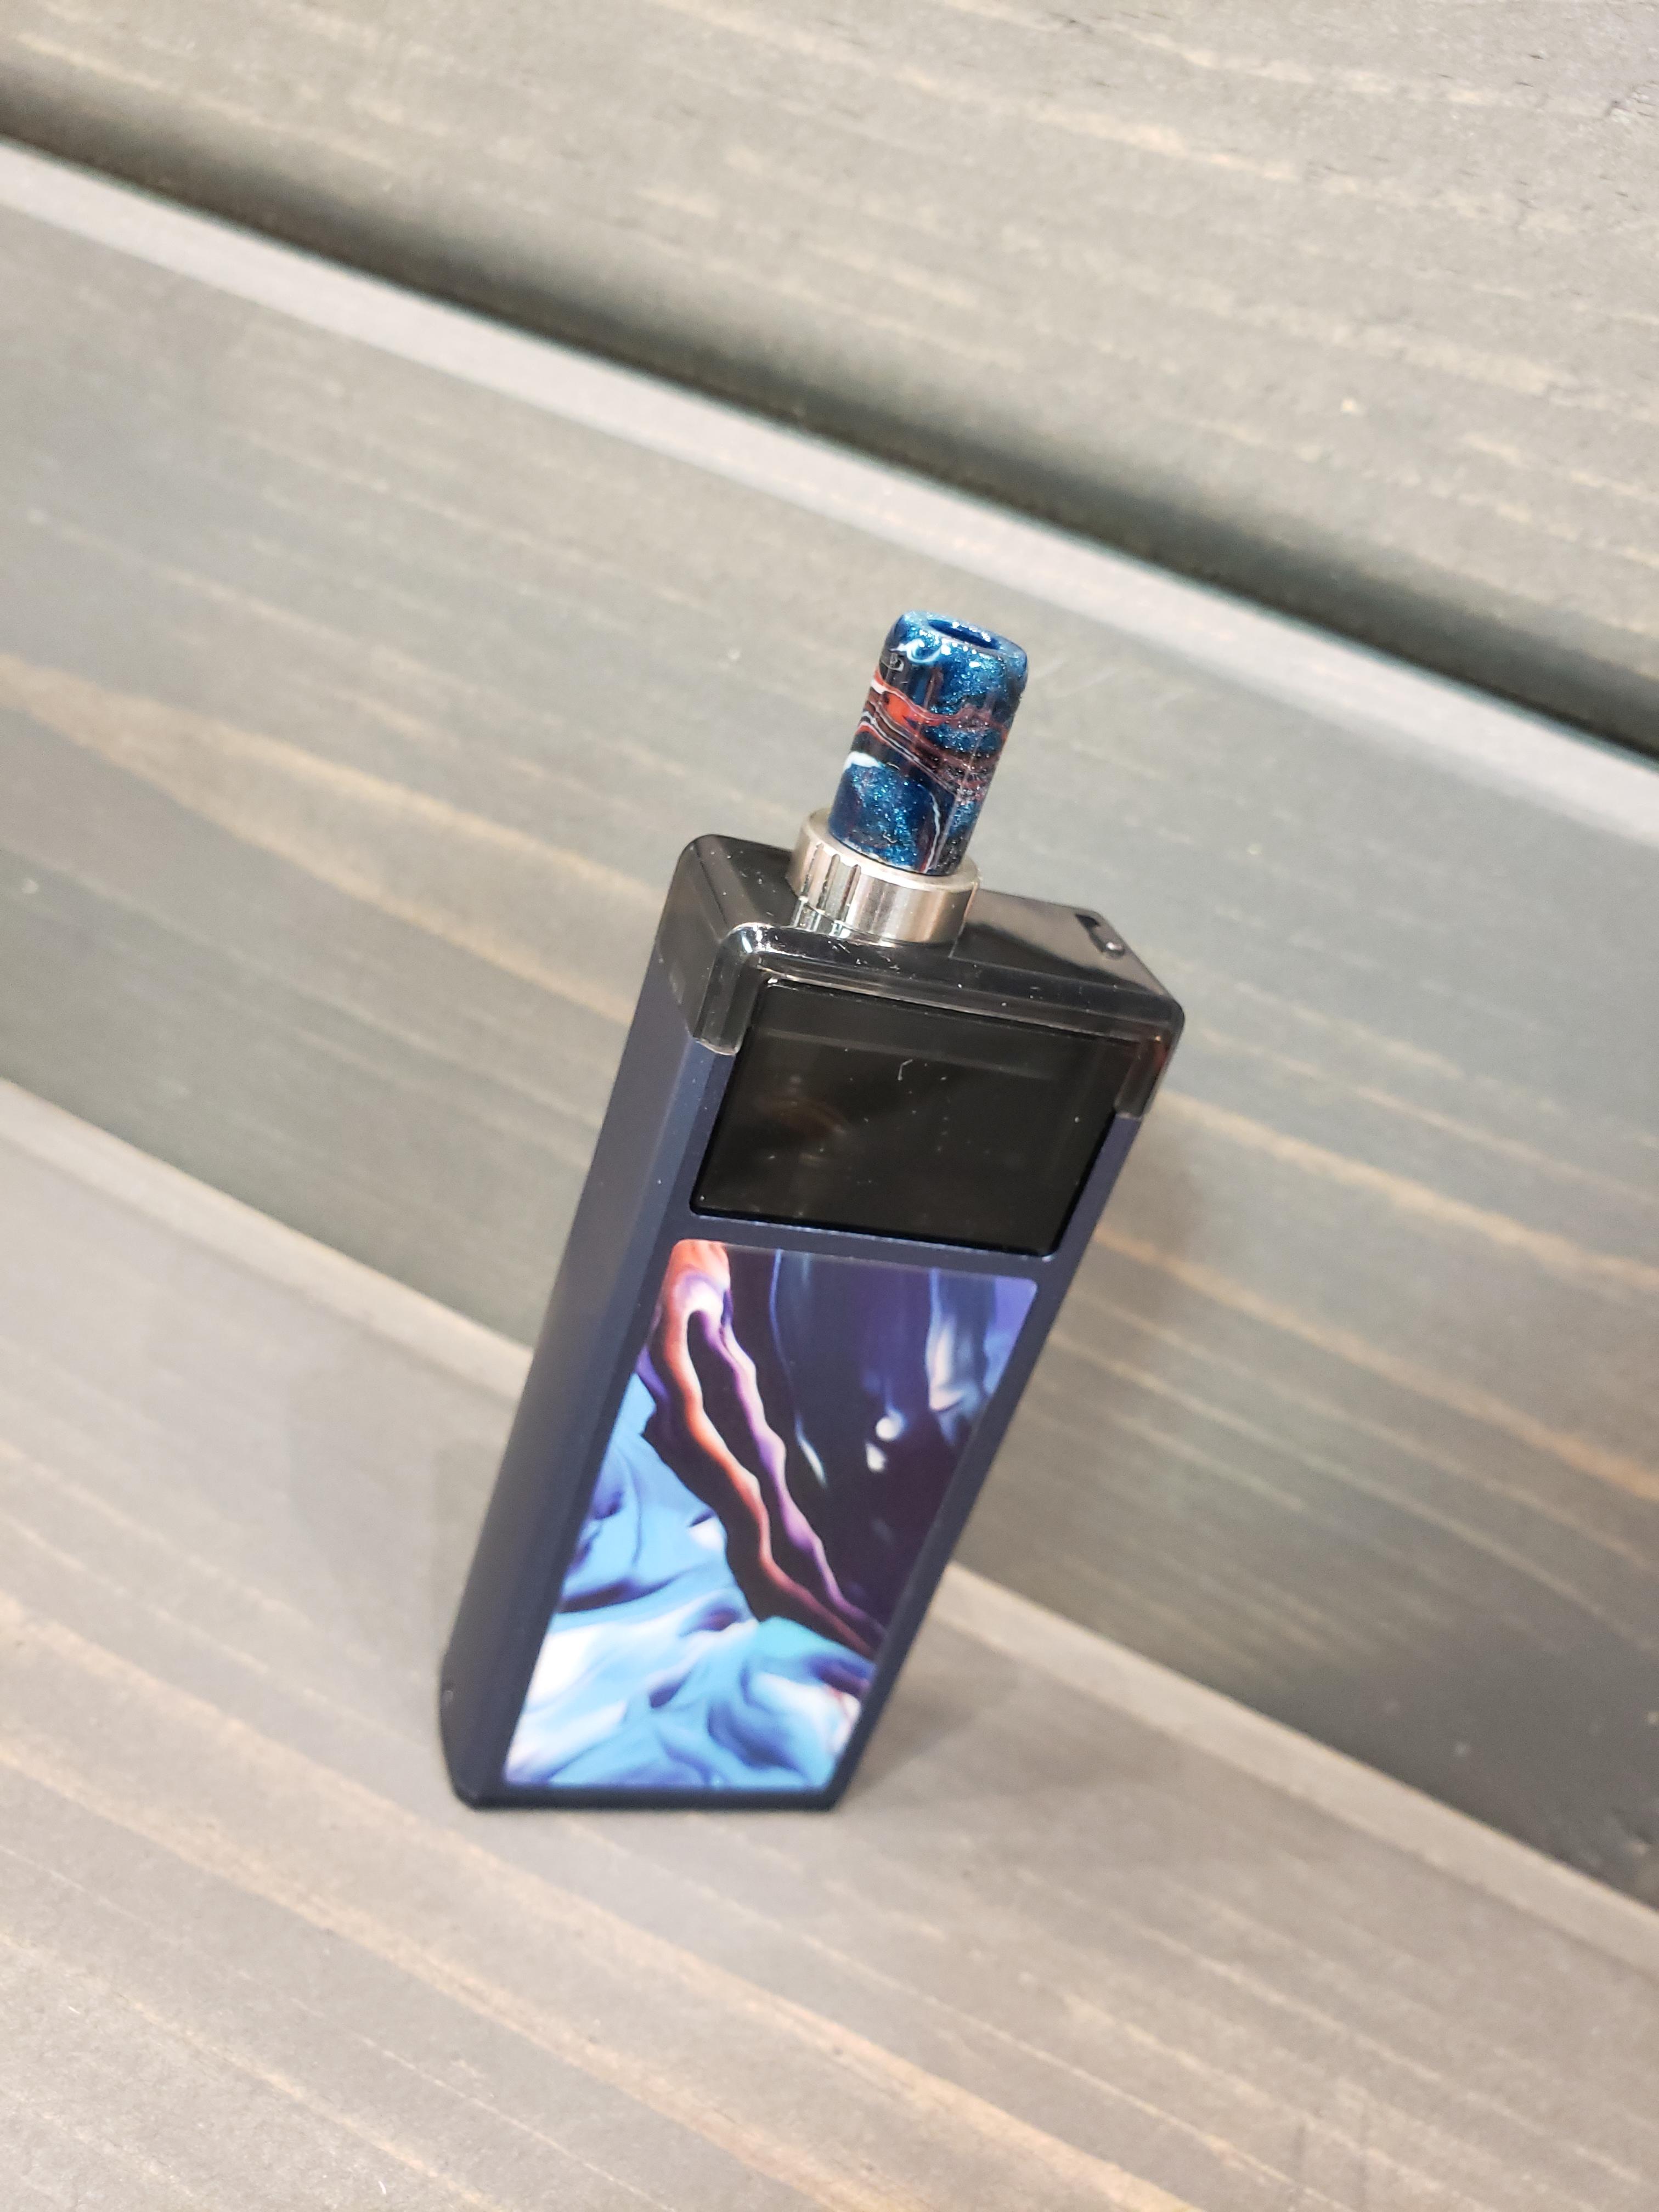
Available in 4 colors (so far). These include Blue, Red, Black, and Silver. Each of which have colorful patterns on the sides. These are stickers, and are not unique, however, they are coated to help prevent fingerprints.
STOCK SHOT
SAMPLE PACKAGING
OUT OF BOX
______________________________________________________________________________
ADDITIONAL INFORMATION
I just wanted to touch base on all the extra features in this device.
______________________________________________________________________________
OPERATION
The Smoant Pasito doesn’t require a degree to operate. It is very straight forward and simple. The side of the device features a fire button and an output adjustment button. One of the larger sides also features 5 LEDs, which are used to indicate the output setting as well as the battery level. To turn the device on and off, press the fire button 5 times. To cycle through power output settings, press the adjustment button and cycle away. Very simple indeed.
Battery indications
I love how they did this. I love seeing multi-level power and a battery indicator that is actually functional. I hate using pod systems which go from good to dead in minutes, and this provides plenty of feedback to gauge how much time is left. The 1100mah battery also keeps up for a long time, and I never had scenarios where this wasn’t going to get me through the day, even when running at 25w.
______________________________________________________________________________
PODS/COILS/RBA
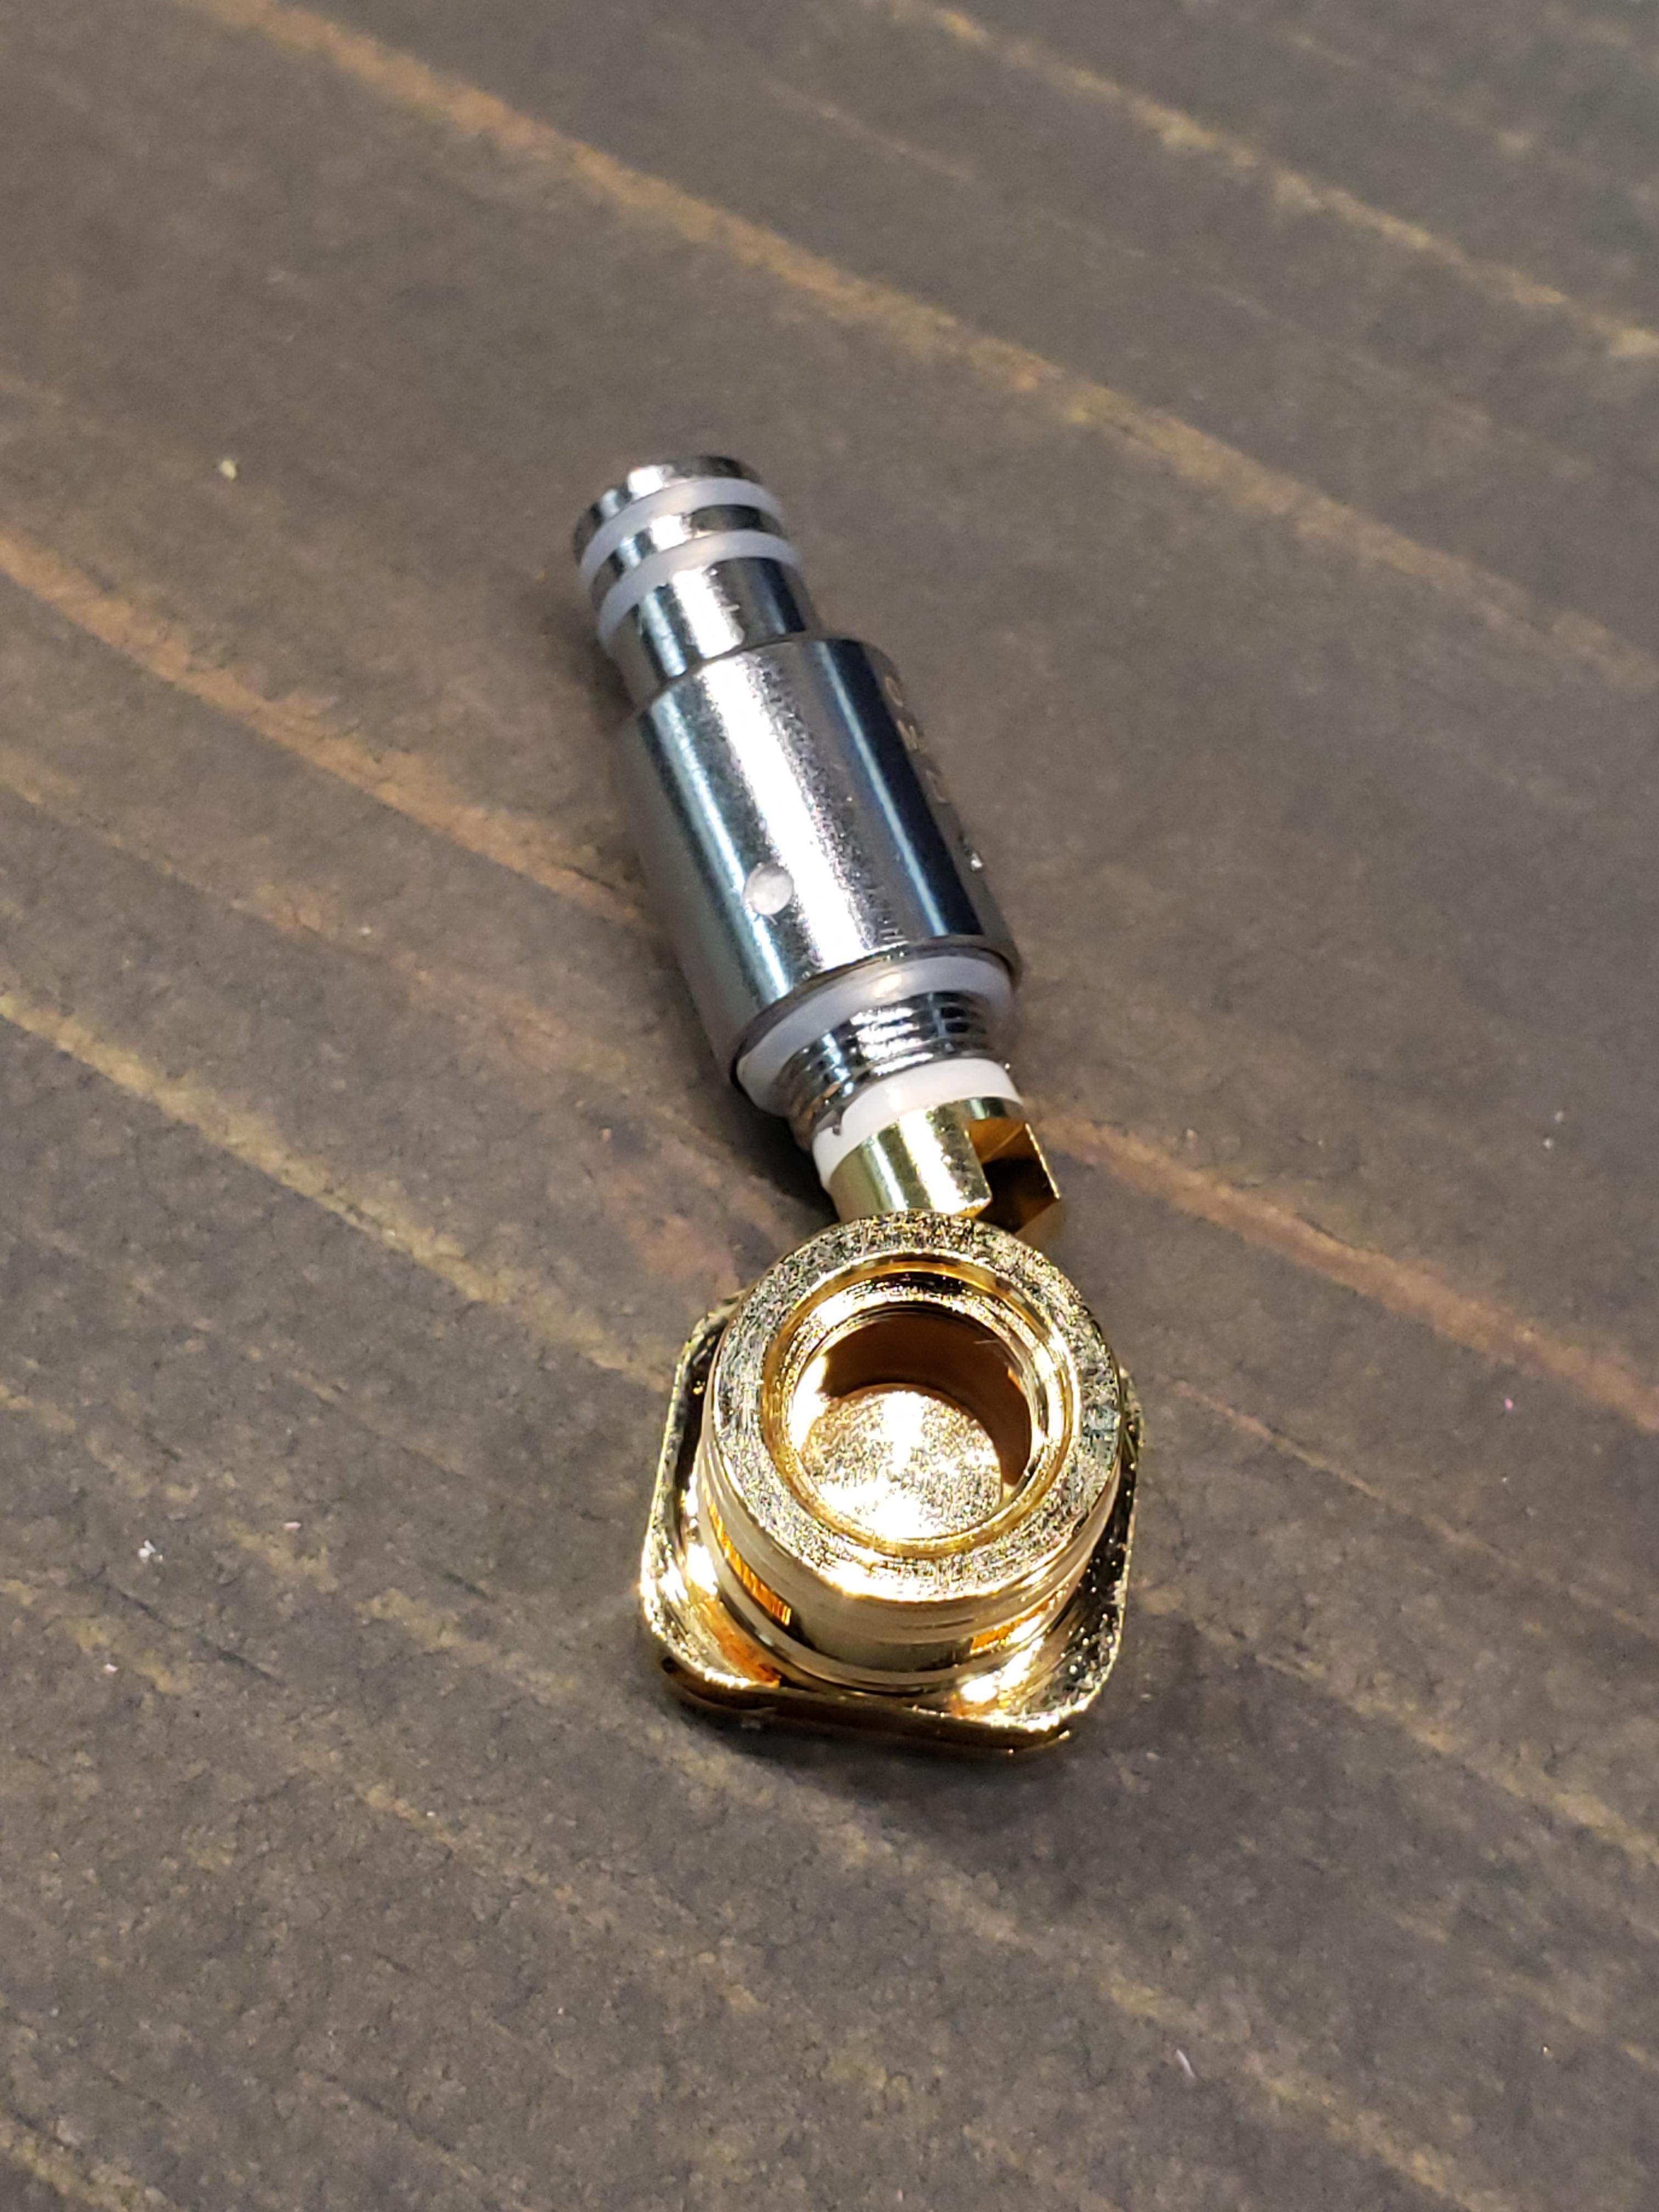
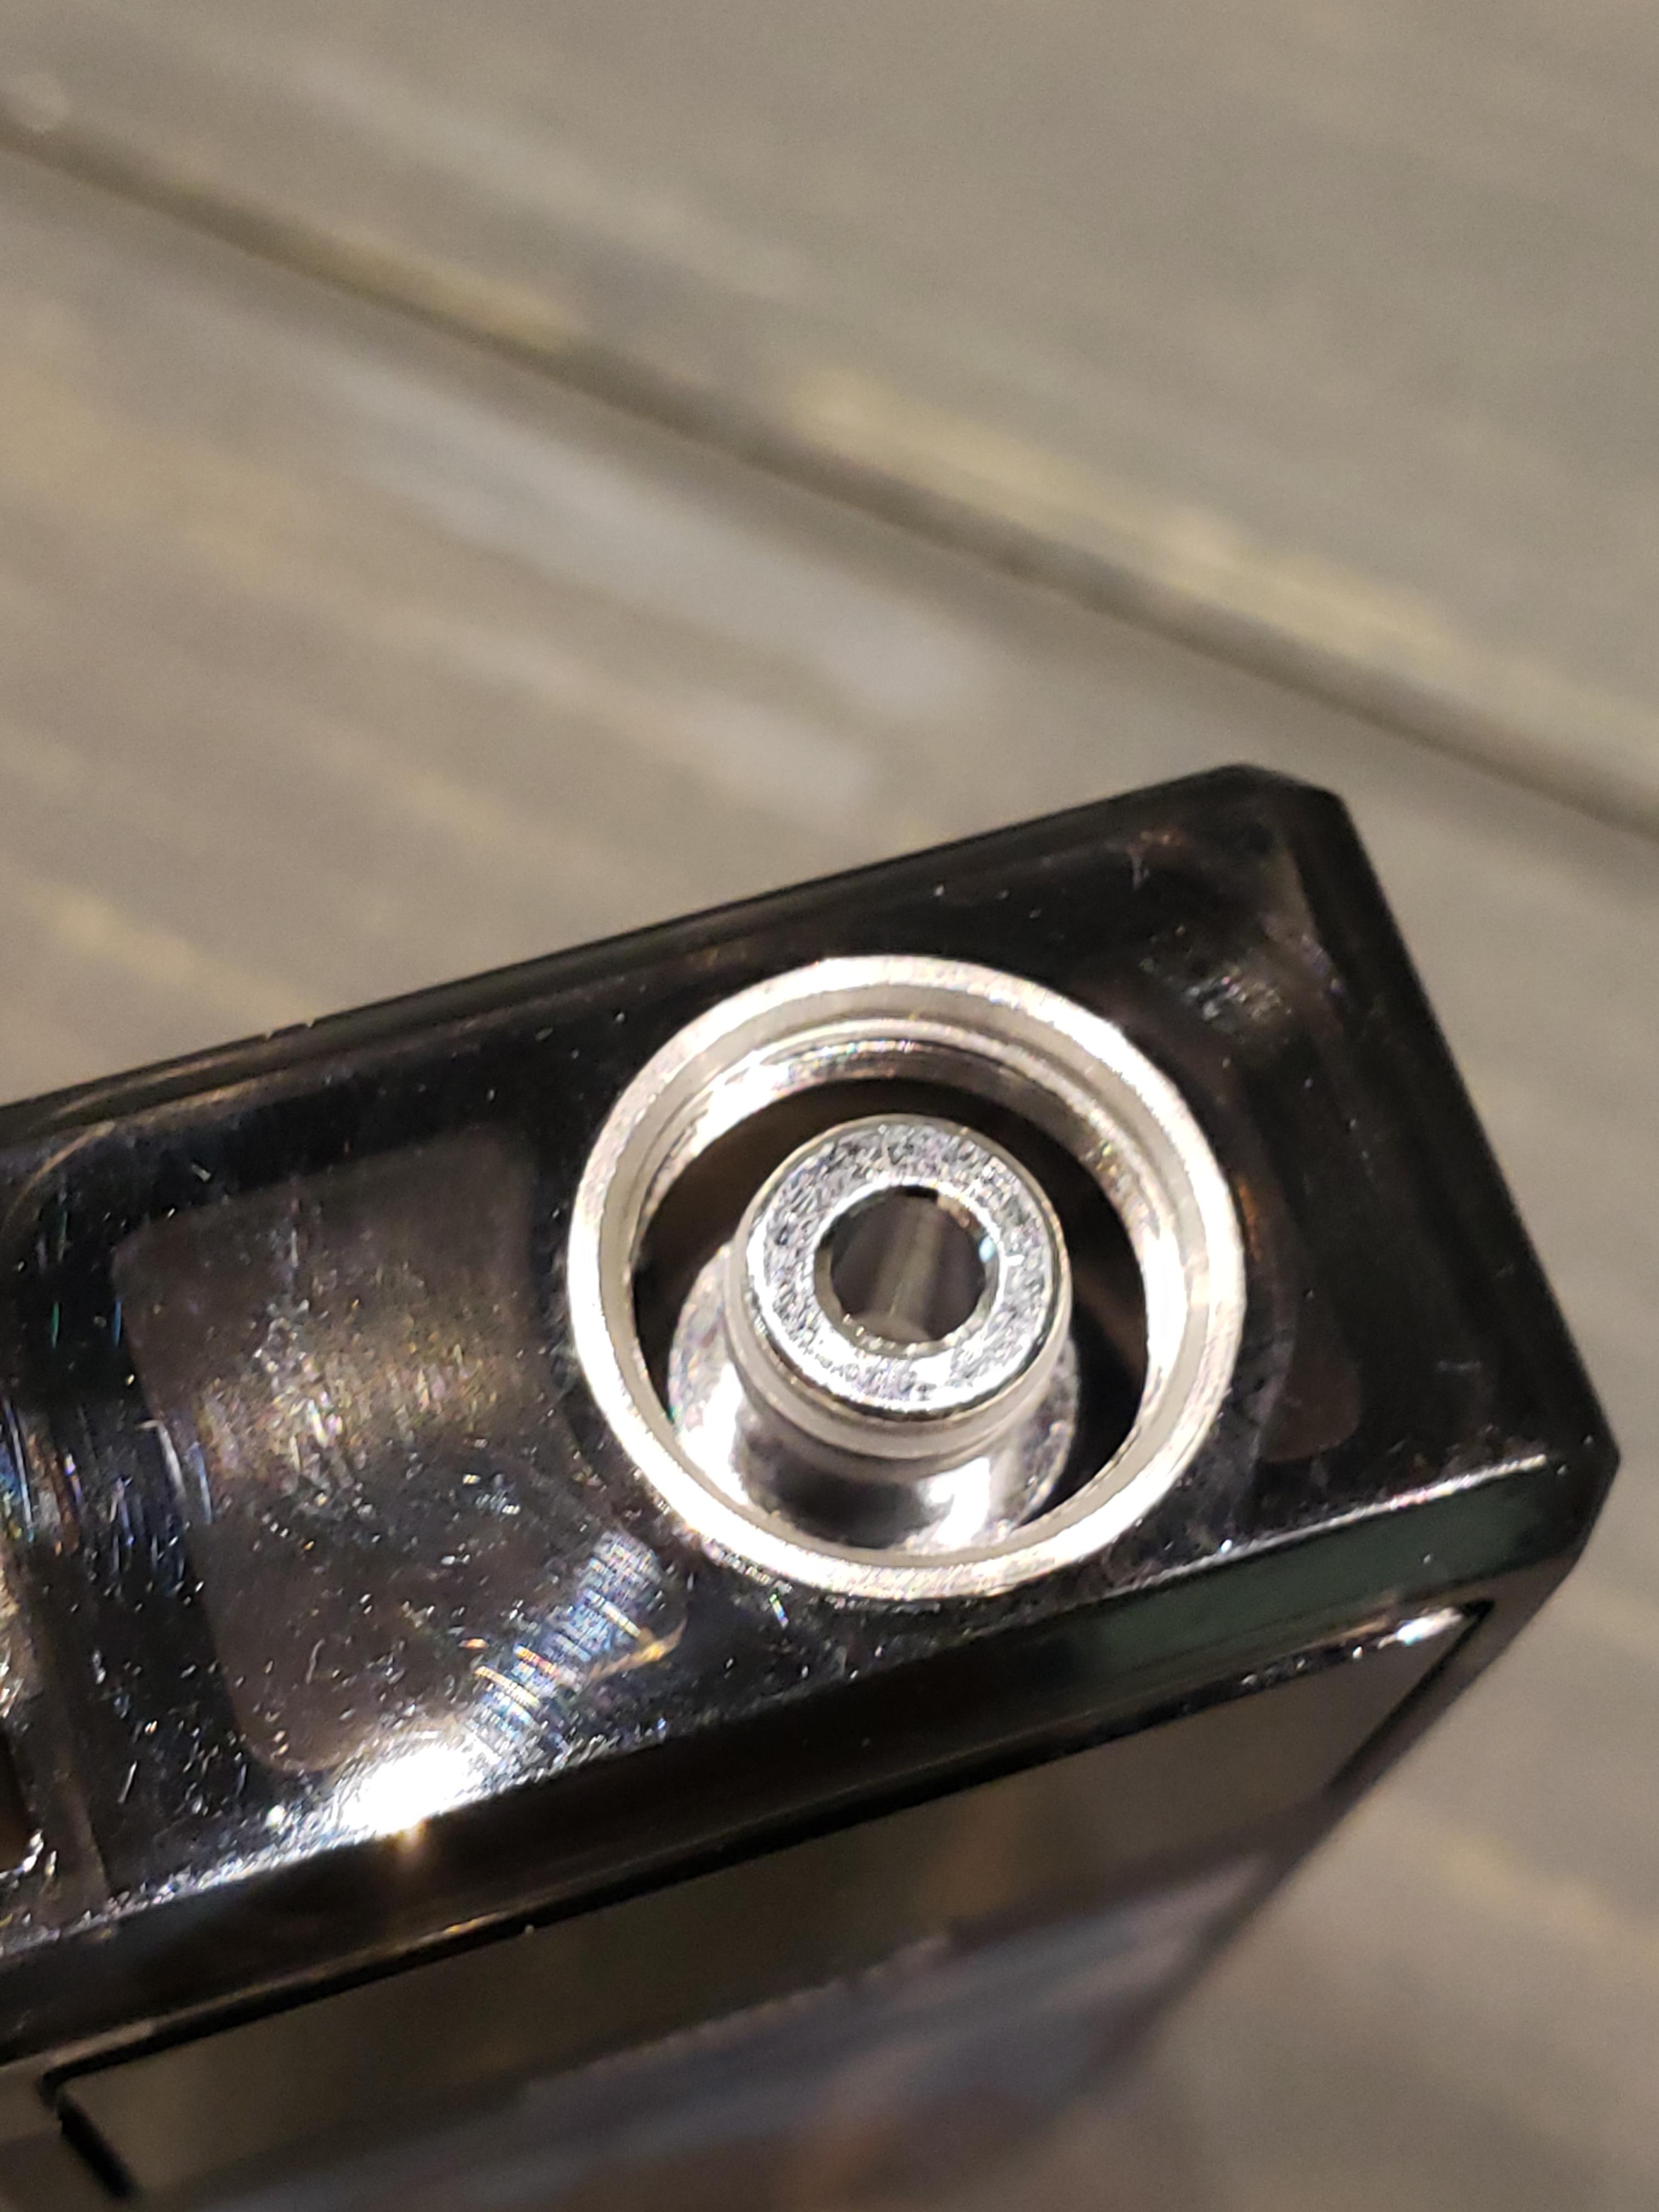
Many pod systems these days are not really pod systems. This one fits into the category of AIO more than pod system. I think of pod systems as the pod gets tossed when it is bad, where with this, and many others, you are able to change a coil and keep on ticking, hence AIO. Anyways….. the pod, or tank section of the Pasito holds 3ml of e-liquid. It is refilled via the top by unscrewing the drip tip section and refilling around the coil. I never had any issues filling with dripper bottles or plastic tipped bottles. It was fairly mess free, but there were times where some seeping happened right around the bas of the drip tip area. Air flow is adjustable on this system, thanks to a sliding mechanism on the top of the pod. Air flow enters a channel here and goes to the bottom of the coil for a top to bottom air flow design. This makes this damn near leak proof, but there’s a chance that it could flood out the air flow if there is a bad coil, or you accidentally fill it through the center of the coil.
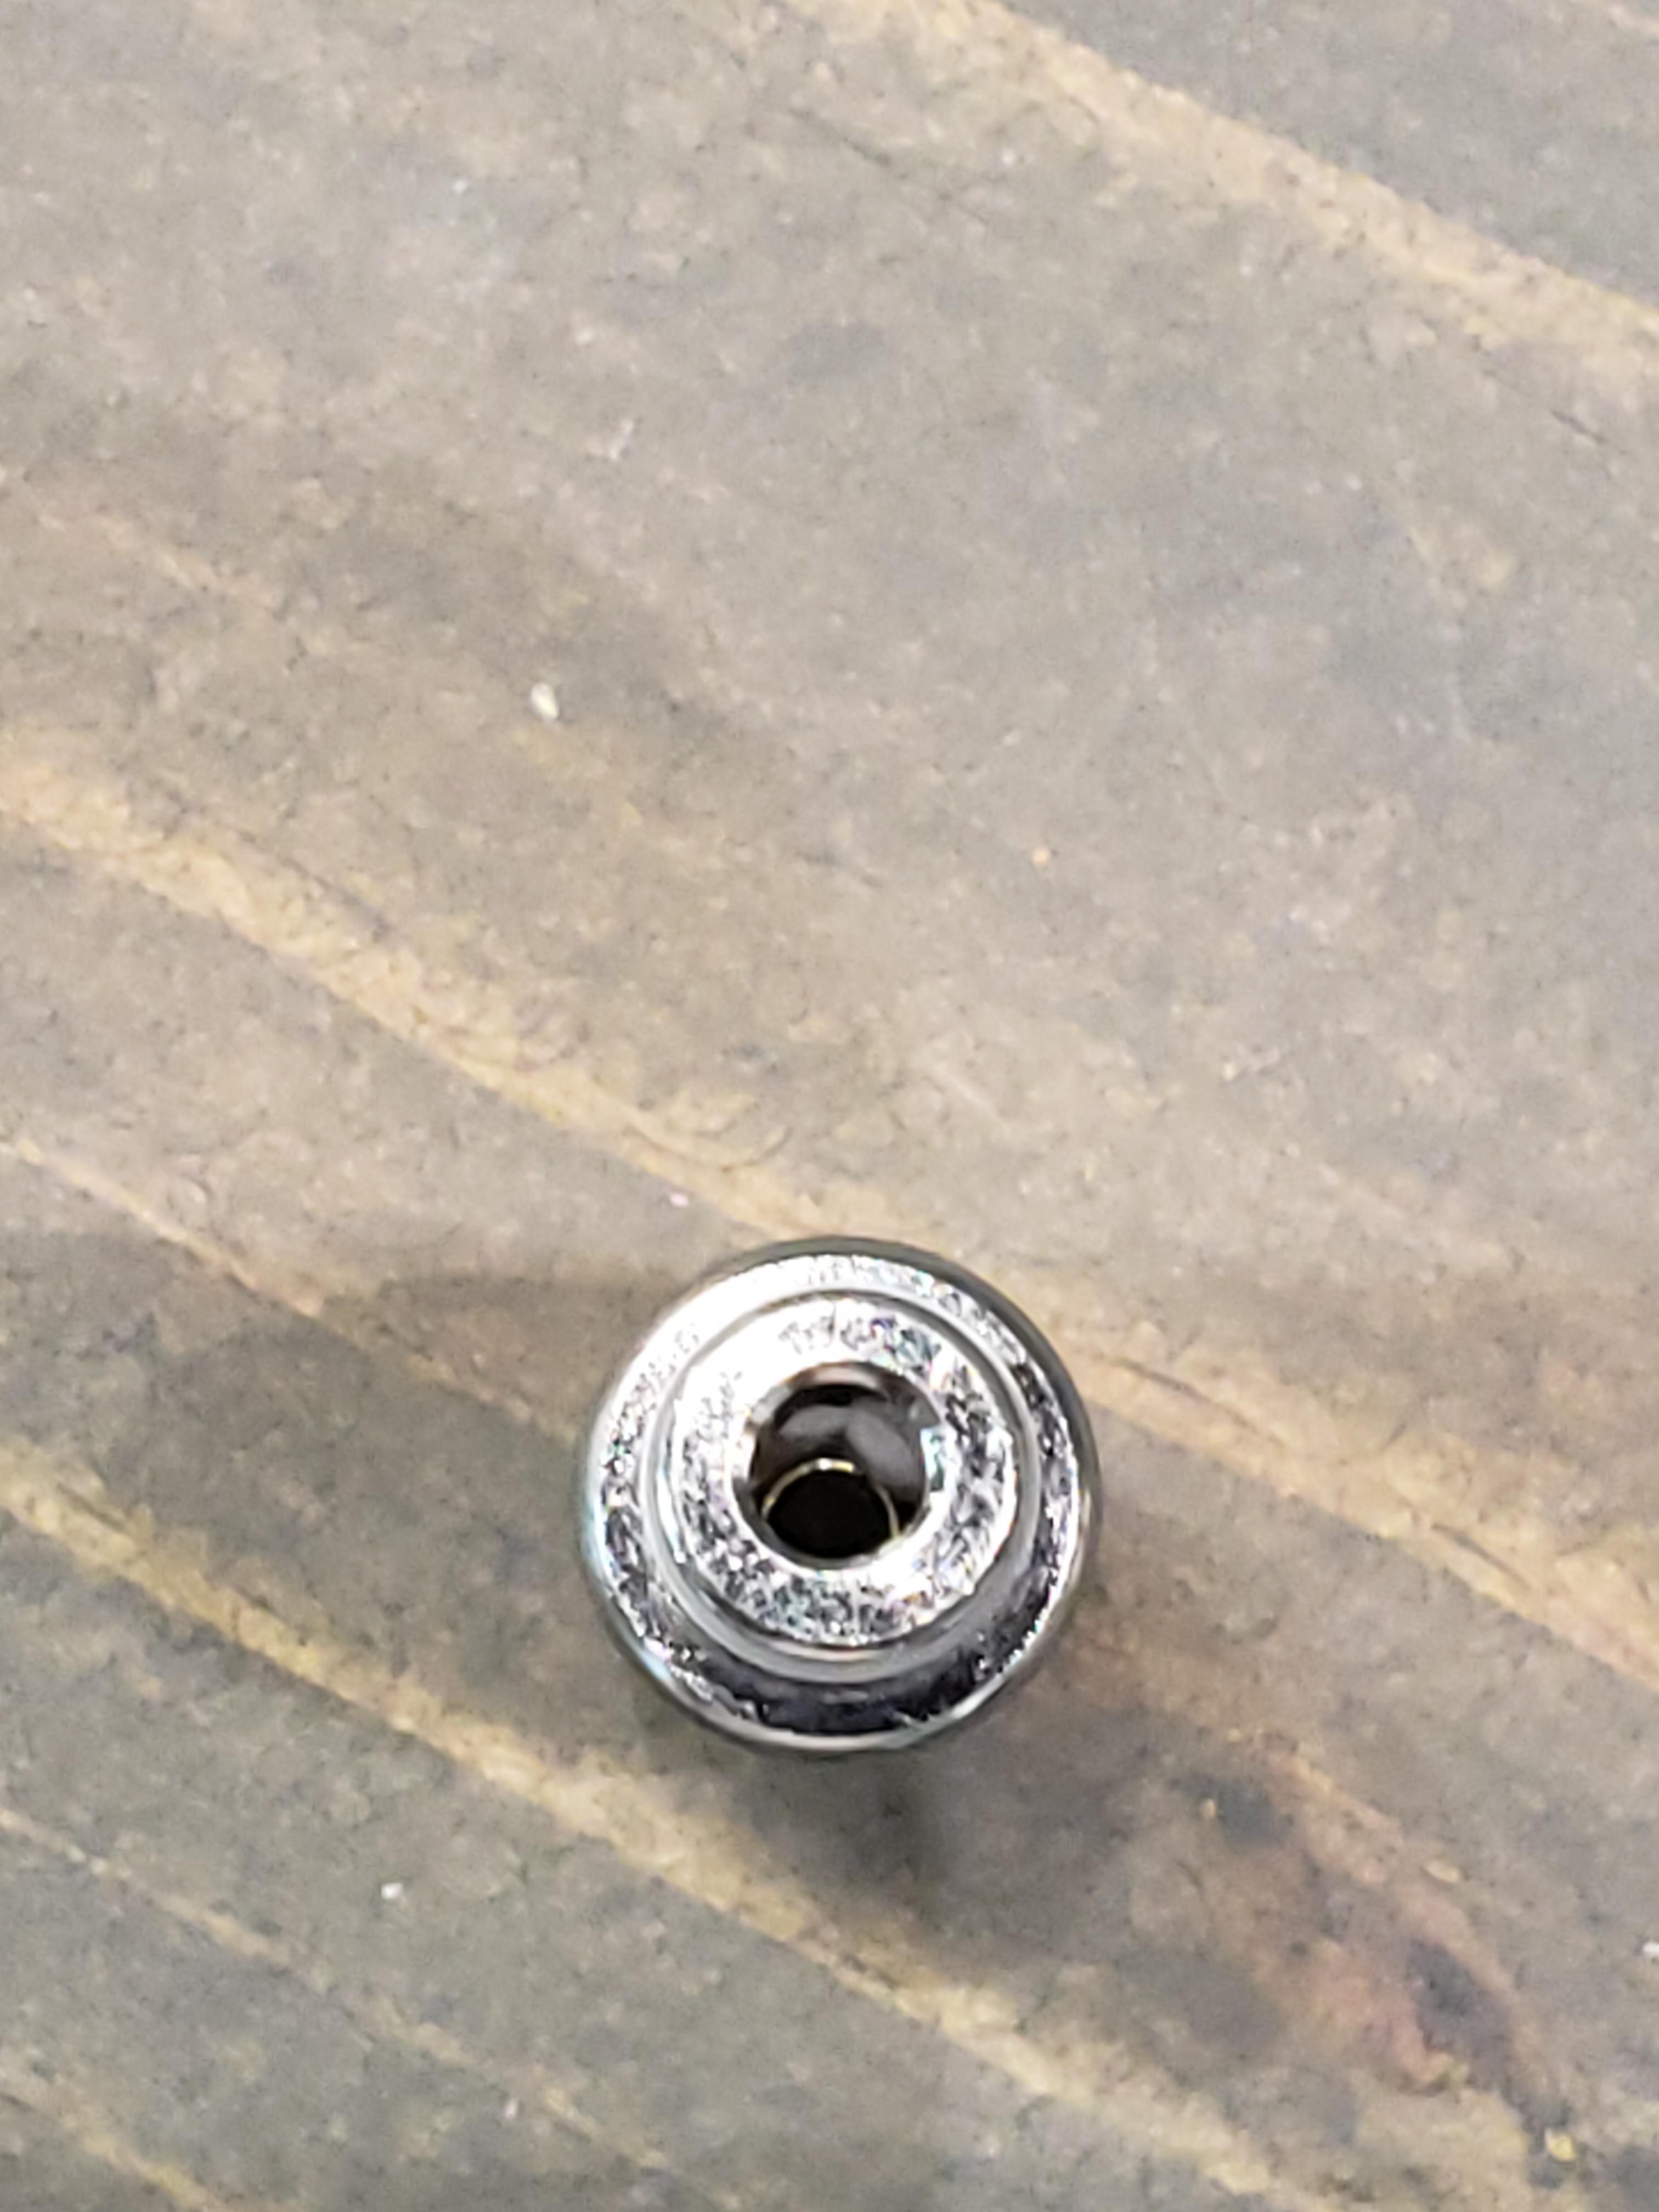
I will start out by saying the majority of my testing was done with the .6-ohm mesh coil. I pushed it and pushed it to see how long it would last, tried the 1.4-ohm just to see what it was like, and also built the RBA to see how it performed as well. These coils are screwed into a gold-plated base and then pressed into the bottom of the pod and held in place by O-rings.
.6-ohm mesh – I found this to be an excellent restricted lung coil. The flavor is top notch, and it works great with this device. I rocked it at 25w and air flow wide open. Coil life proves to be good, as I kind of lost count on refills after 6, but it is still doing just fine.
1.4-ohm ni80 – I barely used this coil to be honest. The draw is tighter than the mesh, and I found the MTL draw to be quite nice when closed down and running at 16w. Flavor isn’t as good as mesh in my opinion, but it does provide a tighter draw for someone searching for that. I can’t talk about coil life here, as I only ran a couple of refills through it.
RBA section – This is a neat little addition to this device. I will start out by saying this RBA is not for a beginner. I was able to build and wick without a ton of trouble, but I have also built a ton of rdas and rtas over the years. This RBA is a two-post design, which has post openings large enough for 24g round or small Claptons. I elected to go with a traditional coil, made of 26g SS316, 2.5mm, and 6 wraps. The configuration of the posts means you have to bend a leg back towards the coil and insert into the post hole. This is my far the worst part of the deck. I found wicking to be easy, as long as I snipped the cotton to halfway down the wicking channel, thin the wicking out a bit, and then wet the wicks and fold over. Wetting them lets them lay right where they need to be. I re-wicked mine 3 times and it kept up every time, even when running at 25w. Ok…. enough about the build, how does the RBA vape? Flavor on mine is quite good, but the coil life isn’t as good as the included coils. I found myself re-wicking after 9 mls or so. Not a big deal, as I burned off the crusty residue of sweetener, and then re-wicked. Side note about the RBA is that it comes with a 510 adapter so it can be built and dry burned on a standard device.
______________________________________________________________________________
MISCELLANEOUS PHOTOS

______________________________________________________________________________
INTRODUCTION
Hello everyone, Pizza Dave here, delivering you a review of the Smoant Pasito. This device is the latest AIO/Pod System to come from Smoant. Many have been looking forward to this, as Smoant has been known to release quite a few fan favorites amongst the vaping community (looking at you Battlestar and Battlestar squonk). One of the standouts that keeps getting talked about is the RBA section, which brings this pod system up to a different level and puts it into the category of pod system to advanced users. This RBA is not included in standard packaging, but the option is there. Let’s dive right in, go over the details, and as always, I will give my final thoughts down at the bottom.
DISCLAIMER: This device and liquid was sent to me by Smoant for review.
______________________________________________________________________________
WHAT YOU GET
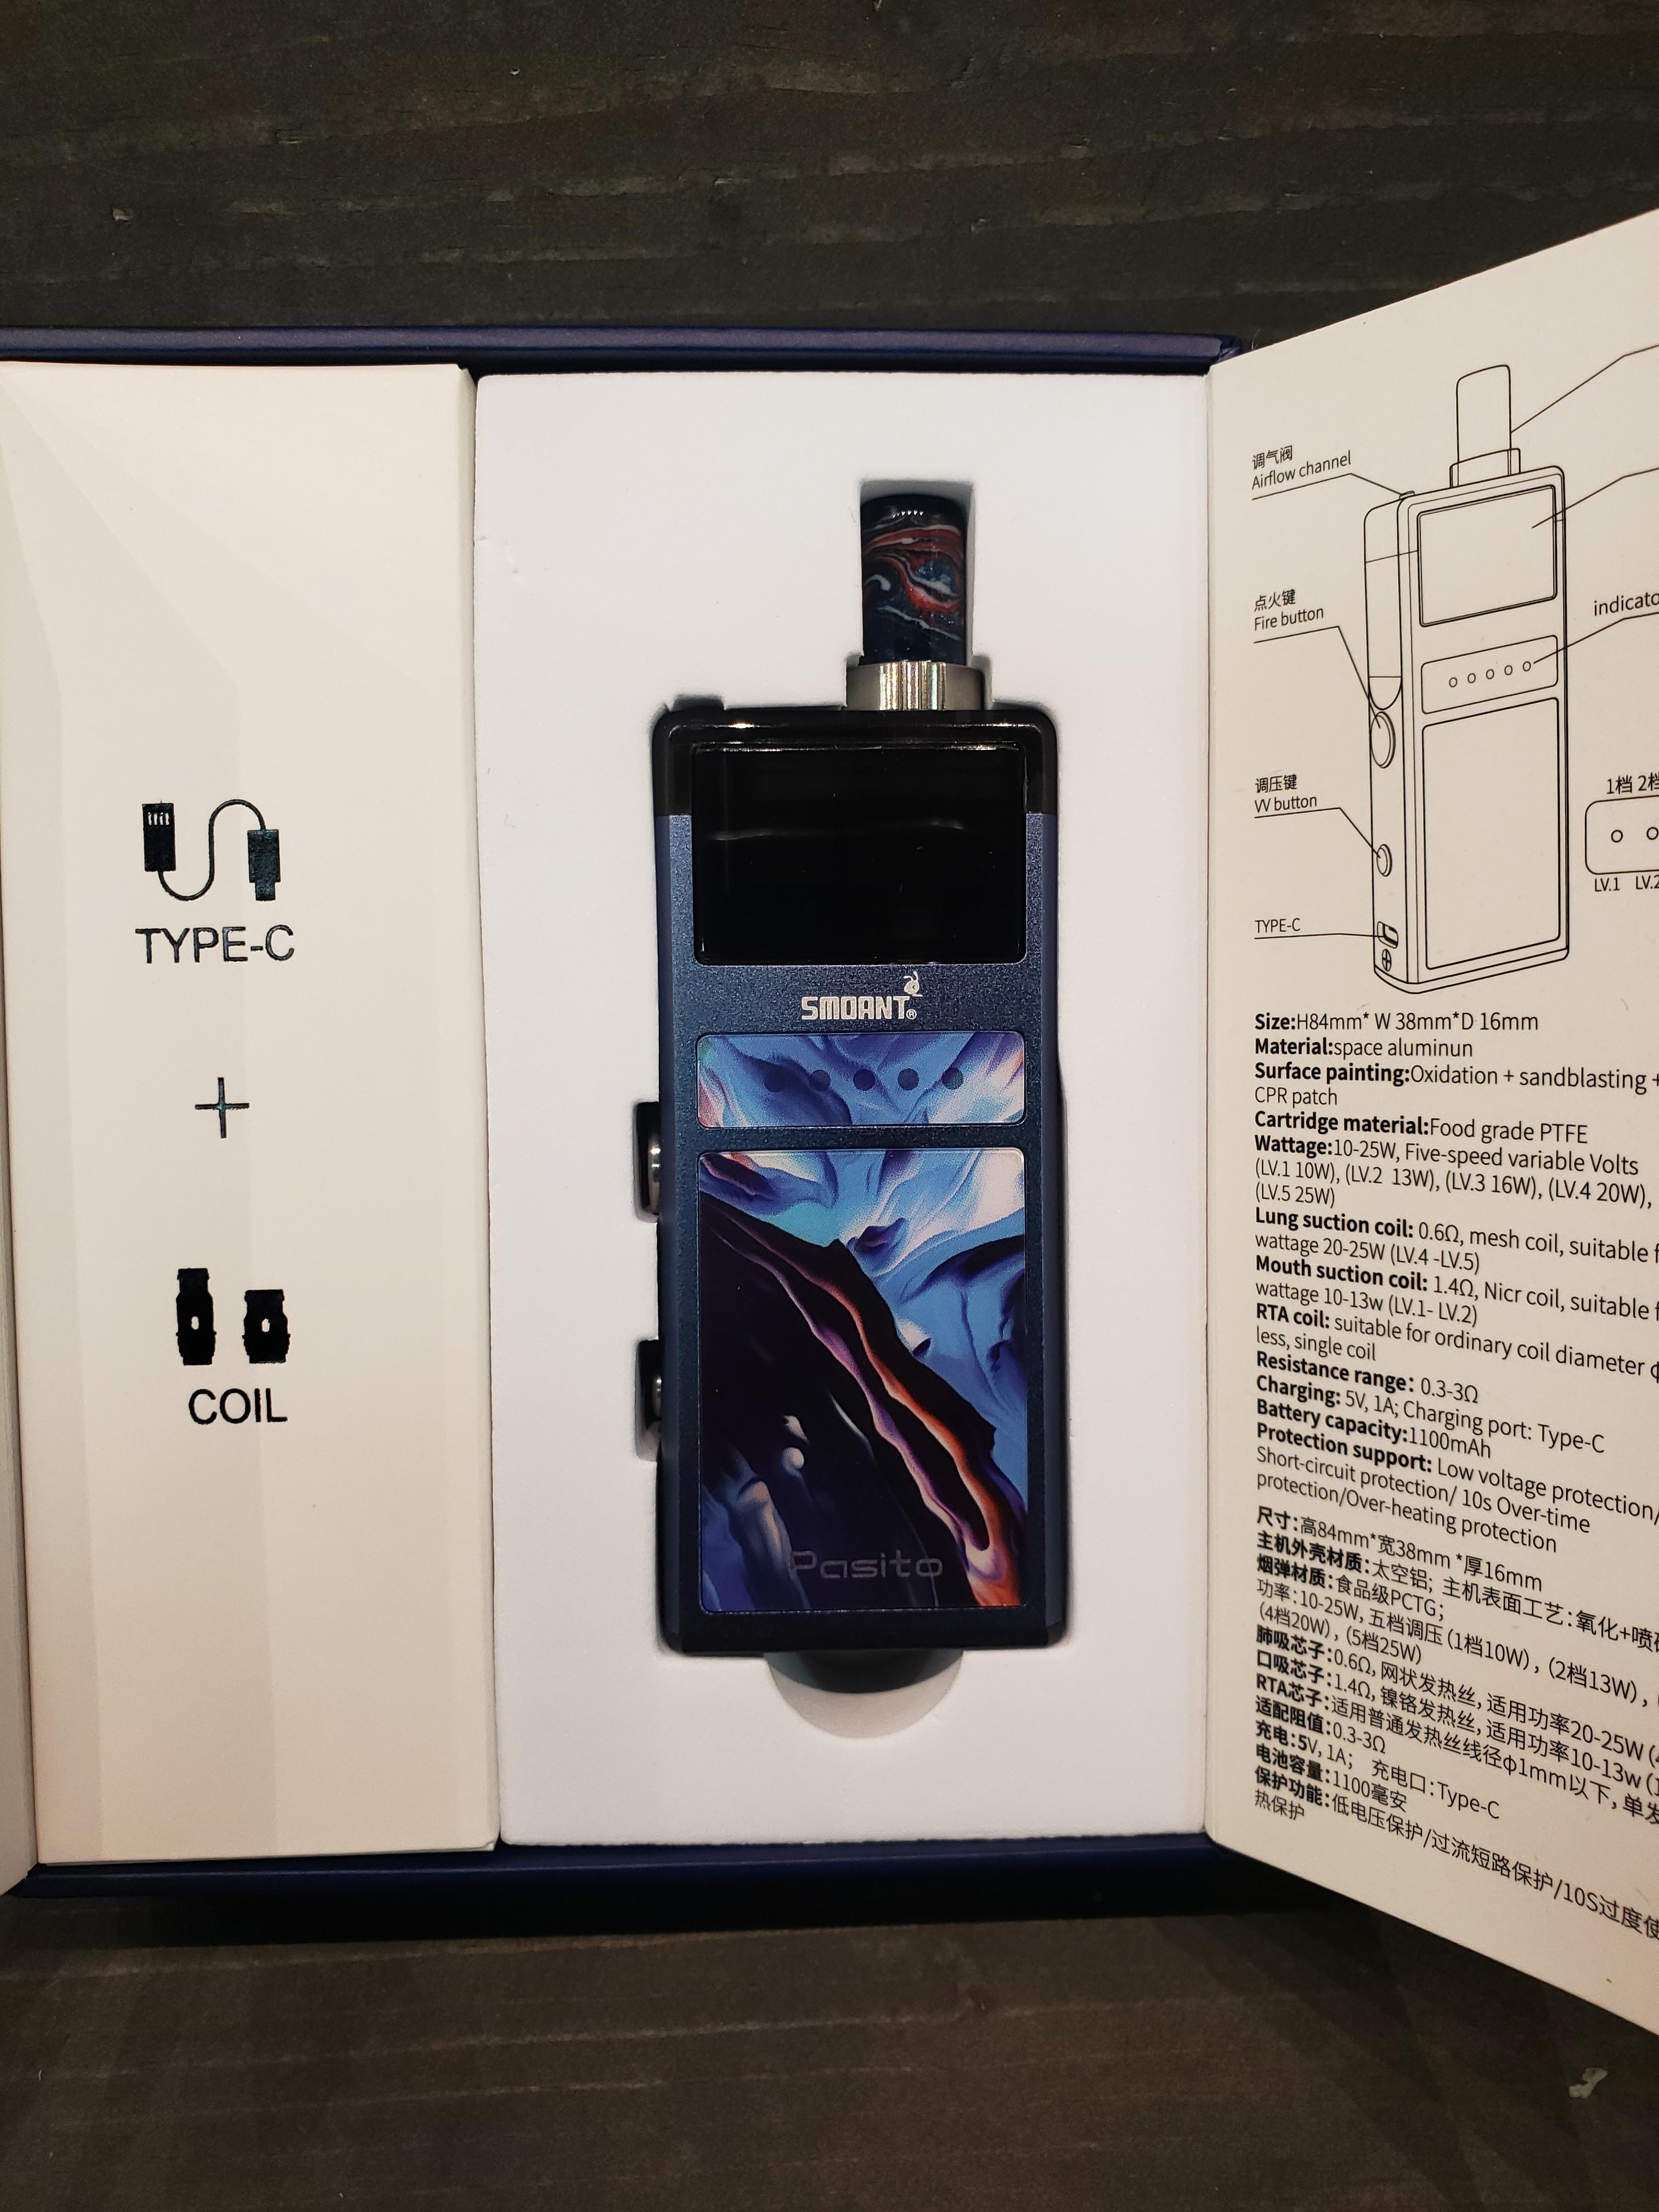
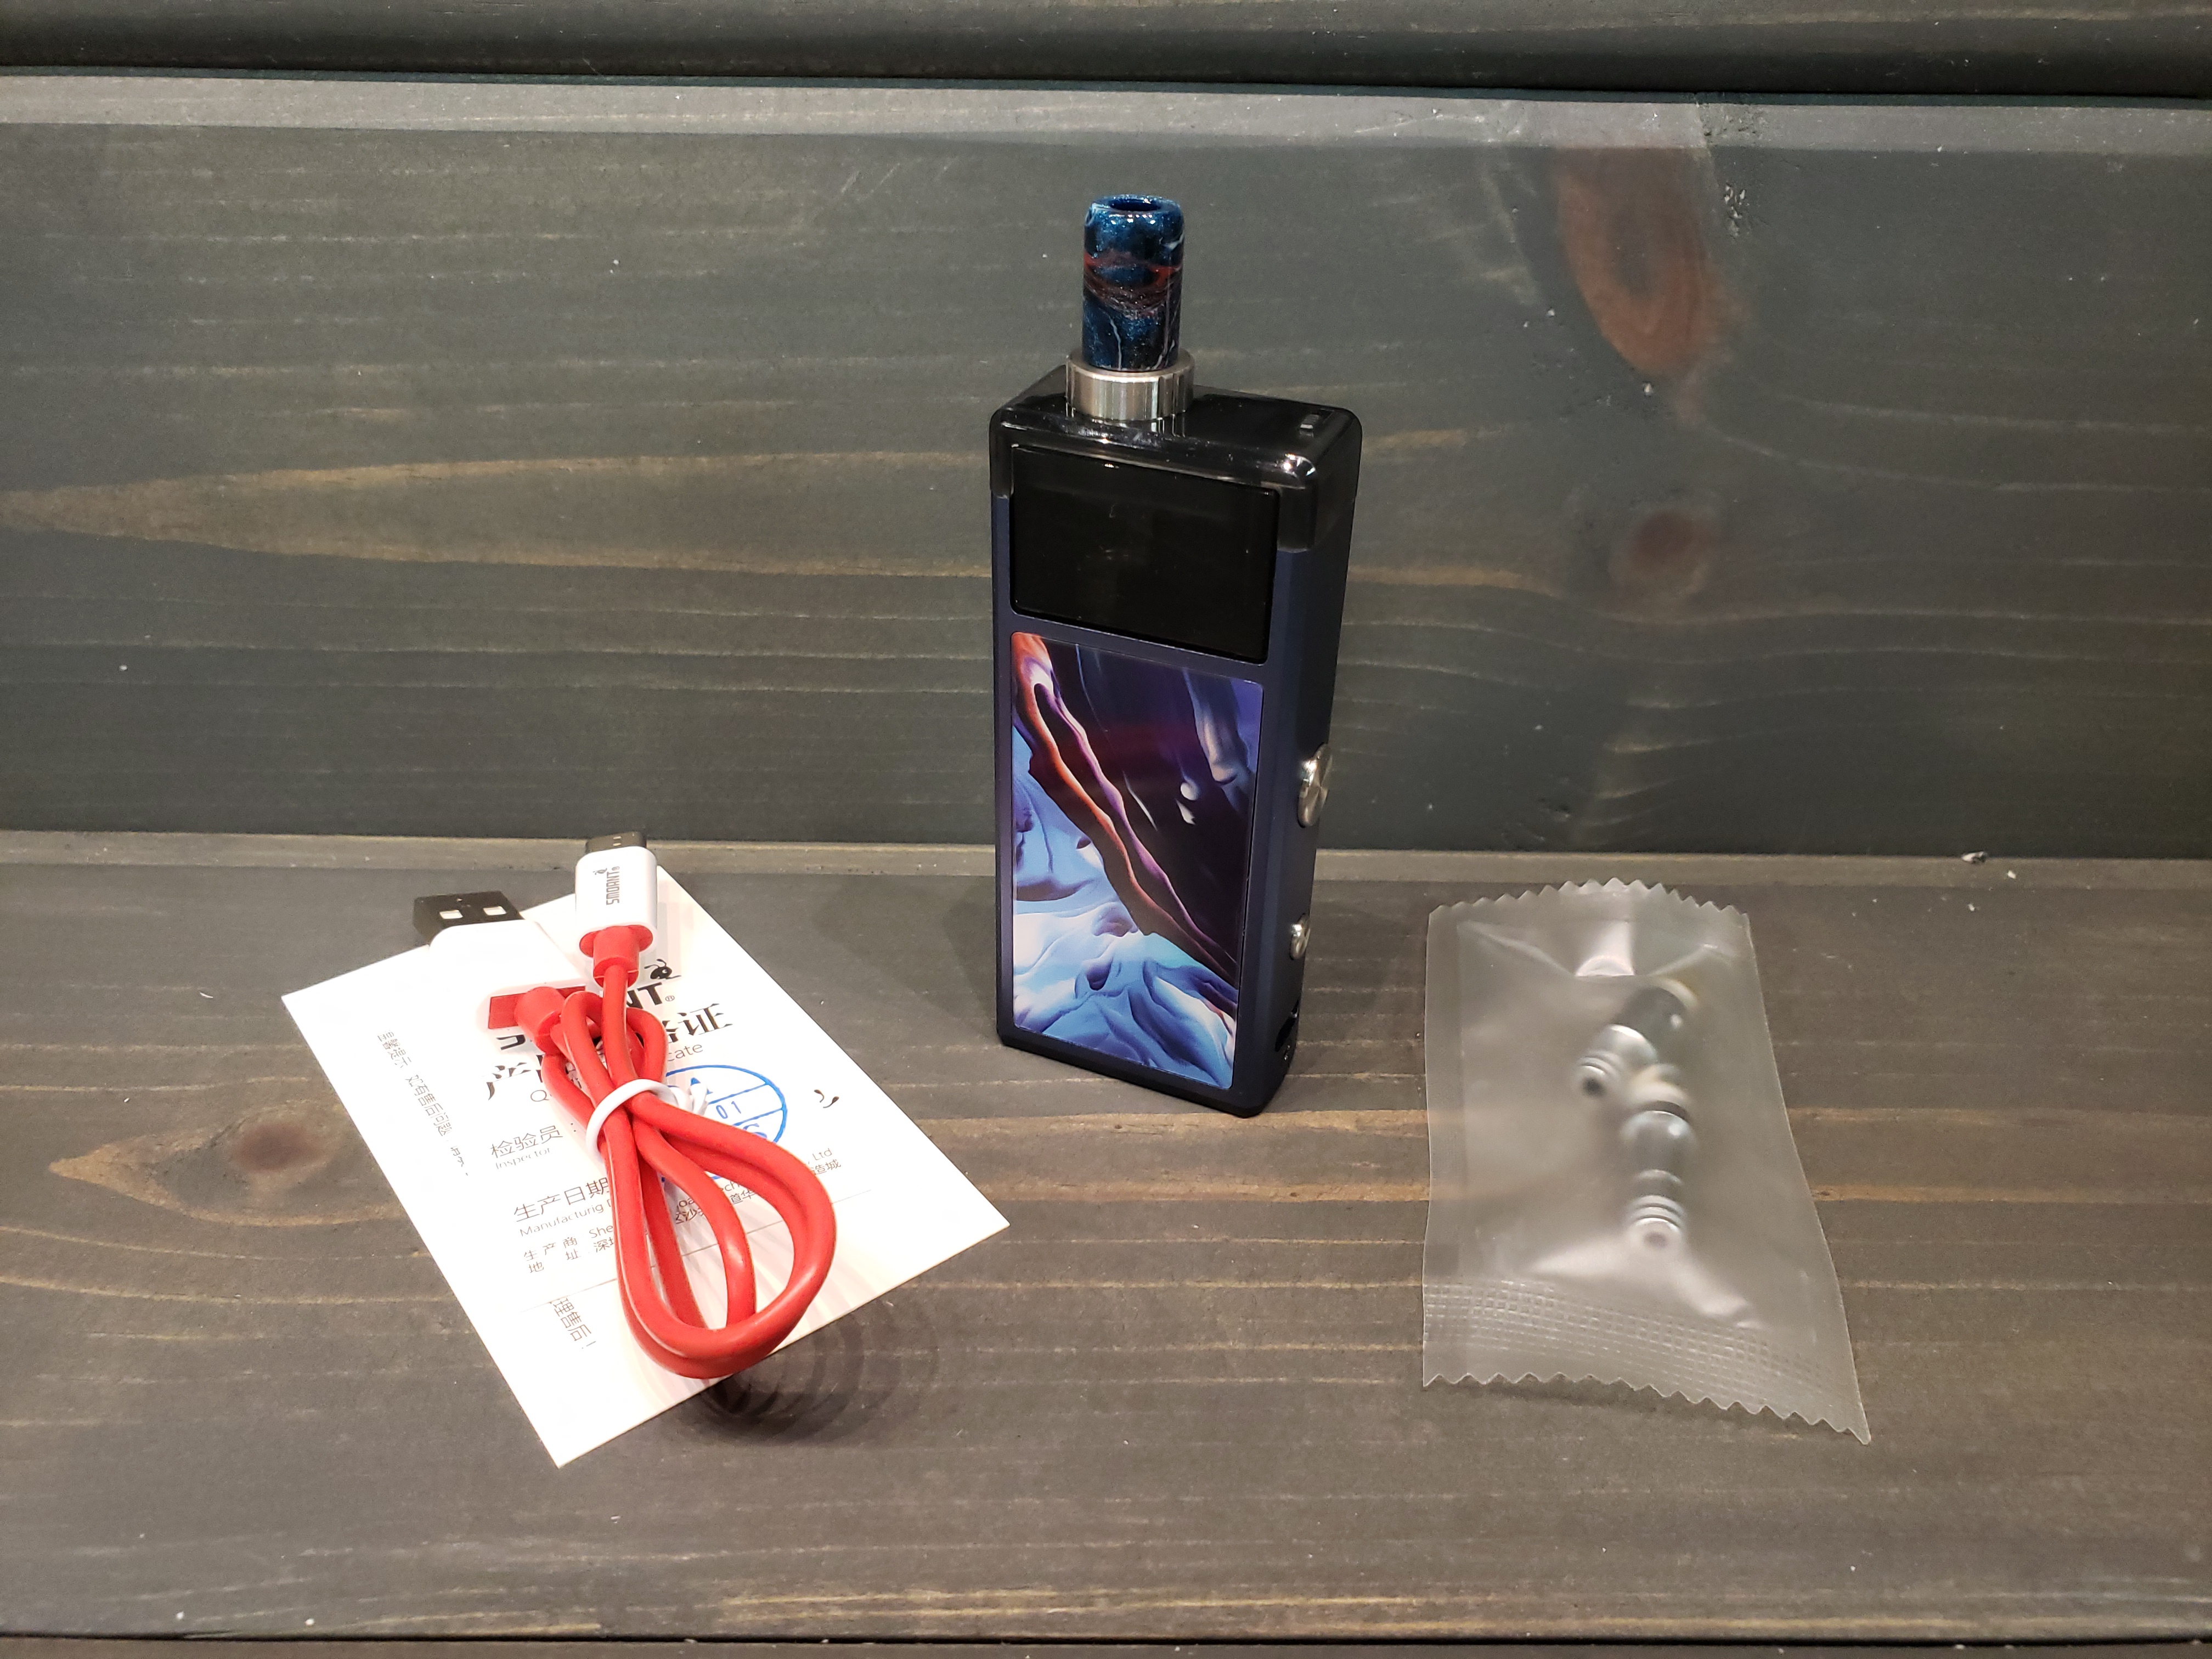
- 1 Smoant 1100mah device
- 1 3ml pod
- 1 .6-ohm mesh coil
- 1 1.4-ohm ni80 coil
- 1 Type C cable
- Paperwork
- - RBA is available for this device. It is not included with the packaging, so it must be purchased separately.
Available in 4 colors (so far). These include Blue, Red, Black, and Silver. Each of which have colorful patterns on the sides. These are stickers, and are not unique, however, they are coated to help prevent fingerprints.
STOCK SHOT
SAMPLE PACKAGING
OUT OF BOX
______________________________________________________________________________
ADDITIONAL INFORMATION
I just wanted to touch base on all the extra features in this device.
- 1100mah battery
- Adjustable power output from 10 to 25 watts
- Multi-level battery indication
- 3ml pods
- Adjustable airflow
______________________________________________________________________________
OPERATION
The Smoant Pasito doesn’t require a degree to operate. It is very straight forward and simple. The side of the device features a fire button and an output adjustment button. One of the larger sides also features 5 LEDs, which are used to indicate the output setting as well as the battery level. To turn the device on and off, press the fire button 5 times. To cycle through power output settings, press the adjustment button and cycle away. Very simple indeed.
Battery indications
- LED1 – 20%
- LED2 – 40%
- LED3 – 60%
- LED4 – 80%
- LED5 – 100%
- LED1 – 10w
- LED2 – 13w
- LED3 – 16w
- LED4 – 20w
- LED5 – 25w
I love how they did this. I love seeing multi-level power and a battery indicator that is actually functional. I hate using pod systems which go from good to dead in minutes, and this provides plenty of feedback to gauge how much time is left. The 1100mah battery also keeps up for a long time, and I never had scenarios where this wasn’t going to get me through the day, even when running at 25w.
______________________________________________________________________________
PODS/COILS/RBA
Many pod systems these days are not really pod systems. This one fits into the category of AIO more than pod system. I think of pod systems as the pod gets tossed when it is bad, where with this, and many others, you are able to change a coil and keep on ticking, hence AIO. Anyways….. the pod, or tank section of the Pasito holds 3ml of e-liquid. It is refilled via the top by unscrewing the drip tip section and refilling around the coil. I never had any issues filling with dripper bottles or plastic tipped bottles. It was fairly mess free, but there were times where some seeping happened right around the bas of the drip tip area. Air flow is adjustable on this system, thanks to a sliding mechanism on the top of the pod. Air flow enters a channel here and goes to the bottom of the coil for a top to bottom air flow design. This makes this damn near leak proof, but there’s a chance that it could flood out the air flow if there is a bad coil, or you accidentally fill it through the center of the coil.
I will start out by saying the majority of my testing was done with the .6-ohm mesh coil. I pushed it and pushed it to see how long it would last, tried the 1.4-ohm just to see what it was like, and also built the RBA to see how it performed as well. These coils are screwed into a gold-plated base and then pressed into the bottom of the pod and held in place by O-rings.
.6-ohm mesh – I found this to be an excellent restricted lung coil. The flavor is top notch, and it works great with this device. I rocked it at 25w and air flow wide open. Coil life proves to be good, as I kind of lost count on refills after 6, but it is still doing just fine.
1.4-ohm ni80 – I barely used this coil to be honest. The draw is tighter than the mesh, and I found the MTL draw to be quite nice when closed down and running at 16w. Flavor isn’t as good as mesh in my opinion, but it does provide a tighter draw for someone searching for that. I can’t talk about coil life here, as I only ran a couple of refills through it.
RBA section – This is a neat little addition to this device. I will start out by saying this RBA is not for a beginner. I was able to build and wick without a ton of trouble, but I have also built a ton of rdas and rtas over the years. This RBA is a two-post design, which has post openings large enough for 24g round or small Claptons. I elected to go with a traditional coil, made of 26g SS316, 2.5mm, and 6 wraps. The configuration of the posts means you have to bend a leg back towards the coil and insert into the post hole. This is my far the worst part of the deck. I found wicking to be easy, as long as I snipped the cotton to halfway down the wicking channel, thin the wicking out a bit, and then wet the wicks and fold over. Wetting them lets them lay right where they need to be. I re-wicked mine 3 times and it kept up every time, even when running at 25w. Ok…. enough about the build, how does the RBA vape? Flavor on mine is quite good, but the coil life isn’t as good as the included coils. I found myself re-wicking after 9 mls or so. Not a big deal, as I burned off the crusty residue of sweetener, and then re-wicked. Side note about the RBA is that it comes with a 510 adapter so it can be built and dry burned on a standard device.
______________________________________________________________________________
MISCELLANEOUS PHOTOS
______________________________________________________________________________